Category Archives: Recipes

Our “beef jerky”

We met our goal & had 6 pounds of ground beef left from last year! Since we pick up more beef this week, we decided a celebration was in order…beef jerky! A true luxury FOR SURE, since 6 pounds of ground beef yields 3 pounds of finished jerky, lol. 🙂

We use the same spices we put in our “salami“, roll balls of it out onto parchment paper atop the dehydrator shelves, then bake them in our dehydrator for about 6 hours at 145°. About halfway through the baking, the sheets are flipped & the parchment paper is removed. I blot the grease off with a lint-free towel & tear it into pieces. Half of us prefer the thinner crunchy edges, and the other half like the thicker middle pieces… Mmmmm! 🙂

20130708-230423.jpg

20130708-230541.jpg

20130708-230633.jpg

20130708-231229.jpg

20130708-231313.jpg

20130708-231404.jpg

20130708-231443.jpg

20130708-231531.jpg

20130708-231635.jpg

20130708-231717.jpg

20130708-231823.jpg

20130708-231920.jpg

Ghee

While I was peeling dried strawberries off of dehydrator sheets a couple weeks ago, Mike decided to try making clarified butter – “ghee”.

For years I’ve thought, why make ghee when we are blessed with an abundance of butter? Well, the answer to that question came as we began to run low on our coconut oil. Could there be a way to make our own healthy oil?

We go through a 5 gallon bucket of coconut oil every year. We’ve read alot about its anti-fungal, anti-bacterial and anti-viral traits, so we try to use and eat it as much as we can. 🙂

This year we went to order our annual bucket of coconut oil, but hadn’t heard back from our source. So as it got lower & lower, Mike started asking me questions about ghee. Begrudgingly, I began to research it, and was pleasantly surprised at what I found. My main concern was about pie crusts – could you use ghee to make a pie crust?? Yep! Once I read that, I knew this would be a worthwhile venture, lol! 🙂

Mike made it look pretty easy… The whole procedure took about 30 minutes. Started with 2 pounds of unsalted butter that he had made that day. Melted it in a tall stock pot on “4” (medium low). Didn’t stir it – just gently moved the foam a bit to peak at the clarity every 10 minutes or so. Eventually the foam cleared away, and you could see how the muddy yellow liquid changed to a beautiful, clear yellow. Dumped it through a muslin lined colander into a glass bowl, and that’s it! Yield was a smidge over 24 oz. or 3 cups of ghee from 2 lbs. of butter. 🙂

That 3 cups only lasted one week, lol! Worked perfect in our baked brown rice, for frying up our homemade salami, in our sourdough tortillas and crackers, in a cake recipe, for greasing my baking stones, and for frying our eggs in, too! Oh yeah. I am a ghee girl now… 🙂

Haven’t had time to try a pie crust yet – so perhaps that’ll be a future post. 🙂

We did finally get our 5 gallon bucket of coconut oil, so now my goal is to see if we can stretch it for two years instead of one… So exciting to find another product we can make ourselves to lessen the amount of money we need to spend off-farm! 🙂

20130627-200023.jpg

20130627-201703.jpg

20130627-202417.jpg

20130627-203316.jpg

20130627-204955.jpg

20130627-205422.jpg

20130627-205737.jpg

20130627-210120.jpg

2 days ago, I had my first try at making ghee, and it was a success! I clarified 6 pounds of unsalted butter & got 2.5 quarts of ghee. I put one quart in the fridge, and leave the rest in a kitchen cupboard. When I get around to making that pie – I’ll use the semi solid form from the fridge…

20130627-210615.jpg

Dried Strawberries 2013

Paul picked 9 more quarts of strawberries last Wednesday. So that afternoon I spent 4 hours cutting & arranging the slices onto our Excalibur’s shelves. They dried for 12 hours at 135°. I think they taste like pieces of fruit roll-ups, but better because there’s no added sugar! Drying the fruit captures & accentuates the natural sweetness of the berry. And it only takes a pinch of slices to add to a bowl of granola or throw in a smoothie. 🙂

It’s certainly a “labor of love”, though – a yucky, sticky mess, but I’m ok with doing it ONCE-A-YEAR, lol. 🙂

20130617-175026.jpg

20130617-175144.jpg

20130617-180337.jpg

our bean soup recipe

Since this is a favorite soup of ours, we make a huge stockpot of it, and freeze portions for future meals. I like that I can make lots of soup without using up a bunch of our canned broths…

Hydrate 2 pounds+4 ounces of dried beans. (Click here for my “bean formula” & how we prepare our beans.)

Once hydrated, place in 8 quart stock pot with 6 quarts of water.

Add:

1-1/2 pounds cooked & drained ground beef

2 quarts of whole tomatoes, crushed

3 cups of chopped celery

3 T sea salt

3 t dried parsley flakes

6 garlic cloves, minced

3 t dried thyme

6 bay leaves

1 T coarse pepper

a couple whole hot peppers, optional

Cover the pot & allow soup to simmer for hours, stirring occasionally. It tastes great the day you make it, but gets better & better as days go by! (May need to remove the hot peppers after the first day or so, depending on how spicy you like your soup!) 🙂

20130307-105332.jpg

20130307-105603.jpg

our salsa recipe

IMG-20120913-02237

This amount fills our 12 cup food processor.

10 squeezed, meaty-type tomatoes (like Romas) that are about the size of baseballs **note below
2-4 hot peppers
2 cups sweet onions, chunked (I just kinda guess by the size of the onion)
1 cup tightly packed cilantro
1 t sea salt
3 T raw apple cider vinegar
1/2 t coarse black pepper

Layer above ingredients in the order listed into food processor. Pulse until desired texture is reached. Dump into large bowl and repeat. (We like BIG BATCHES of salsa, lol!) 🙂

We are alway taste testing while we go, so I should probably state that the above recipe is just a “base”. I’m sure we throw in a-little-more-of-this, and a-little-more-of-that, so it’s never exactly the same. 🙂

**Here’s how I prepare my tomatoes: I remove the skins & core, but leave them whole. I put one in my hands, hold it over the sink core-cut-side down, and gently squeeze the tomato so most of the seeds & water are pressed out. After 3 batches of squeezing, it is not uncommon for hands to cramp up, lol… 🙂

Processing tomatoes

IMG-20120924-02339

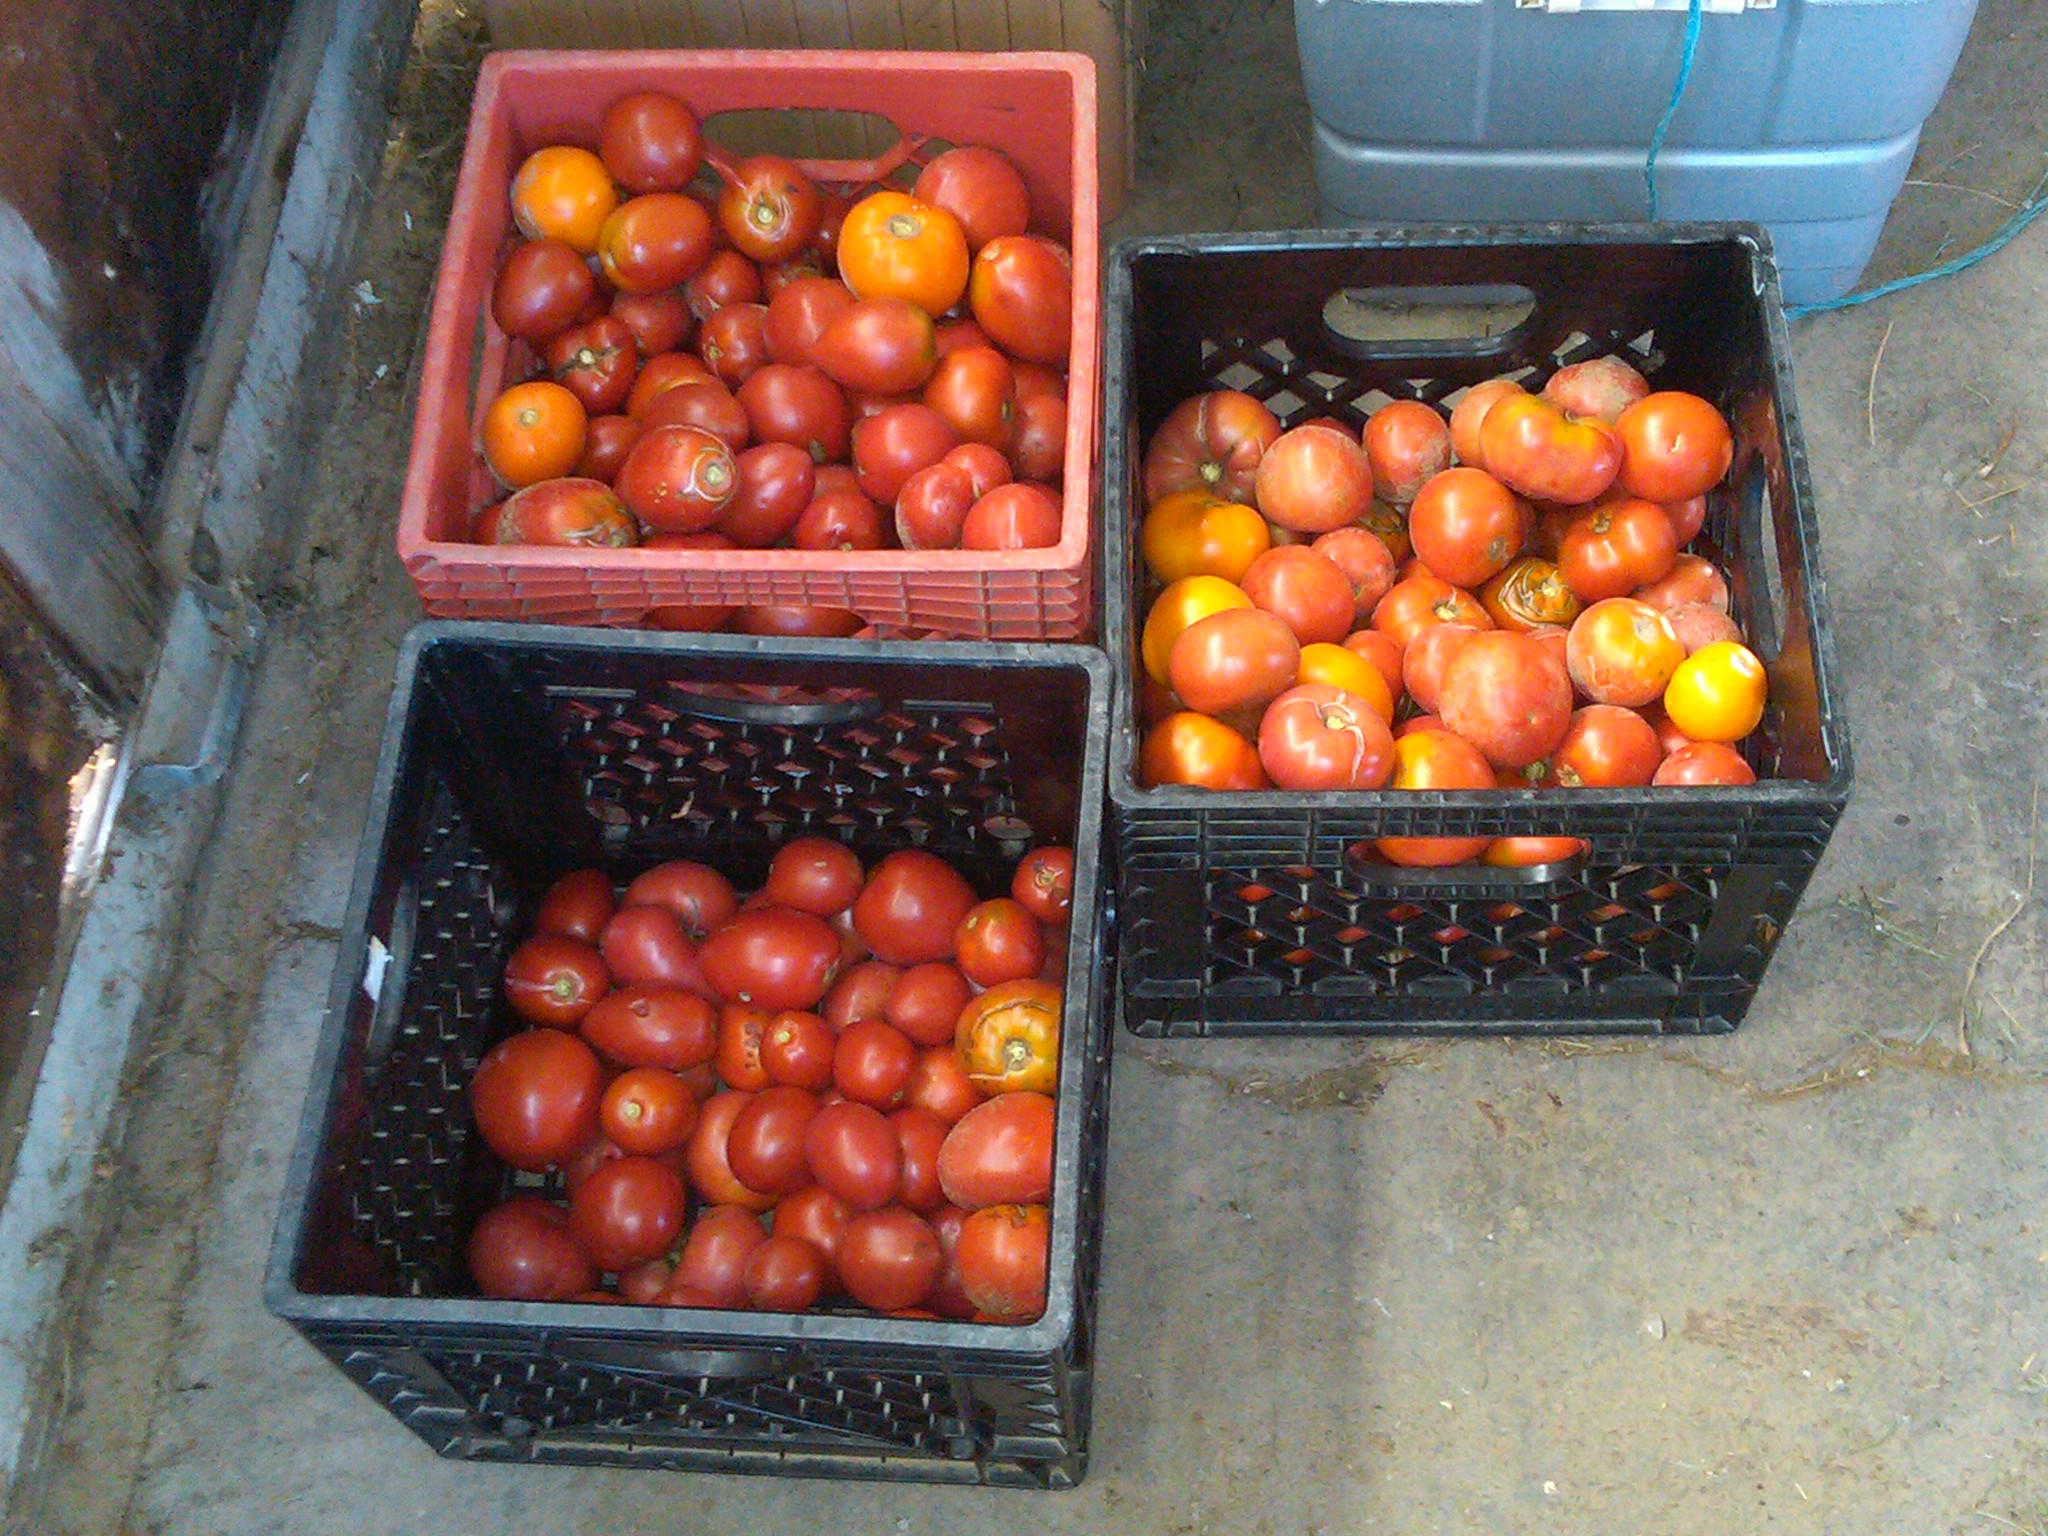
Despite the drought last year, we were blessed with a bountiful harvest – including tomatoes. 🙂

Here’s a snapshot of what we do with our maters. It is a true family effort – or I don’t know how I could do all.

When we first started doing this, I was COMPLETELY AMAZED at how many tomatoes it takes to create the same amount of tomato based products we used to buy from the store. We realized that we COULD NOT grow enough to provide the same “loot” in our pantry for one year. Because of that realization, we’ve scaled back on how much of it we eat, and we do our best to find healthier tomato sauces that we buy limited quantities of for our homemade pizzas. Thus reducing the amount of money we need to spend off-farm. This way, our energy goes toward the less time-consuming efforts like water bath canning whole tomatoes, juice, and our version of v(egetable)-8. We do make several canners full of tomato sauce, but can them in pints & they are treated like “gold”, lol. (I think last season furnished 10 pints for our pantry…) Normally, we focus on canning the whole tomatoes + juice for both ourselves and Mike’s parents, and his mom cooks down & cans the tomato sauce for all of us. (Group efforts are soooo nice!) LOTS of hours of stirring while it cooks down to the desired thickness, makes me feel a little protective of tomato sauce…and being SUPER conscious of not wasting it. These are good lessons that we are thankful to have learned. 🙂

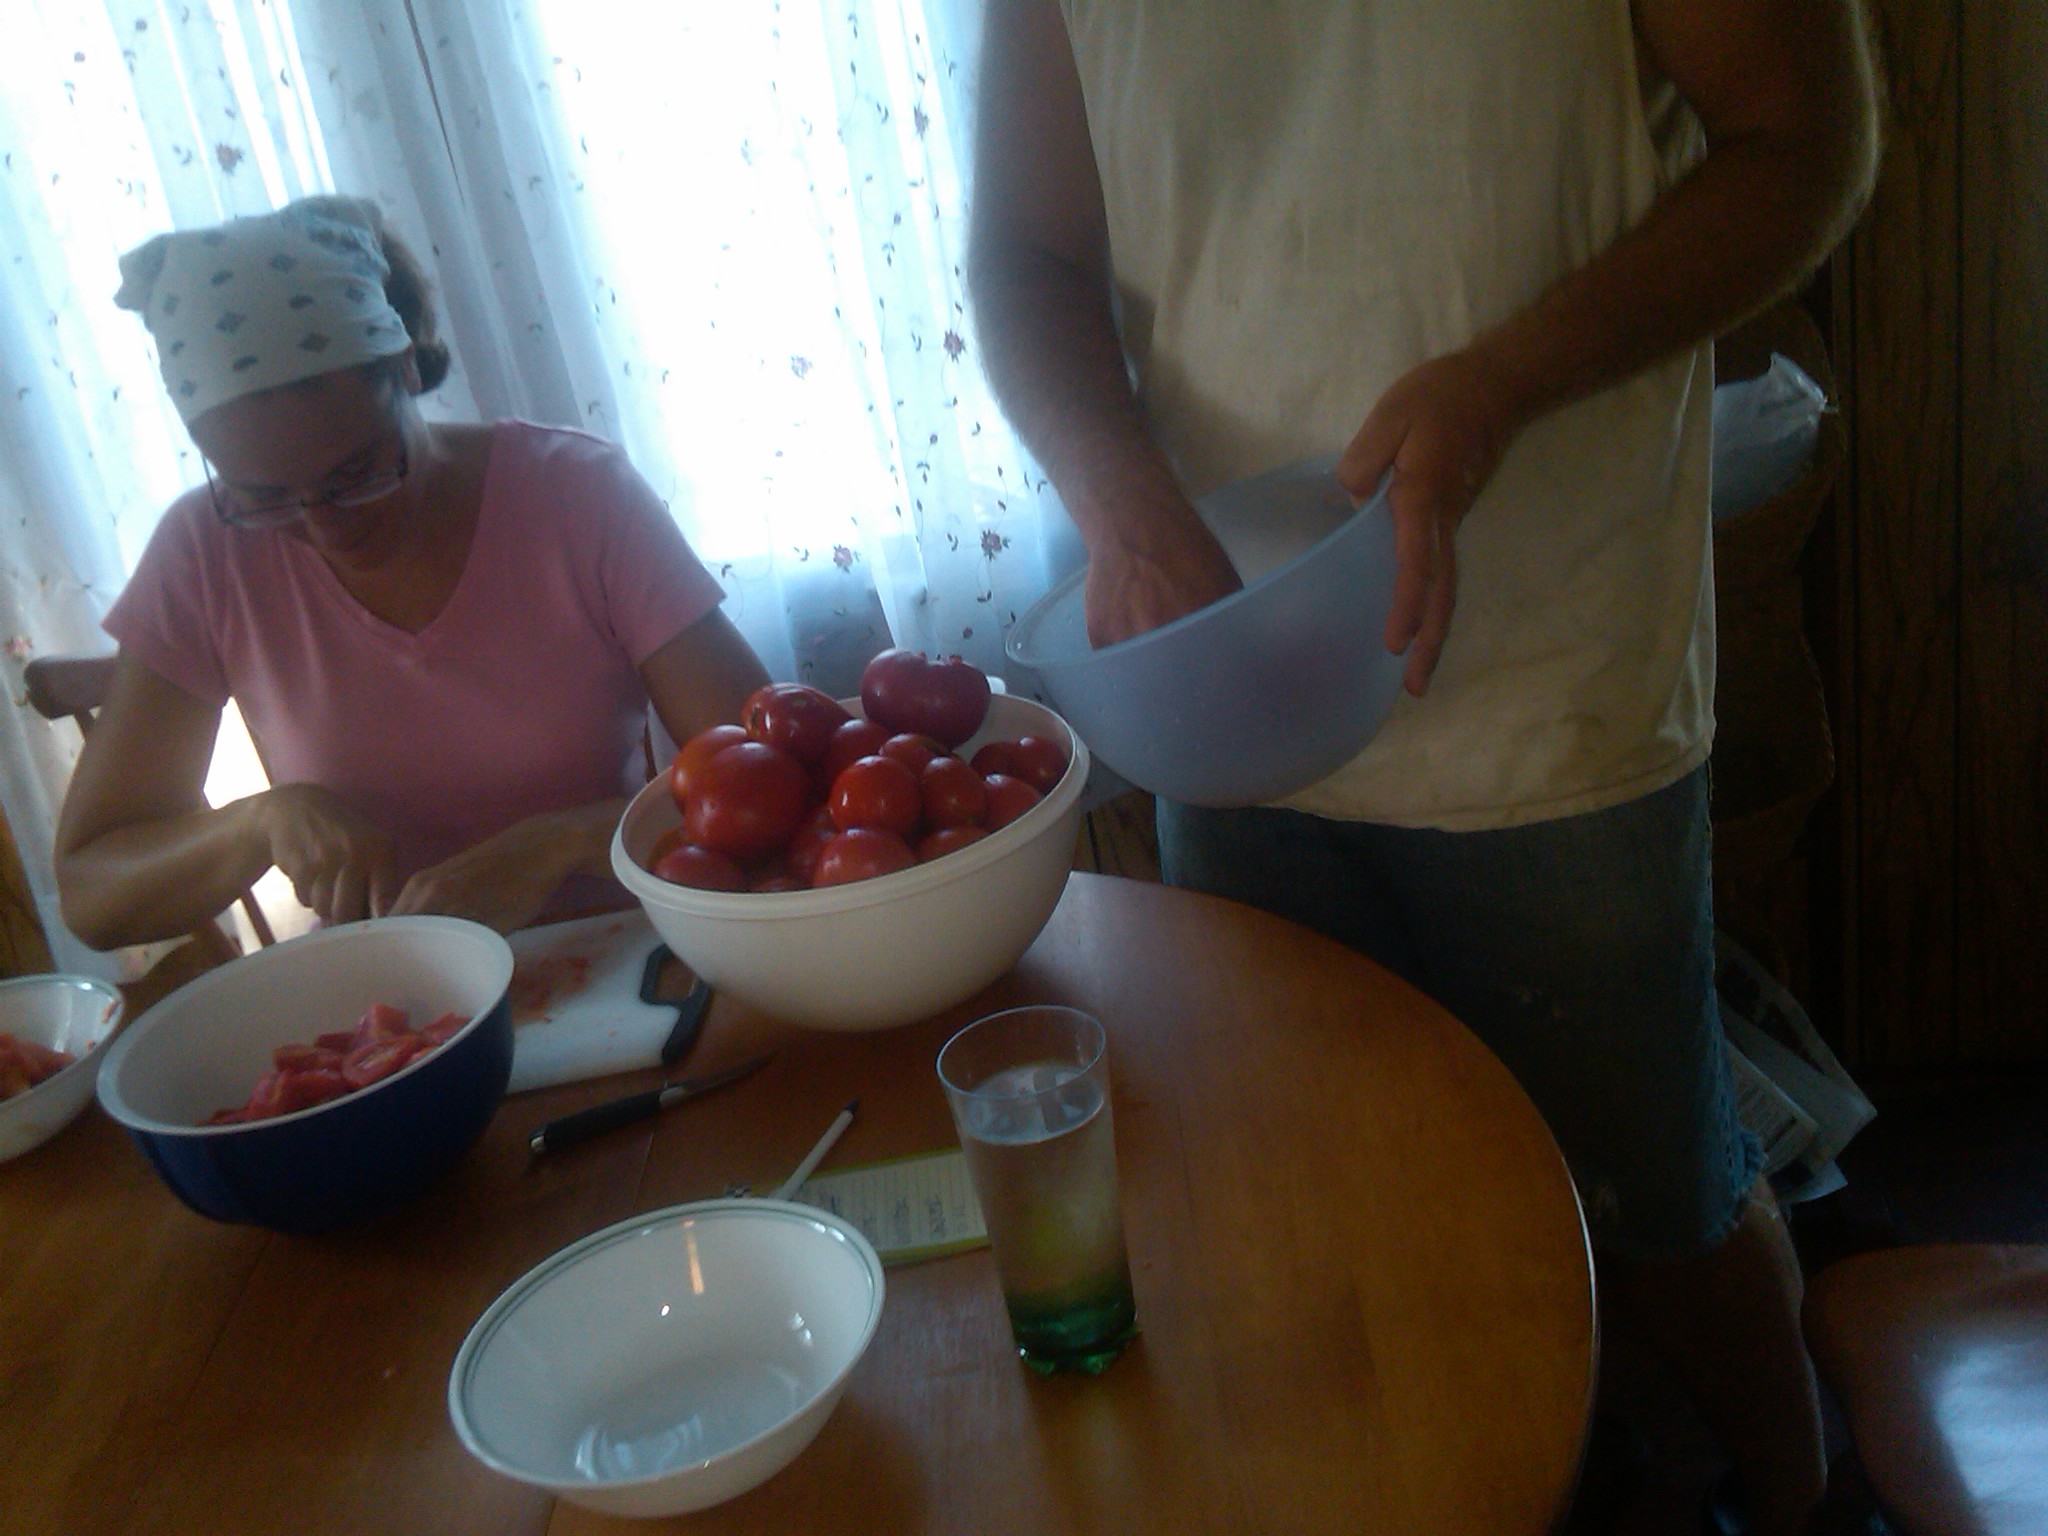
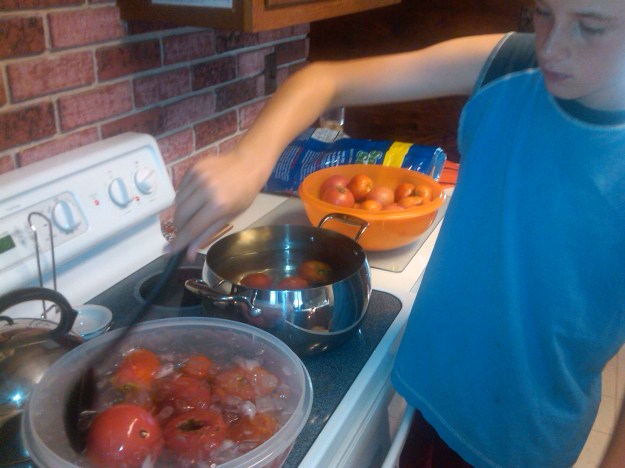
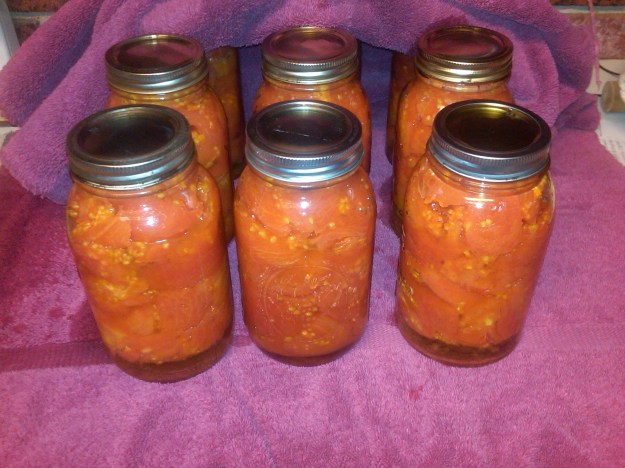
The biggest bulk of our maters are canned as whole tomatoes. (We are big soup/stew eaters, and we like a marinara sauce once in awhile, too. Whole tomatoes are perfect for those recipes.) Once the maters have been washed, we drop them in boiling water until the skin breaks – usually not more than one minute. Then we plunge them into ice water for quick cooling. The boys like this job & usually bicker over whose turn it is.

IMG-20120804-01815

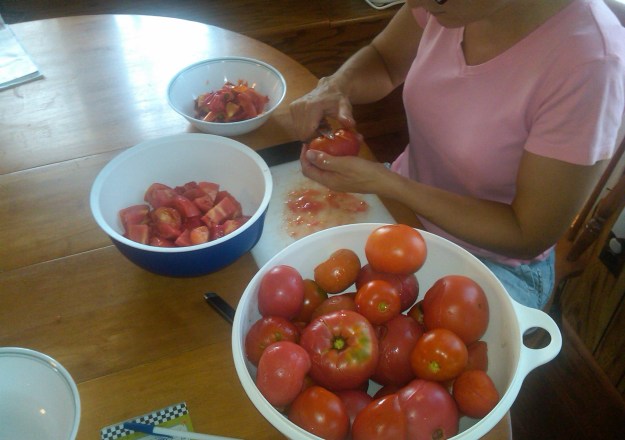
My “station” is usually as the “skinner/chunker”. None of my boys like the messiness of this part, so by default, the job is mine. I don’t mind, though…my hands might be yucky, but I can still bark orders pretty good, lol… 🙂

IMG-20120804-01817

IMG-20120804-01826

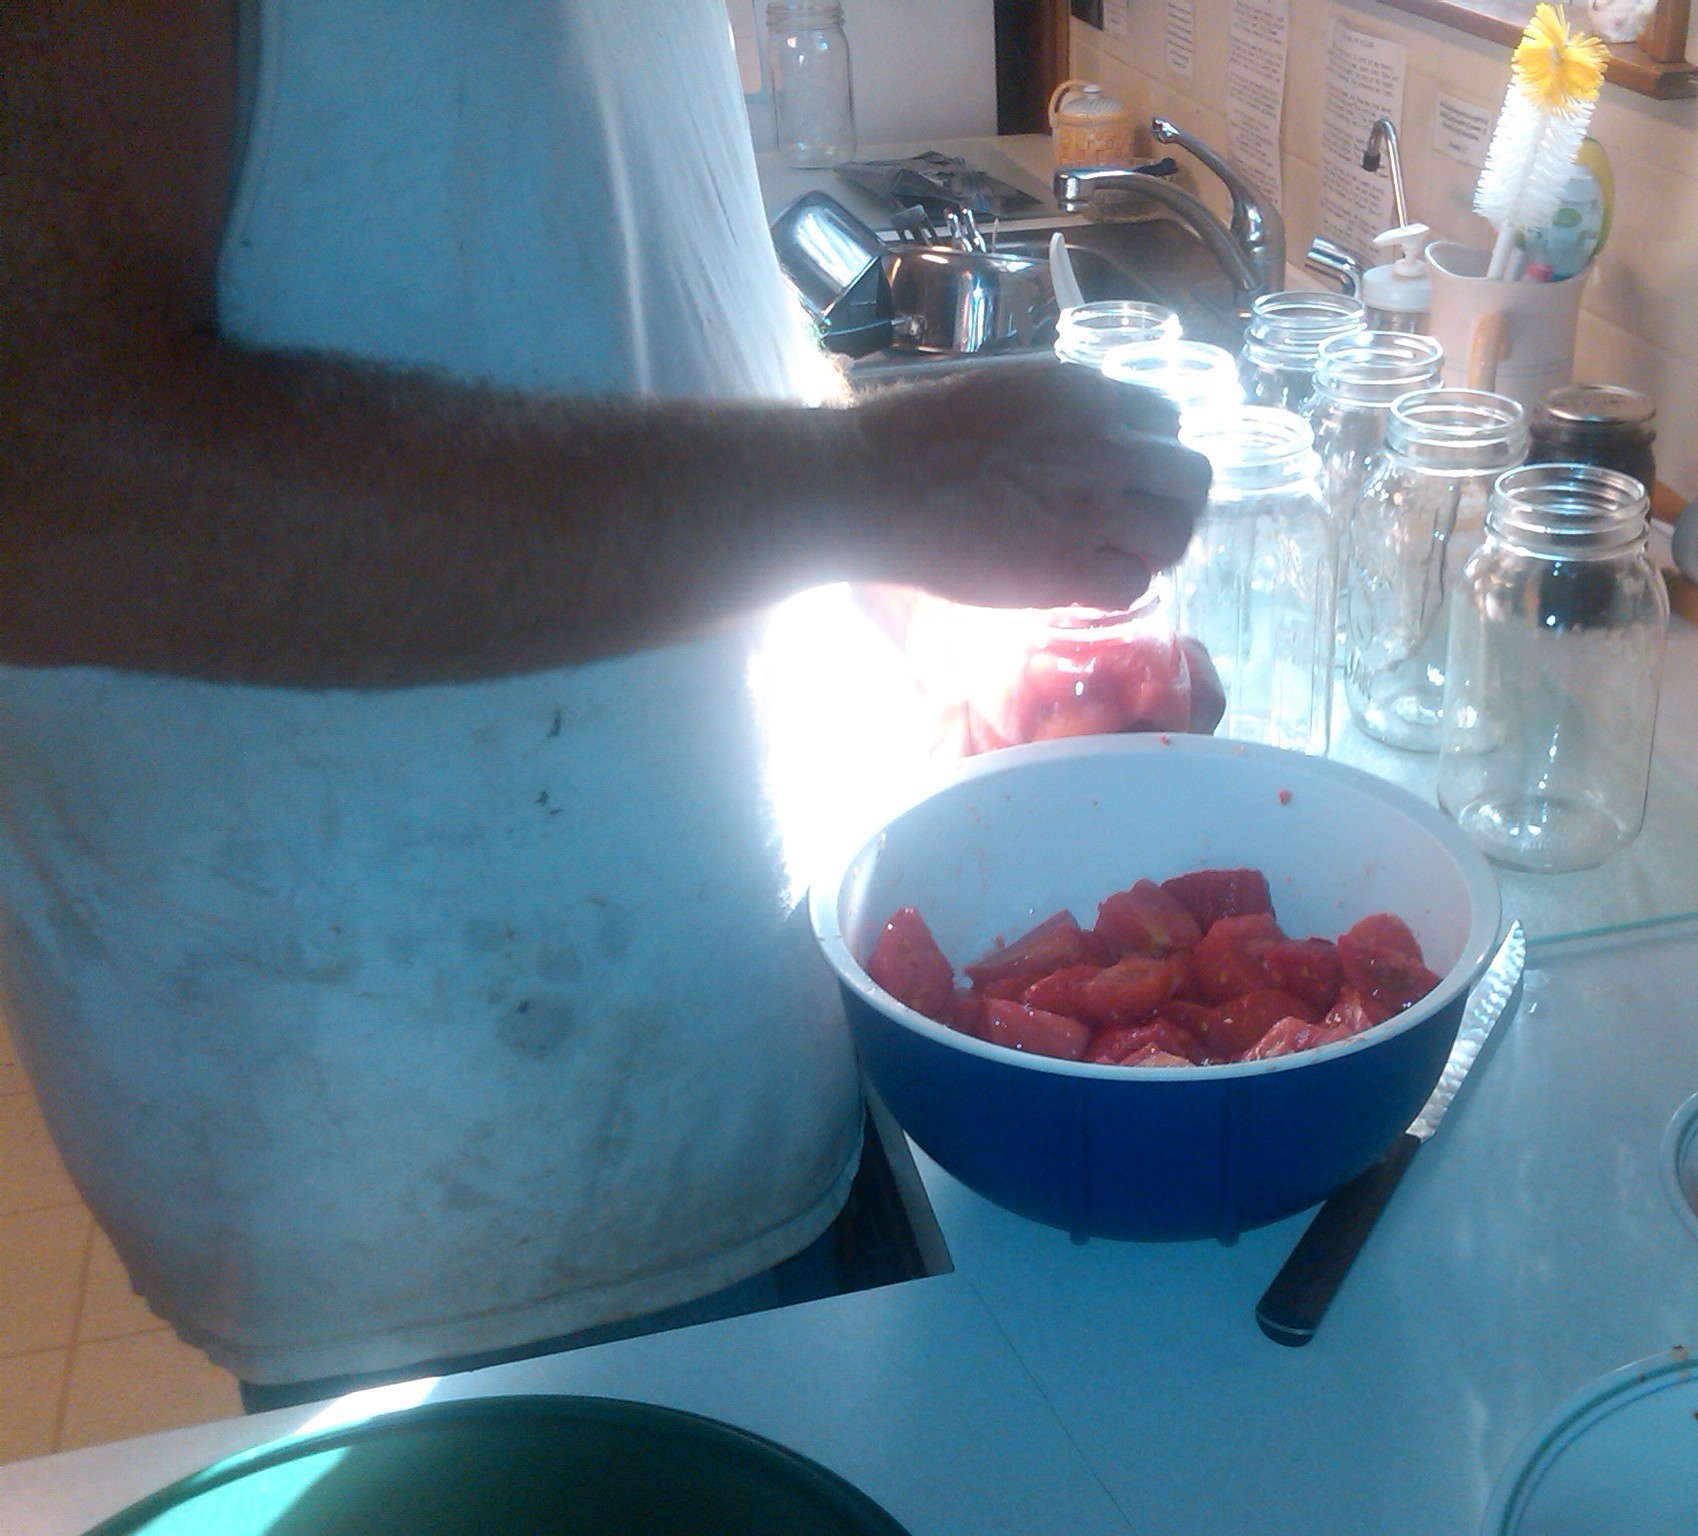
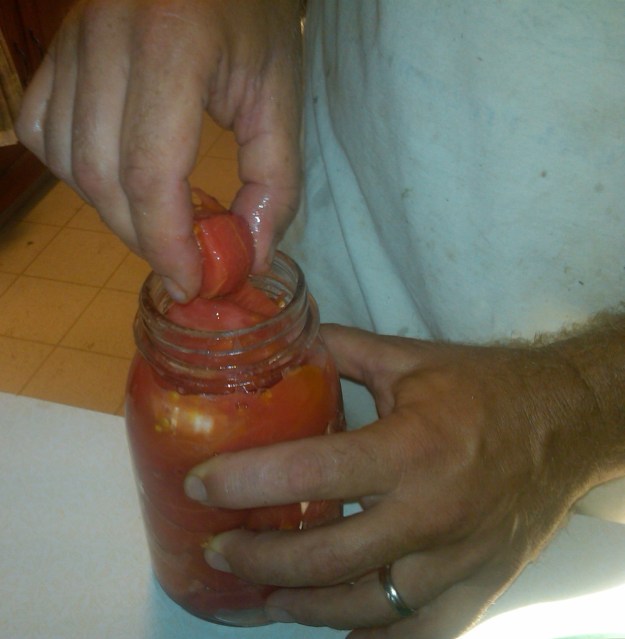
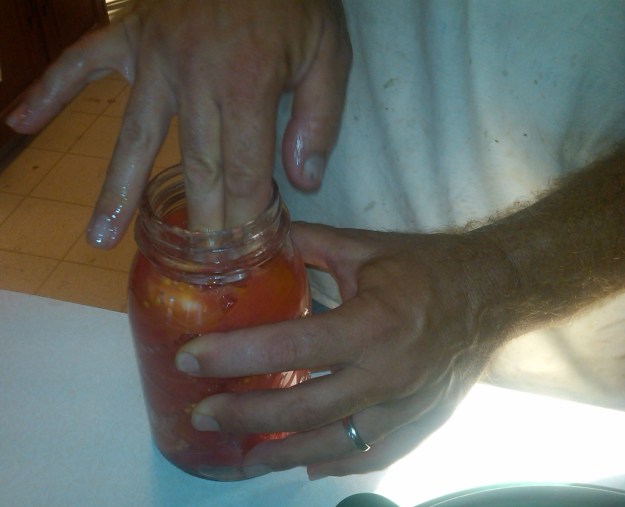
Mike is usually the “floater” and “jar-stufferer”. 🙂

IMG-20120804-01820

IMG-20120804-01821

IMG-20120804-01824

IMG-20120804-01823

IMG-20120804-01840

Last season we canned 48 quarts of whole tomatoes for our pantry and about half that for mom & dad next door. 🙂

IMG-20120804-01843

IMG-20120804-01844

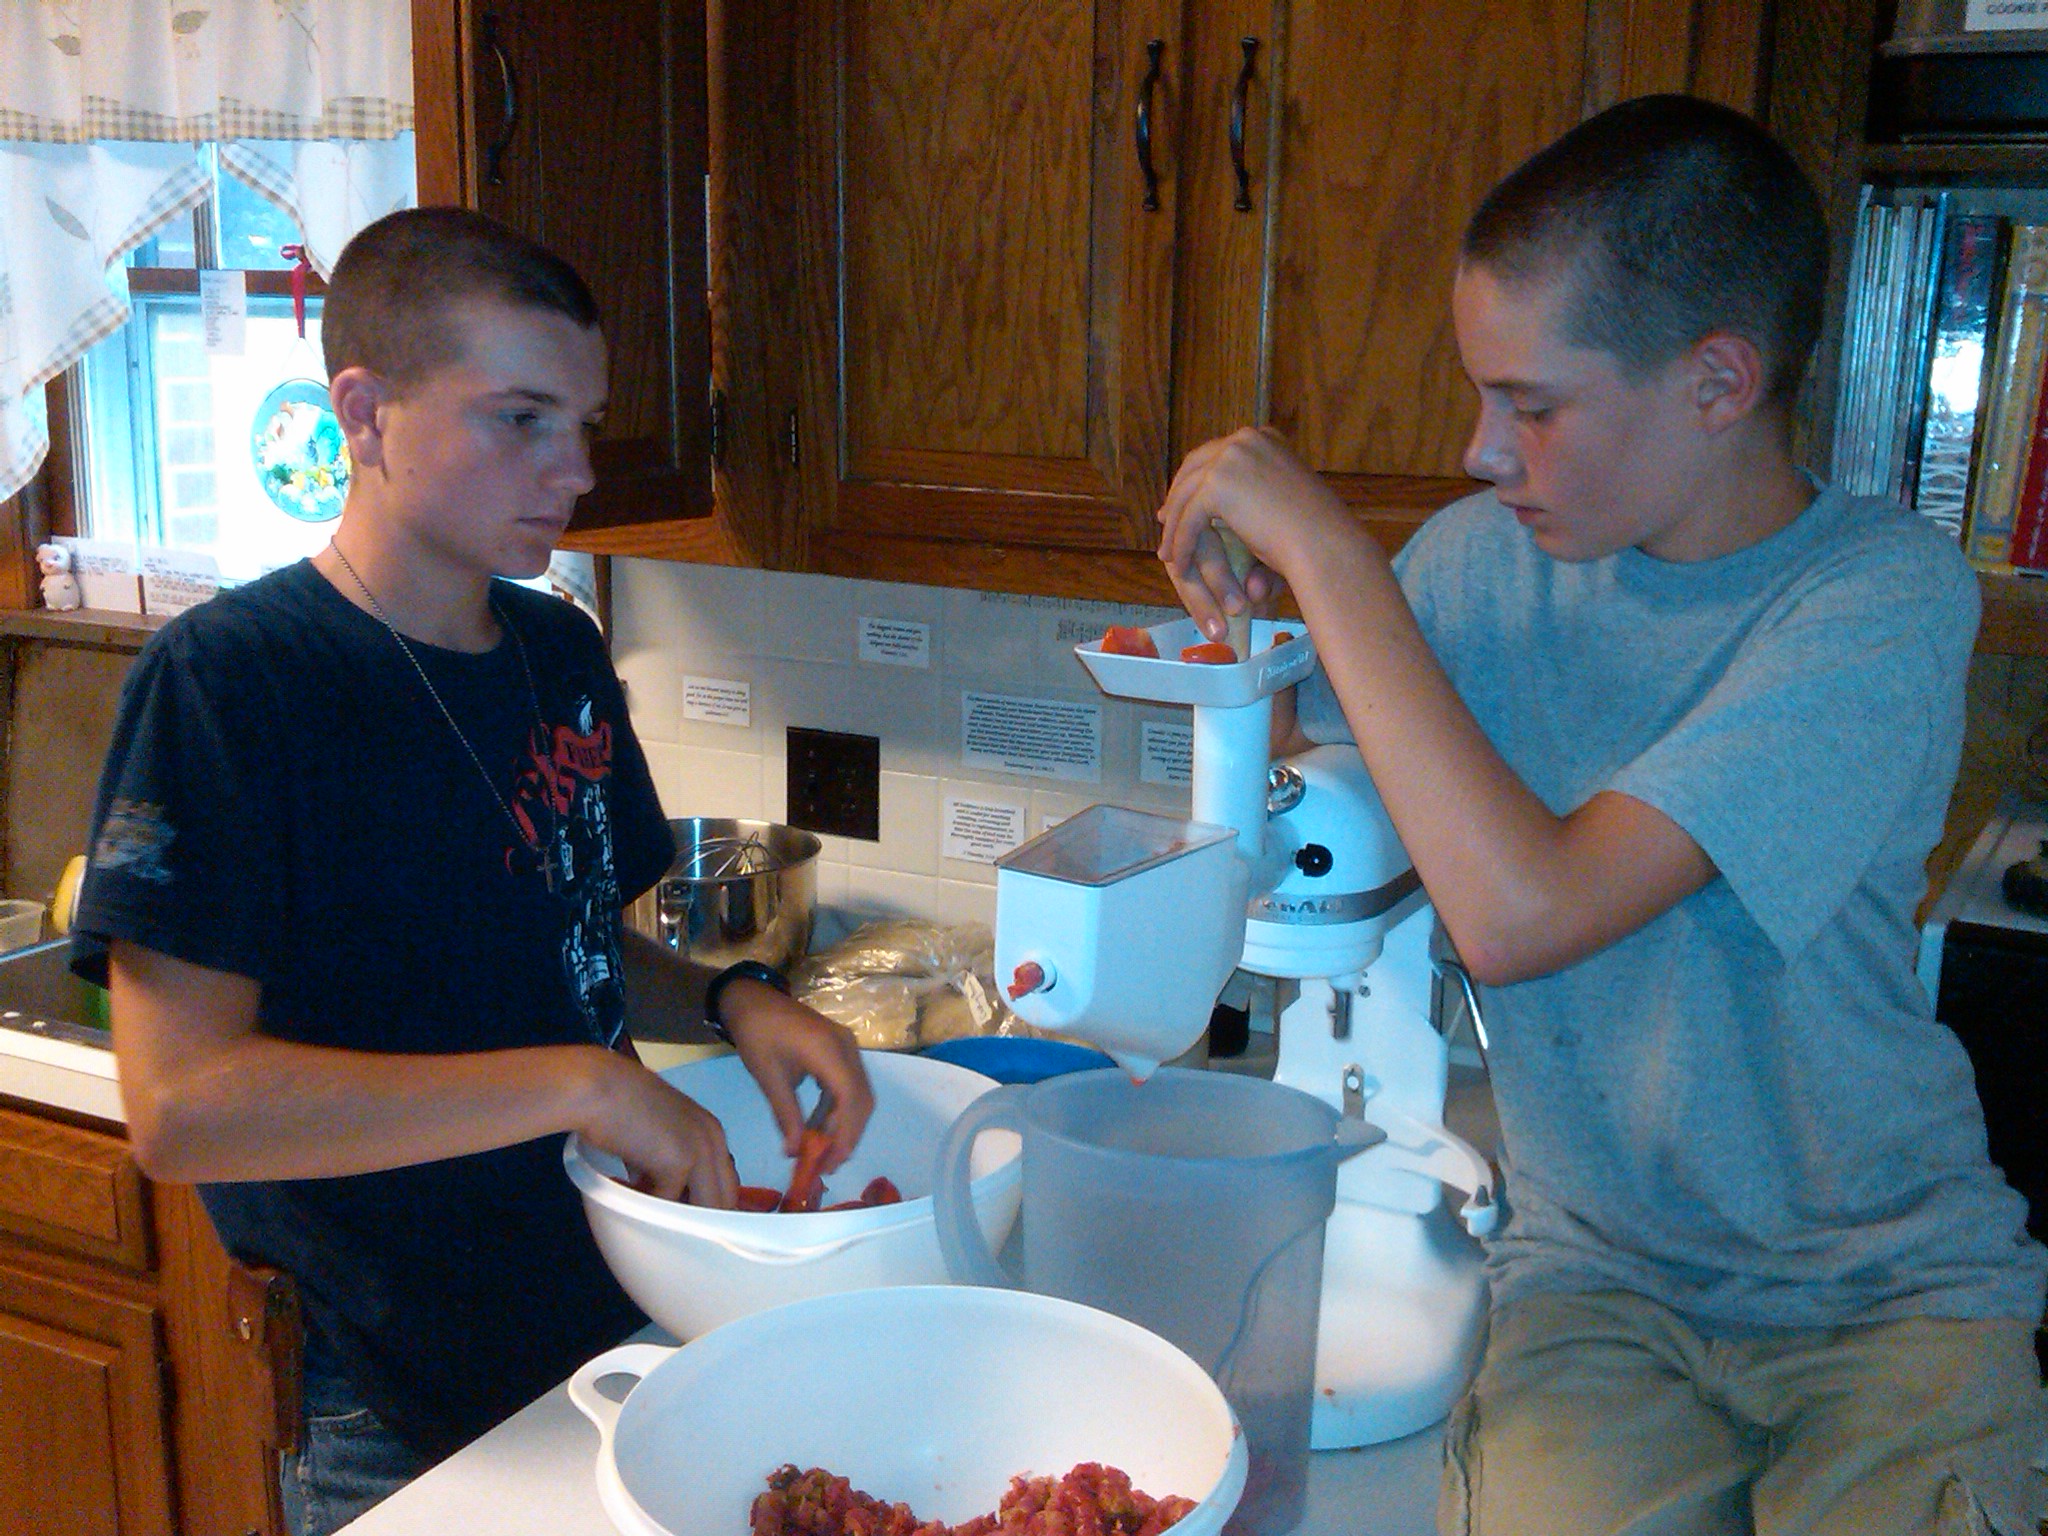
When we are making juice/sauce & our v(egetable)-8, we don’t remove the skins. Just chunk the veggies so they fit into the juice attachment for our mixer, and it separates the seeds/skins for us. This is another task the boys don’t mind doing. 🙂

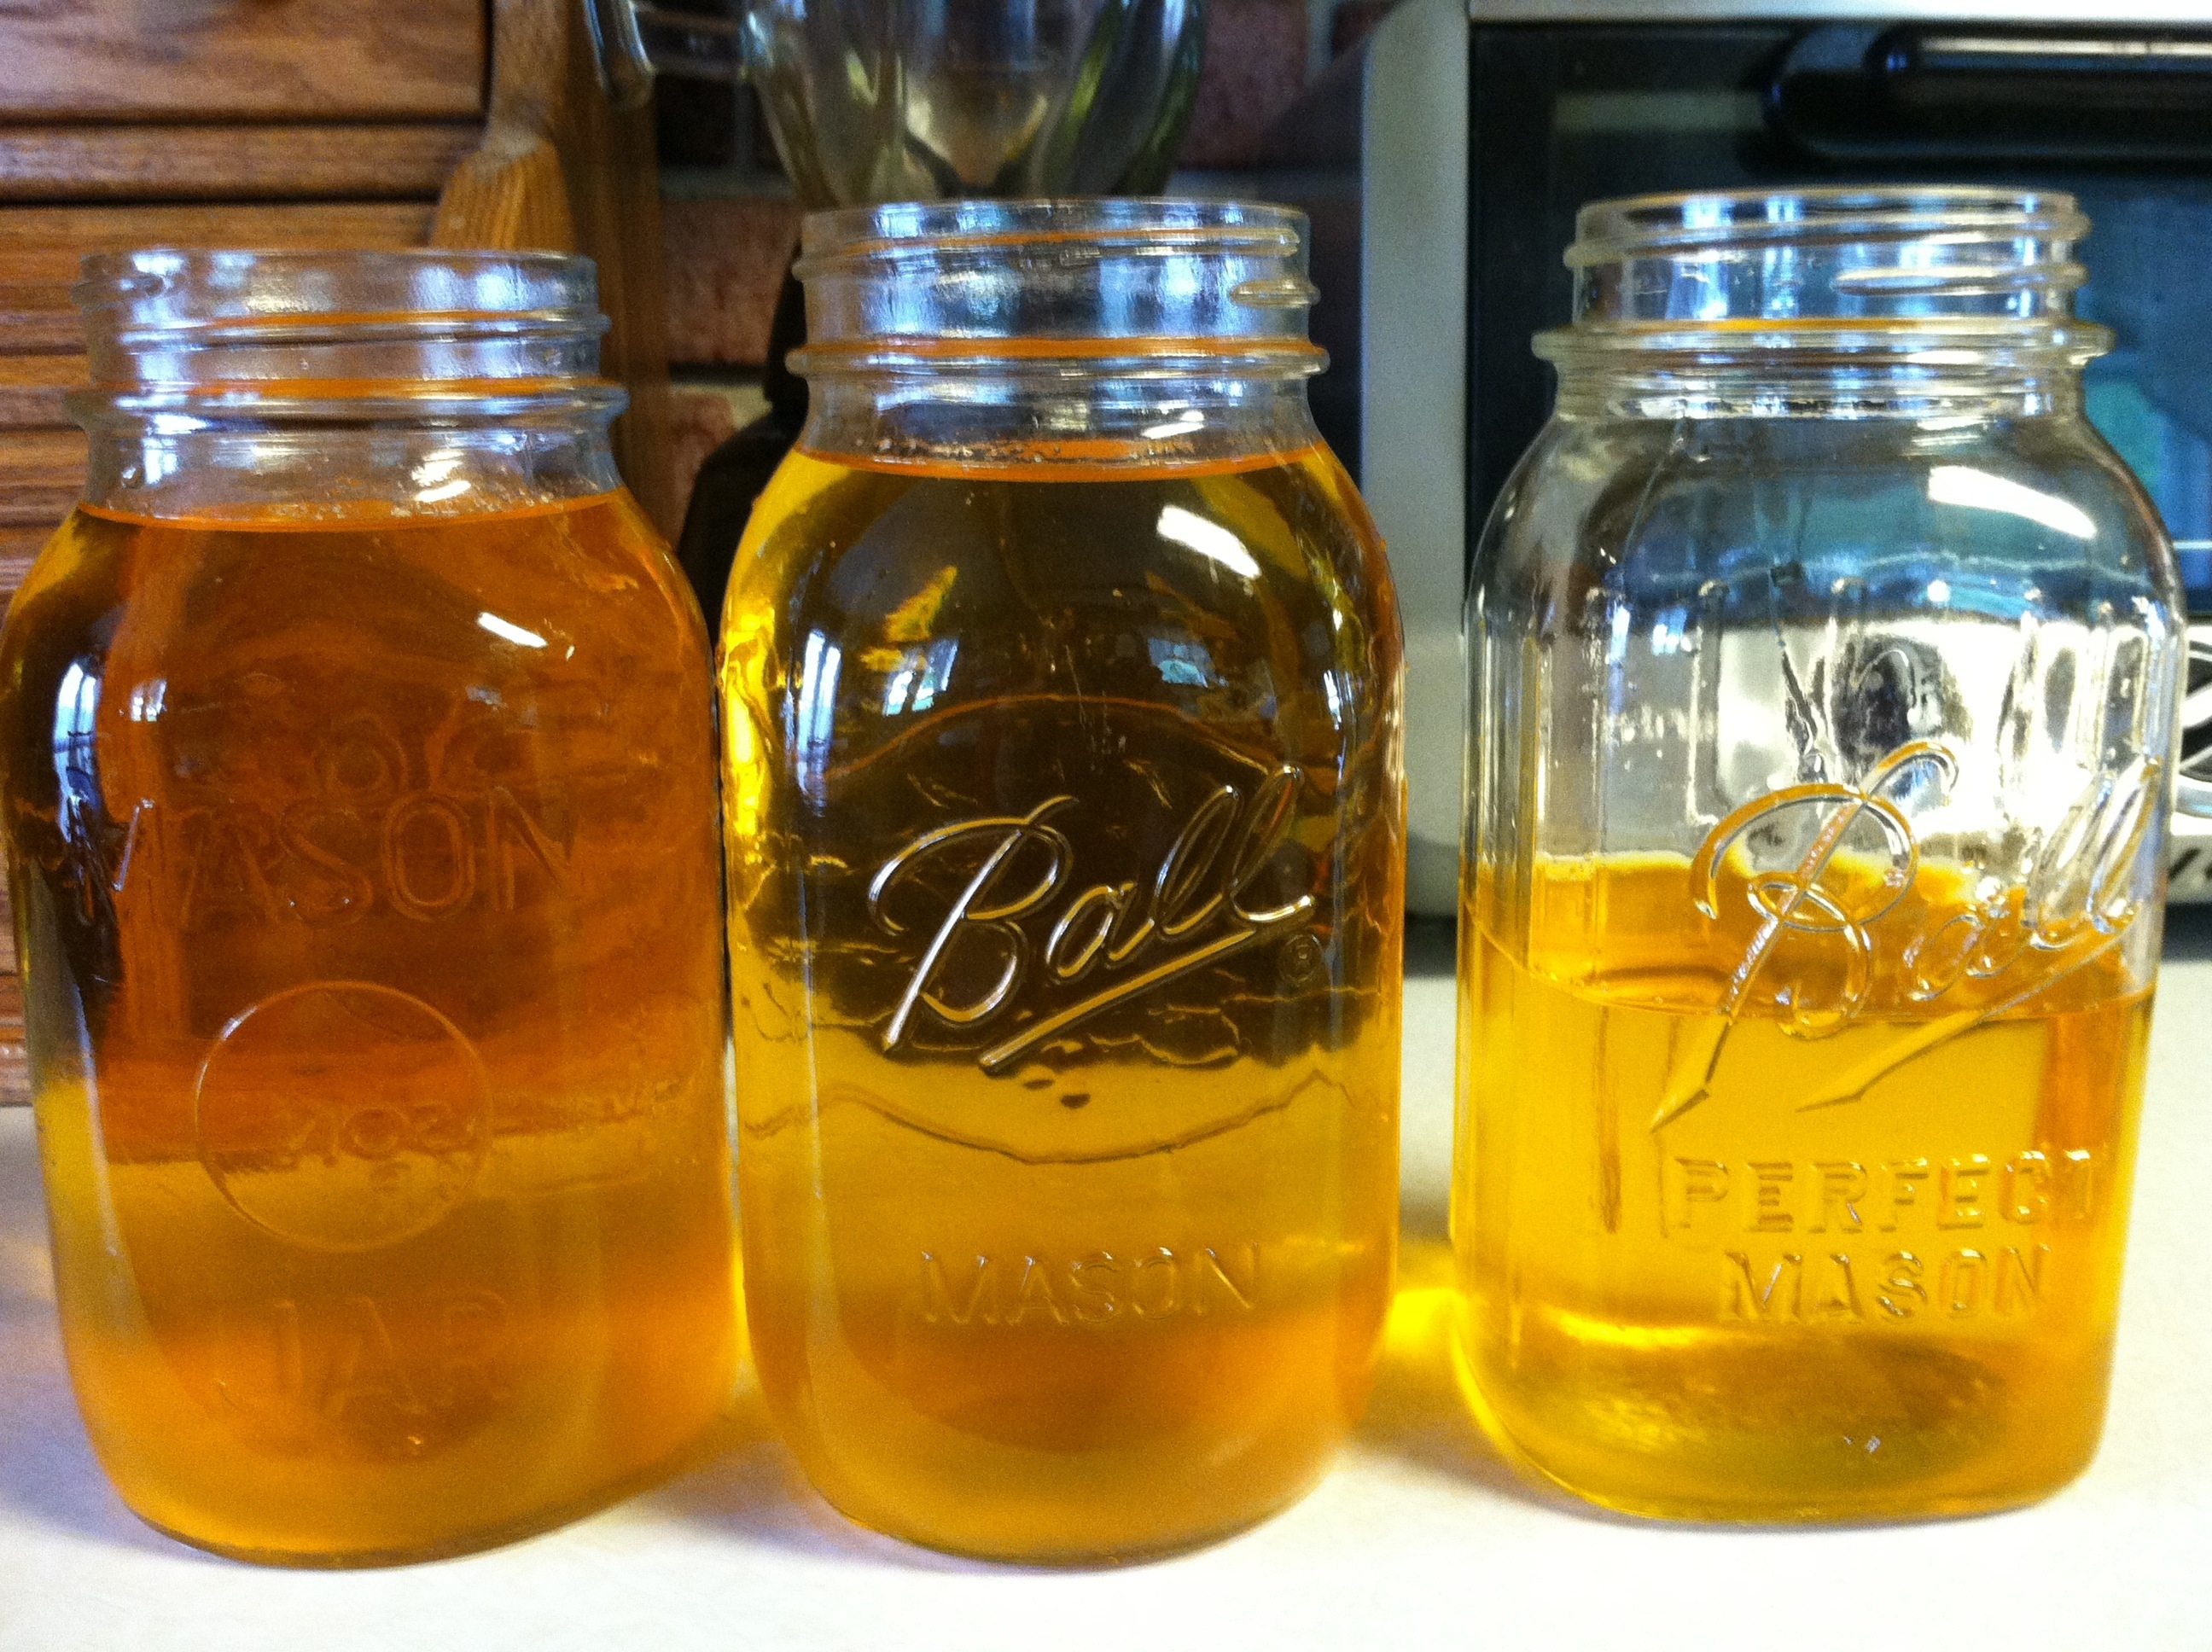
Last season we canned 8 quarts of our v(egetable)-8 juice and 22 quarts of tomato juice for ourselves + some for next door.

IMG-20120827-02091

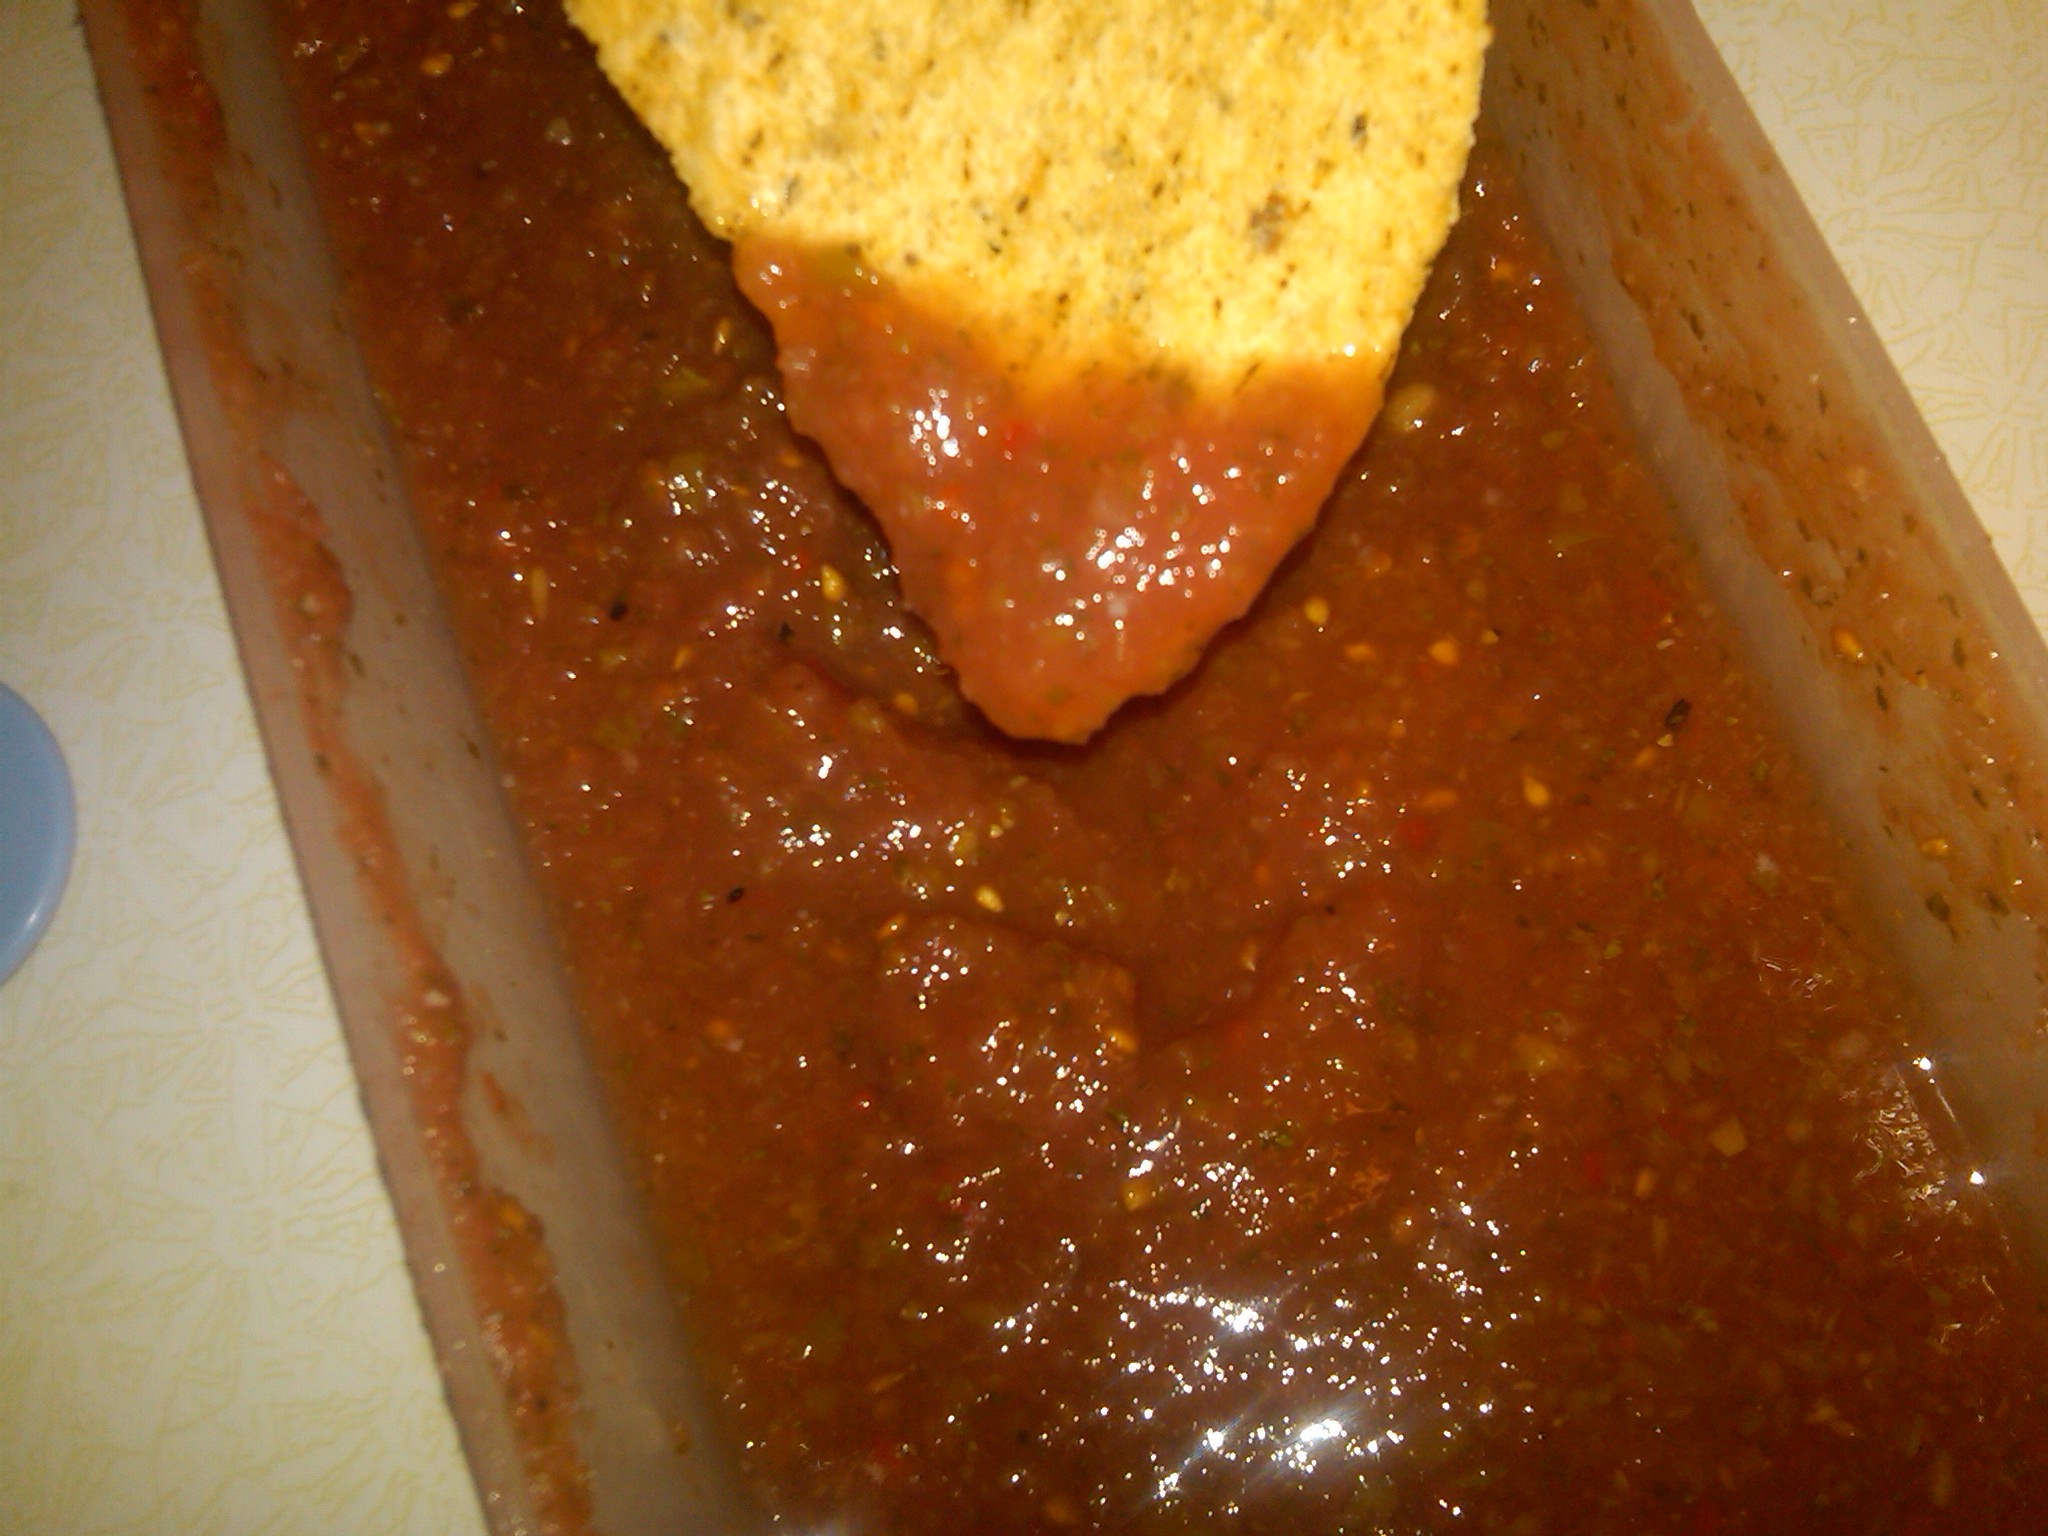
We also make several large batches of salsa & freeze it in 1 cup portions. Most of it gets devoured eaten fresh, but I think we managed to freeze 15 cups or so. 🙂

IMG-20120913-02237

our chili recipe

2 quarts tomato juice

2 quarts whole tomatoes (crushed up)

1 quart tomato sauce

4 pounds cooked ground beef

2 cups chopped green peppers

4 cups of mixed dried beans – softened* (see below)

4 t minced garlic or 8 cloves, minced

4 t sea salt

2 c chopped sweet onion

2 c chopped celery

2 T chili powder

1/4 cup evaporated cane juice (56g)

Add to pot. Heat & simmer over low heat for several hours, stirring occasionally. 🙂

Yield is about 20 servings.

*One of these days, I’ll get a post up about our dried beans.  Here’s how we “soften” them.  Take 4 cups (1 pound) of dried beans and pour them in a tall pan with water covering them by at least 2 inches.  Bring them to a rolling boil for one minute (IF YOU ARE USING STORE BOUGHT BEANS, DOUBLE THE COOKING TIME.).  Remove from heat & add lid. Let sit 1 hour. Drain/rinse. Add back to pot with water covering them by several inches.  Bring to a boil. Add lid, and simmer 20-30 minutes. (SAME AS EARLIER, IF STORE BOUGHT, DOUBLE COOK TIME.)

our barley-stuffed peppers recipe

Since we freeze these as individual halves, we make a big batch of the filling and use however many green peppers we have to fill.  Leftover filling is great as a side or burrito filling, too!

IMG-20120802-01796

IMG-20120802-01795

1 pound “sausage”

2 cups chopped sweet onion

1 t garlic granules

1 pint tomato sauce

4 cups barley, cooked (5 c water + 1 cup barley + 1 t sea salt = bring to a boil, reduce heat to low, cook covered about 45 minutes)

1/2 t dried thyme

1 t sea salt

1/4 t coarse pepper

Mix up above, spoon into blanched green pepper halves (place pepper pieces in boiling water for 3 minutes, drain in cold water). Place in ungreased baking dish. Cover & bake at 350° for 25-30 minutes or until peppers are to desired tenderness. Makes a bunch. 🙂

Stuffed pepper soup recipe

IMG-20120813-01920

IMG-20120909-02145

3 pounds ground beef

2 quarts beef broth

2 quarts water

2 quarts tomato juice

2 quarts whole tomatoes (which I usually crush up with my potato masher)

1-1/2 cups barley

4 cups chopped green peppers

1/2 cup evaporated cane juice (112g)

1/2 T molasses or sorghum

4 t sea salt

2 t coarse pepper

In 8 quart stock pot, brown beef. Drain. Add back to pot with remaining ingredients. Bring to a boil. Reduce heat. Cover and simmer until barley is cooked. Tastes best after day 1. 🙂

Yields about 20 servings.

Ricotta dumplings recipe

In preparation for our crazy season to begin, I’ve been making big batches of foods I can freeze. I found the base recipe for these online, and have tweaked it for us. These dumplings taste wonderful and are nice to have as an option for a quick meal. 🙂

Fill a large stock pot half full of water & bring it to a boil.

While that is getting to temp, mix up the following:

1 pound ricotta cheese (or a mixture of ricotta & cottage cheese)

8 eggs

Then add & mix well:

6 cups of flour (726g) – I use King Arthur Unbleached Flour

3t sea salt

1t coarse black pepper

Place dough on a floured surface. Dough should be a little sticky. I usually divide my dough into 4 chunks or so. With my hands, I pat the dough to about 1/2″ thickness. (Make sure there’s enough flour under the dough so that when you cut your dumplings, they will be easy to pick up.) Cut dough into 1″ squares.

Water should be boiling by now. Drop dumplings in water and boil 4 minutes. Usually takes me about 4 batches to get all the dumplings cooked. Stir just to make sure there aren’t any stuck to the bottom of the pan. (Oh – and you may need to lower the heat on your burner. That should help prevent water from boiling over. Yeah, I always learn the hard way, lol!) Remove dumplings with a slotted spoon or hand-held strainer & place in a colander to drain. This way you can keep re-using the same pot of water to make all the dumplings. 🙂

These are great plain or under a variety of sauces! 🙂

20130228-072605.jpg

20130228-072056.jpg