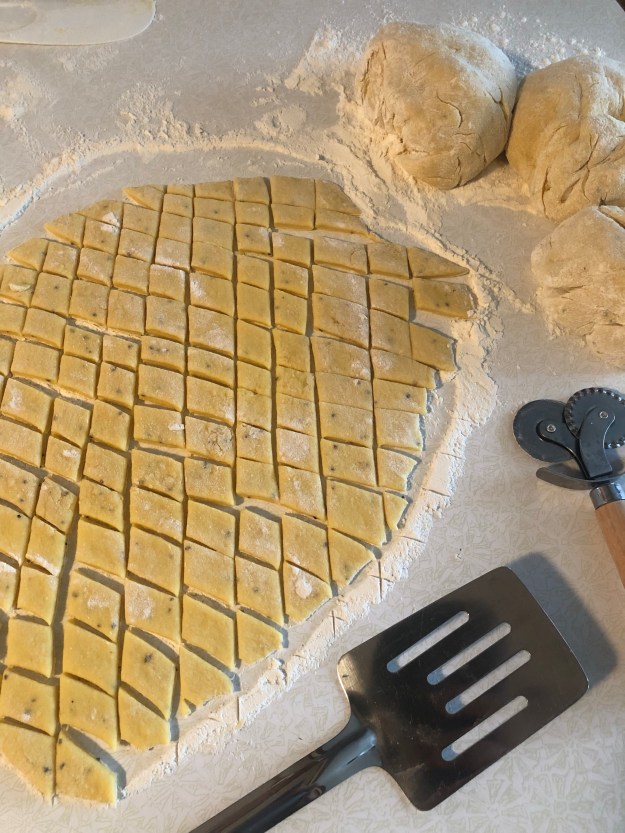
It’s a ricotta cheese dumpling kinda day…
Leave a reply

Our friends grew some purple sweet potatoes this year, and we were blessed to receive some of their harvest.☺️ [click here to read more about Ipomoea batatas]
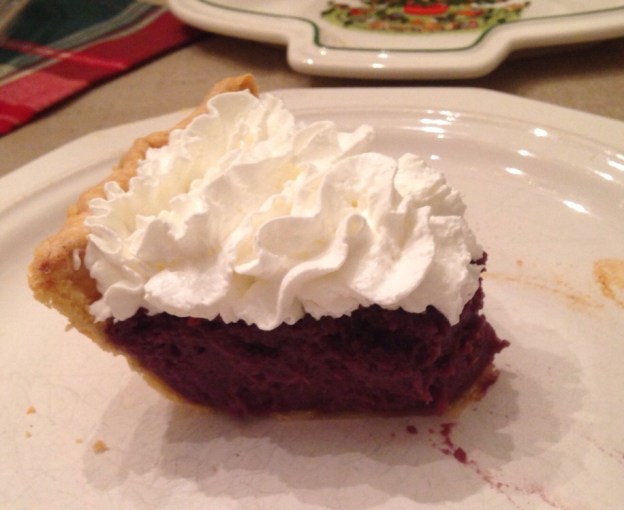
After we brainstormed a bit for possible choices, Mike’s mom chose a “purple* sweet potato pie for her birthday “cake!”🎂
*Some funny behind-the-scenes-trivia: we actually thought these were called “BLUE sweet potatoes,” so the whole time we were working with them, we kept remarking about how PURPLE they looked!😂 Glad to learn they are, in-fact, PURPLE!😏*
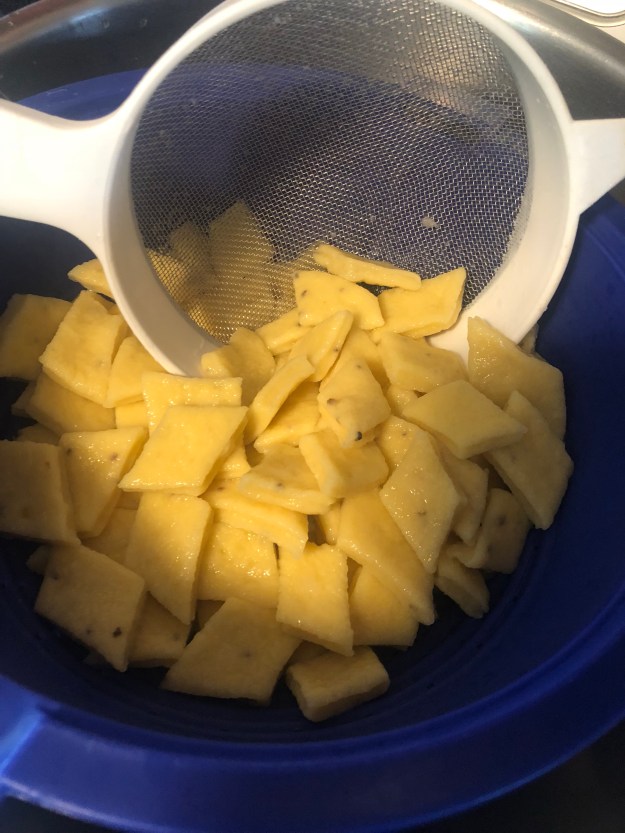
I have two sweet potato pie recipes in my collection. Decided to do the simpler one here, so we could get a better appreciation of the purple color. First I washed, and then boiled 1.2# pounds of taters for about 40 minutes.
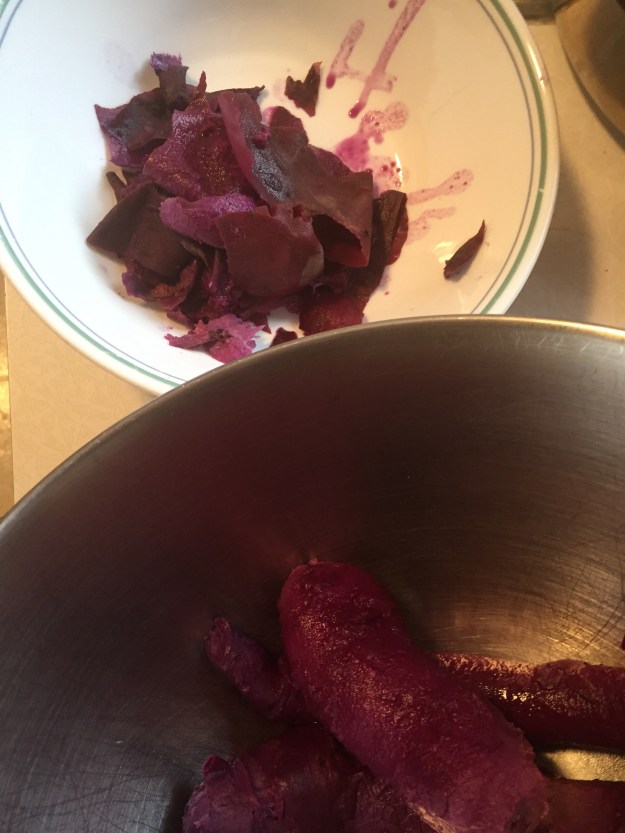
 After that, I ran cold water over them and started by peeling skin off with a knife but ended with just using my hands and rubbing the skin off. Came off SO easy!👍🏼
 Had about 50 grams more than the one pound of sweet potatoes the recipe called for, but decided to just use it all.
Added 4 oz. of our butter and was struck by the color contrast of deep yellow & vibrant purple!😍
 Mixed above well, and then added the rest of the ingredients:
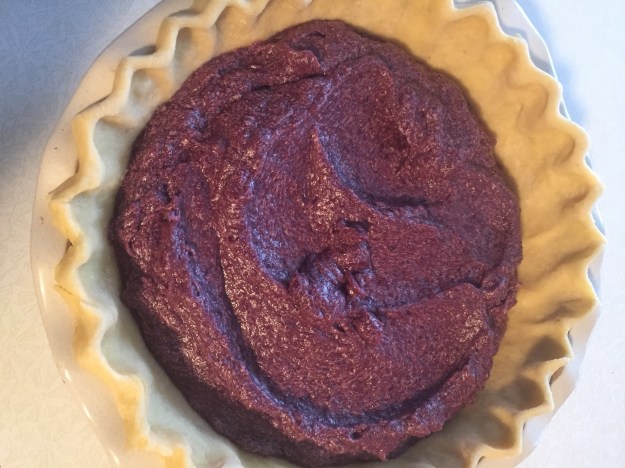
1c (145g) sucanat, 1/2c (4 oz.) milk, 2 eggs, 1/2t ground nutmeg, 1/2t ground cinnamon, & 1t vanilla extract. Mixed on medium speed until mixture was smooth, and poured it into the single pie crust I made before I started.
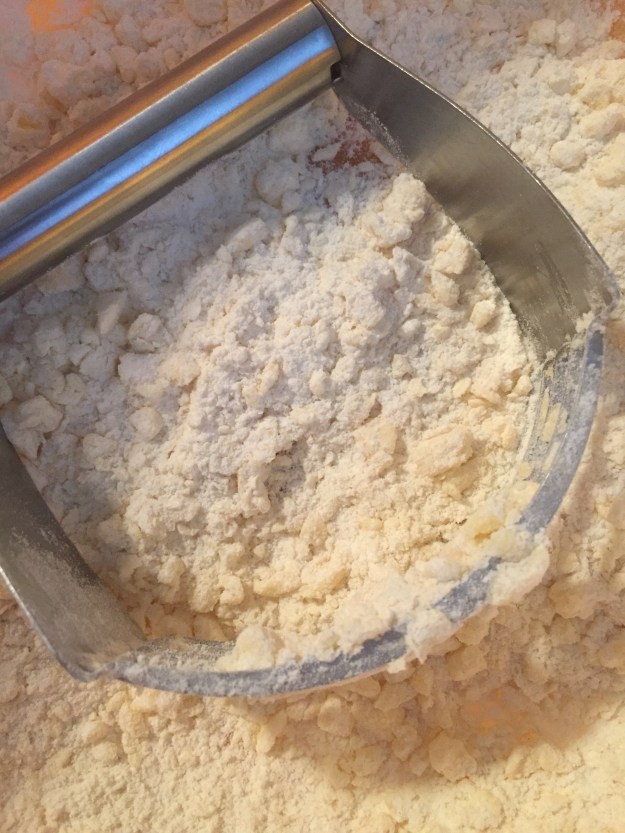
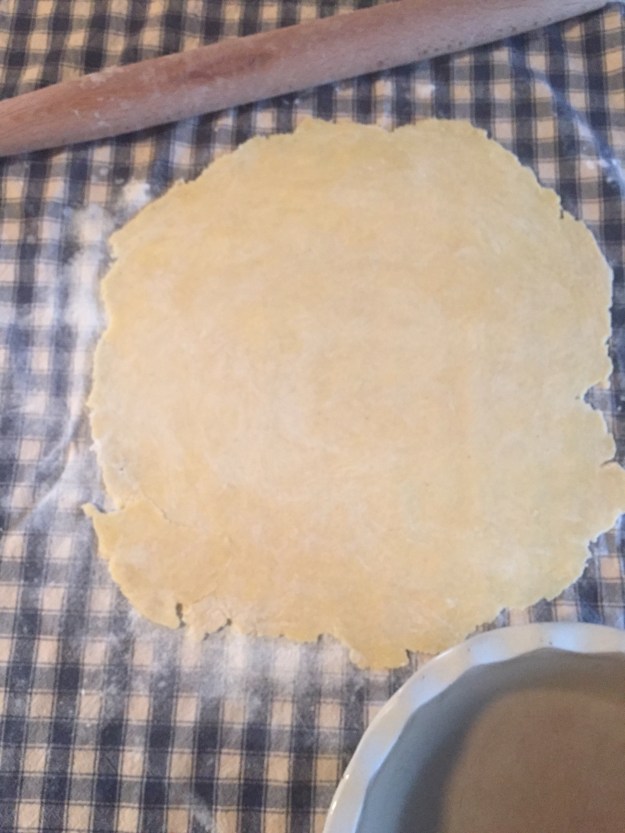
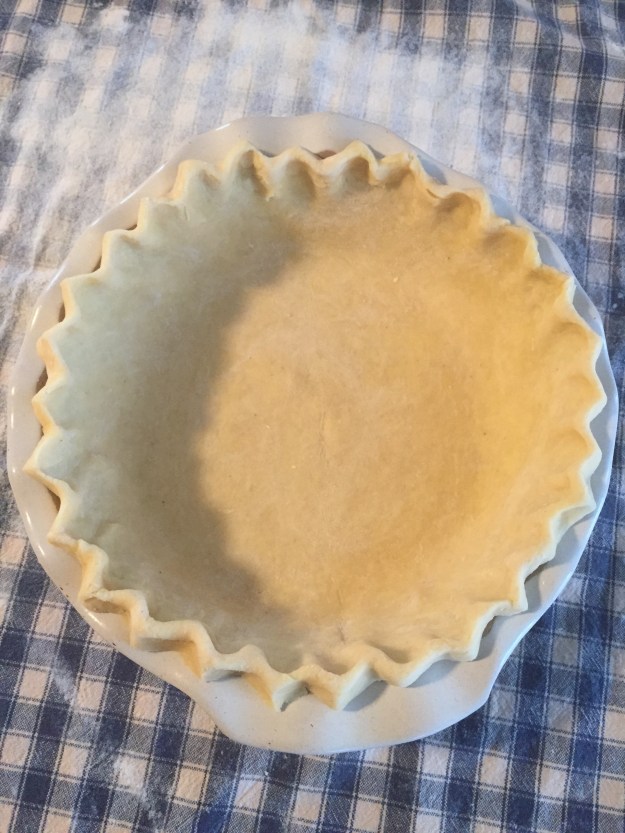
For it, I added 140g of unbleached flour to 4g of sea salt + 78g of butter and used my pastry blender to pulse it up. Added 2.5T cold water and blended it a bit more until it formed a ball. Rolled it out and formed my crust.
 Baked it for about 1 hour and 5 minutes at 350°.
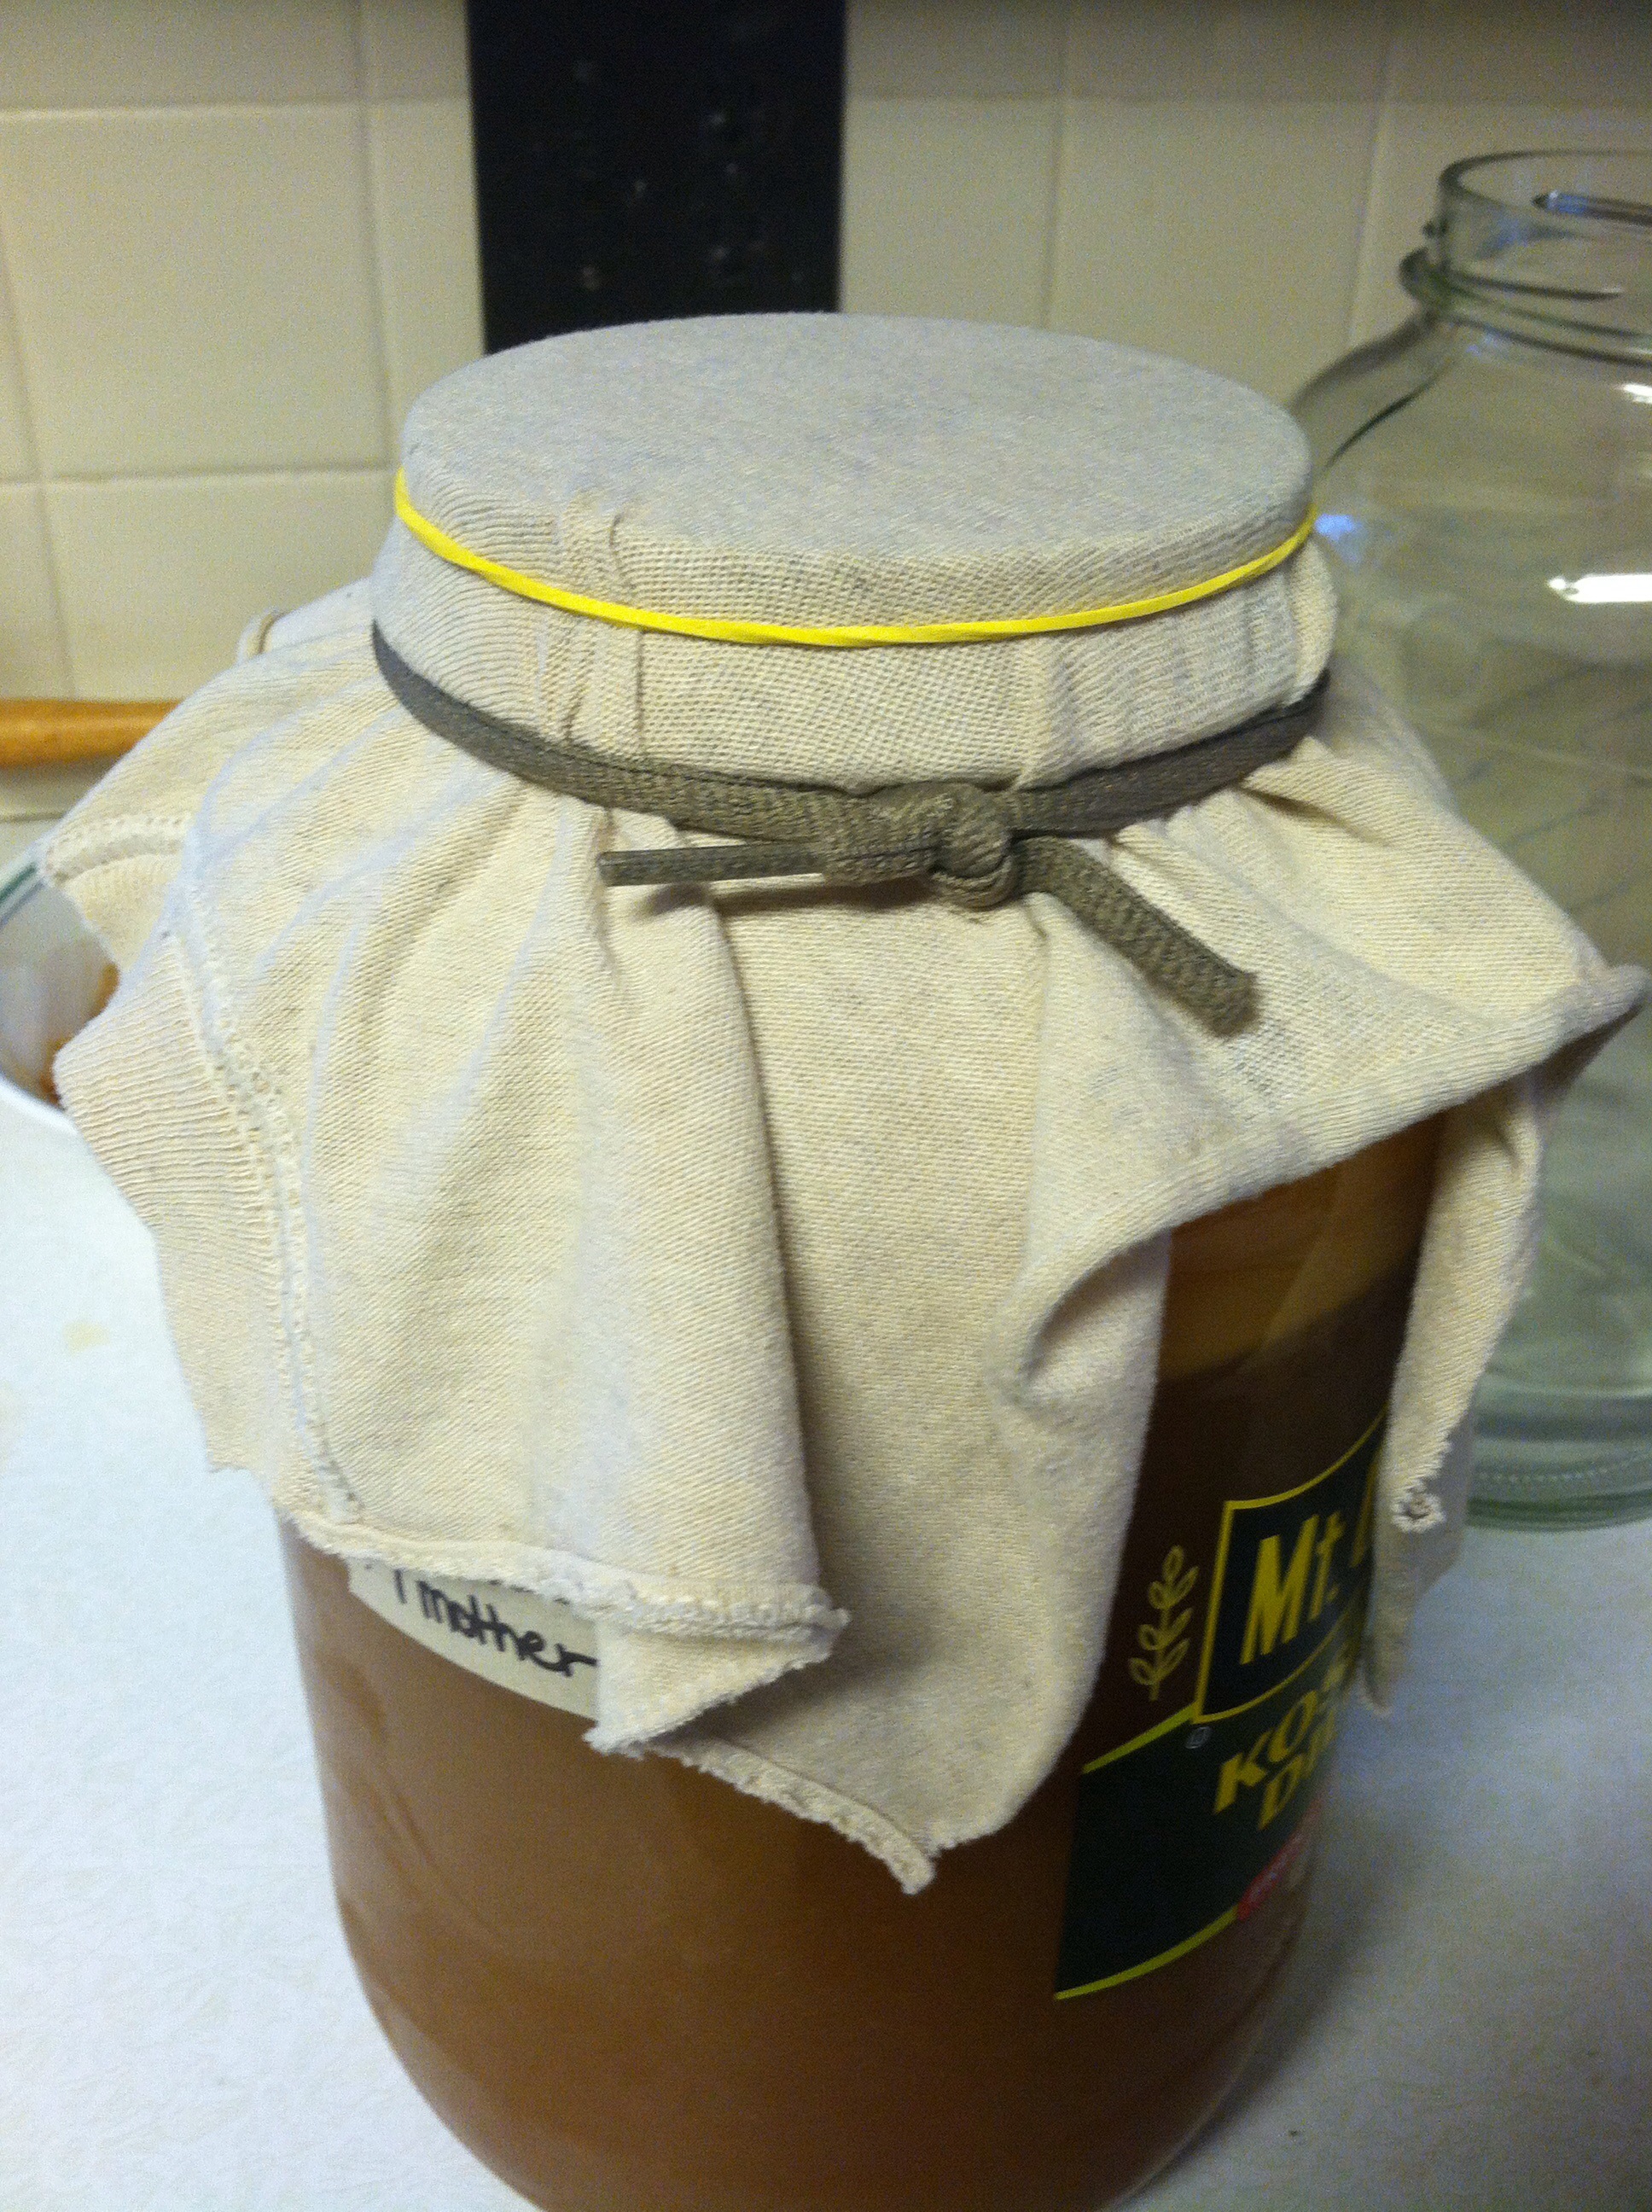
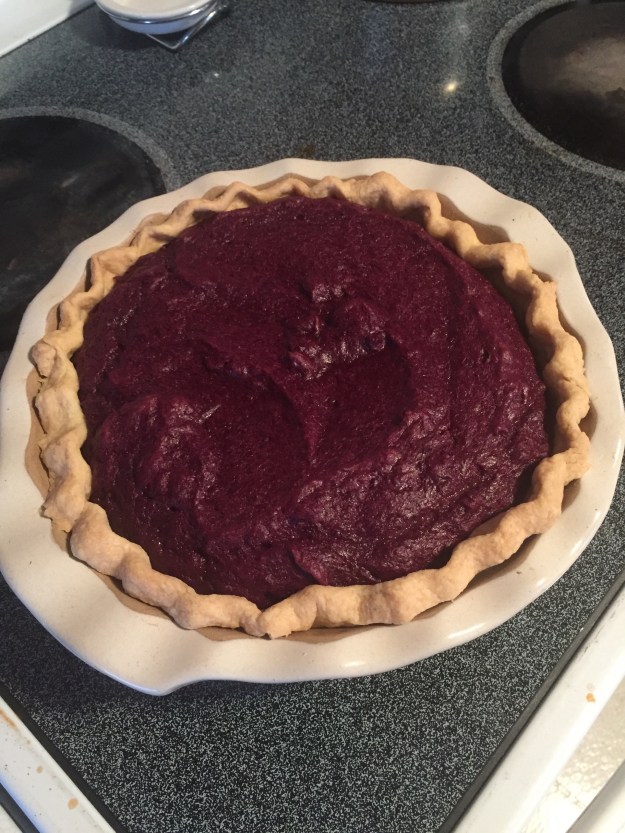 And here you can really see the purple vs. blue color next to this blue lid…😉
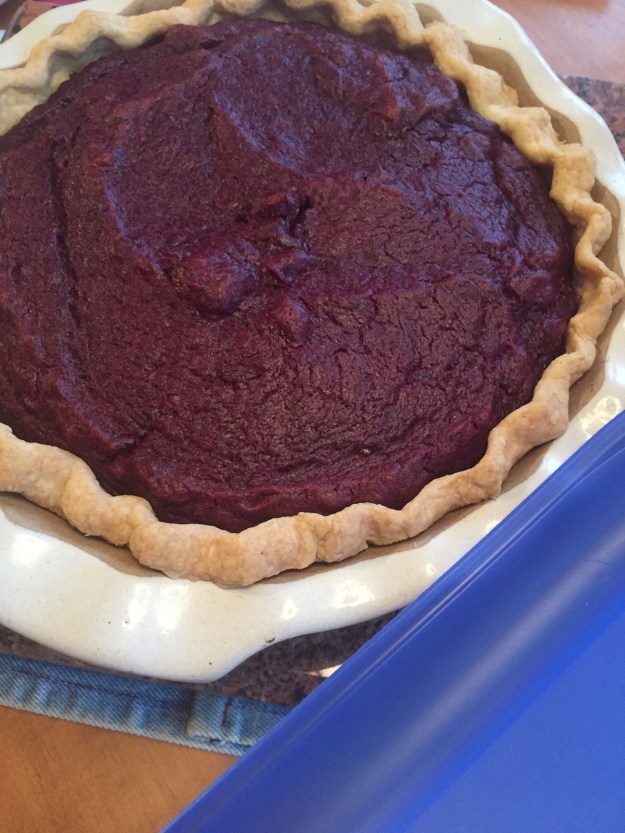 Tasted great and was fun to celebrate Mom’s birthday with this pie!❤️

 Thank You, Lord, for the gifts of family, friends, harvests, sharing, and celebrations. You weave everything together in amazing ways…Amen❤️
One of our homemade Christmas gifts this year was partially baked, frozen cinnamon rolls. Worked well for those family/friends who live close. It was a fun experiment that my boys were VERY happy to be taste-testers for… 🙂
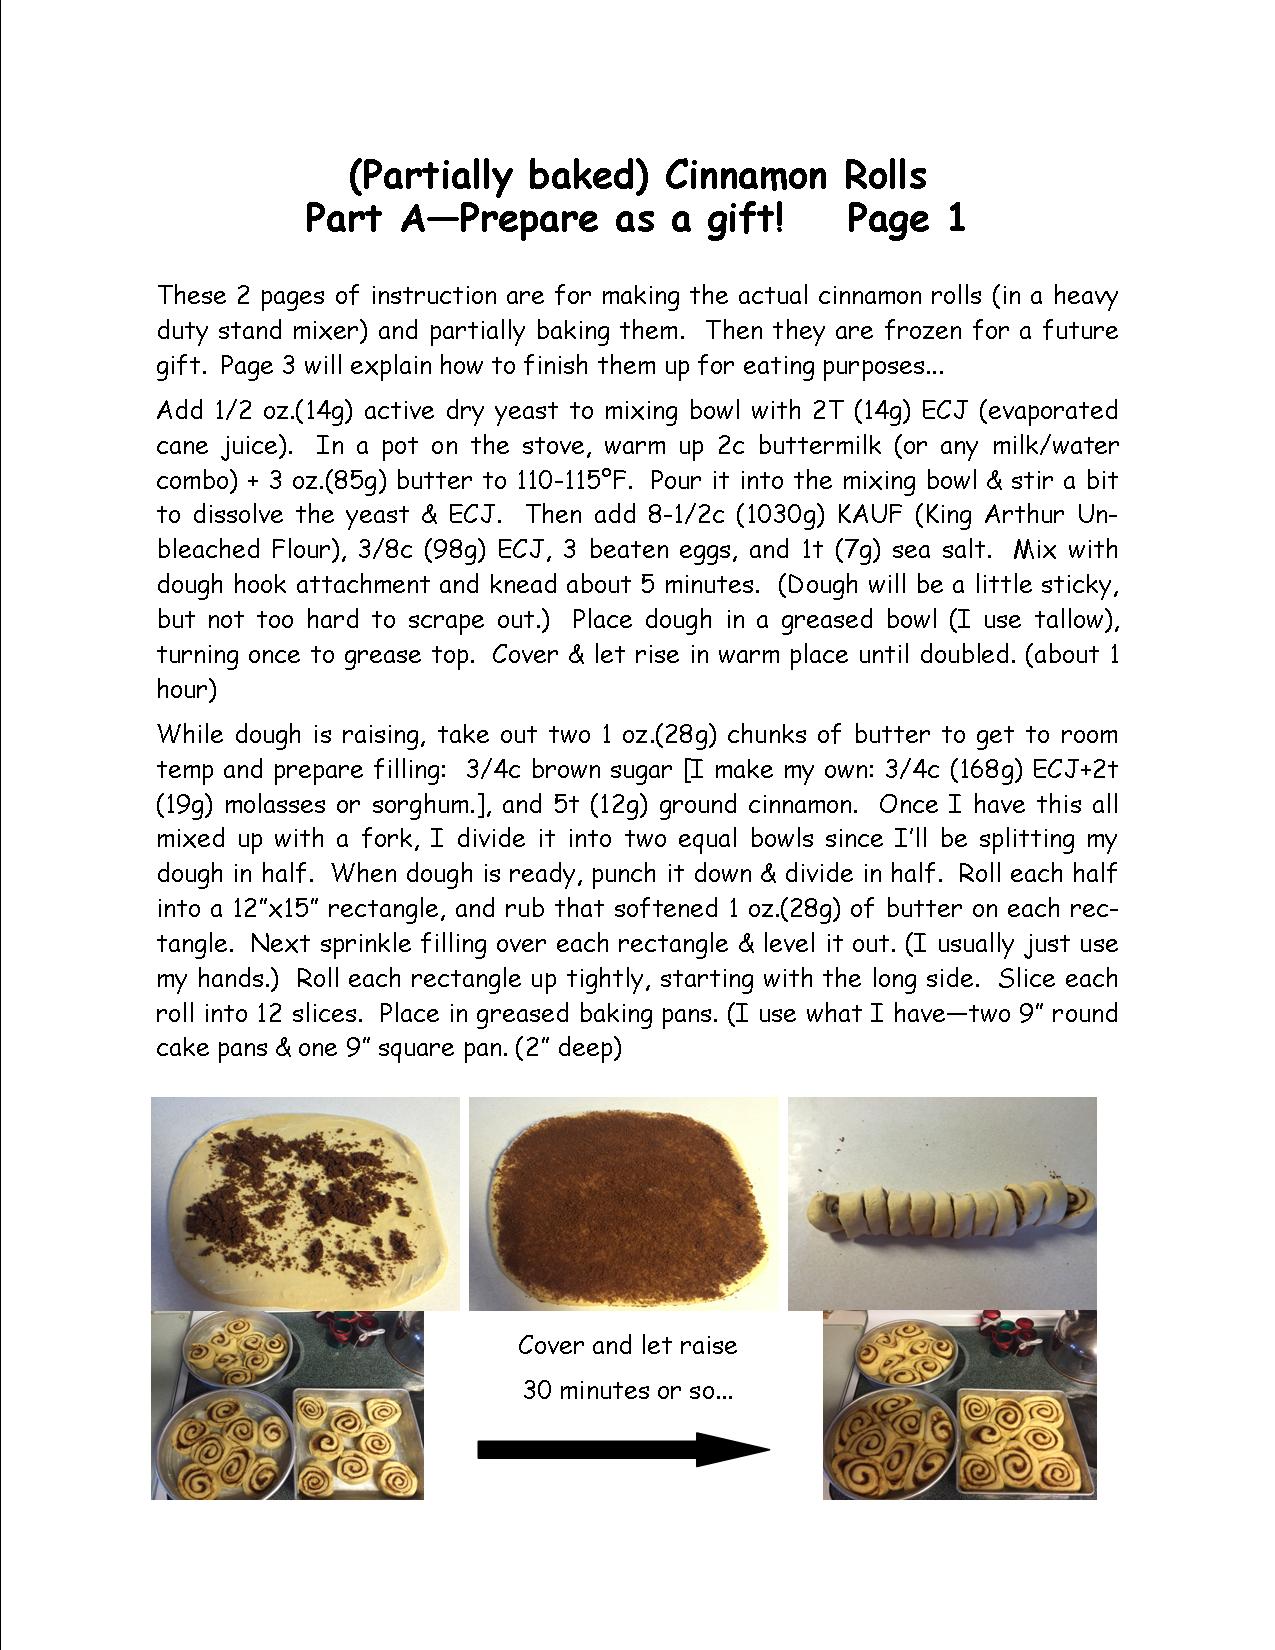

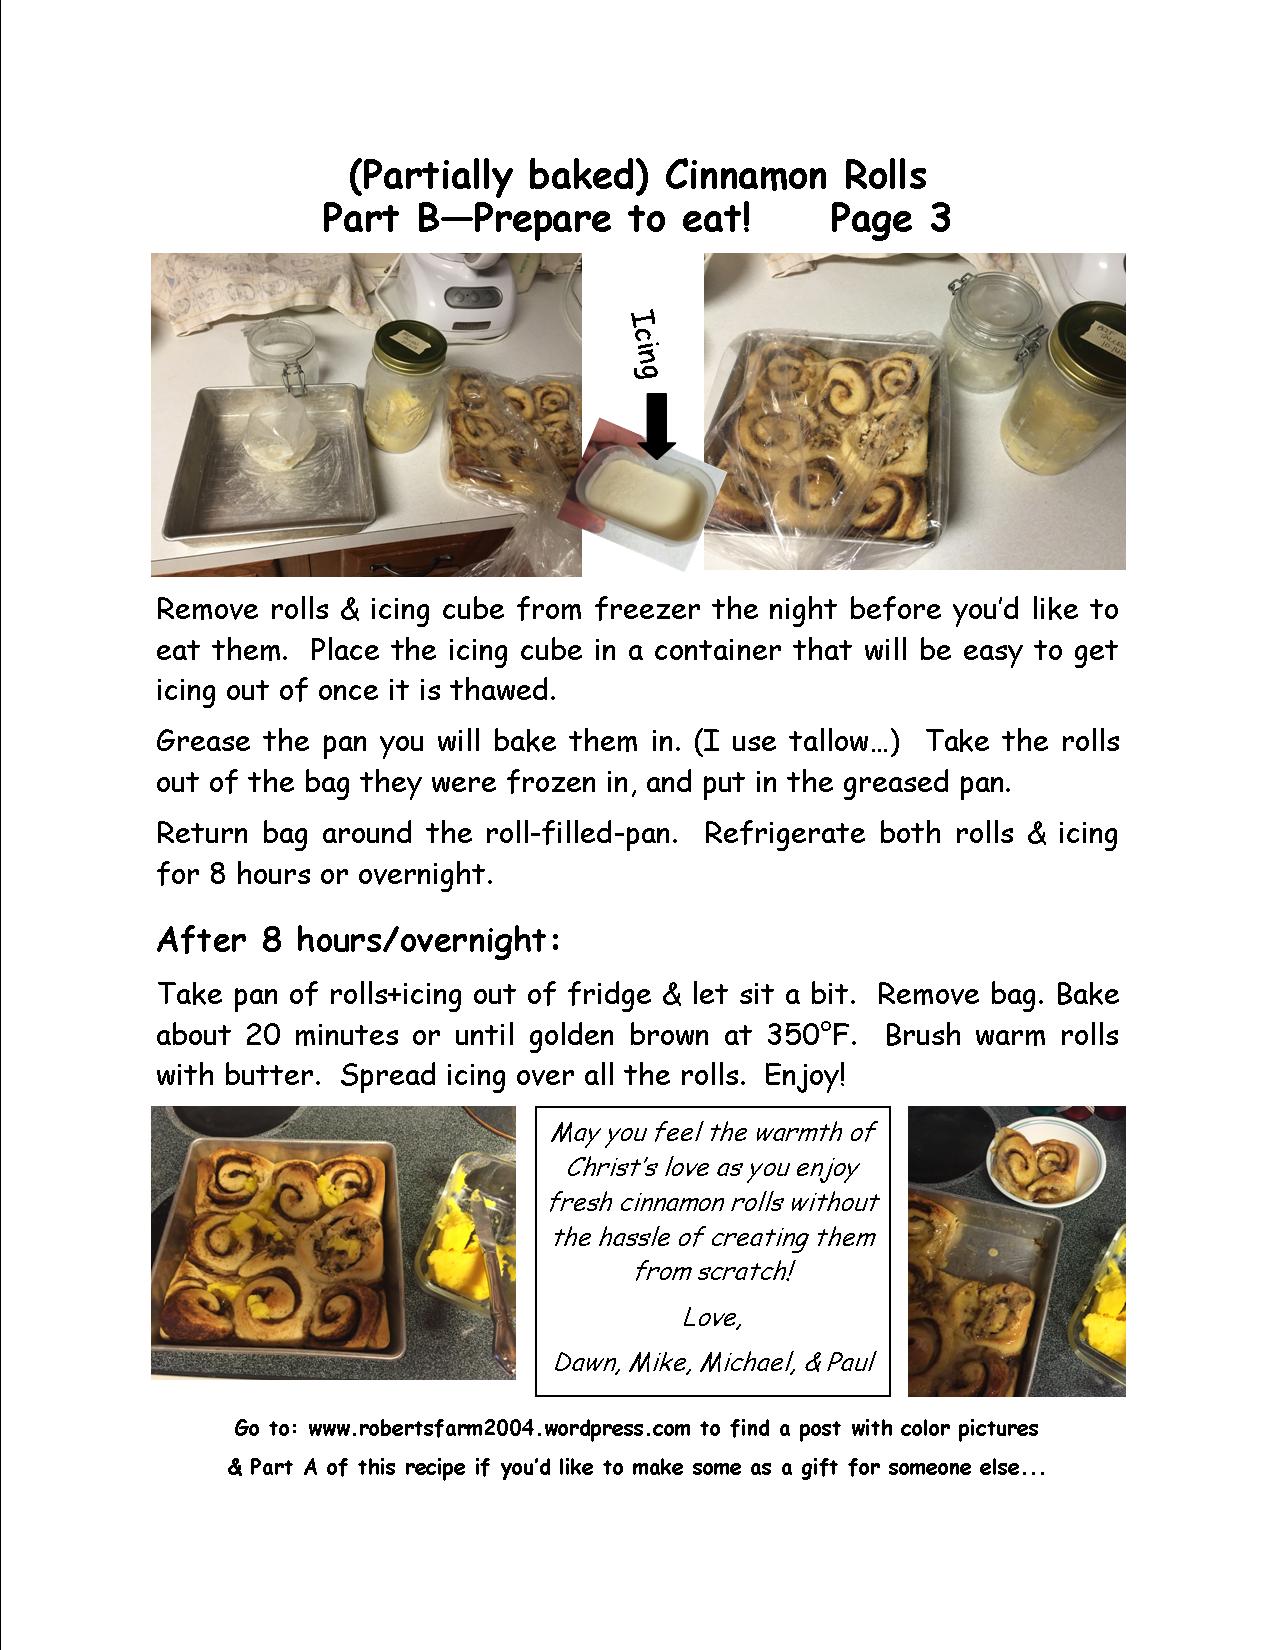
The link below is a pdf file with our 3 pages of instructions.
Used up our last quart of broth last week, so its time to simmer another 4 roasters of broth. As I was straining the first two batches of broth on Monday, the strangest thing happened. All the bone marrow was STARING at me! I know, I know. I’ve seen it before, and I acknowledged it, but that was it. “Too weird. Not ready for that yet.” (I distinctly remember thinking that and even saying that to several people when it came up in conversations.)
And then it happened. Guilt. “Those articles (like this one and this one) you read a couple weeks ago DID make sense… And look at the marrow sticking out of those bones…” 😉
So, I did it. I took a narrow knife and scraped out the marrow. Whisked it [now I blend it in my blender with a cup or so of extra broth], poured it back into the broth, and whisked it in… Funny thing is, I KNOW bits of marrow have fallen in it every time I’ve made broth. But (for me) there’s just something about taking the effort to actually do it on purpose, lol… 😏
I feel like that’s what happens in my walk with the Lord, too. I can be sooo stubborn. I get into my “autopilot” mode and completely miss the open door in front of me. Or worse, I see the open door, but choose to do what I’ve always done, and miss an opportunity to grow. The cool thing, though, is that EVENTUALLY, I catch on. Autopilot goes off, and I quit fighting change. It’s always hard to see just how much pride I still have in “my way”, but it’s so freeing to finally “see it”, seek forgiveness, and continue forward with a renewed spirit to let the Lord keep me off of autopilot. Thank You, Lord, for being patient with me. Keep making me more like You!❤️
Search me, O God, and know my heart; test me and know my anxious thoughts. Point out anything in me that offends you, and lead me along the path of everlasting life. (Psalms 139:23-24 NLT)


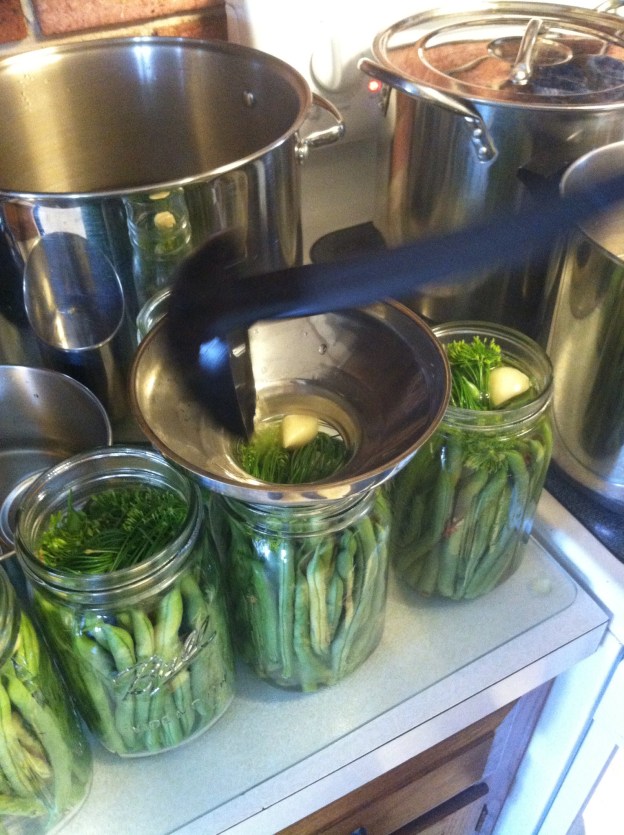
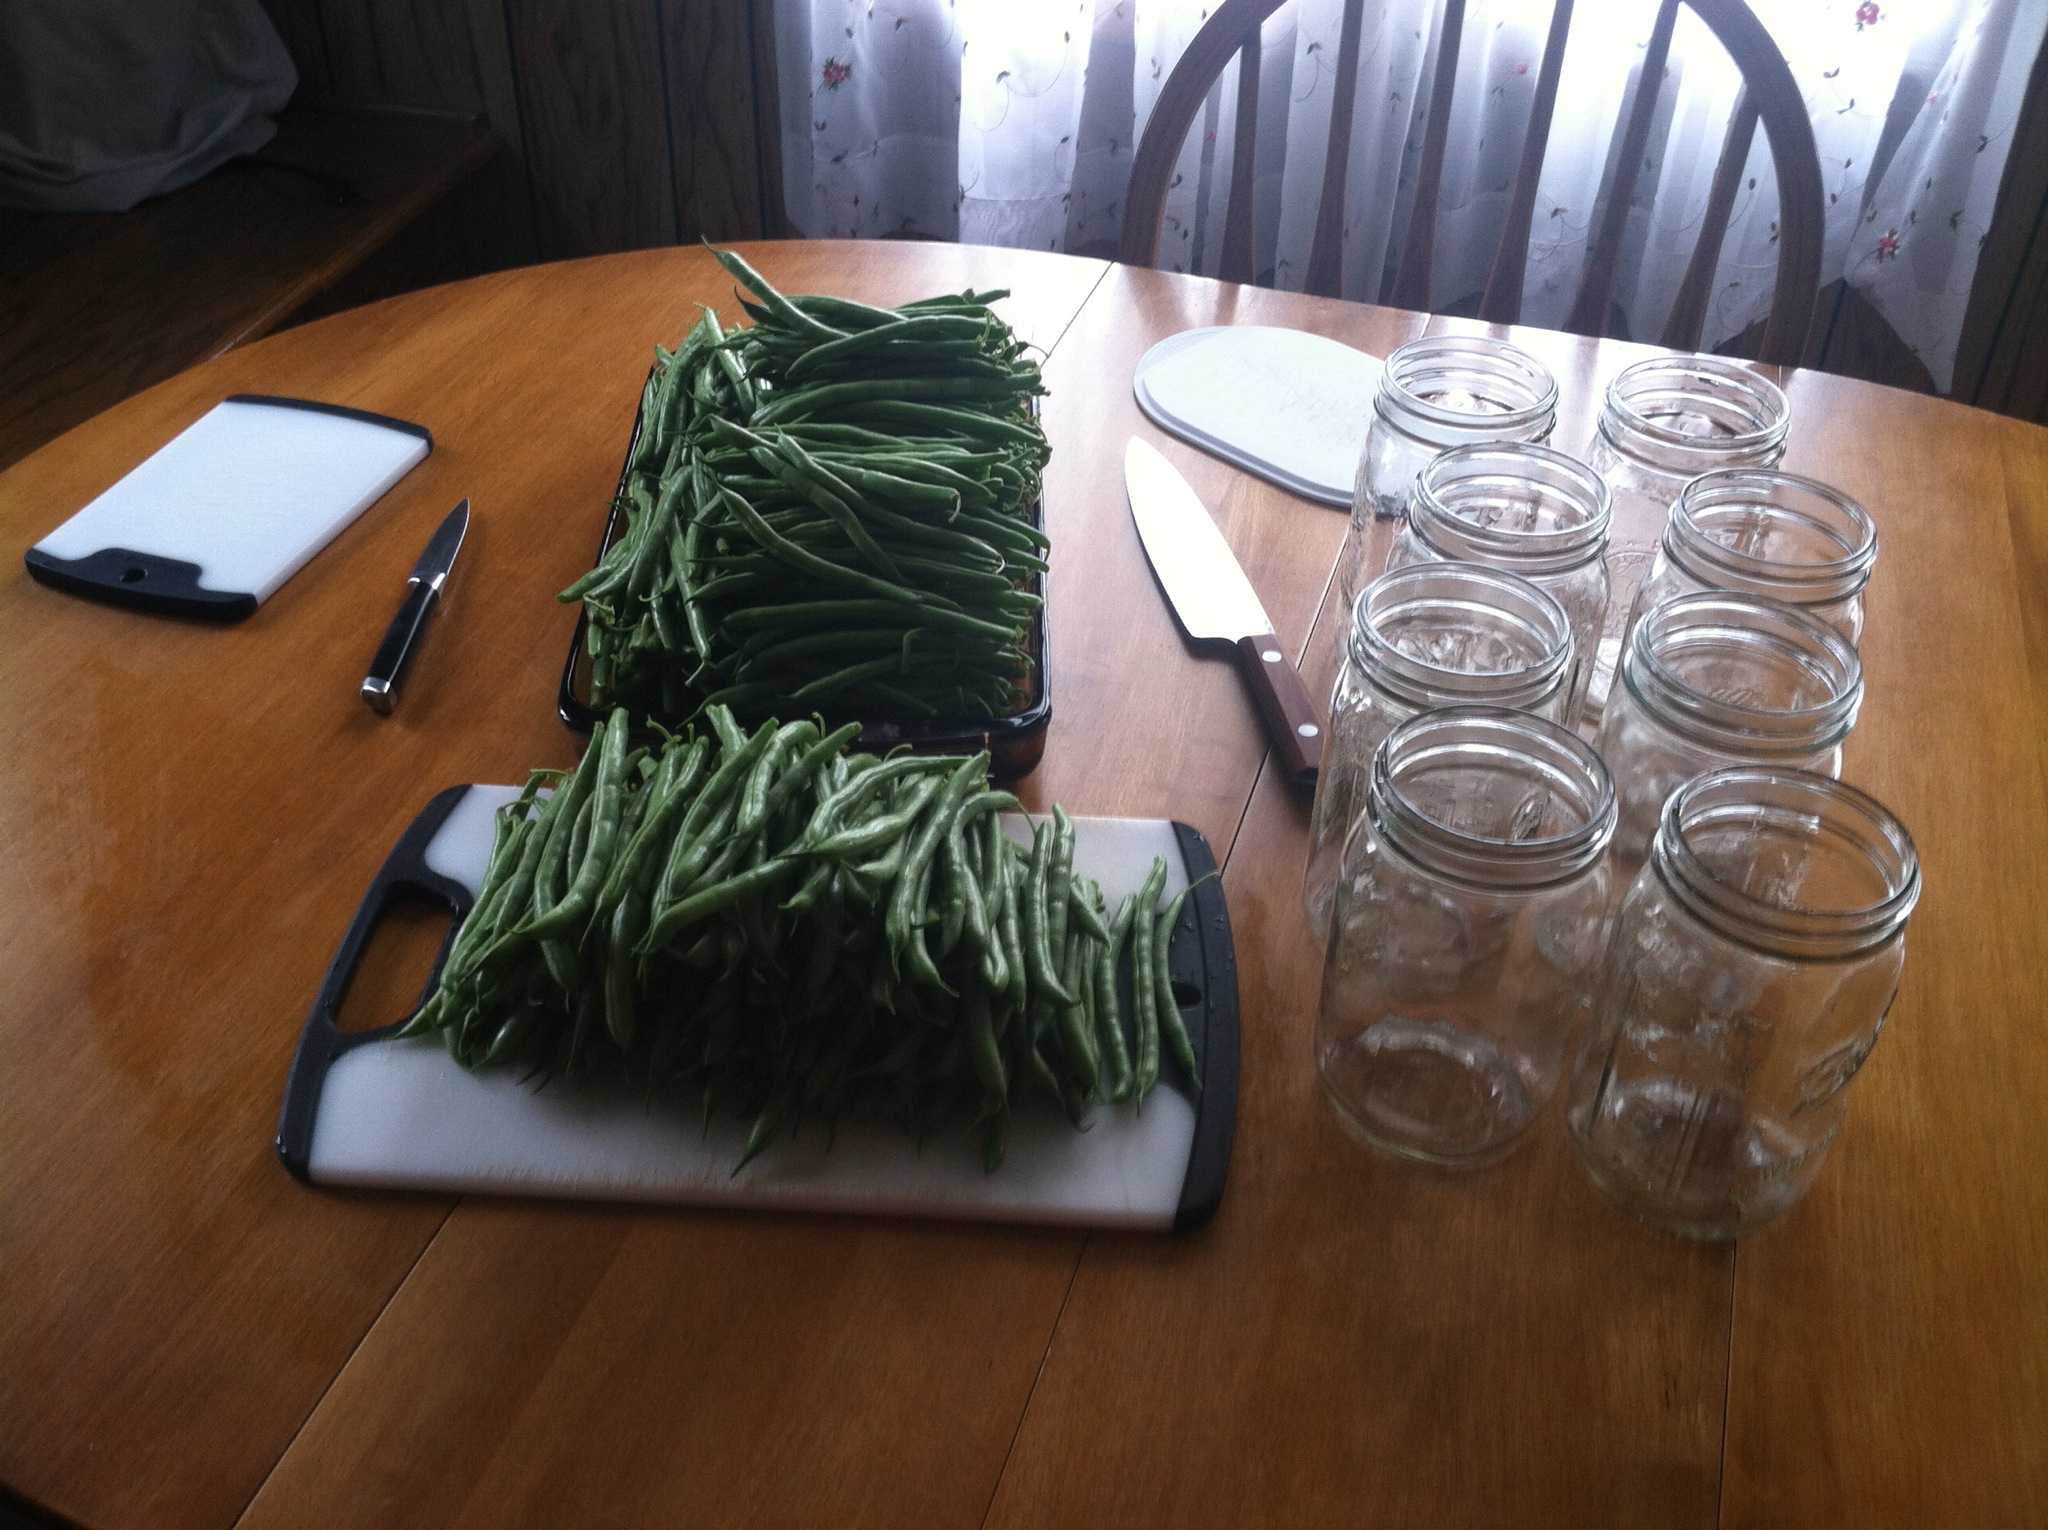
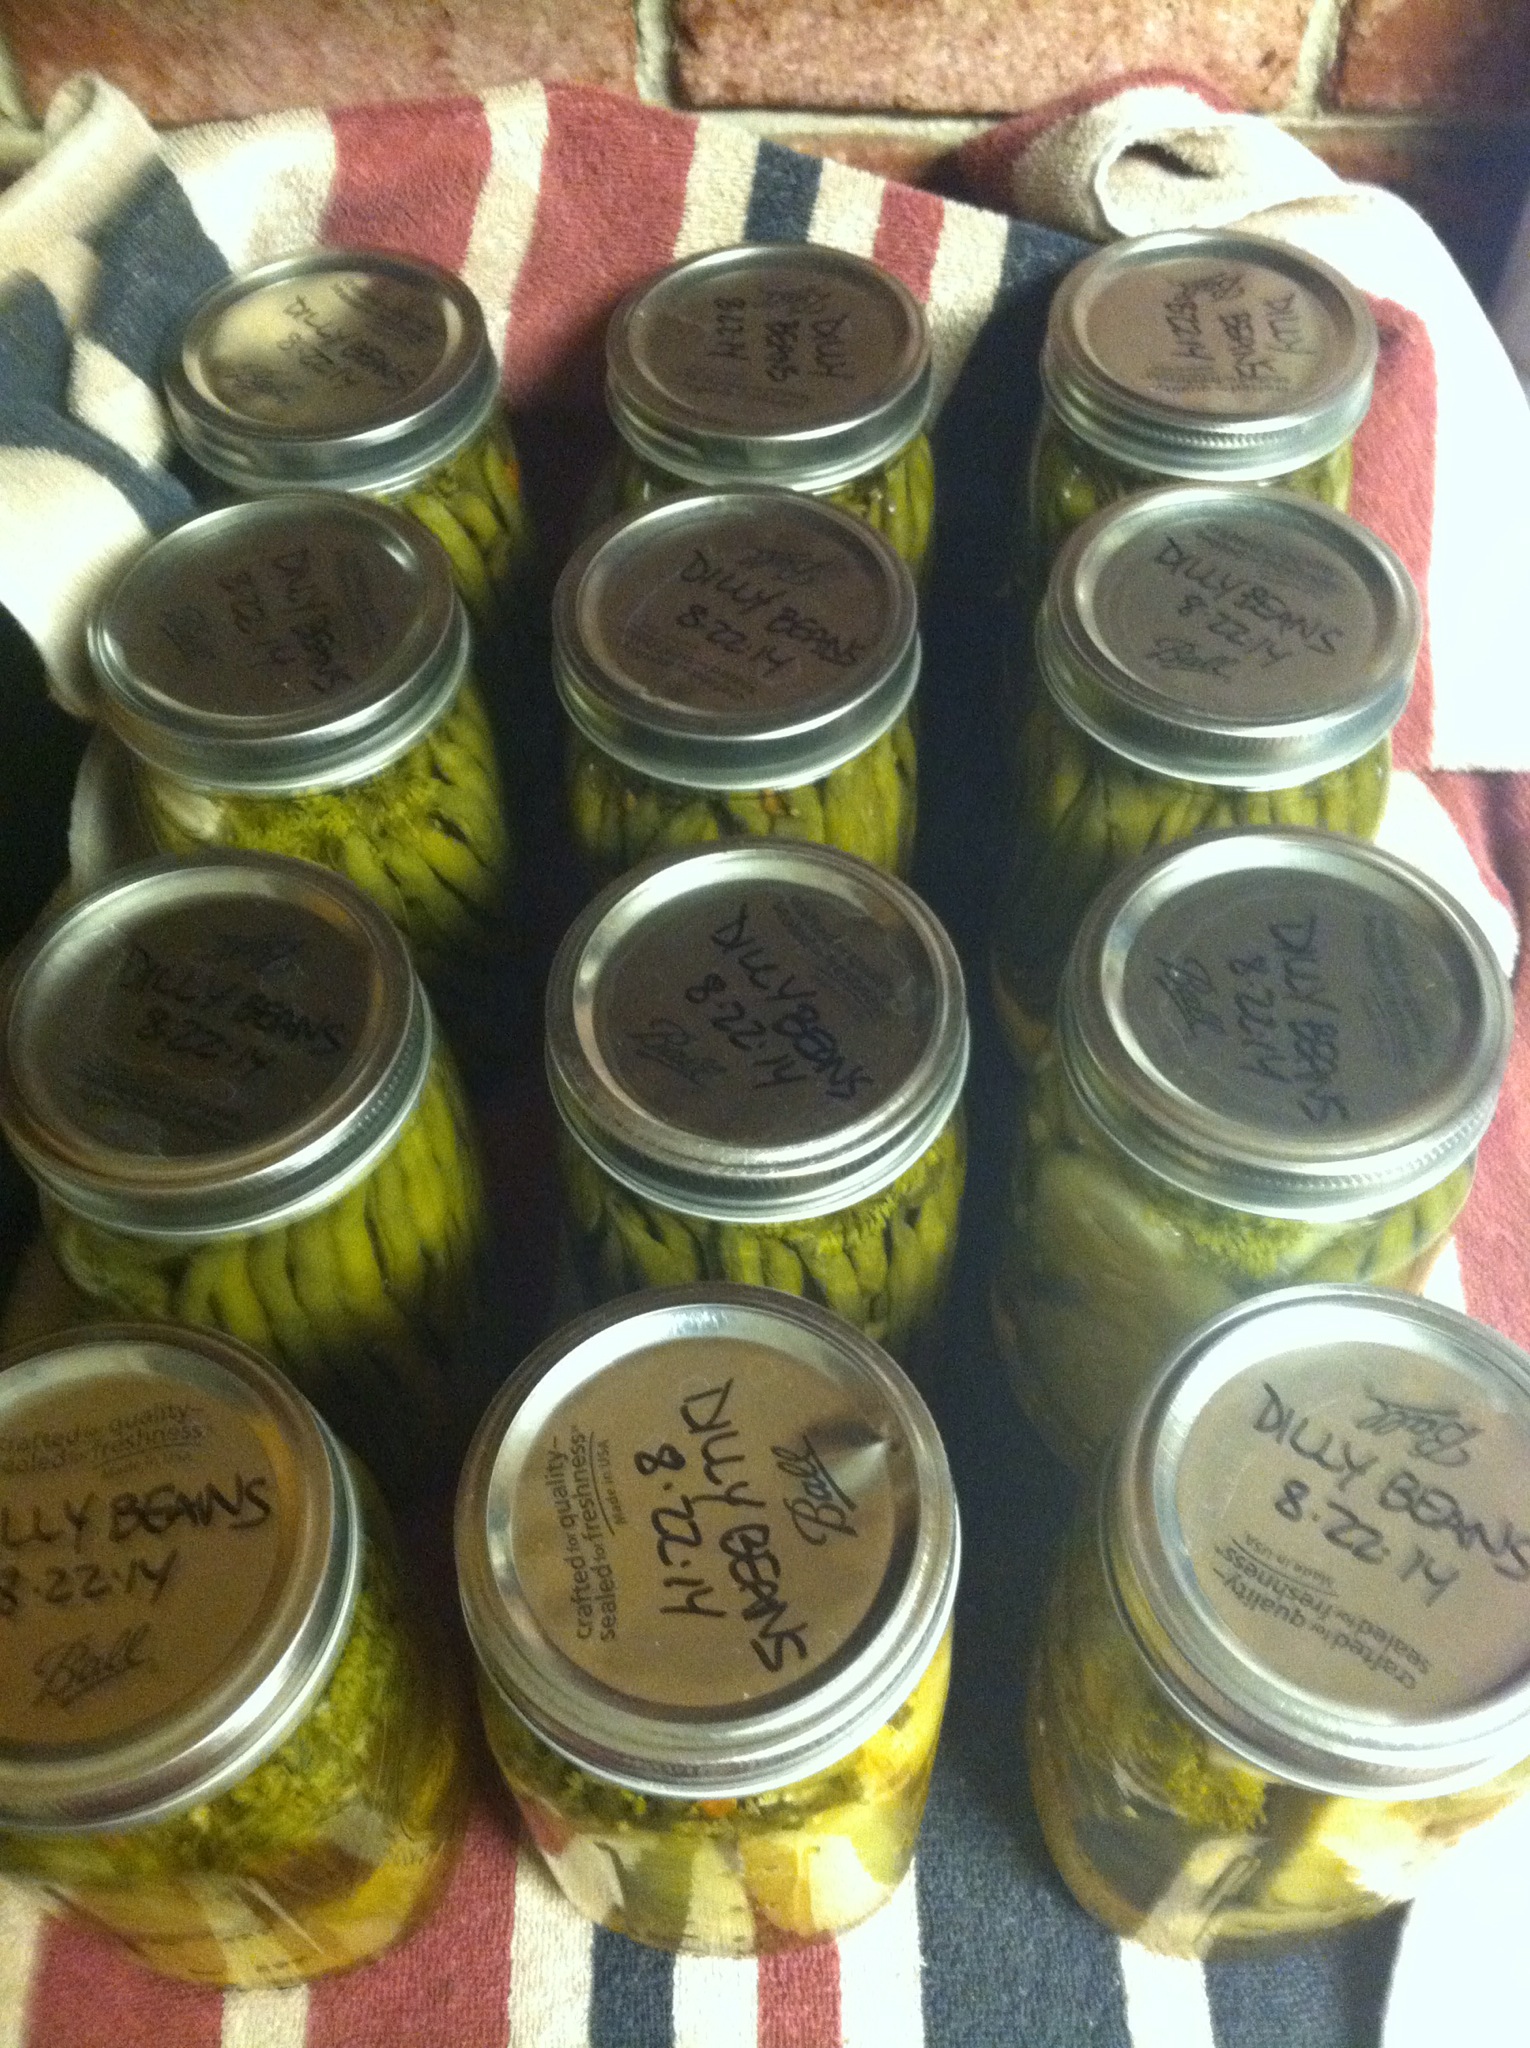
We all worked together yesterday to make a family favorite – dilly beans. They are basically green beans that taste like spicy/dill pickles. They are pretty labor intensive to make, so a cooperative effort is much appreciated. I actually thought I had already done a blog post about them, but a search proved me wrong. So here goes… 👍
We set aside about 7 pounds of the straighter beans as we picked to can or freeze – they fit down in the jars better… (I like the bean tips to all be up so it’s easy to pull them out of the jar.)
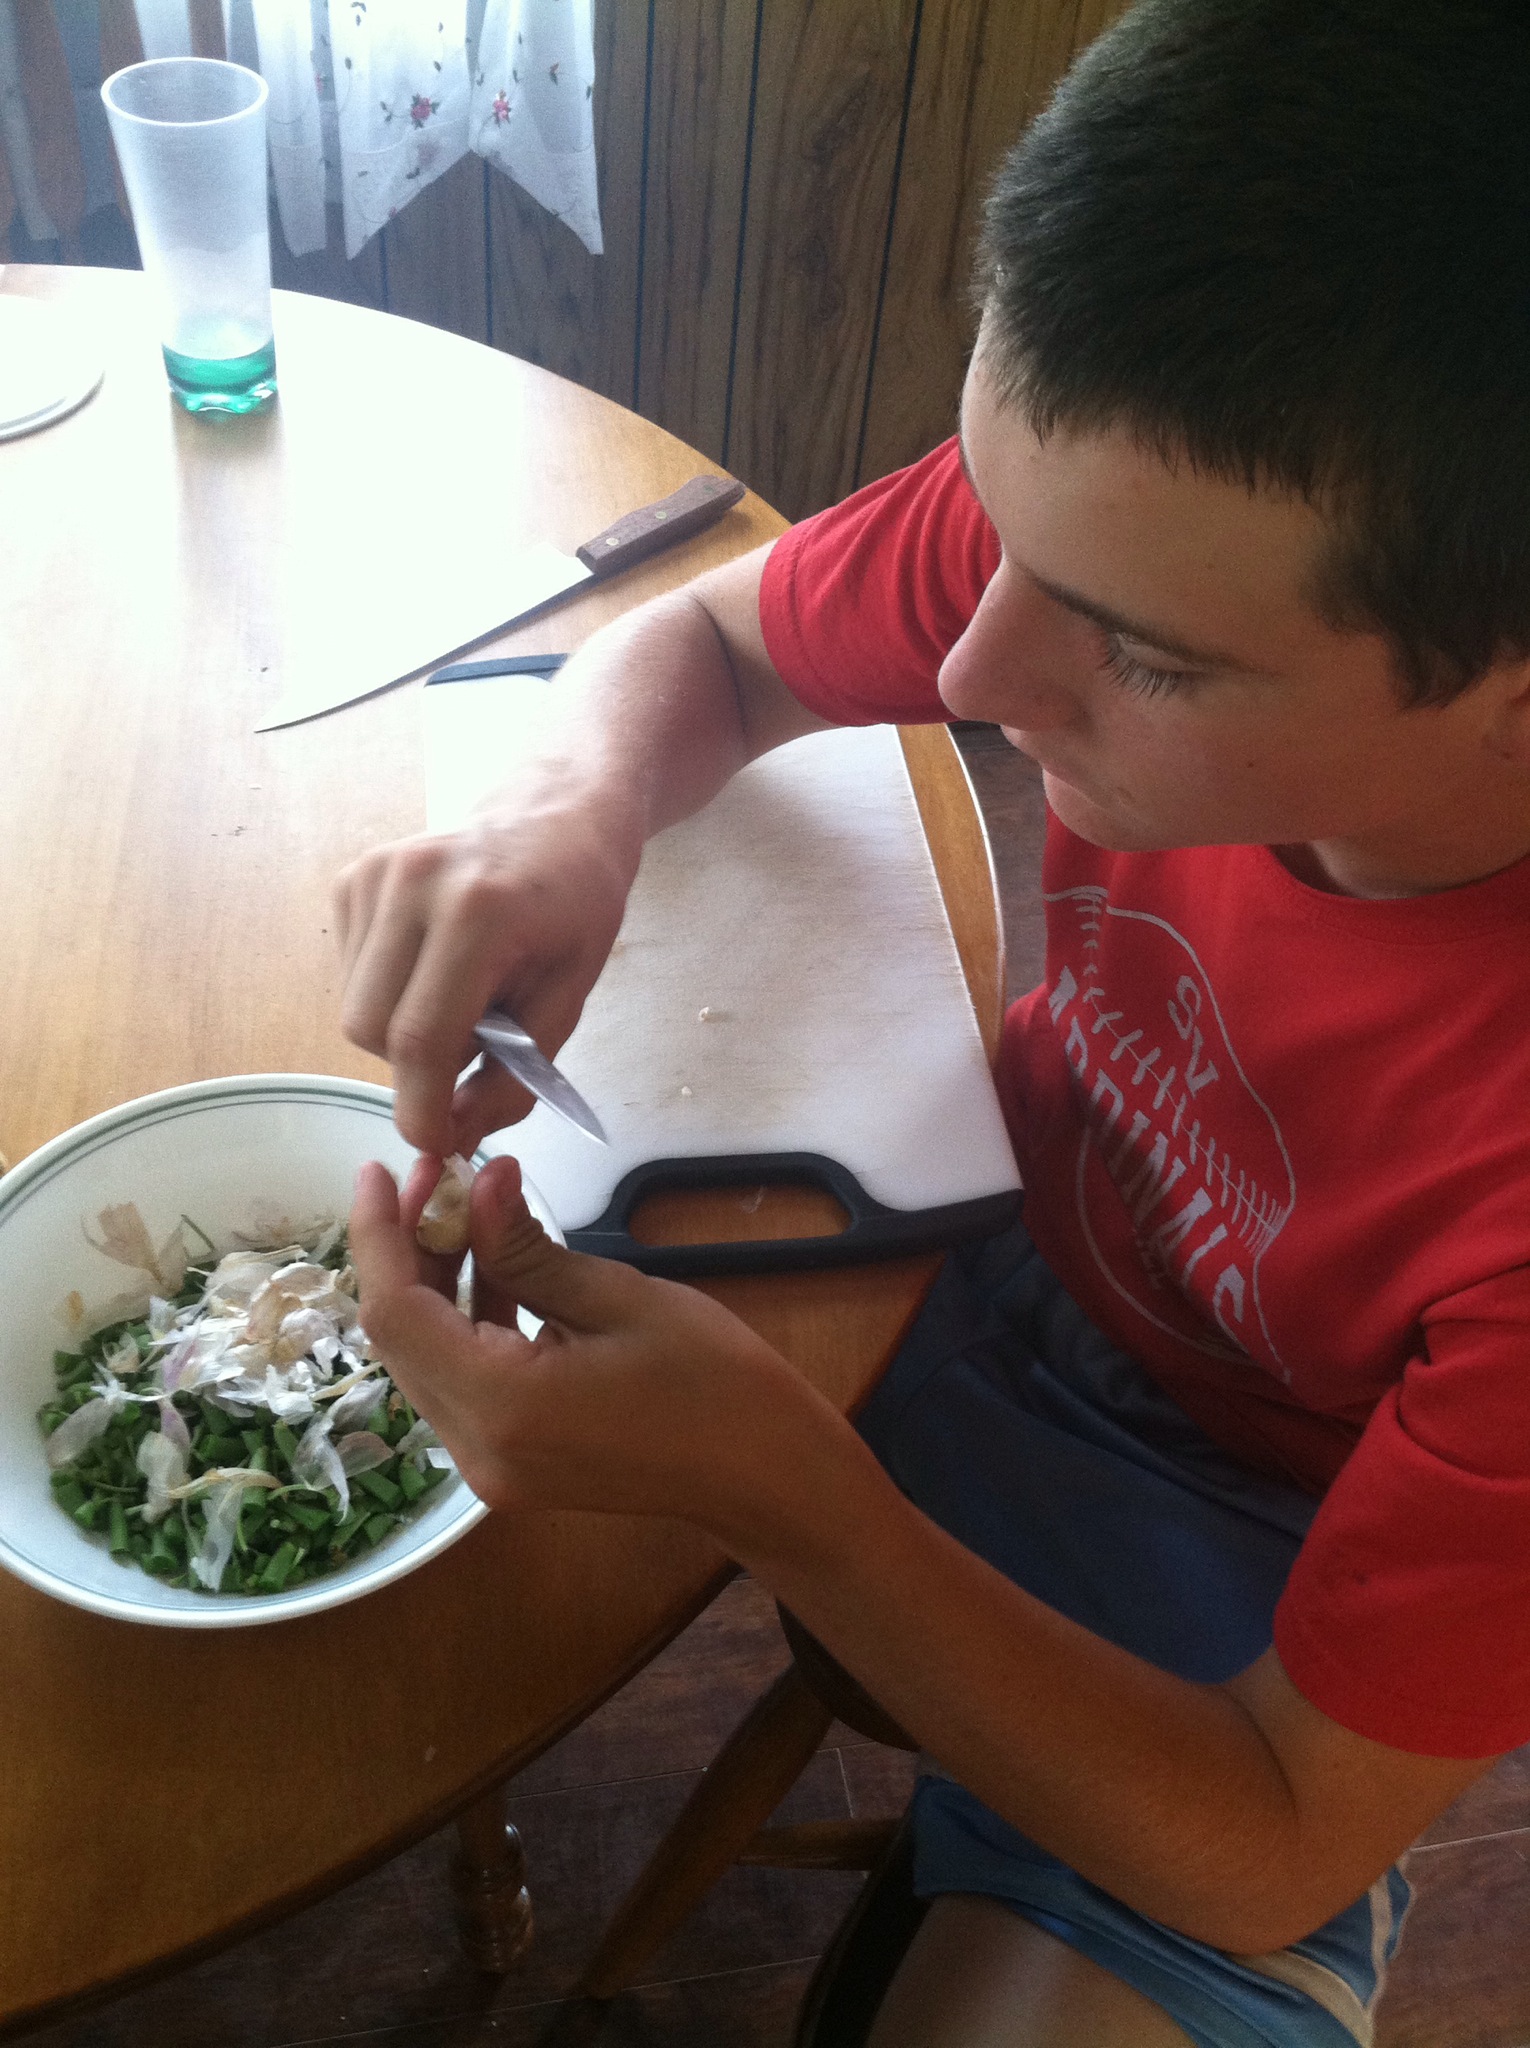
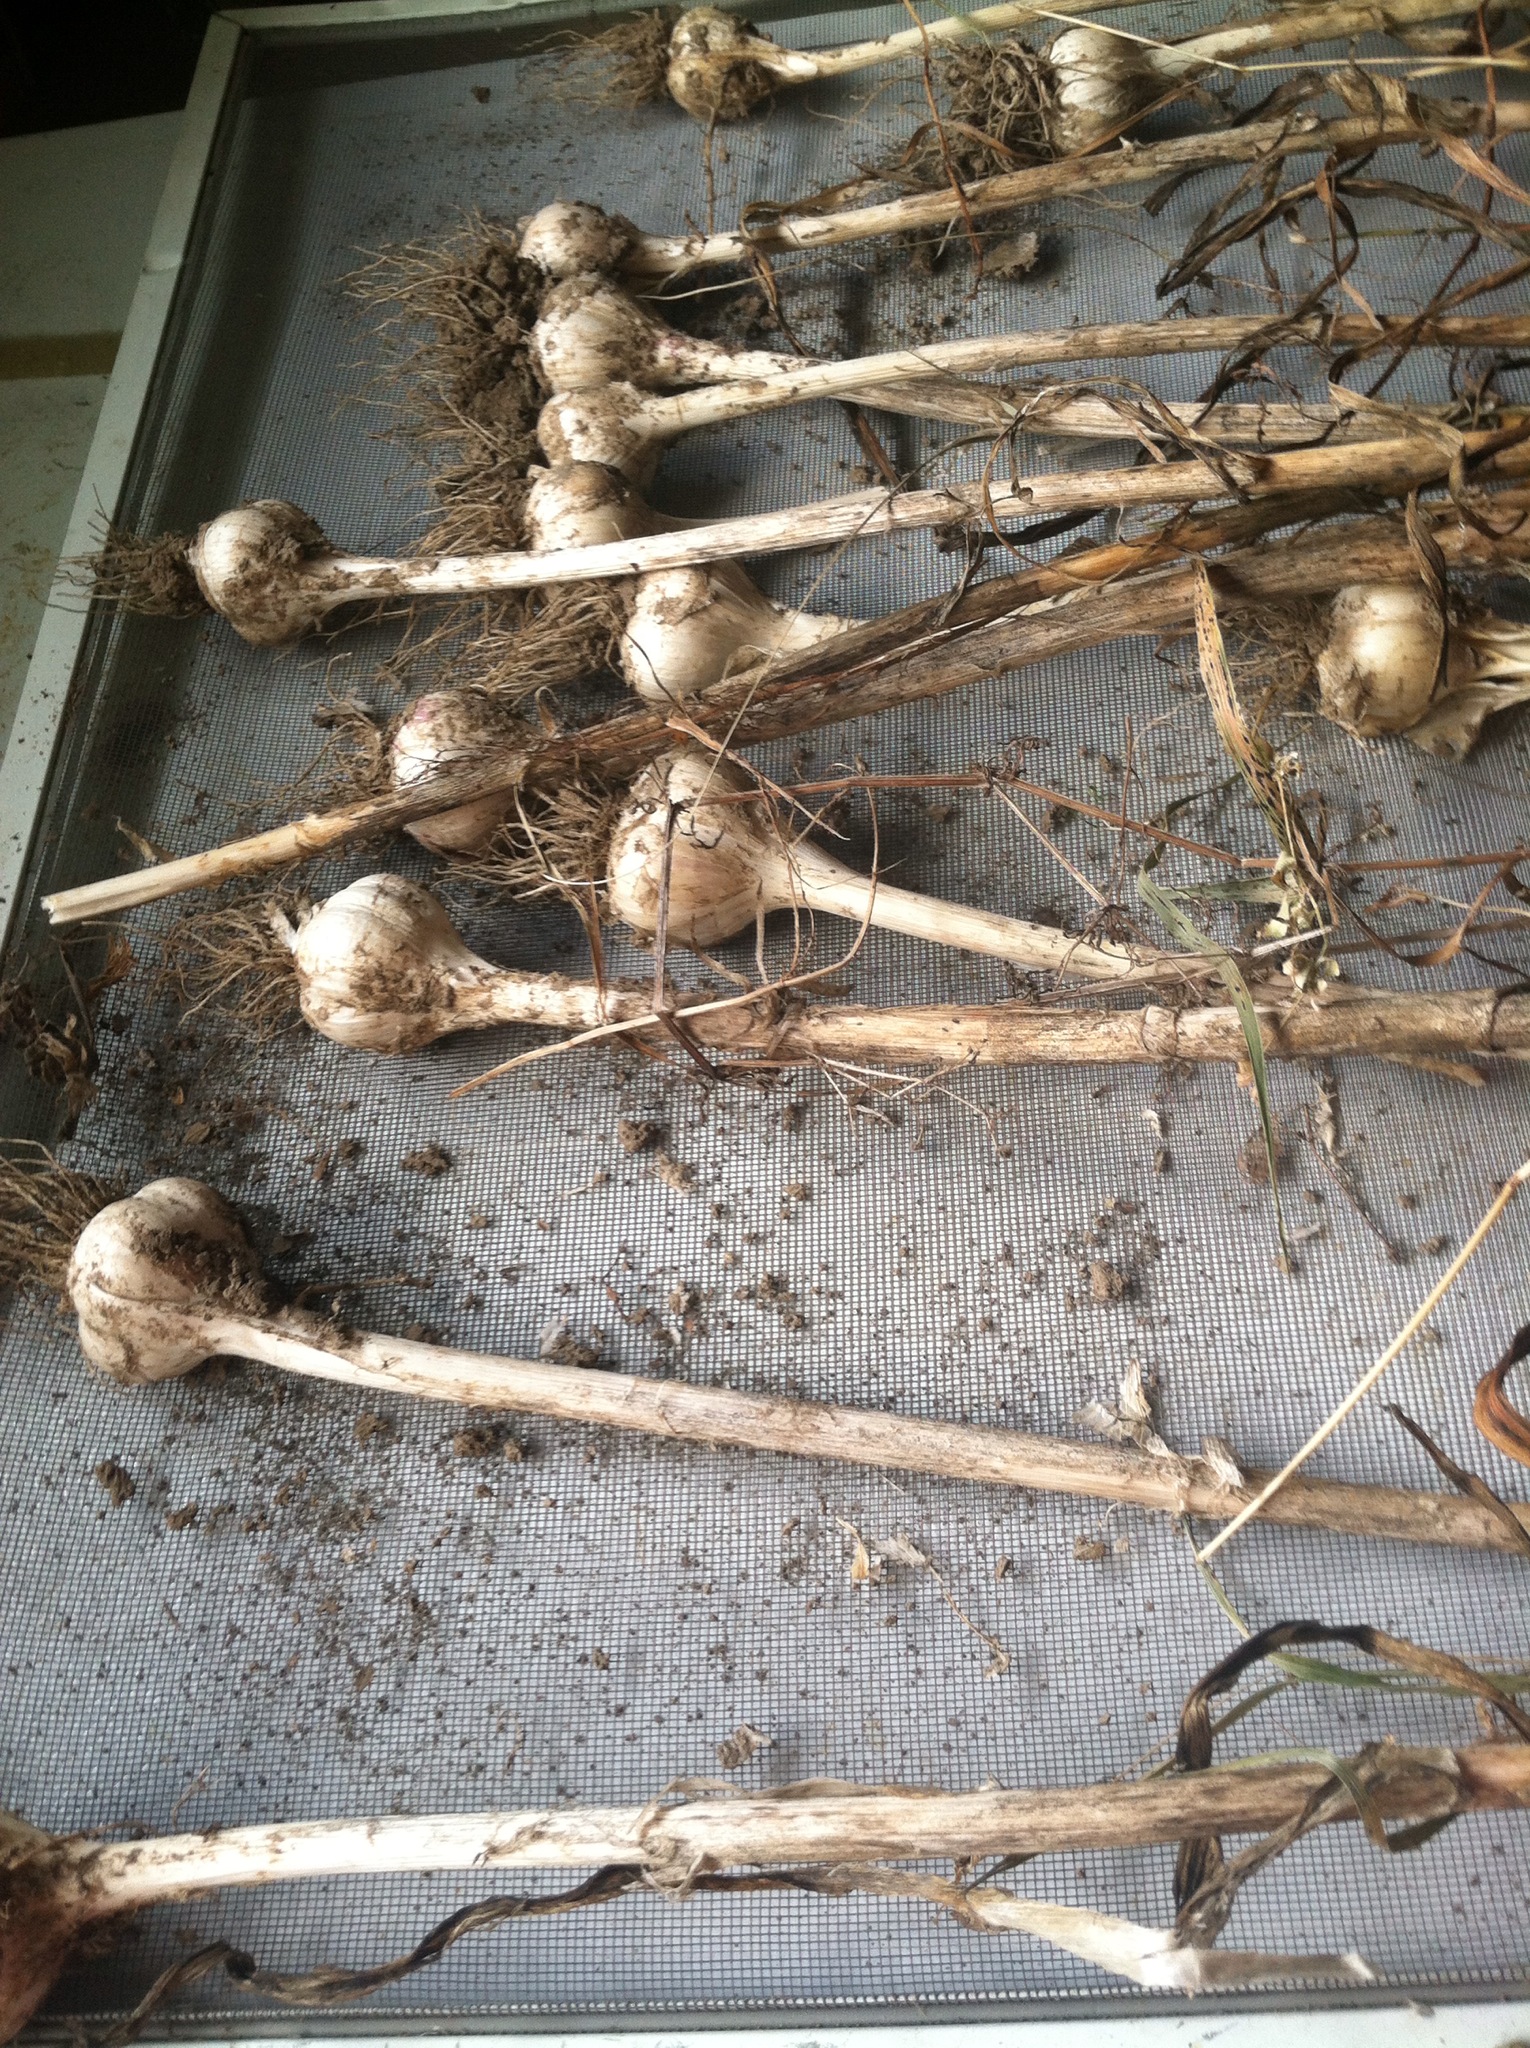
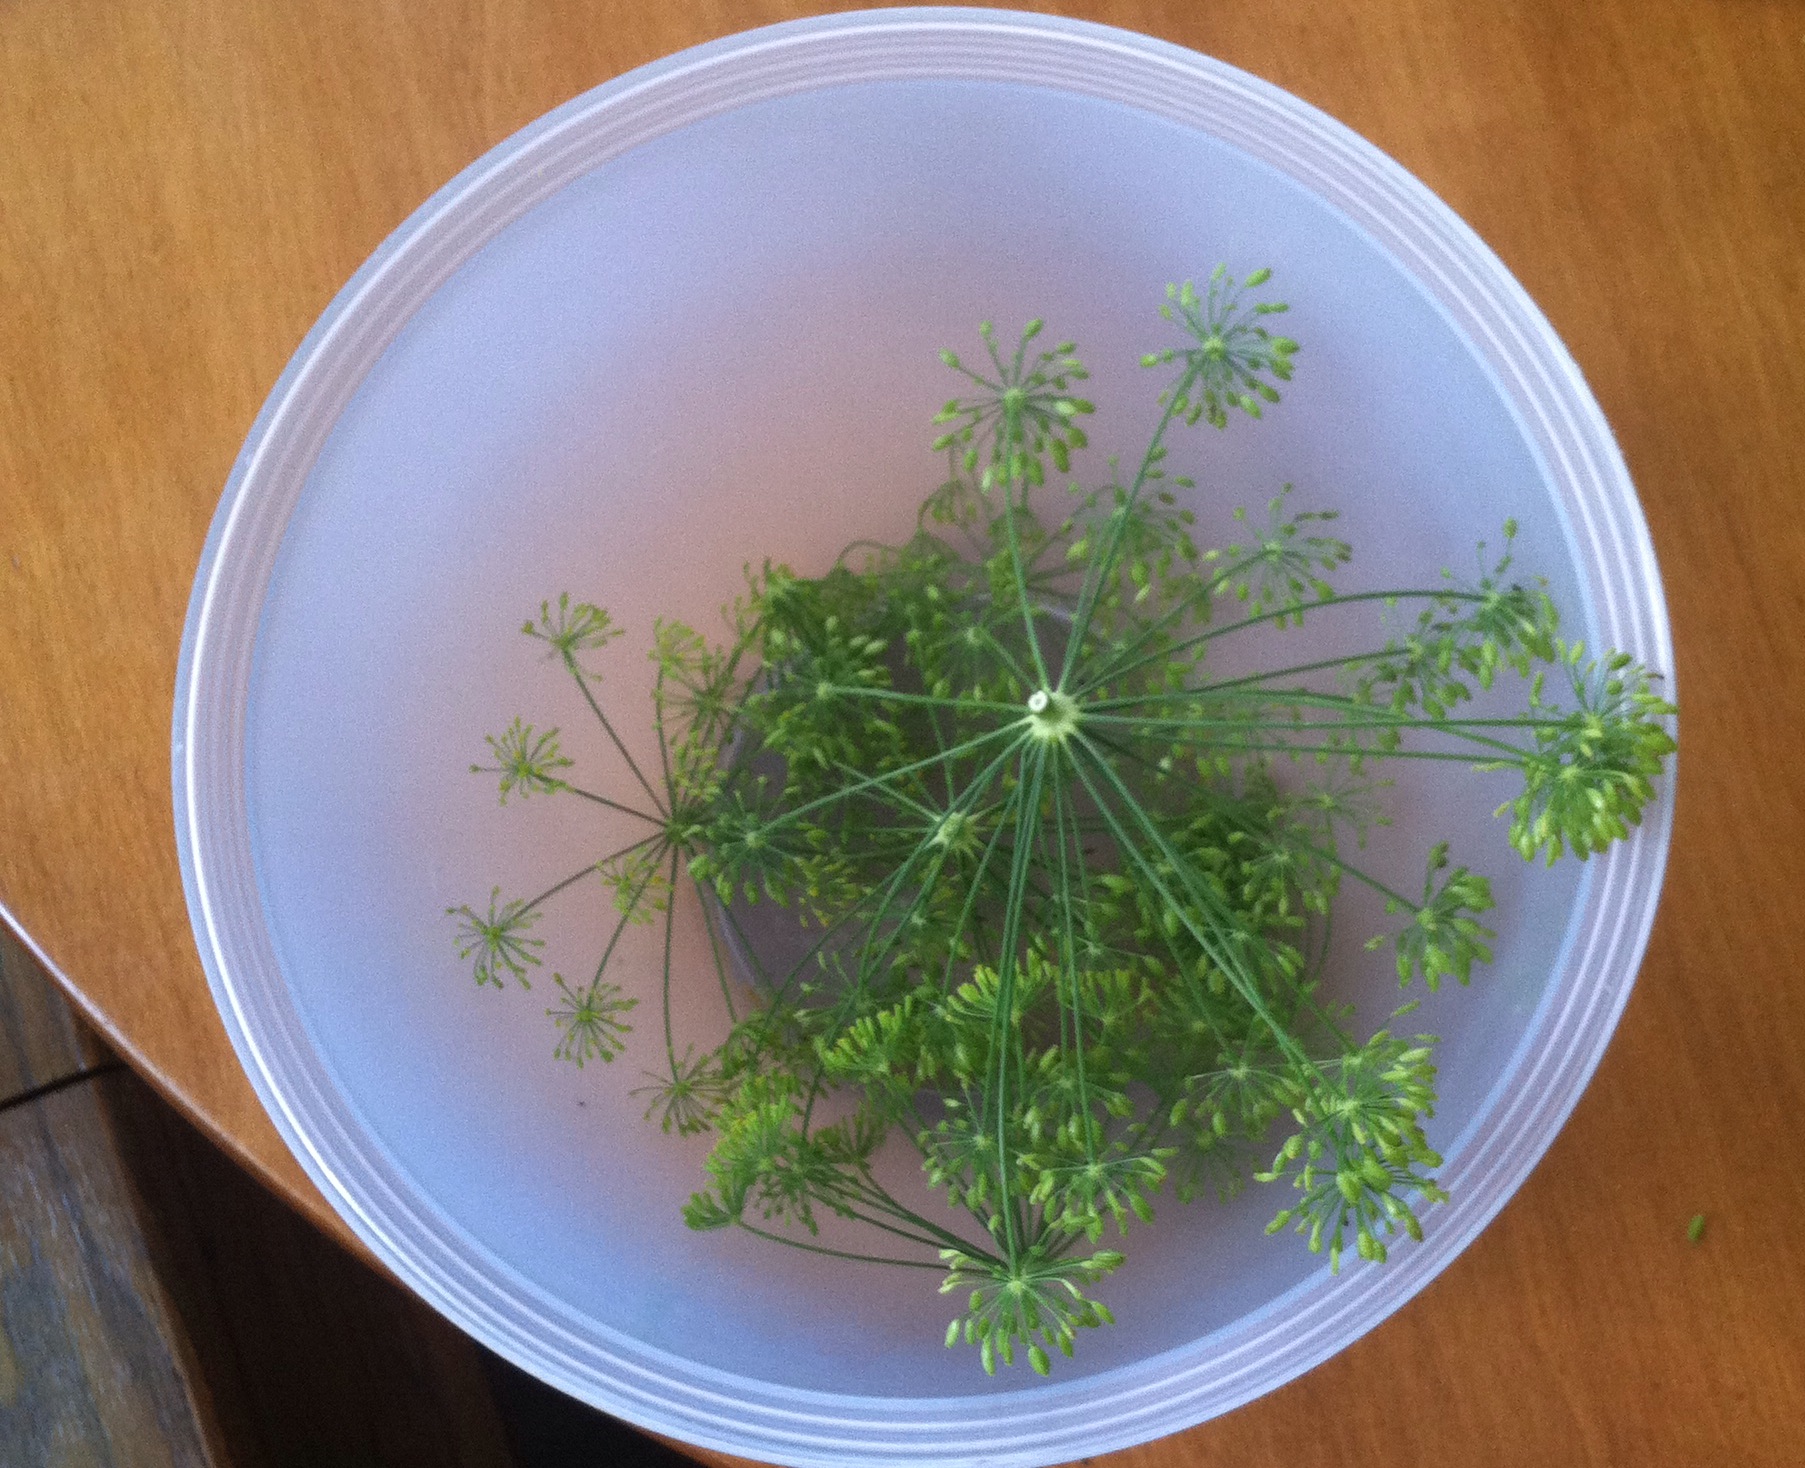
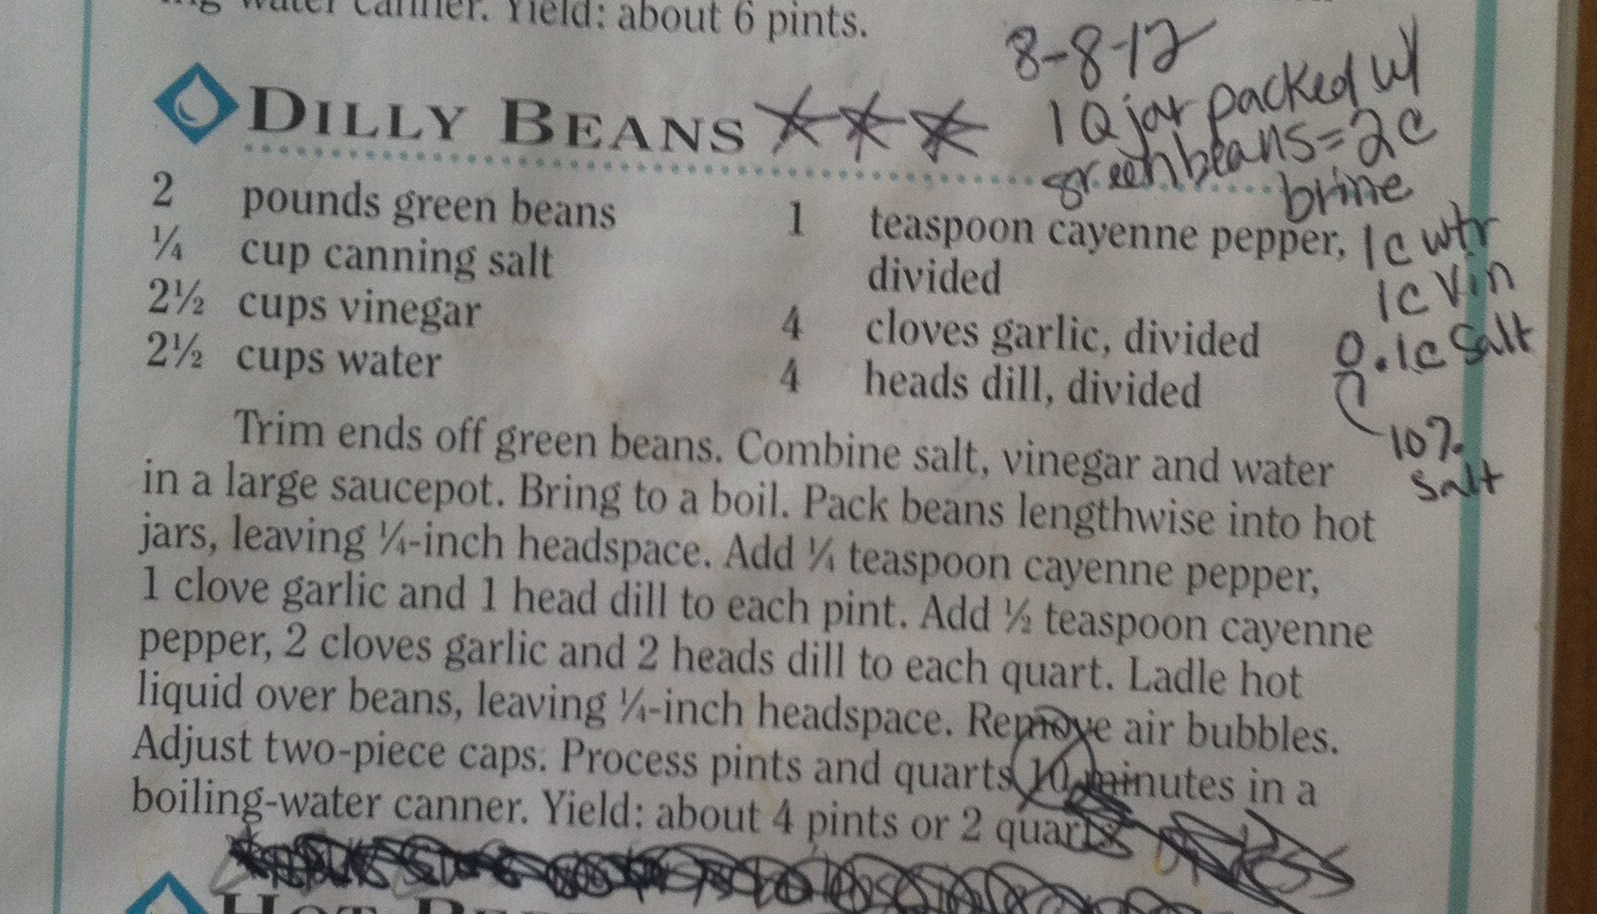
Once filled with beans, we added a clove or two of our garlic that has been drying. (It’s pretty potent, so we didn’t put the full amount of cloves in as the recipe says.) Paul went out and picked some of Grandma’s dill heads to add – 2 to 4 heads/quart. Then we added 1/2t of Michael’s ground hot peppers. For the brine, we heated up 3Q+1/2c of apple cider vinegar with the same amount of water. (Wish we could have used our homemade ACV, but we didn’t have enough made.) Stirred in 1.25c of Celtic sea salt, and brought the brine to a boil. Poured the brine over the filled jars to 1/4″ headspace. Had extra brine, and needed 3 more quarts to fill the last canner, so we played with cuke slices and spears, too. Made sure the tops of the jars were wiped clean, placed the sterilized lids on top, tightened the rings around them, and water-bath canned them for 10 minutes. Only had two jars’ lids “crinkle”, so we’ll just use them first. (They DID seal, but I’ll probably just keep them in my fridge.) We normally let them sit in the pantry for at least 6 weeks before we dig into them. 😊


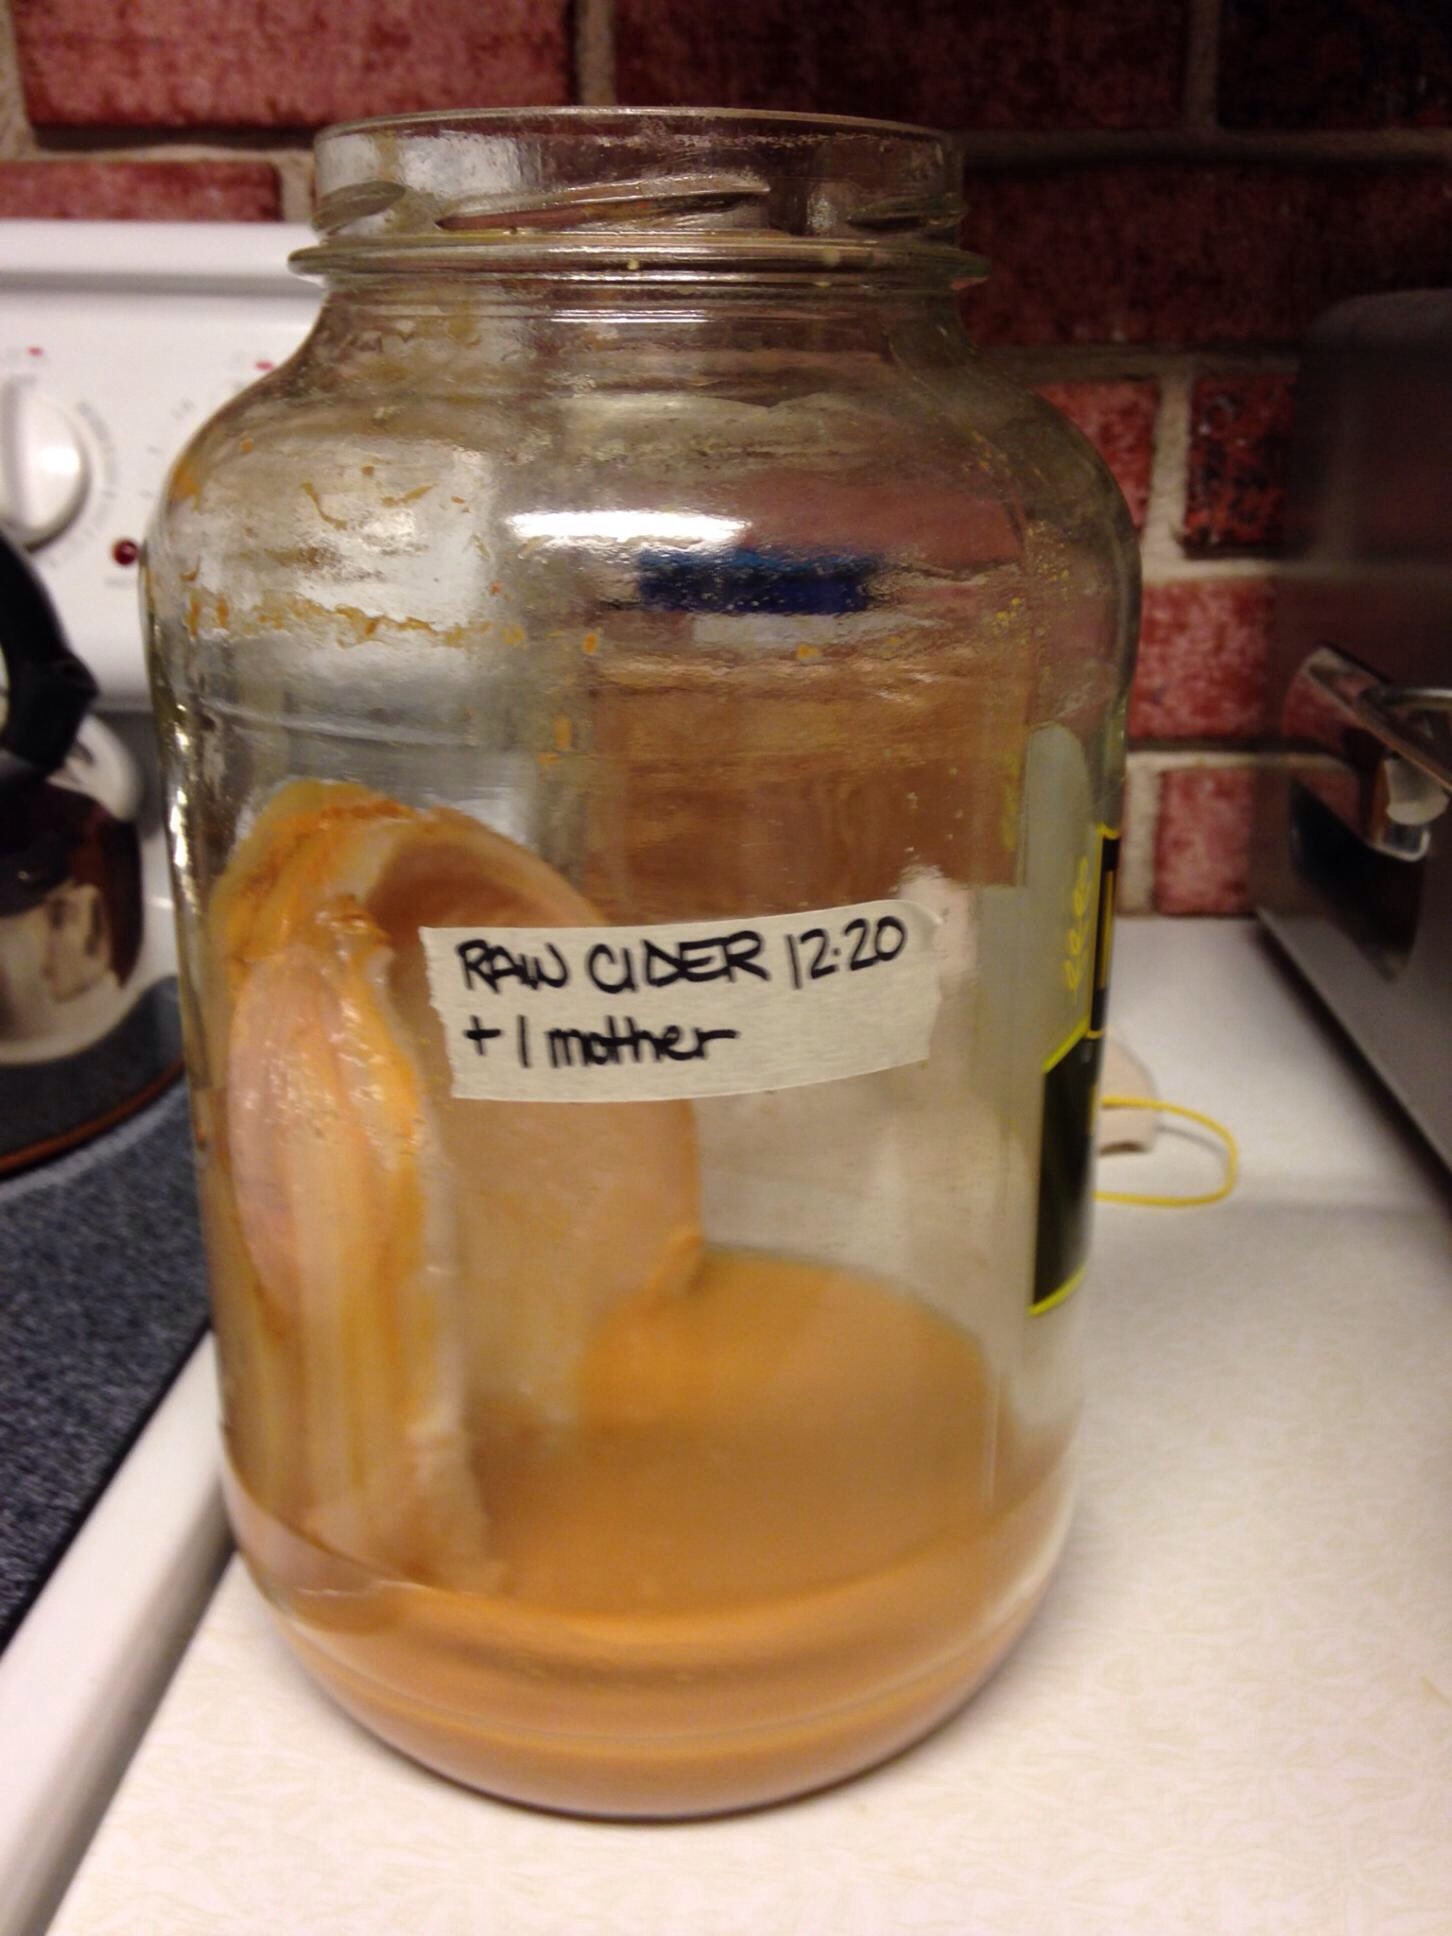
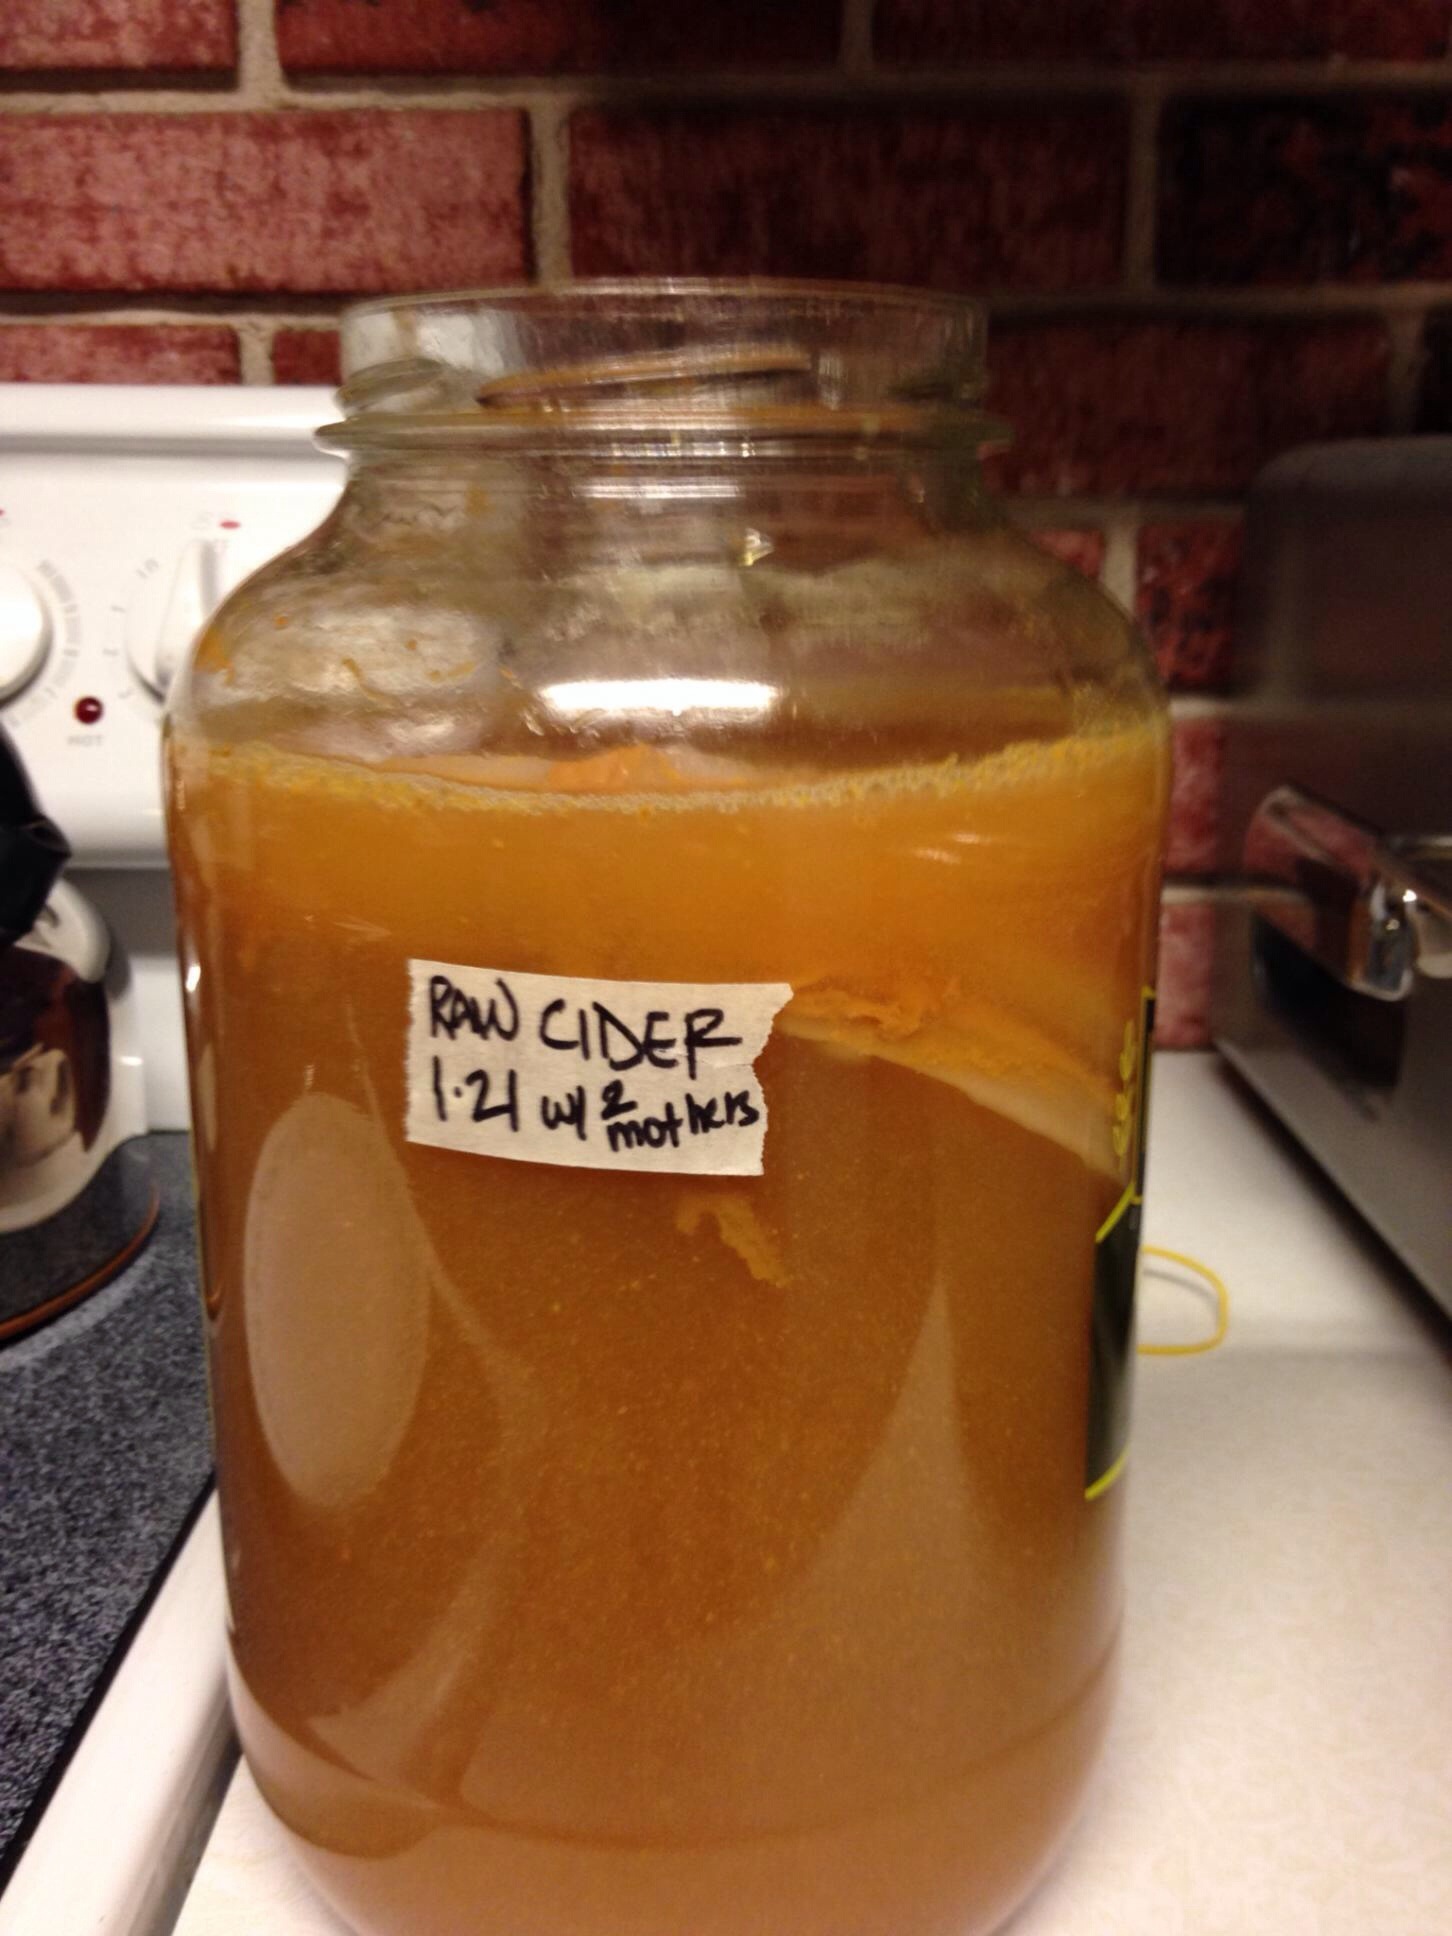
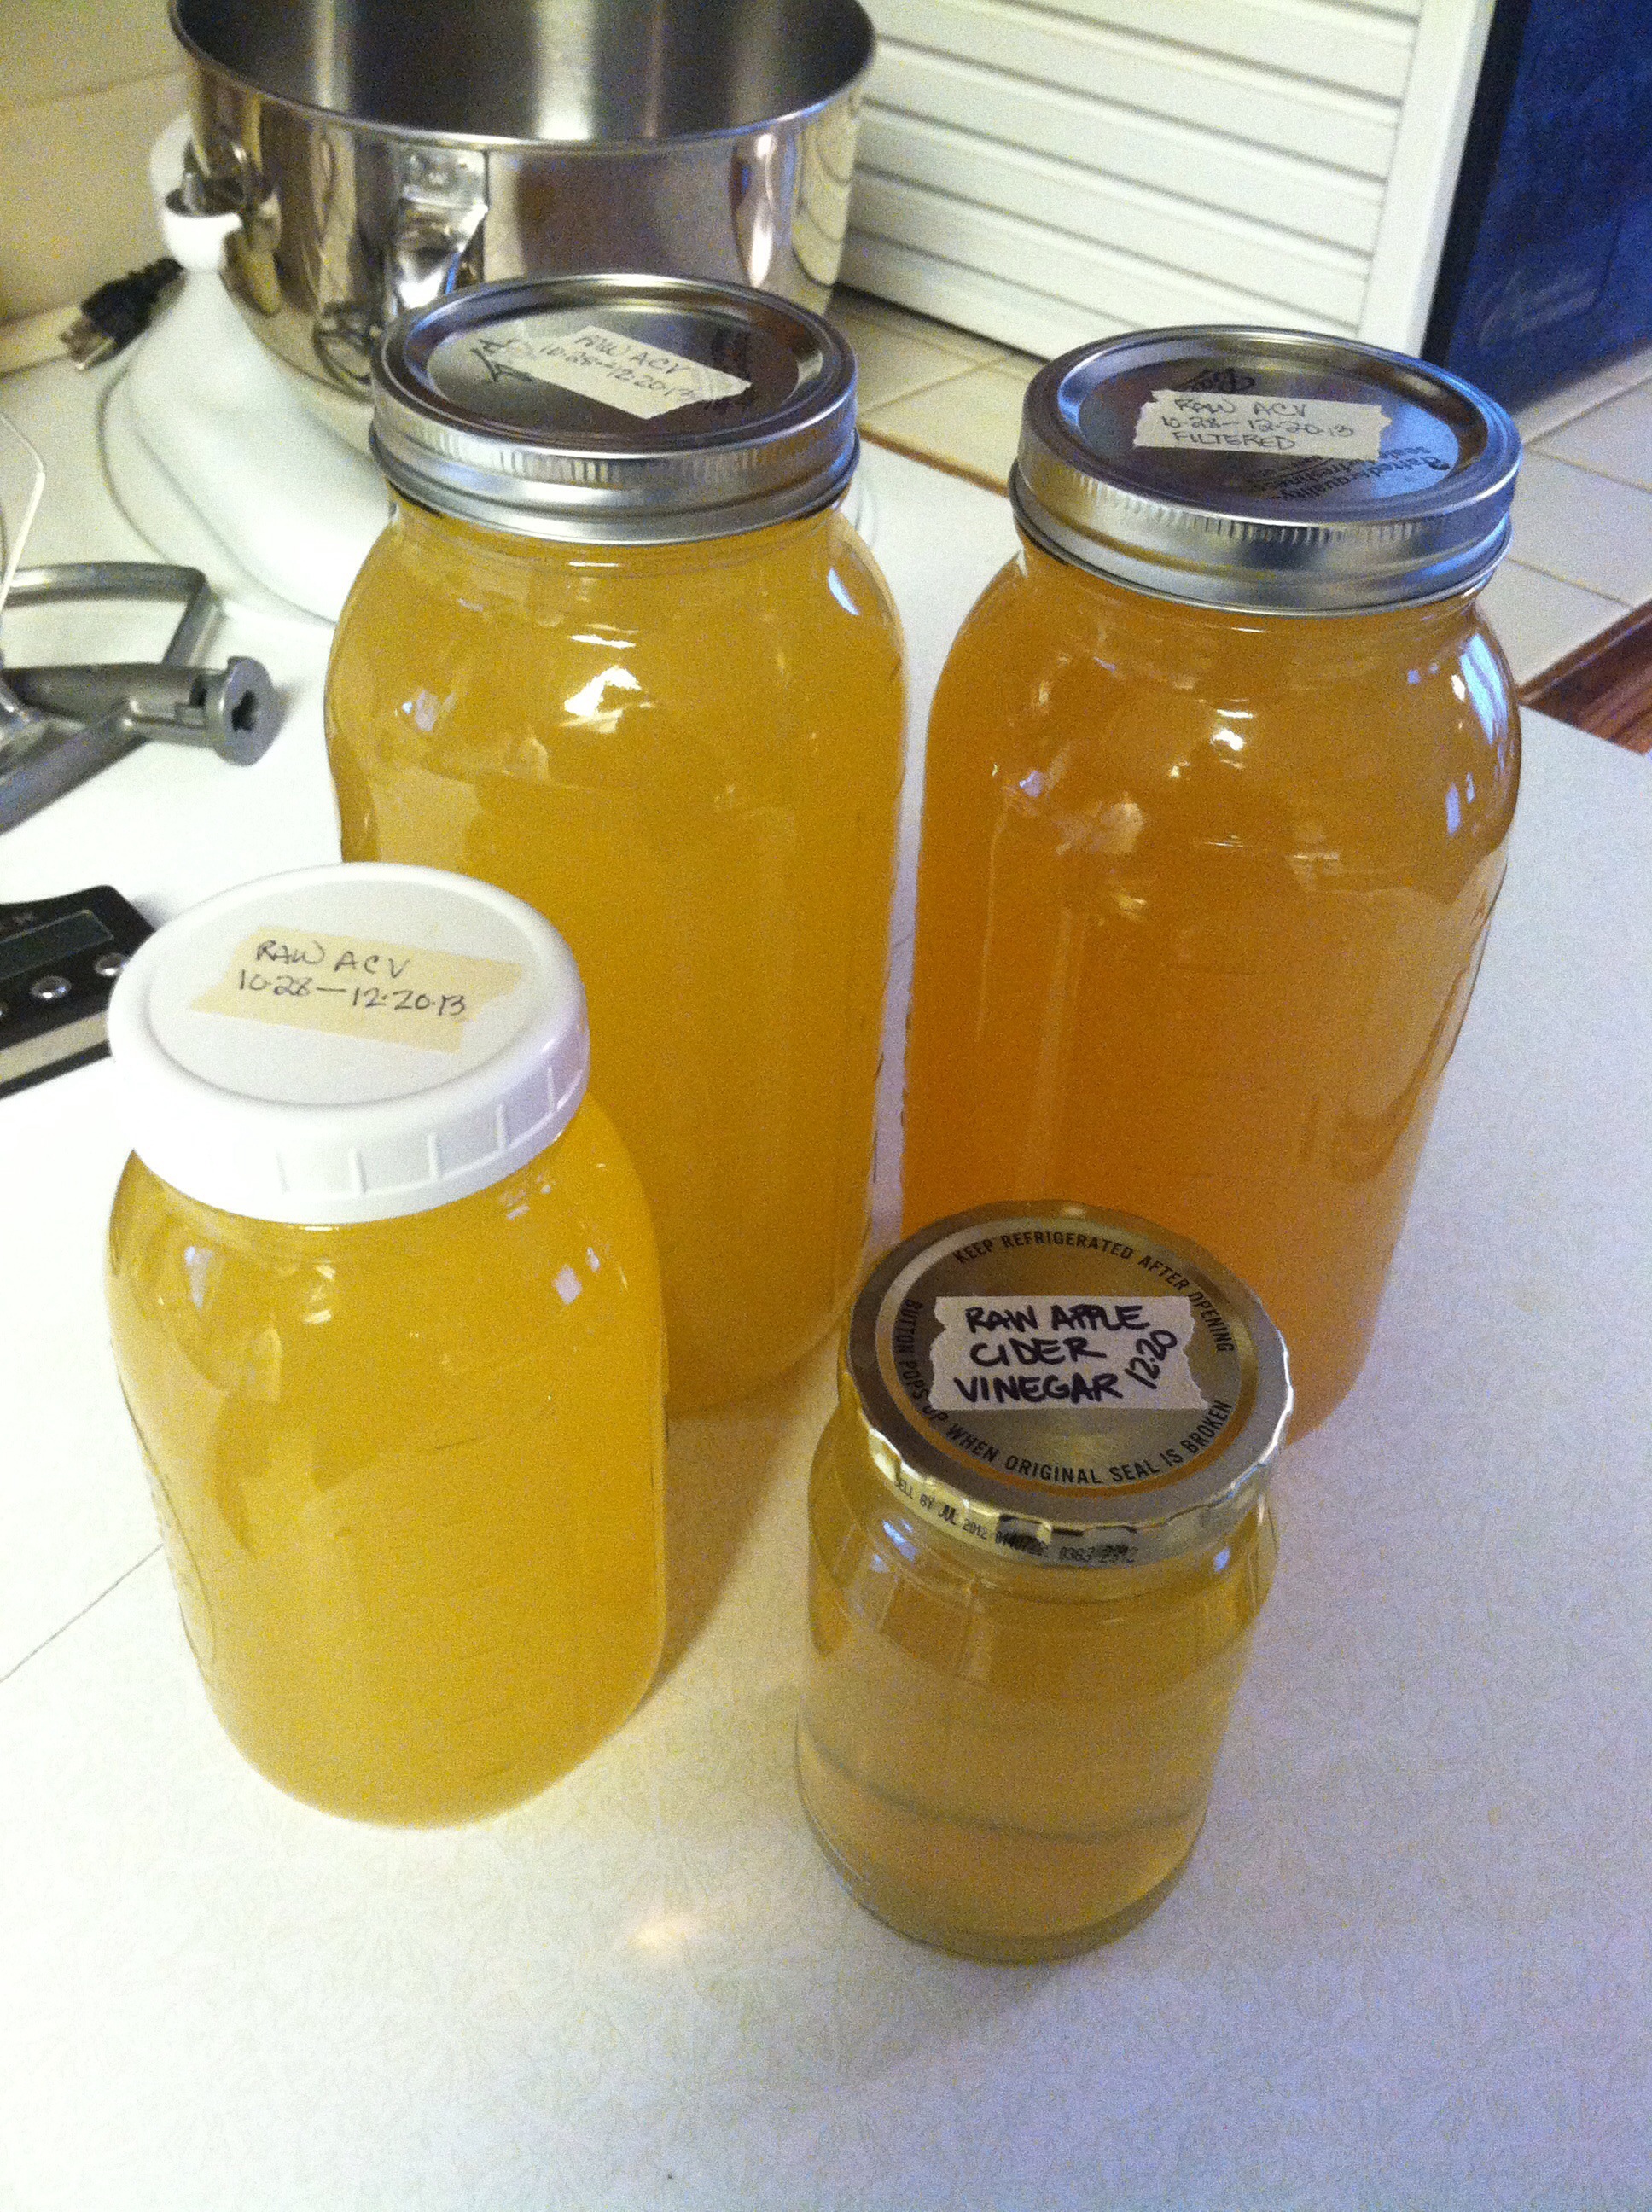
On January 21st, we checked our ACV that had been fermenting in our cool basement since 12-20. [Click here to read about our first stab at making our own apple cider vinegar from raw cider.]
It grew another, really nice and thick “mother”. 🙂

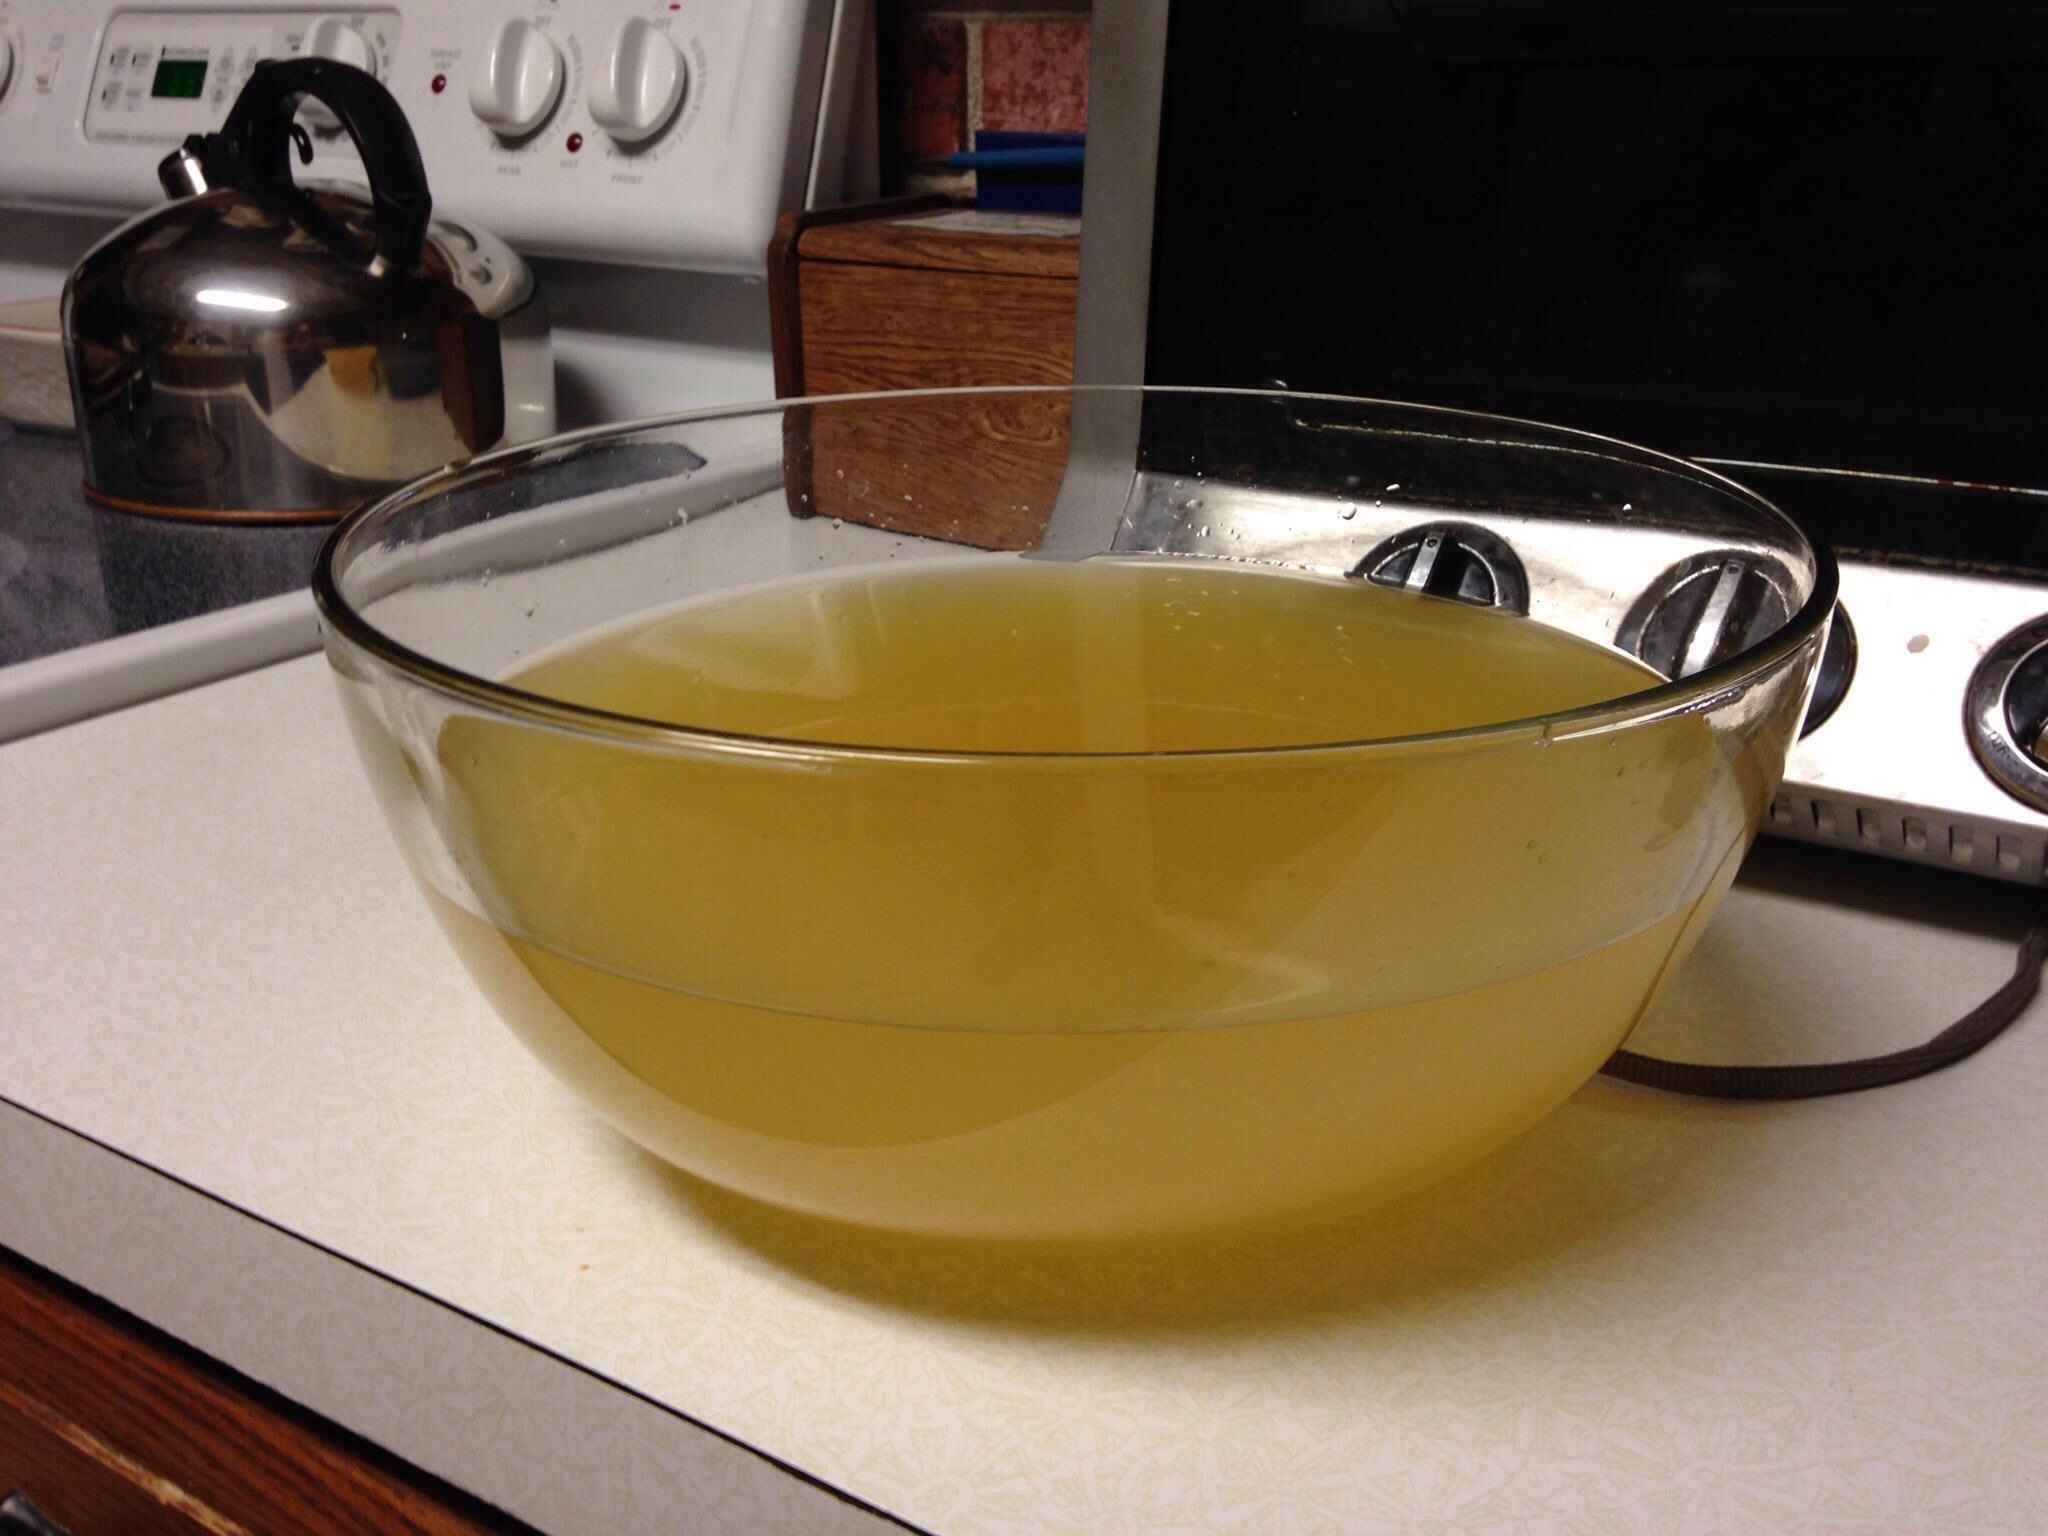
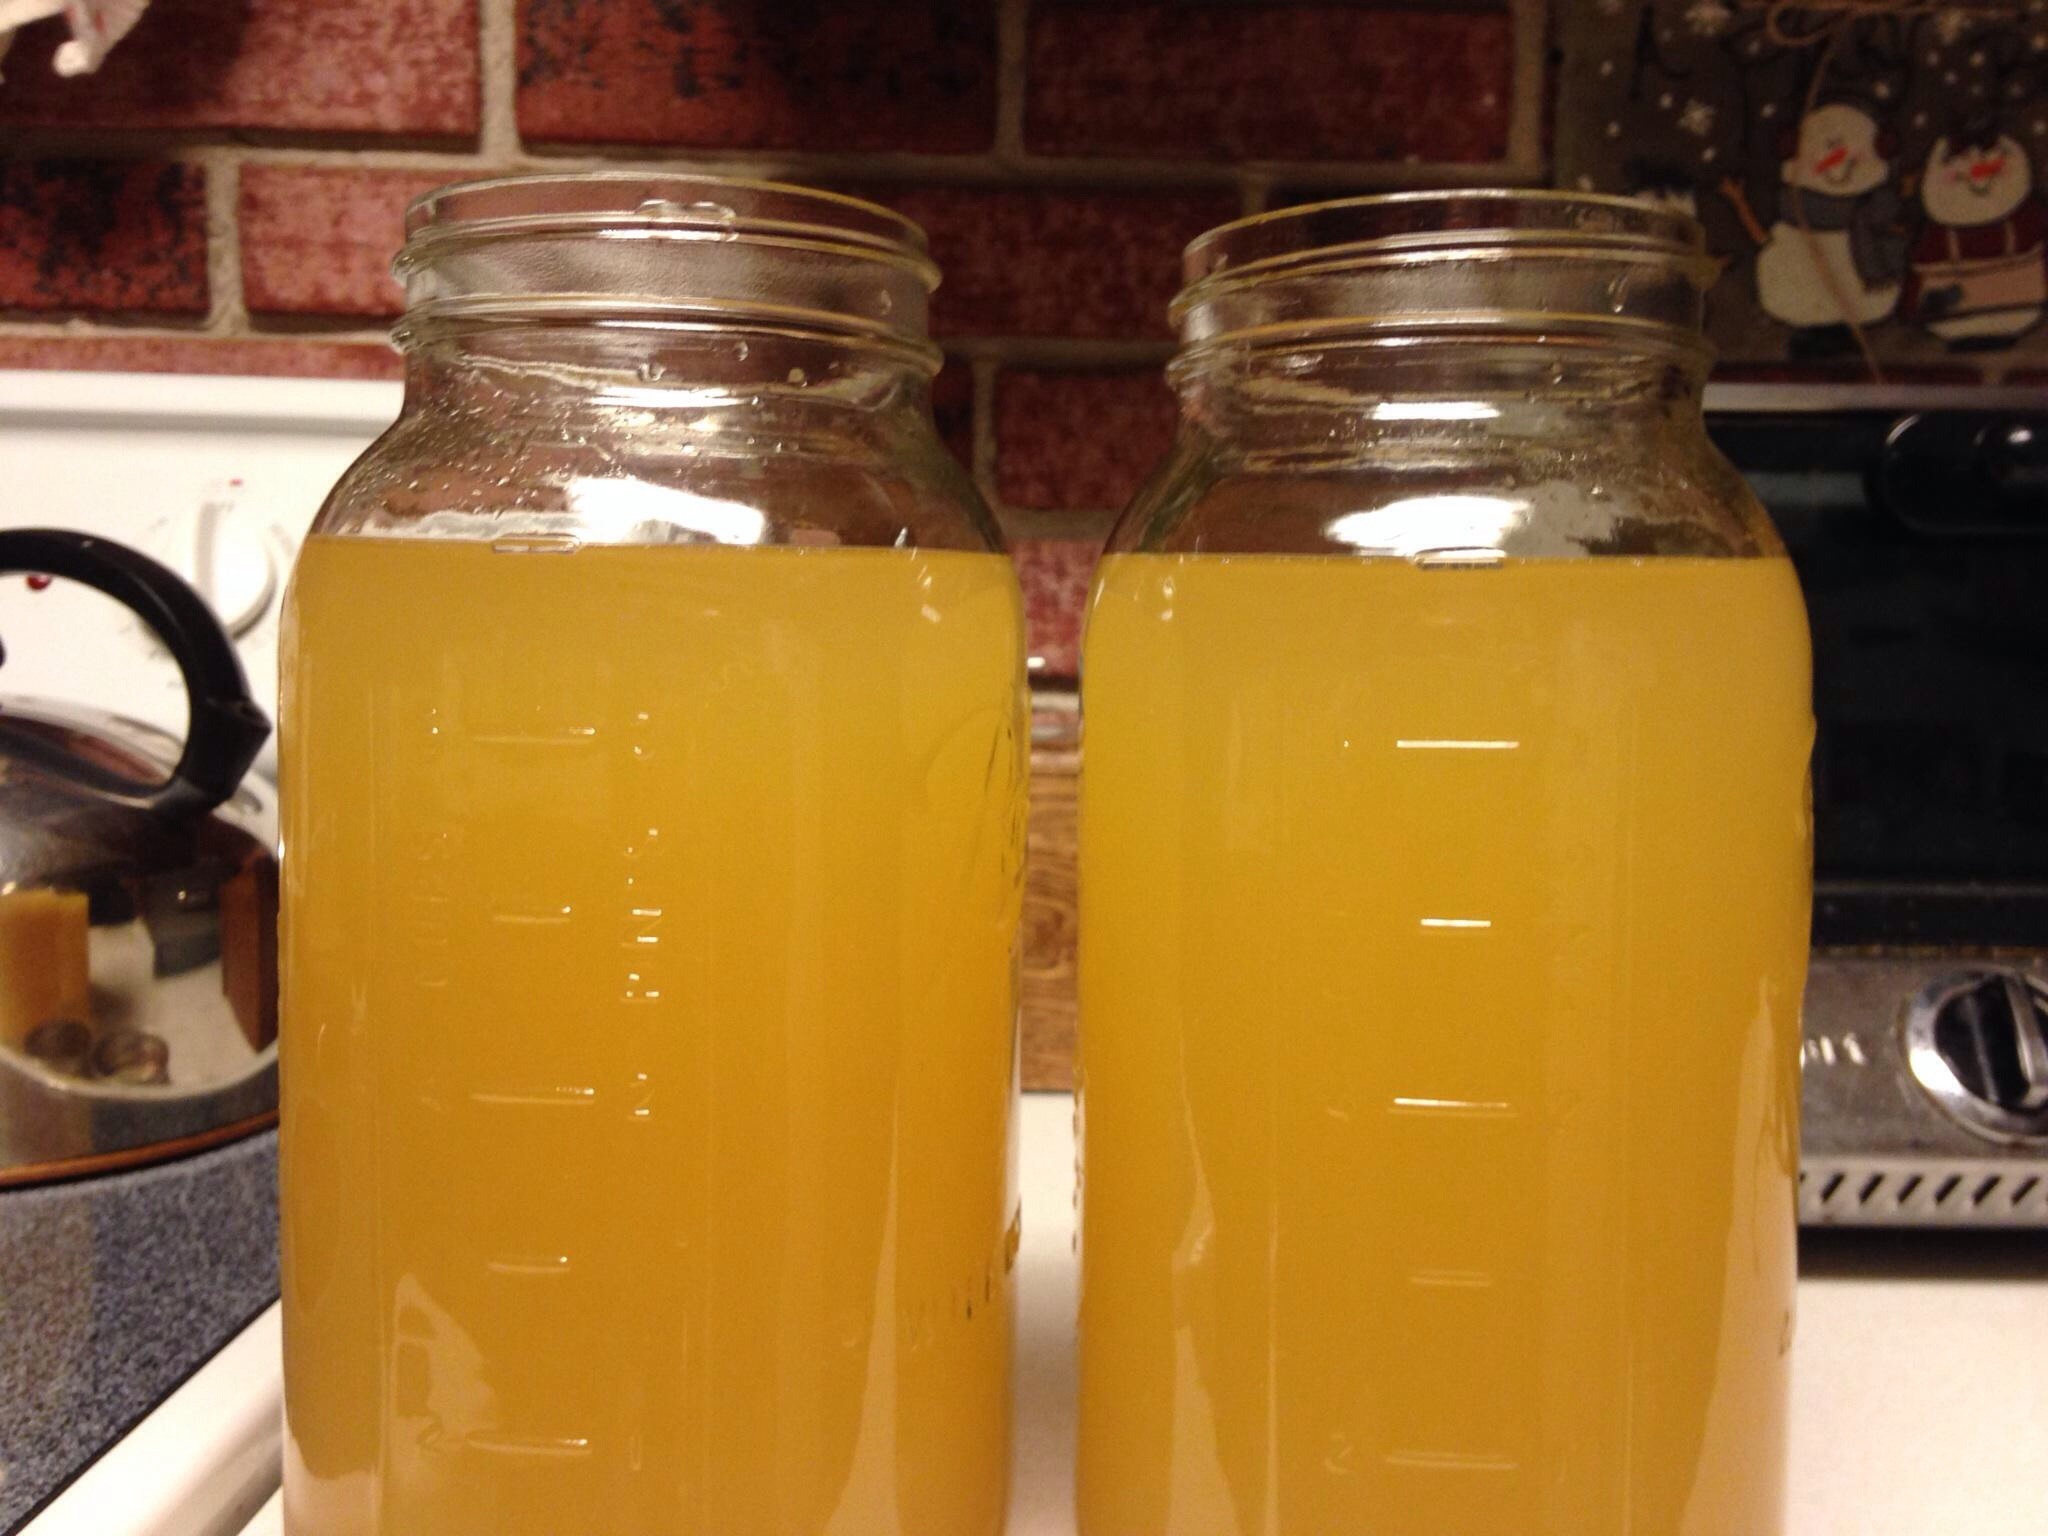
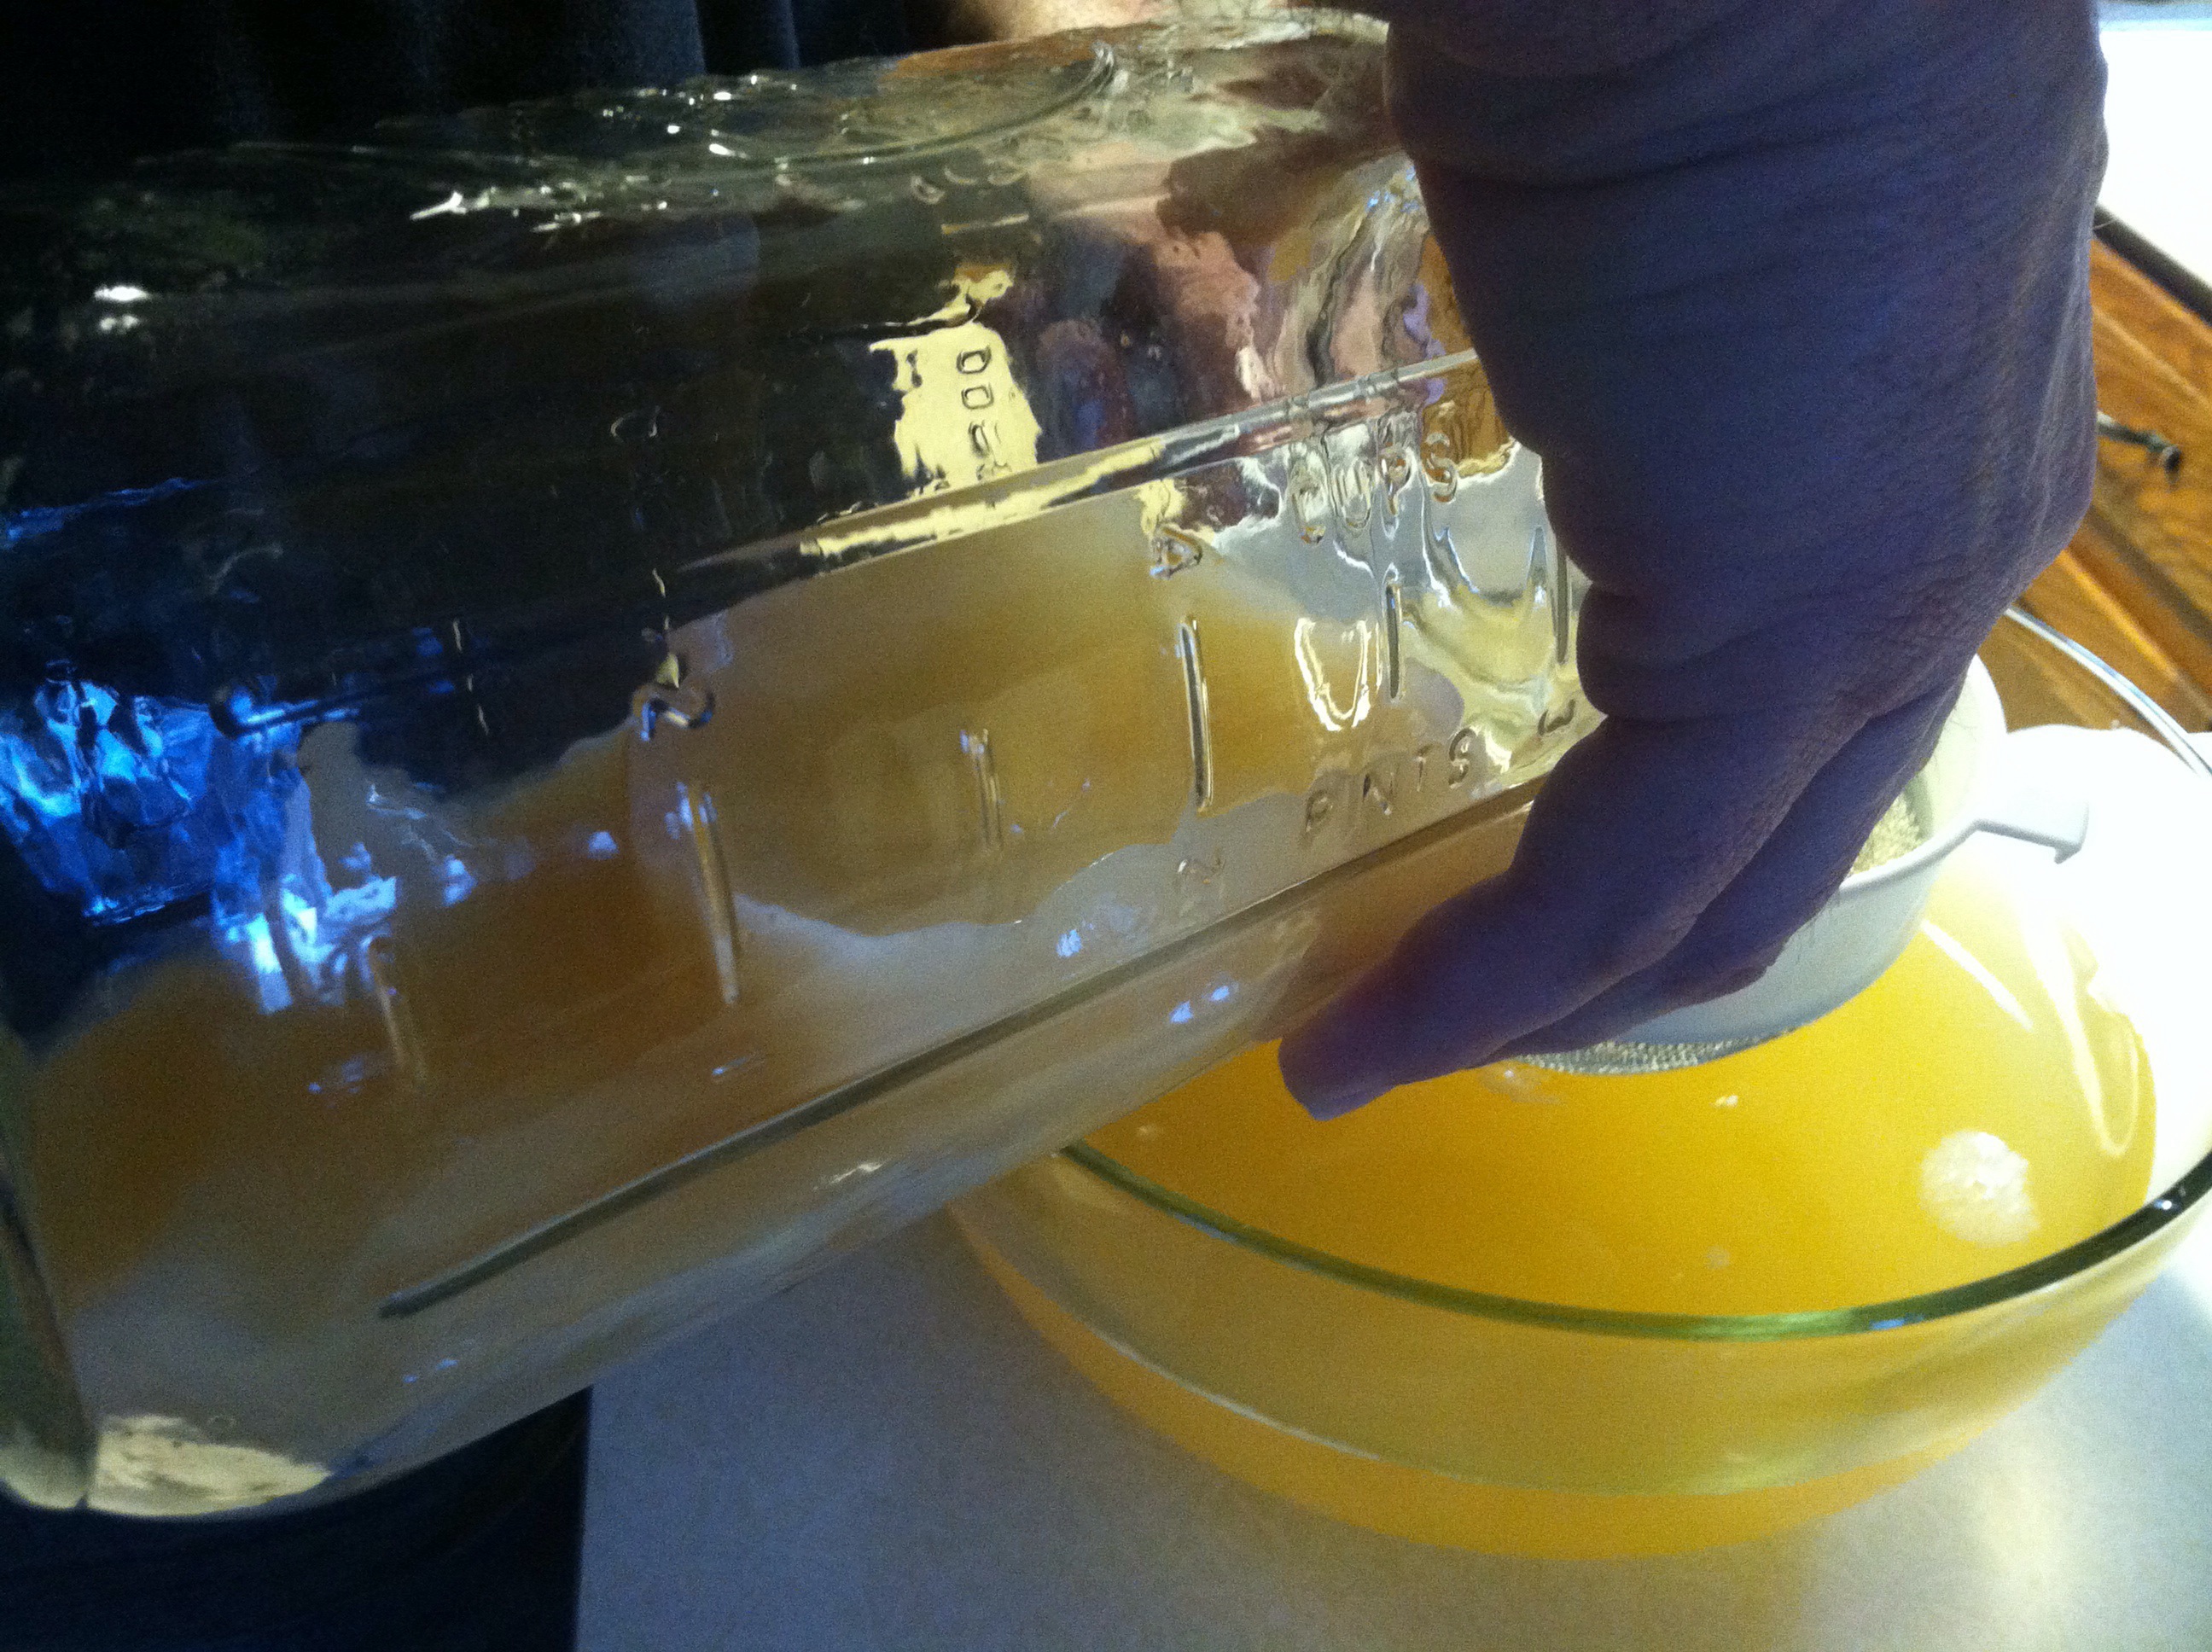
We strained it and poured it into two new jars…
Then we poured new, fresh raw cider in with the two “mothers” to begin a new batch. 🙂
And then we had the bright idea to actually TASTE the finished product to make sure it tasted like vinegar… WHICH WE SHOULD HAVE DONE FIRST, lol. And determined that it, in fact, was NOT ready yet. Grrrr. Guess we are learning a lot from our mistakes in this adventure, lol… 🙂
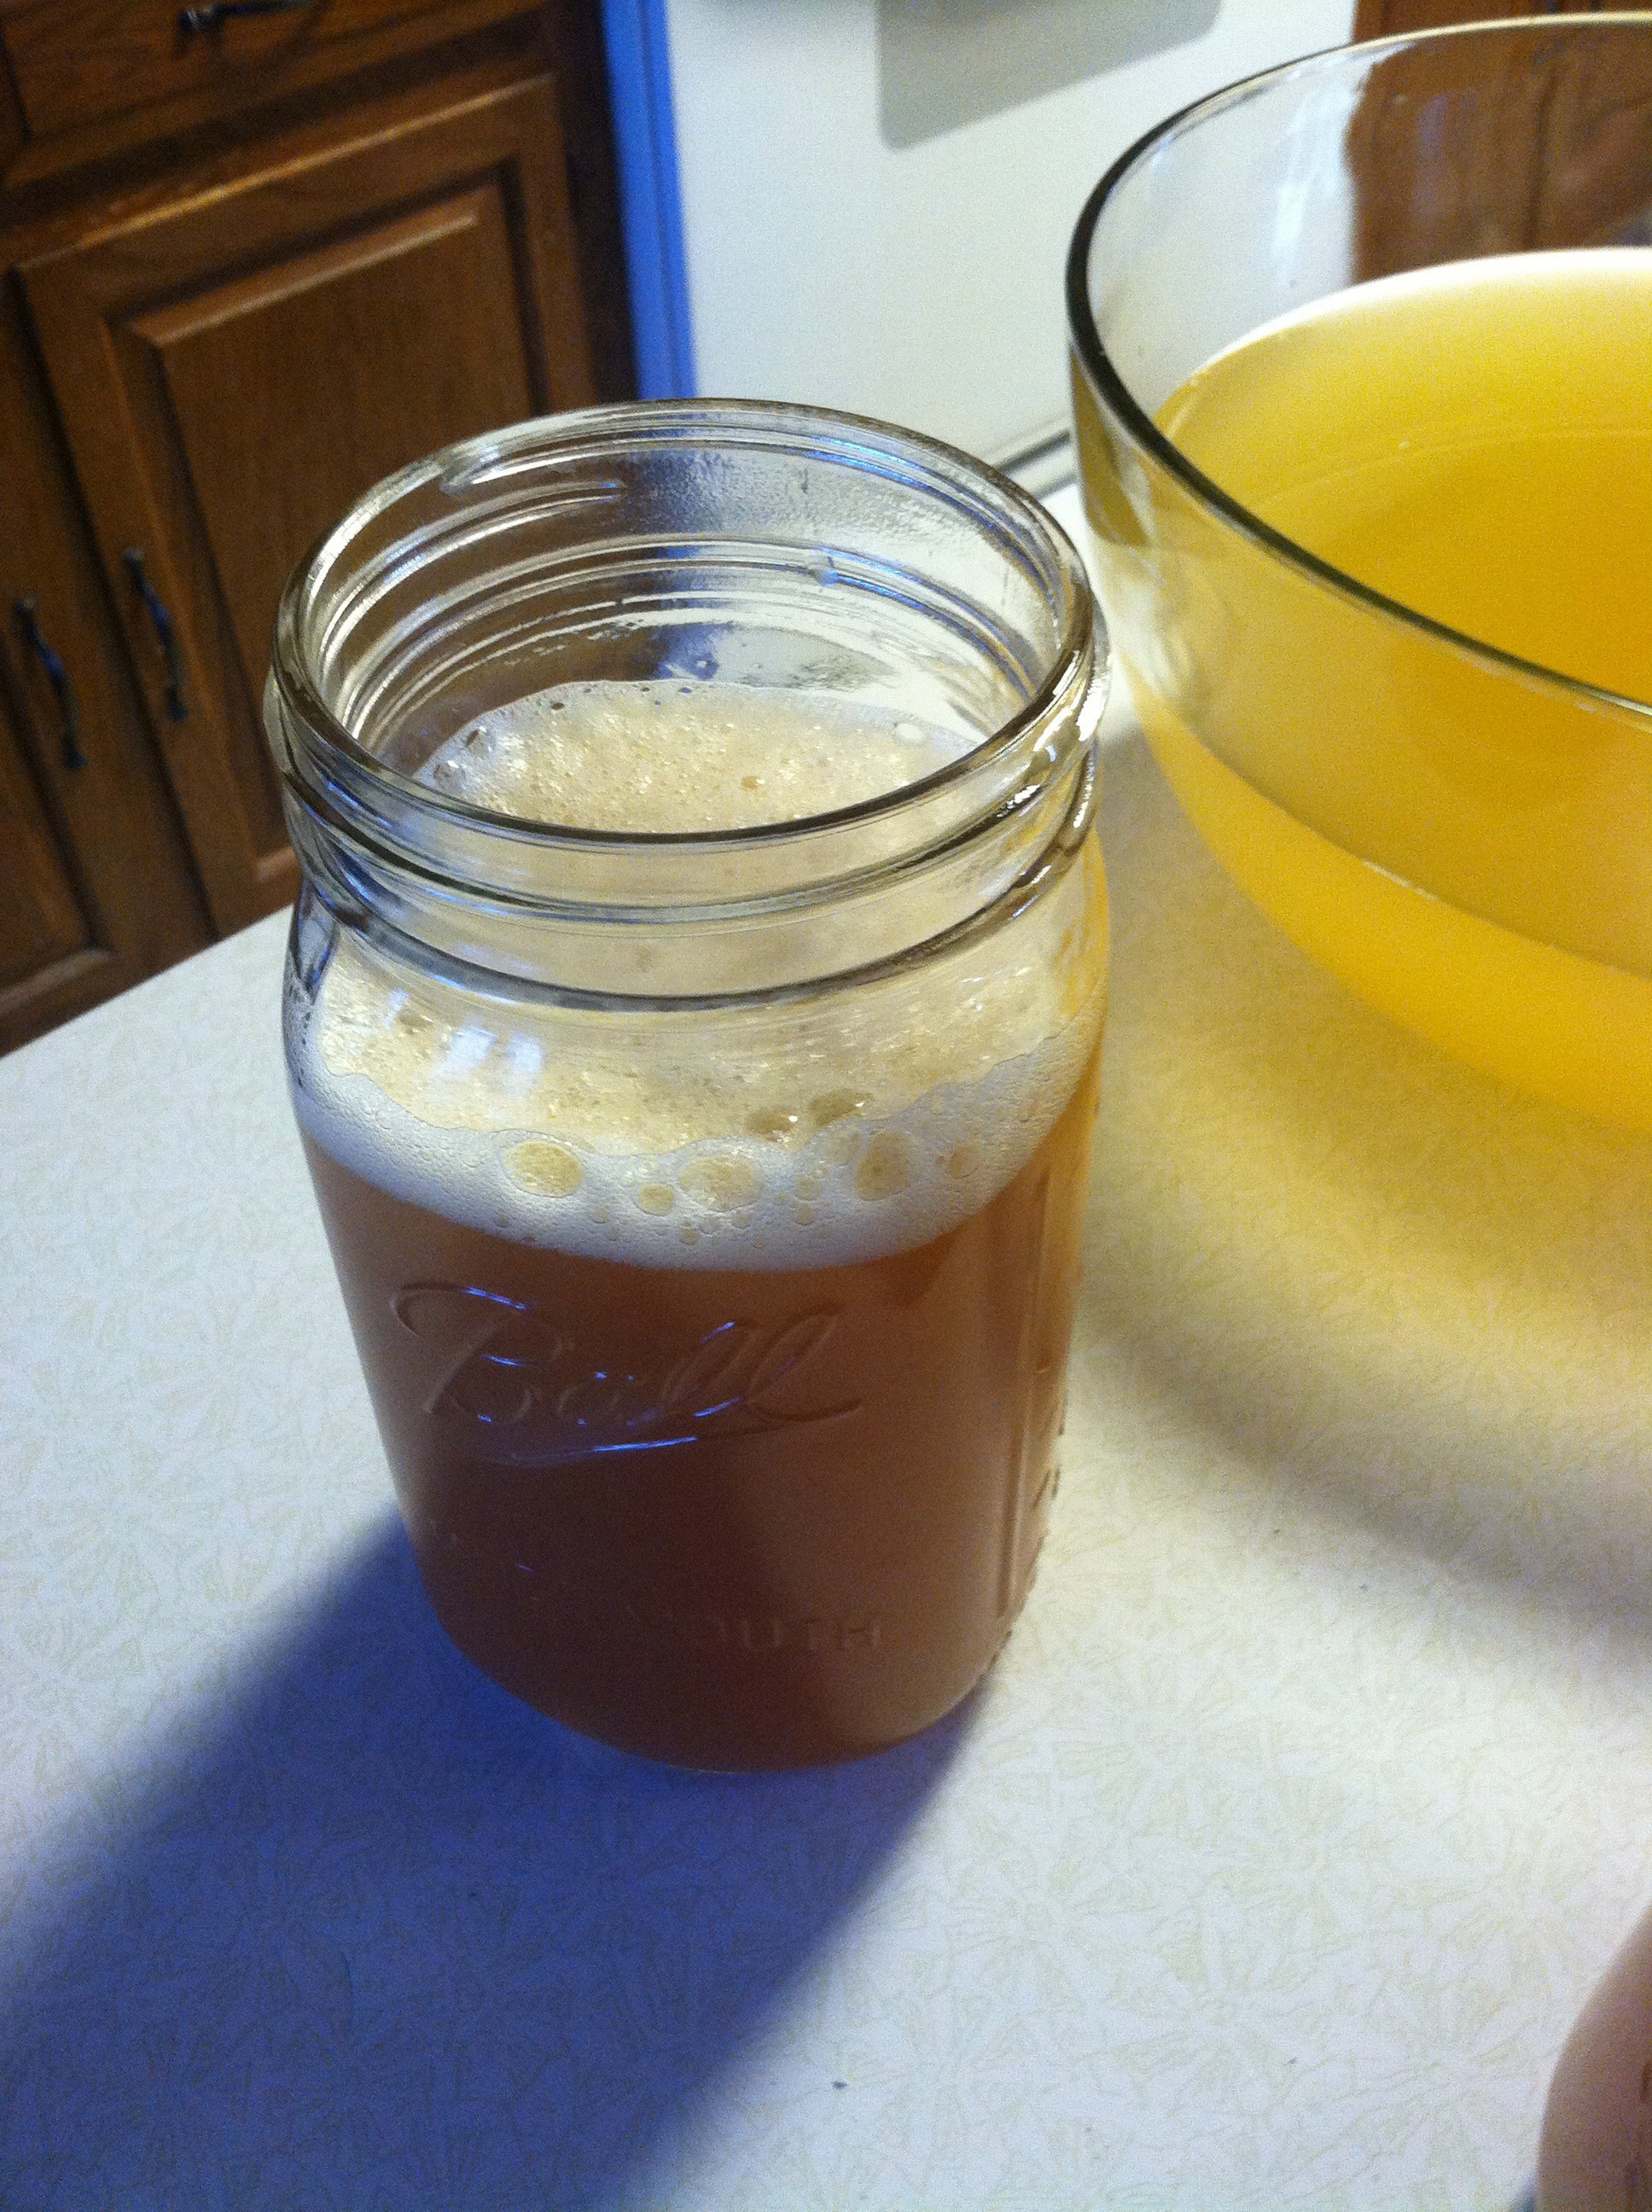
Our solution was to top the 2 jars of “almost vinegar” off with 1-1/2c of last batch’s “finished vinegar”, and let it sit another month…
MORAL OF THE STORY FOR PART 2: Just because you grew a nice sized “mother”, don’t assume it’s done fermenting into vinegar – TASTE IT FIRST. 🙂

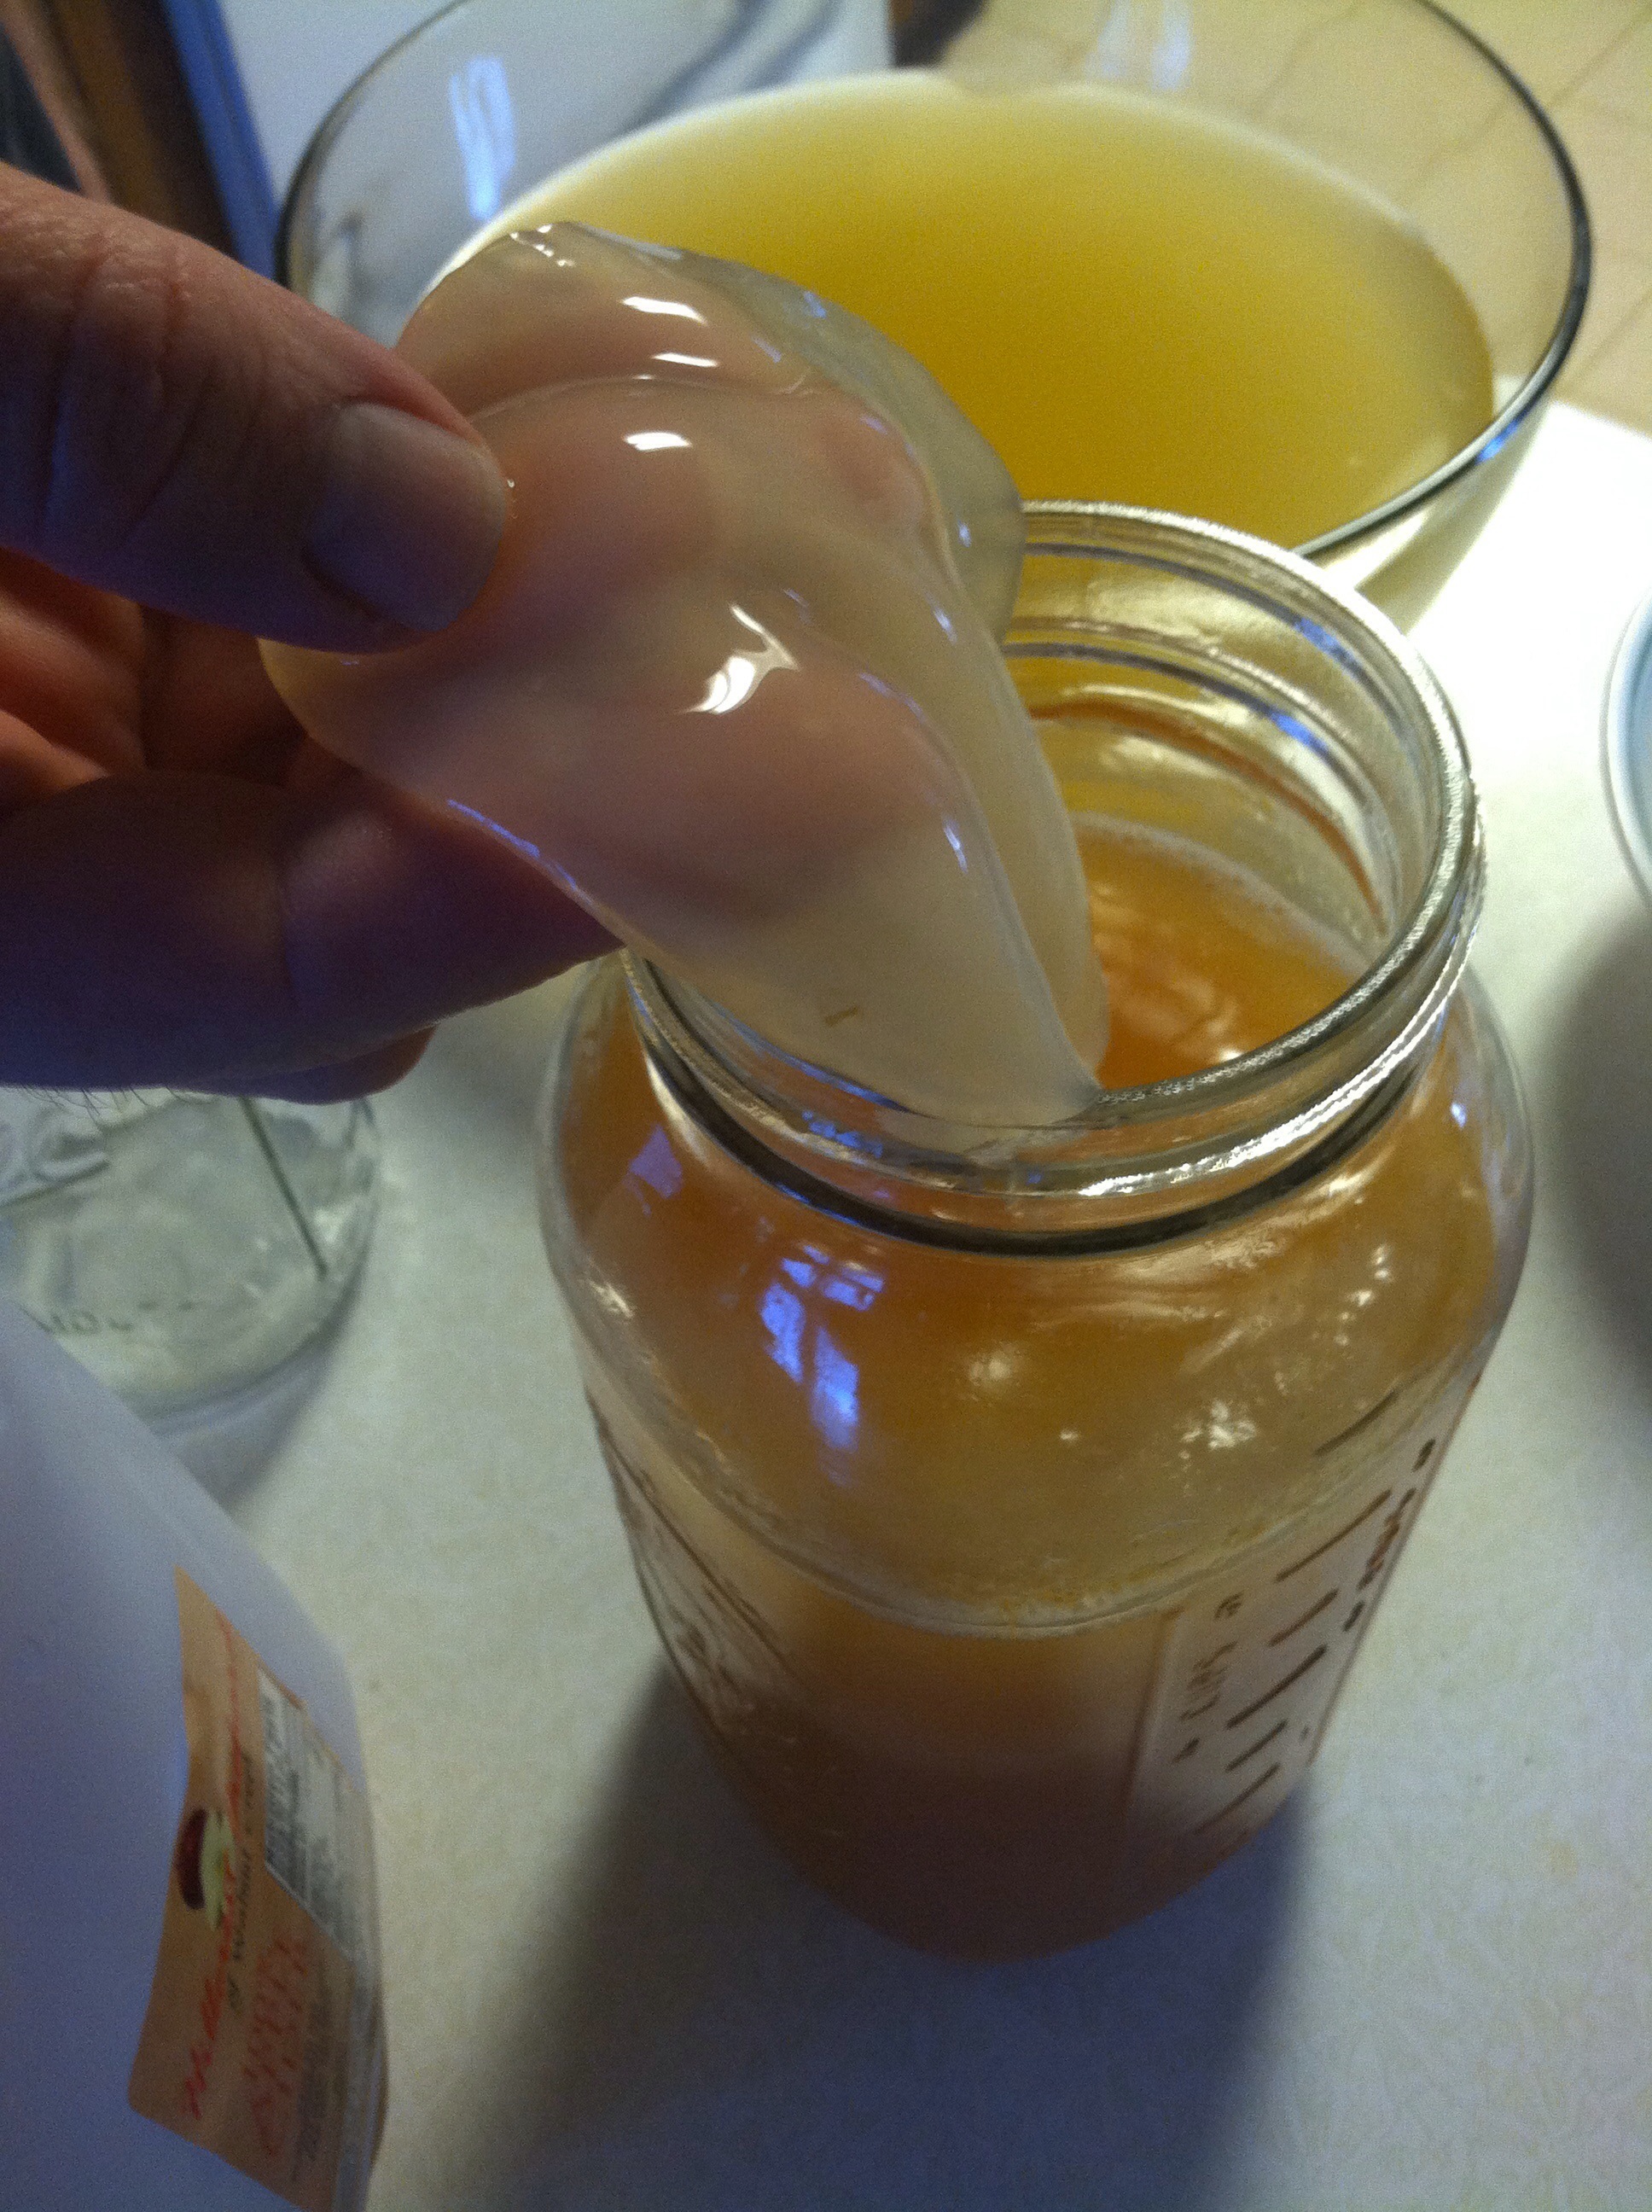
And here is Part 3 from yesterday, February 28th. You can see how thick the “mothers” are in the two half gallons we gave more ferment time to on 1-21. And YES, they tasted like vinegar this time around… 🙂
The gallon jar on the left was not ready yet (Yep – tasted it first, lol!), so we are letting it sit another month. You can see it’s grown a third “mother”… 🙂

We strained the two half gallons that were ready & added “mothers” to new batches. I think we finally have the hang of this now. Fortunately for us, it is a very forgiving process! 🙂


If anyone ever wants a “mother” to make their own, we are always happy to share. 🙂
Click here to attend a “Barn Hop” at The Prairie Homestead. 🙂

{sigh} Our poor sweet potatoes… They have had to really work hard here this season. Not the actual “growing” part, just the “storing” part…
Mike’s mom was given some starts of a friend’s authentic, West Virginia, sweet potatoes a couple years ago. We all LOVED them! So each year since, she’s grown some starts from the previous year’s crop, and we’ve enjoyed learning how to incorporate them into our menus. 🙂
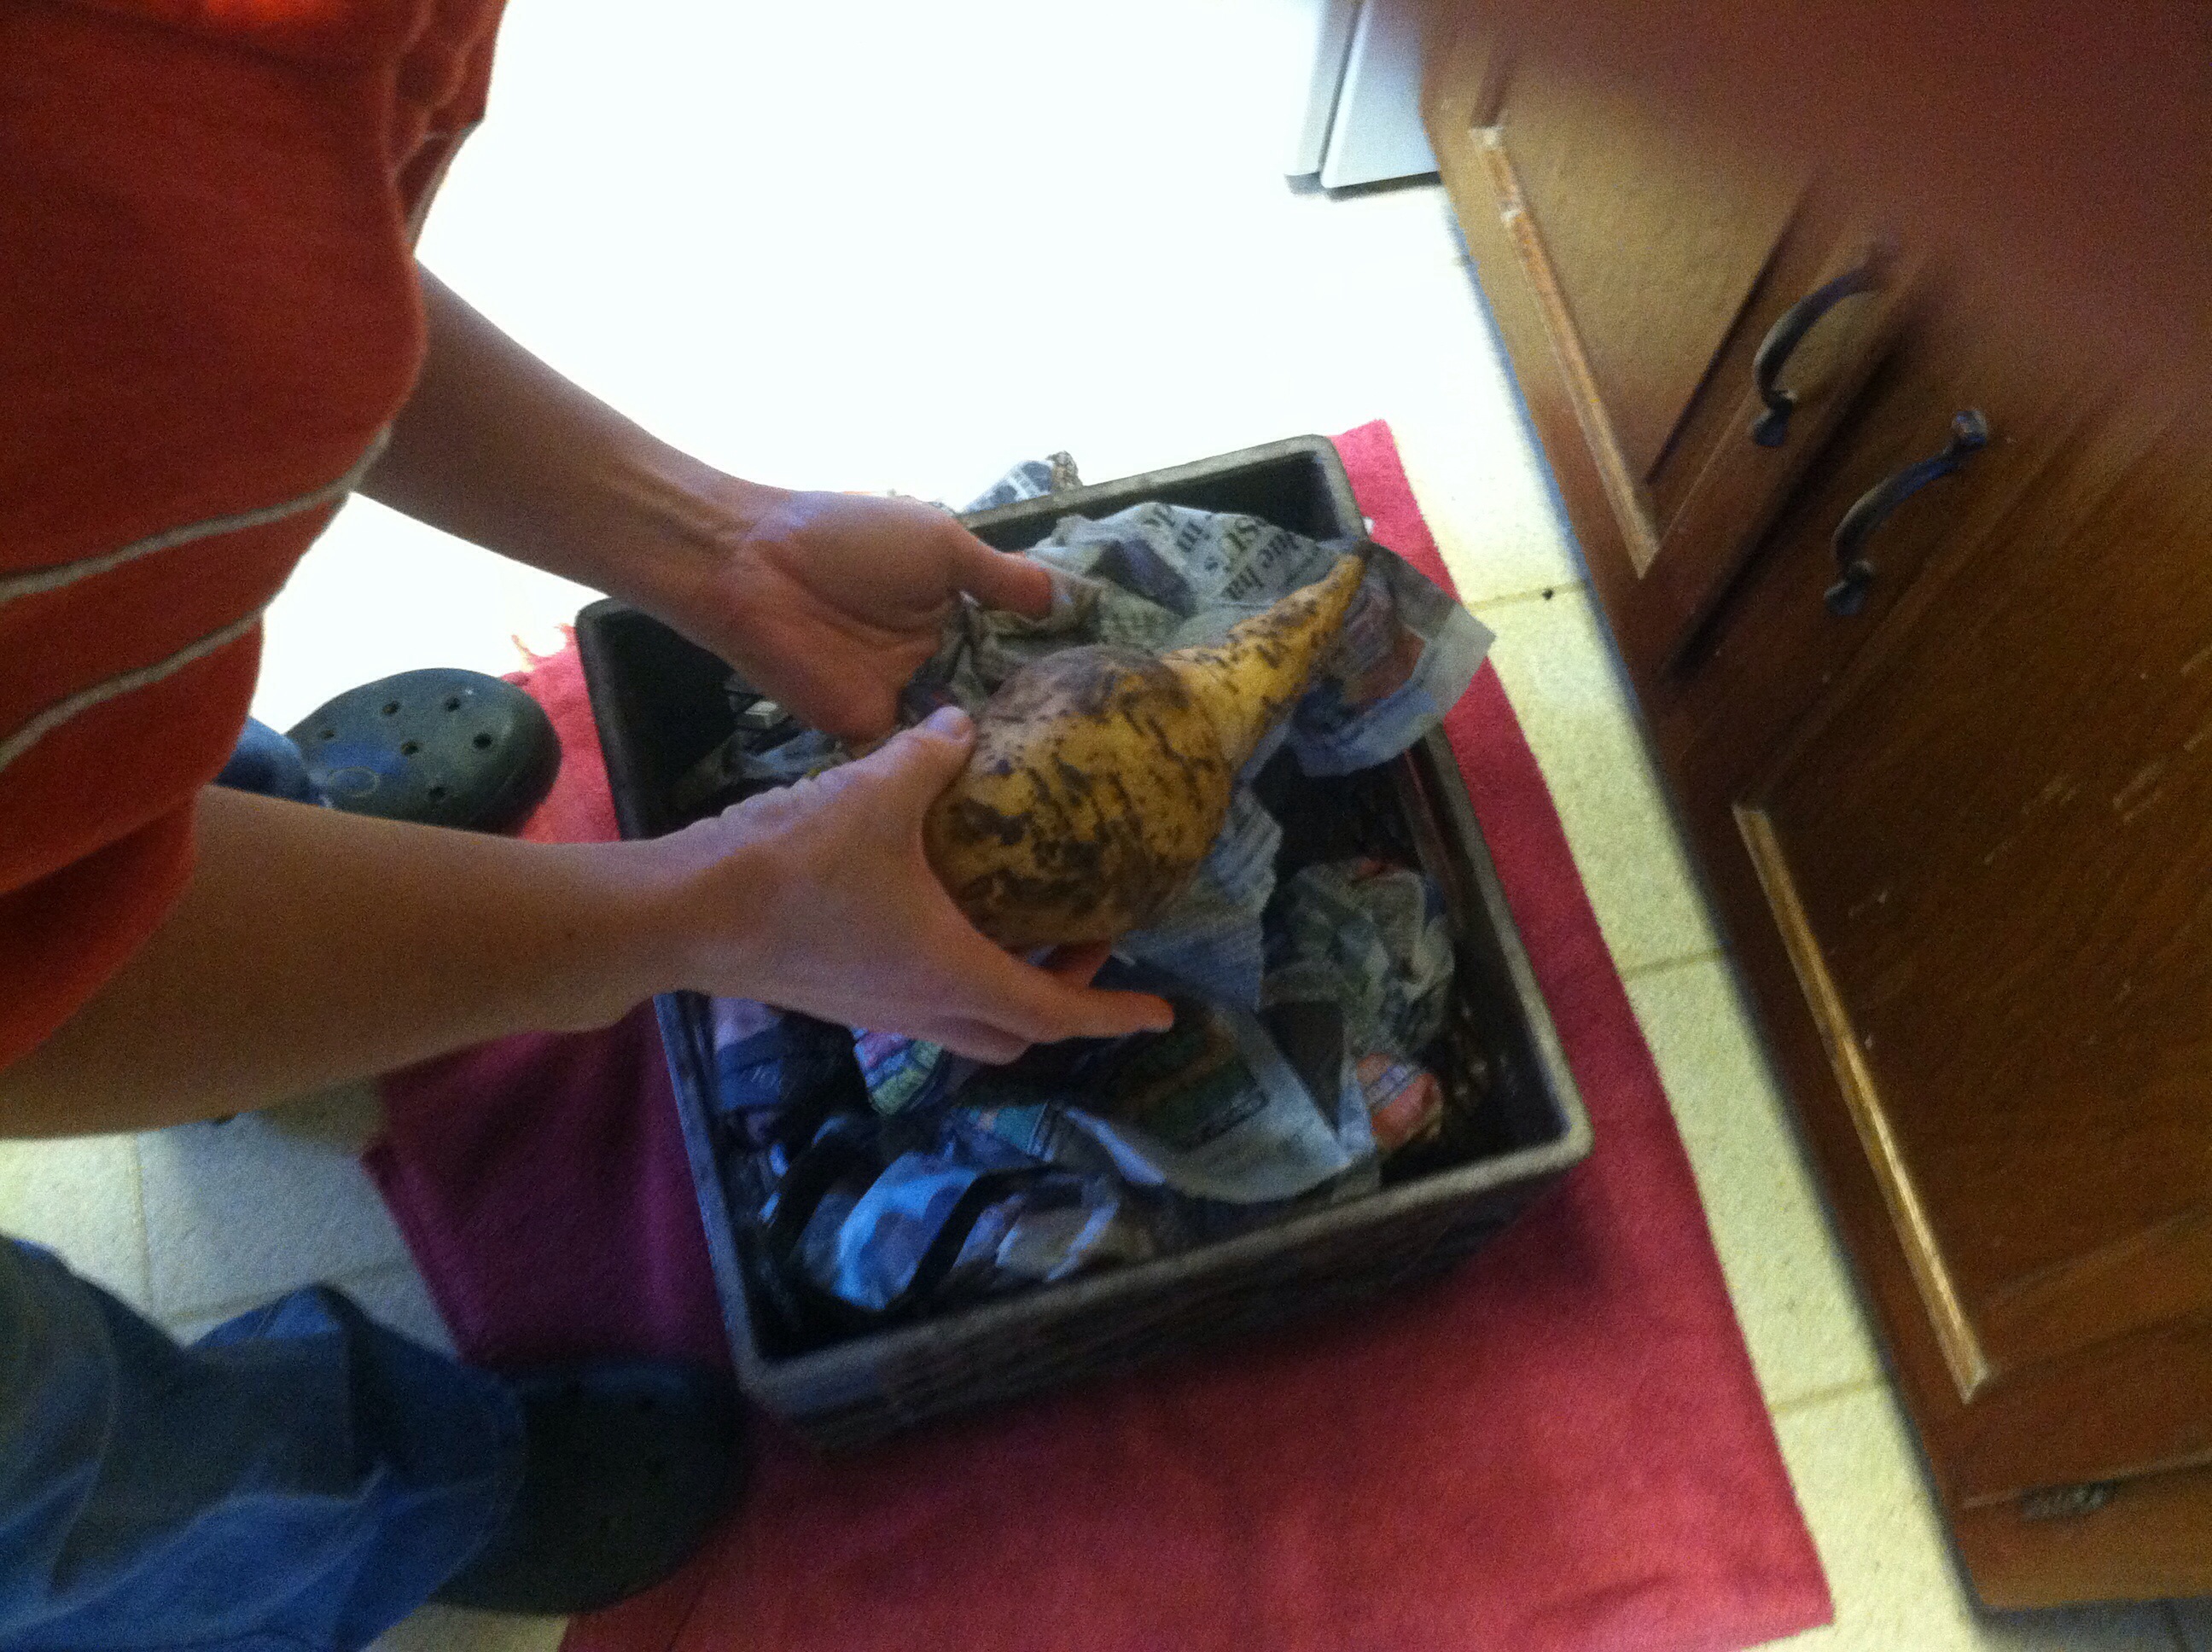
Last year was another wonderful harvest – I think we measured some in at 6+ pounds! The thing about sweet potatoes, though, is that they need to “cure” before we wrap them individually in newspaper & place them in cold (pantry) storage. Normally, they last fantastically for us – like until May or so… HOWEVER, last year, a well-intentioned helper, decided to WASH the “dirty” potatoes that had been curing on a screen. So basically, that super-important-protective-layer got scrubbed off… Not much you can do to fix that once its happened, so we let them sit a few more days to dry, wrapped them in our newspapers, and hoped for the best. Sadly, we found mold on some in January. But for-the-most-part, most were doing ok. Until yesterday morning. {double sigh} Basement flooded as all our snow & ice has been melting… And if you are too lazy forget to place your precious cargo of wrapped sweet potatoes up in crates because YOU KNOW this has happened before… You get wet wrapped sweet potatoes. DUH. 😦
So yesterday turned into: sweet potato 9-1-1 AND shop-vac the basement day, lol. 🙂
Here’s the crate I filled up of sopping wet taters…

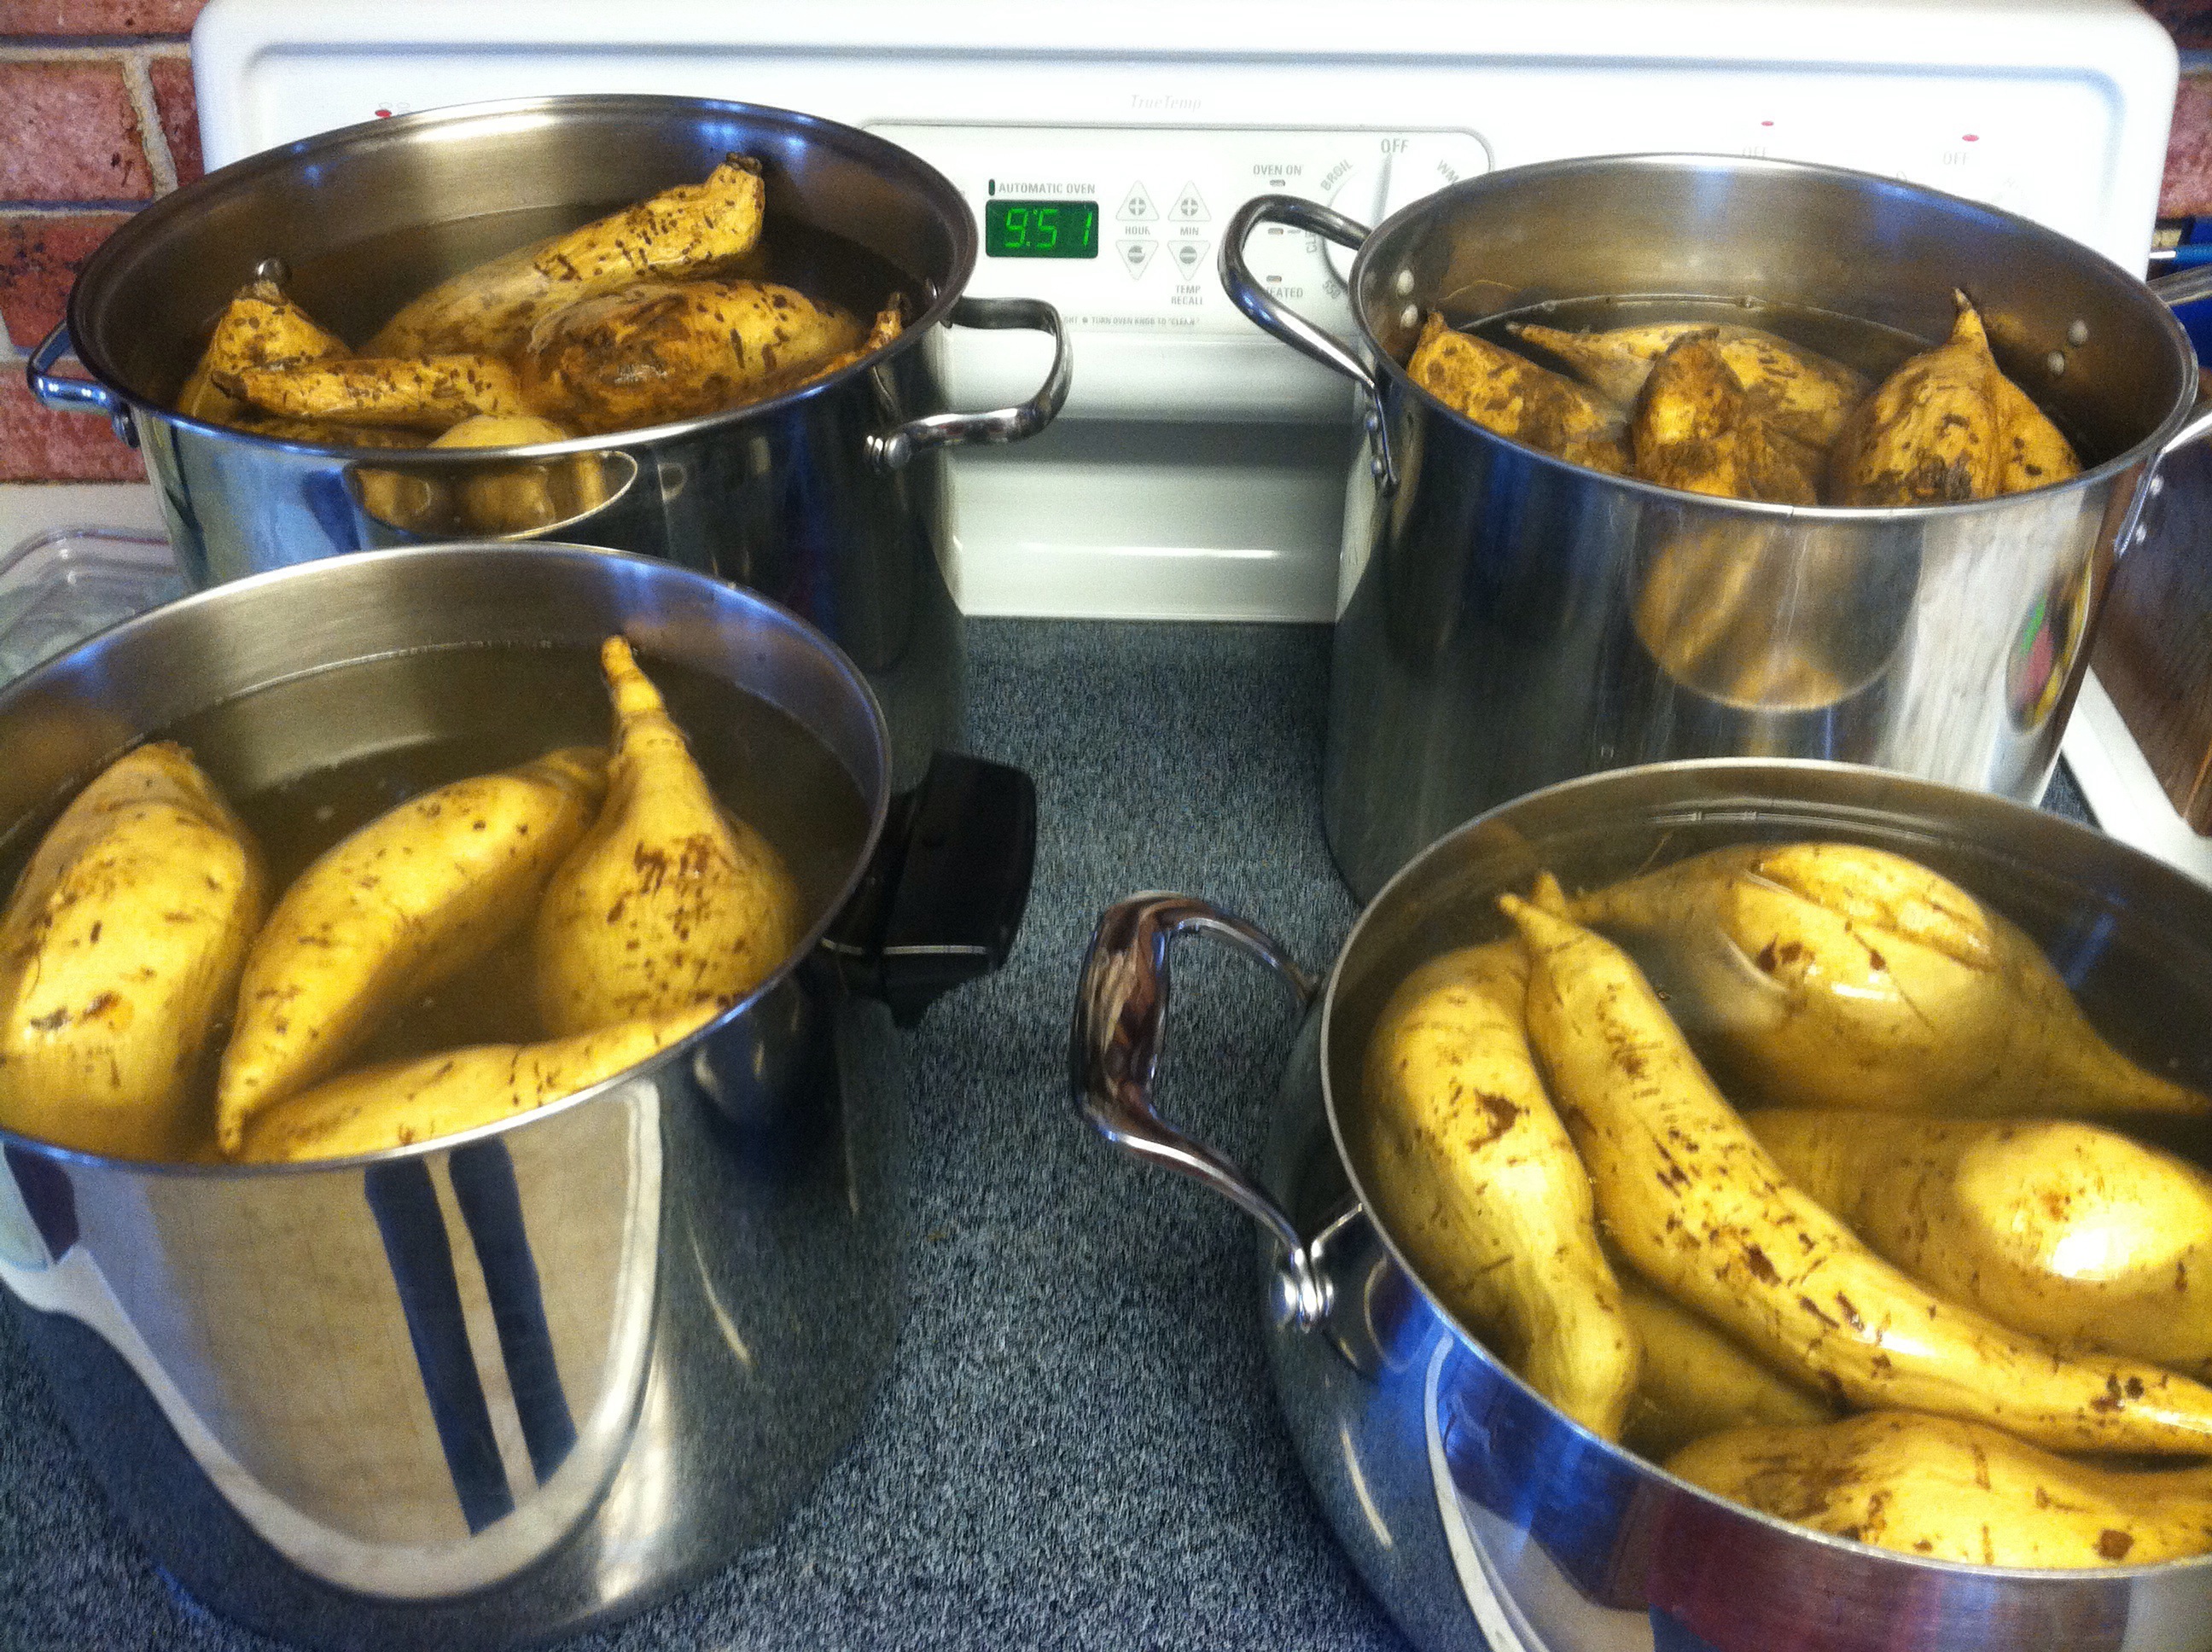
Took two canning pots & two 8-qt stockpots to fit all of them…
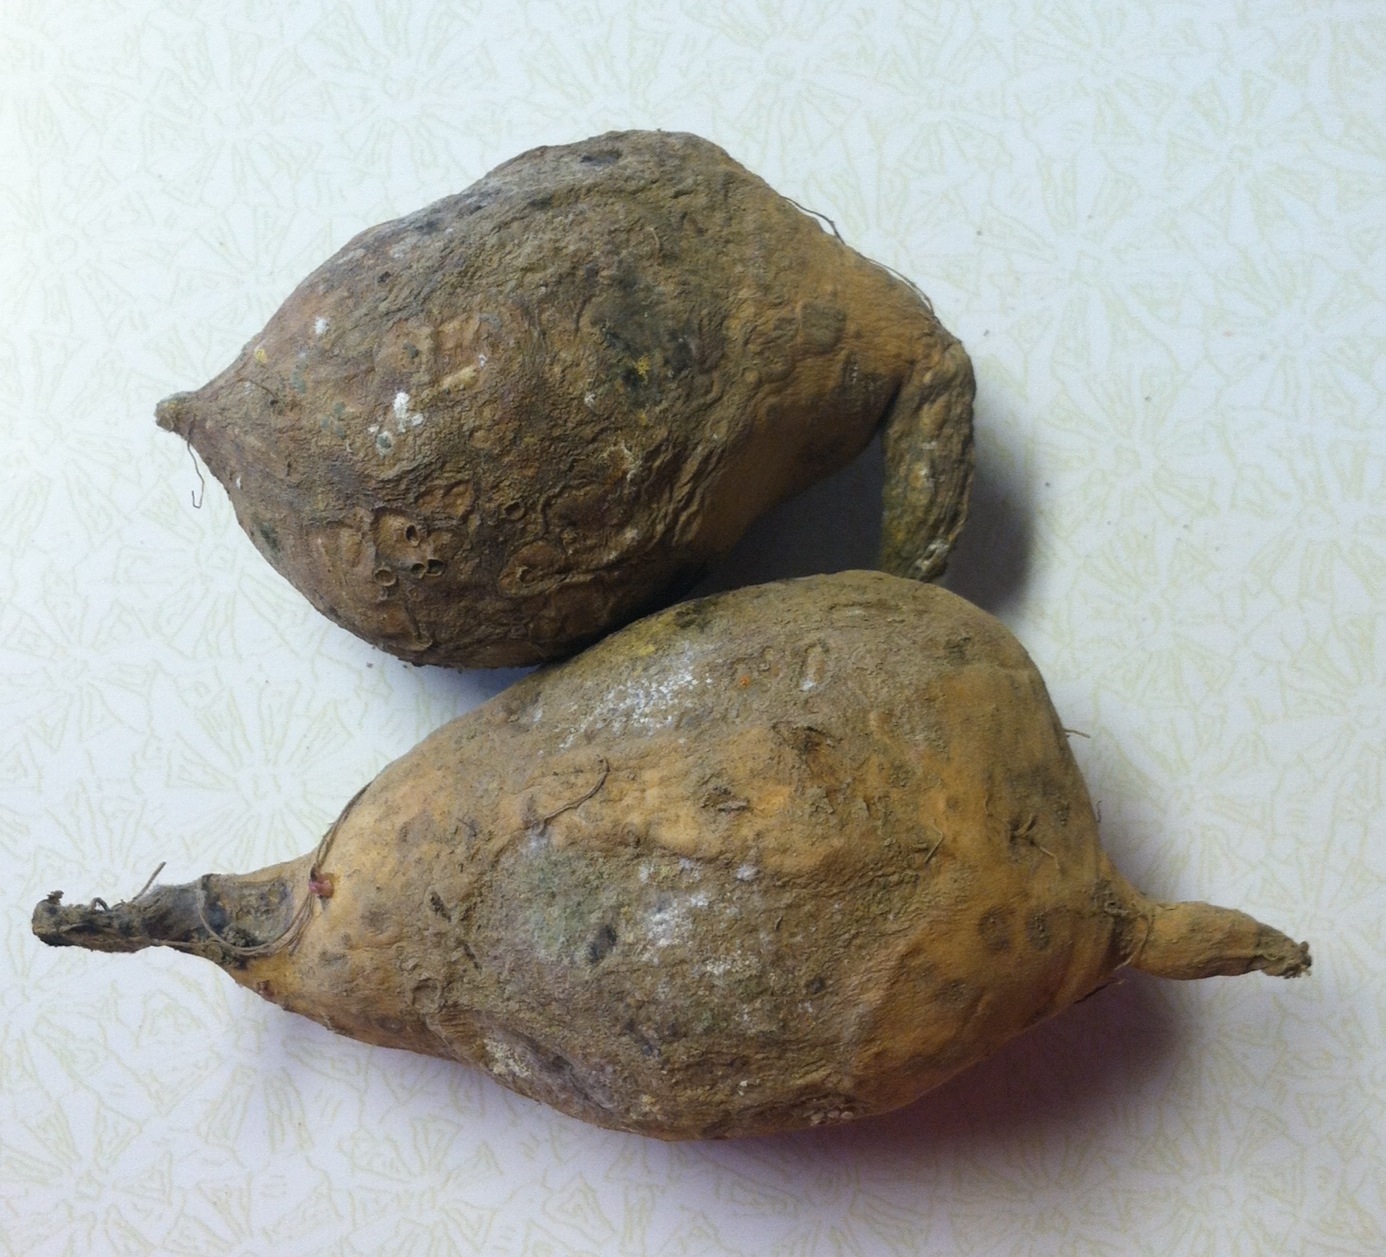
Fortunately, there were only two small ones that were moldy…
Next I boiled them for a l-o-n-g time. Like an hour and a half… Didn’t mean to, but I forgot about them as Mike & I were having so much “fun” cleaning up our basement, lol! Didn’t seem to matter, though. They weren’t too mushy to peel & they mashed up really easy… 🙂
I dumped the hot water off and rinsed them in cold. Then I let them sit a bit so I could finish the basement…


Many people ask us why our sweet potato dishes are “greenish” instead of orange colored. I’ve heard it’s because many confuse yams and sweet potatoes as the same thing… But they are definitely different, lol! 🙂
My yield was five 4c containers and four 2c containers. (Every two cups weighed a little over one pound.) Wish I would have weighed all the potatoes before I started, but I forgot.
The reason I chose those sizes to freeze in, is because our two favorite uses for mashed sweet potatoes are a double batch of “Sweet Potato Puff” {I do tweak it a bit and use evaporated cane juice (ECJ) instead of white sugar, make my own brown sugar using ECJ & molasses, and usually omit the pecans as they are a luxury ingredient around here…} and sweet potato pie. (I sub white sugar with ECJ and my pie crust recipe is in this post…) 🙂
It wasn’t exactly how we planned to spend our day, but it appears as though the rescue effort was a success! And a good kick in the pants reminder to keep valuable items off our basement floor, lol! 🙂

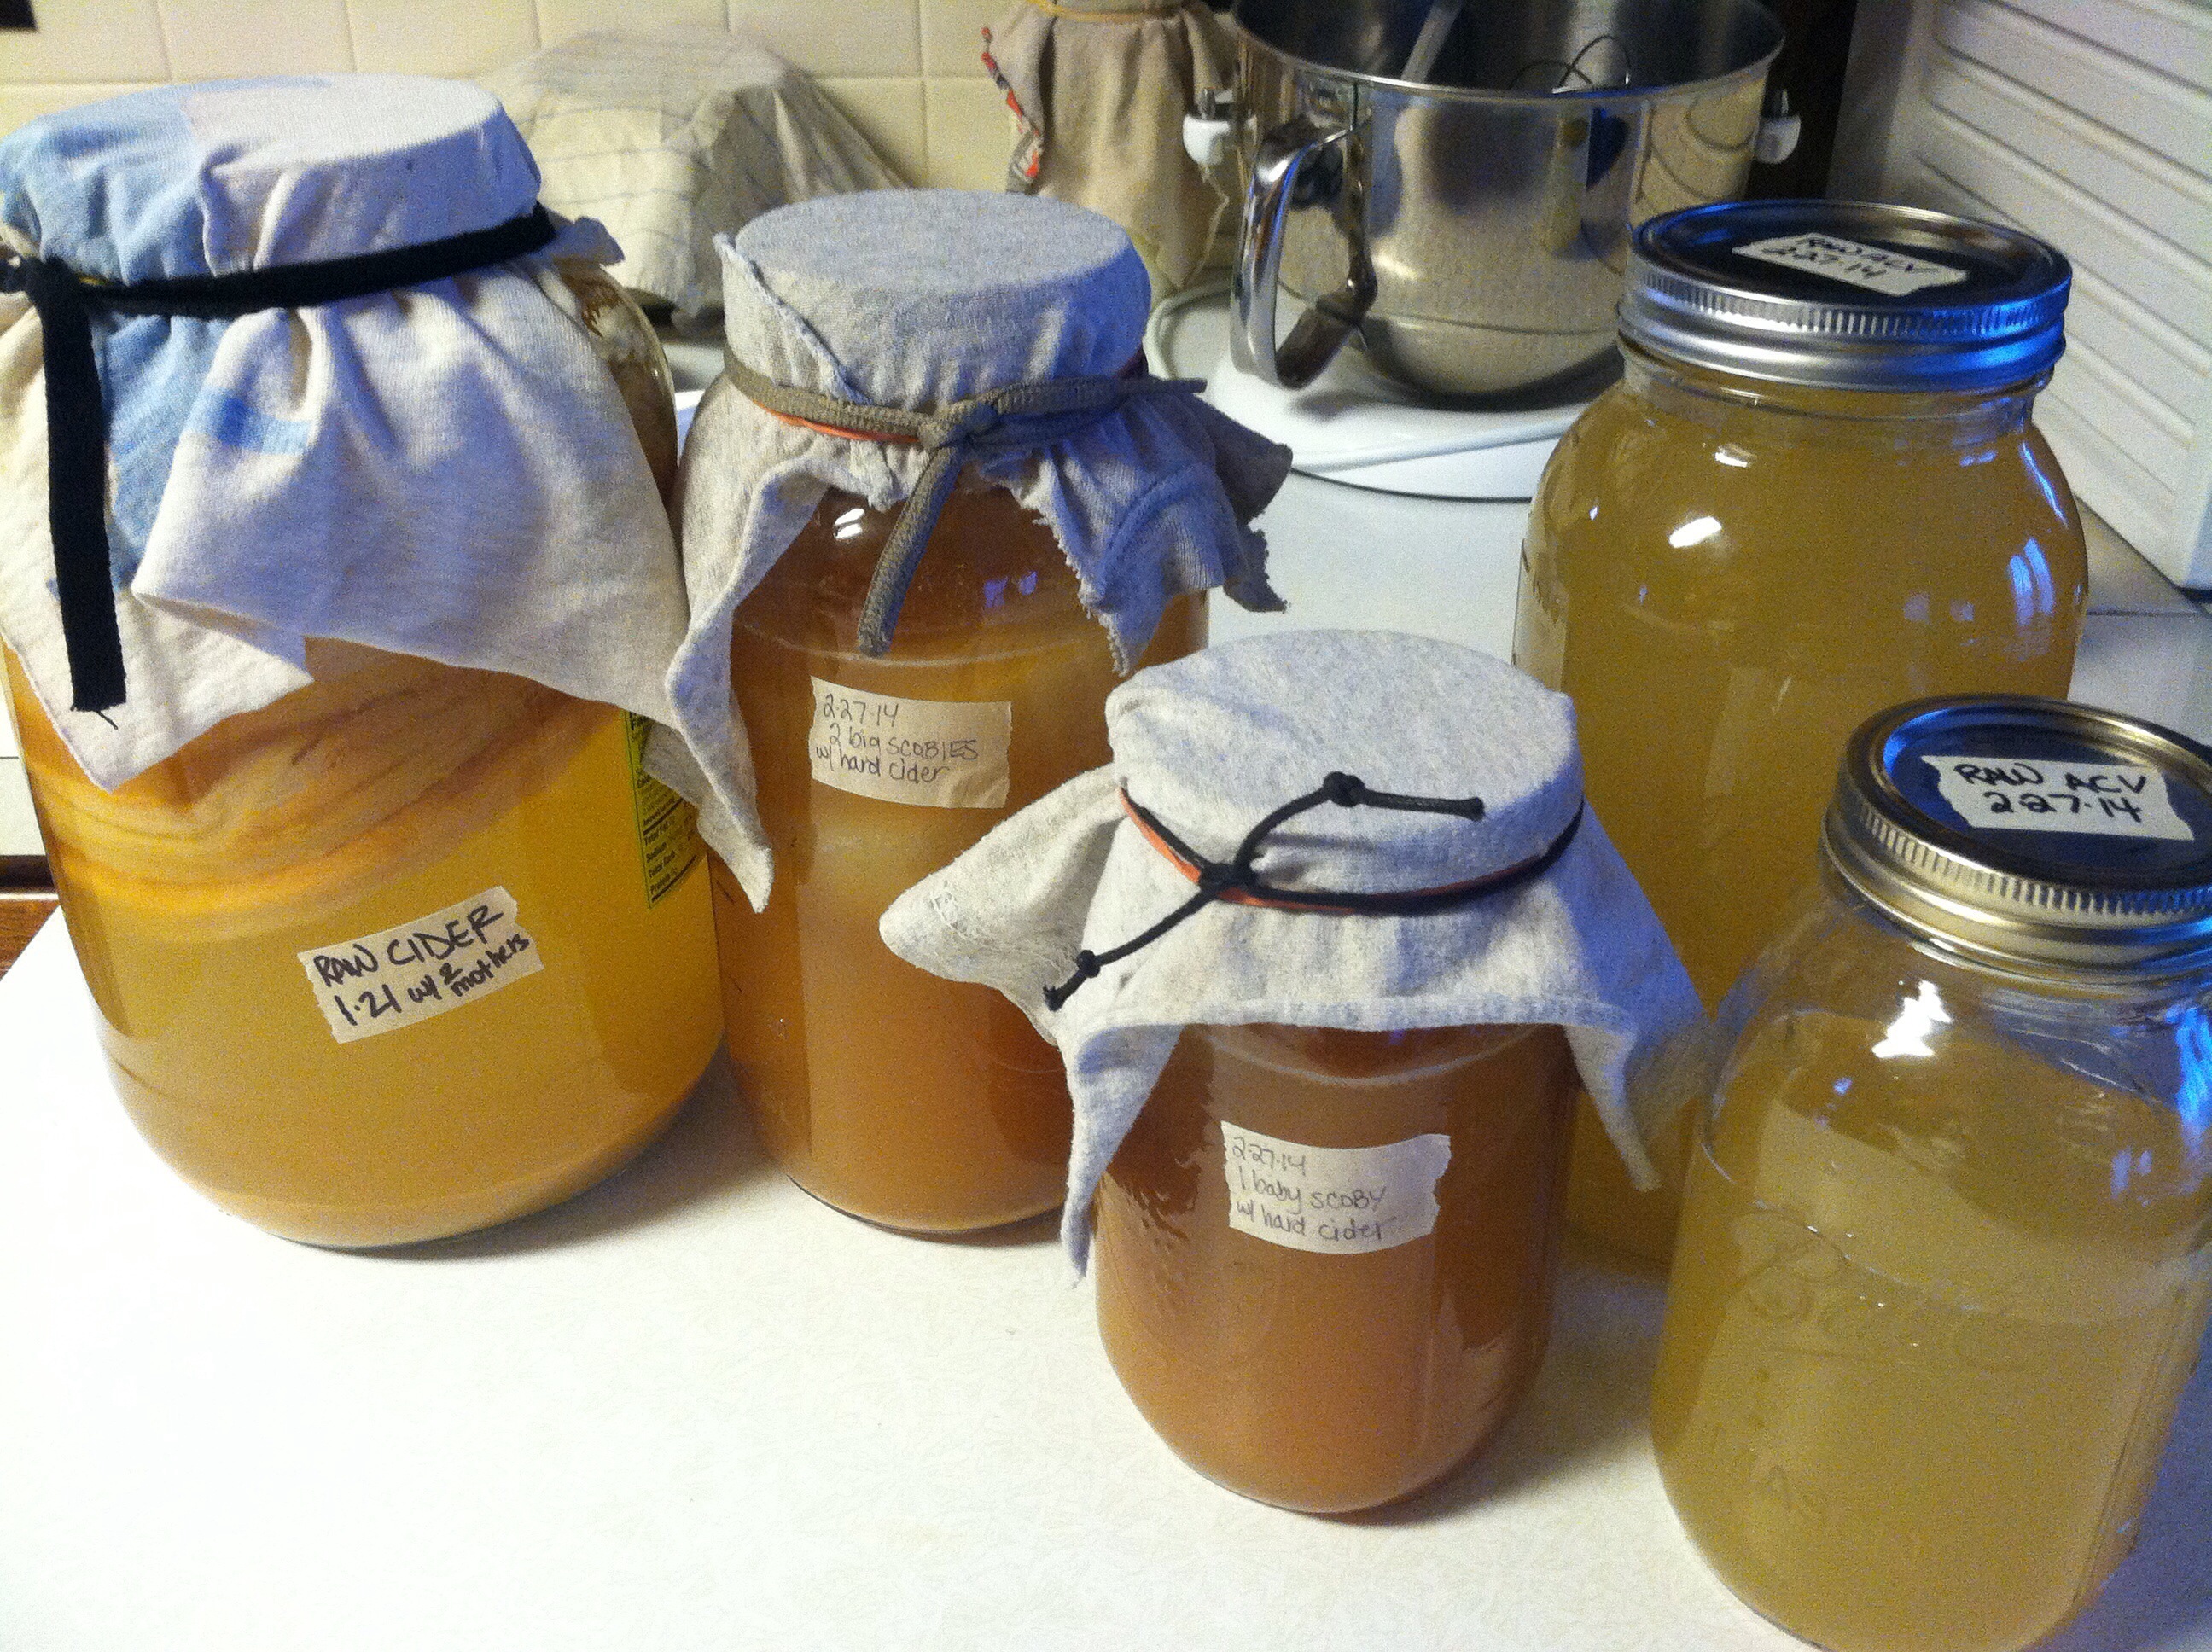
During the summer, we had bought a pint of Alander’s Acres raw apple cider vinegar+”mother”. Then this past fall, we bought some raw apple cider from down in Amish Country. We had read several different articles on how to make your own ACV, and after we were completely overwhelmed, decided to “wing it”, lol… 🙂
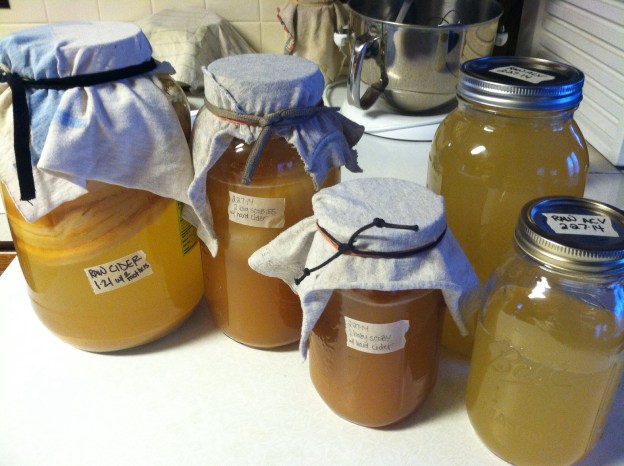
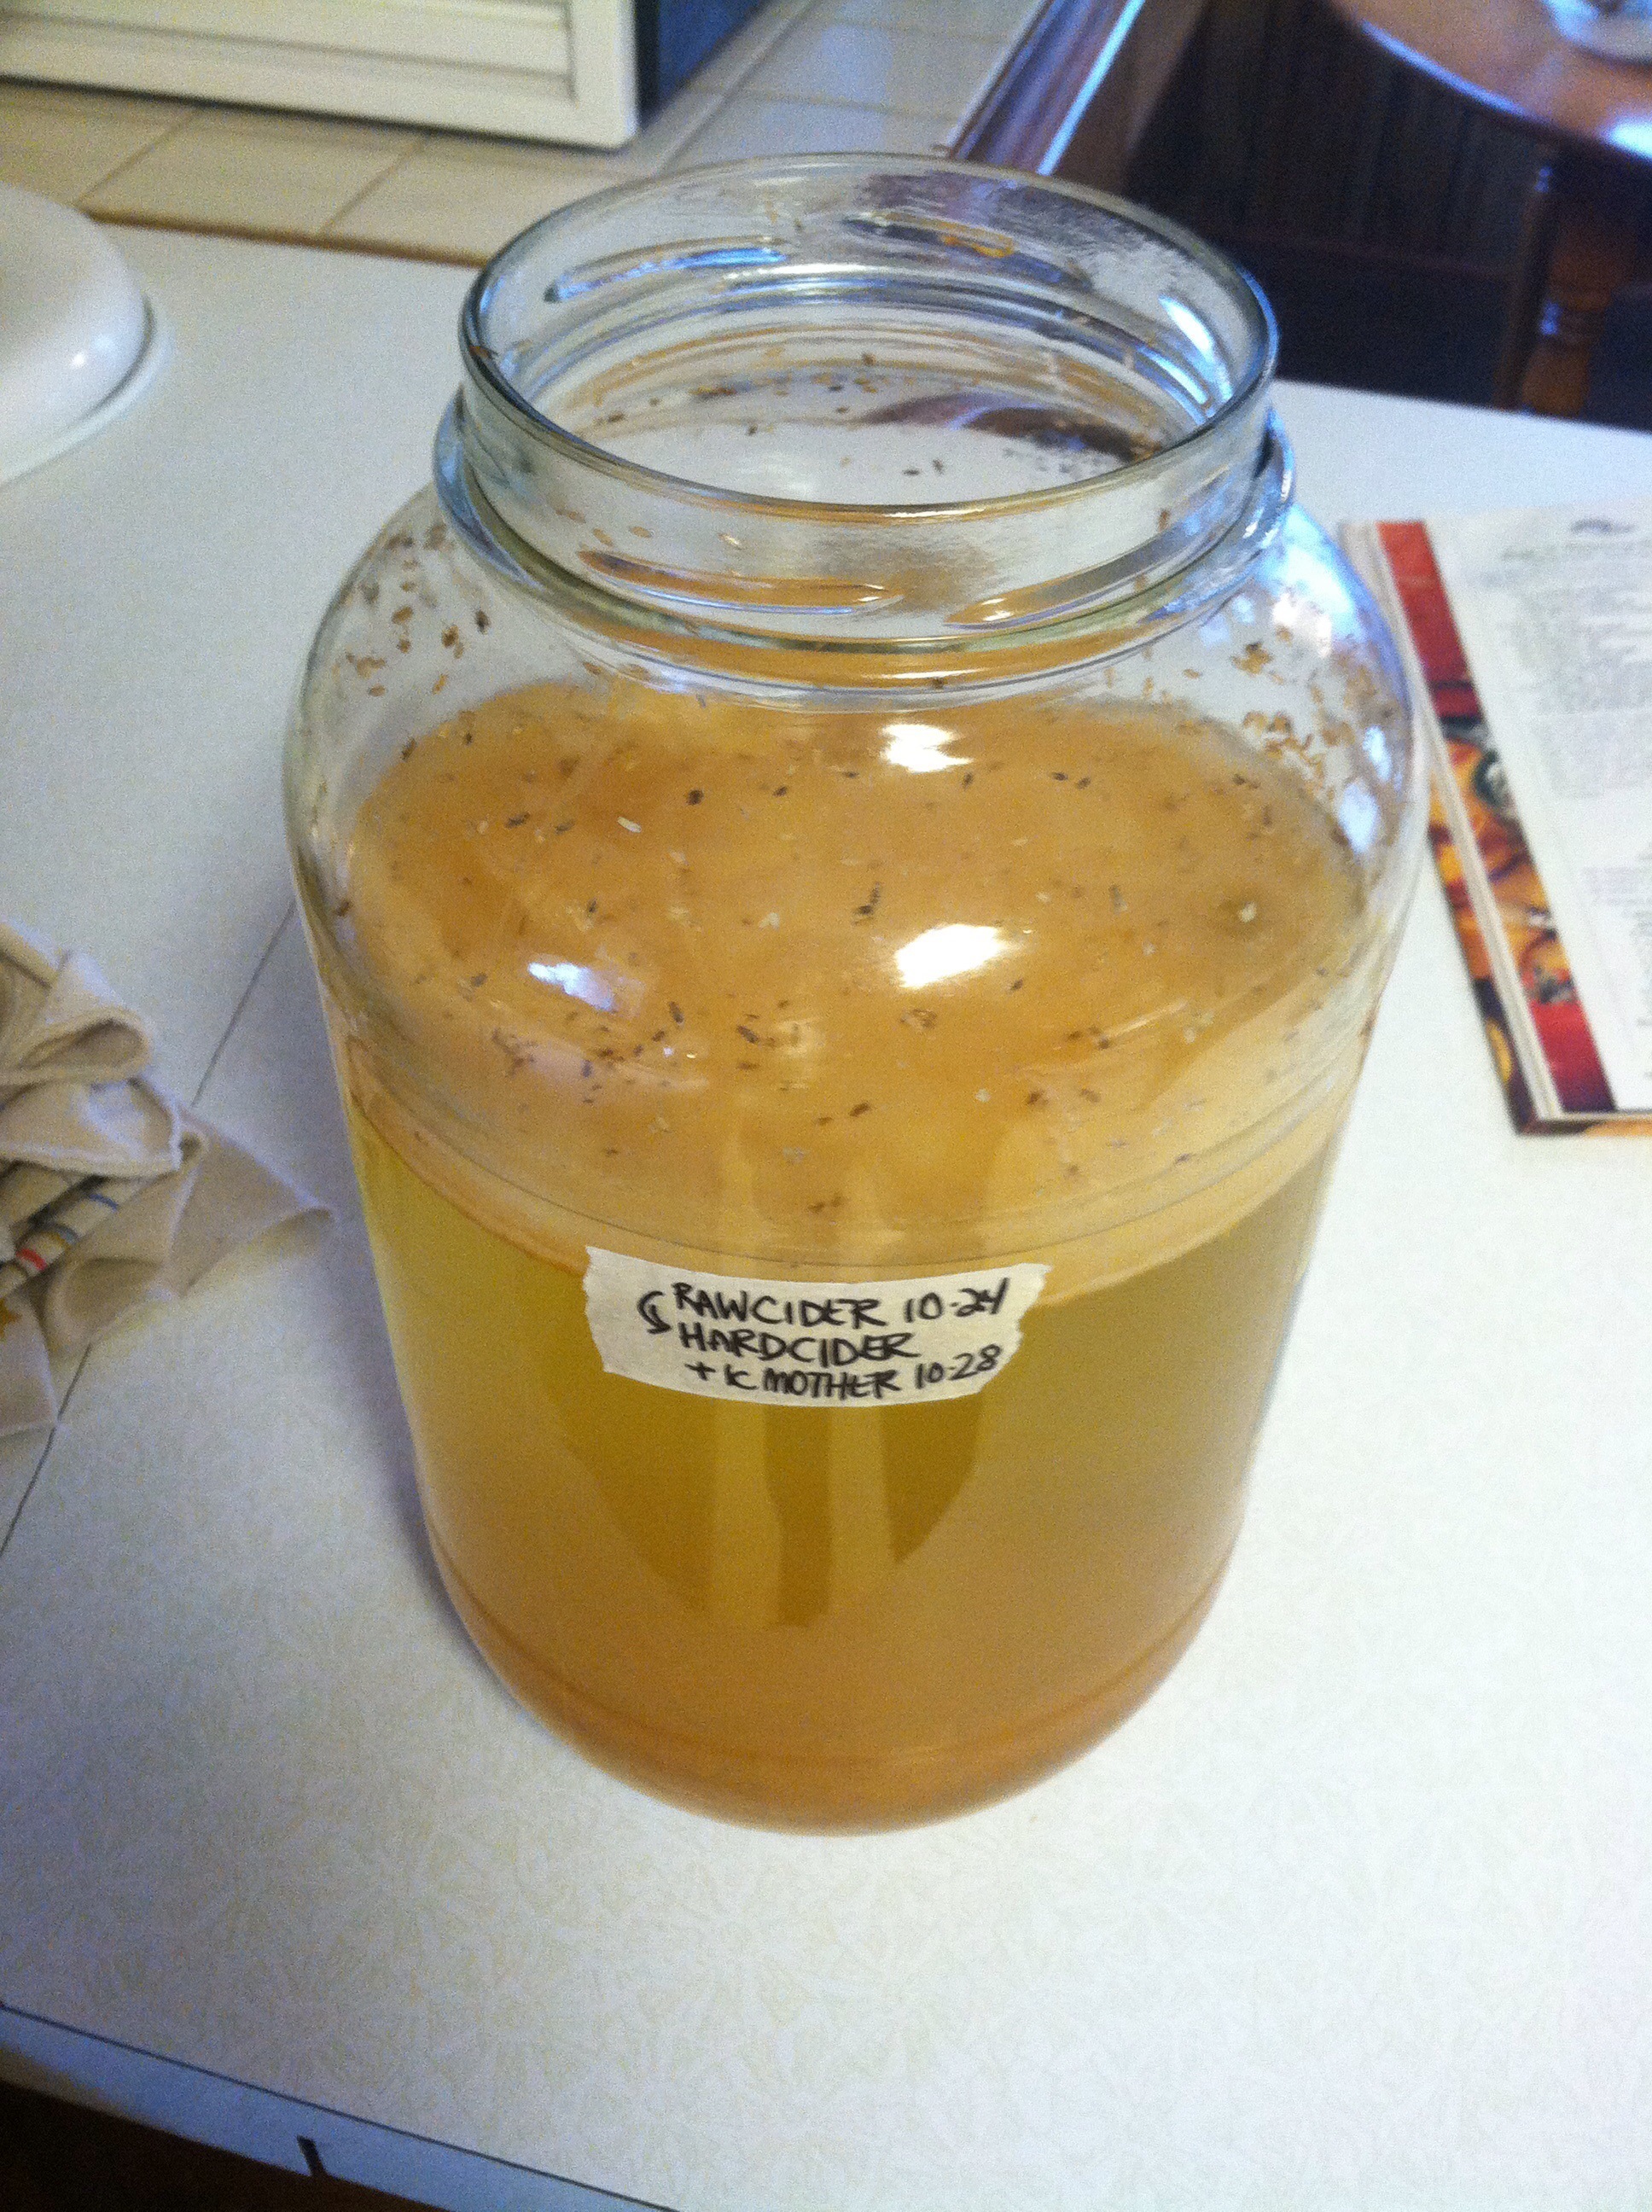
So we let two gallons of raw apple cider ferment for 4 days on our countertop. (This was our attempt to turn the cider into hard-cider, like one of the articles we had read said to do…) Transferred the cider from the plastic jugs they came in into glass gallon jars and added the rag + rubberband on top, so it could “breathe”. On the 4th day, we added one cup of the “mother”+ACV to each batch. Re-covered them & waited… Here’s the end result after 2 months. 🙂
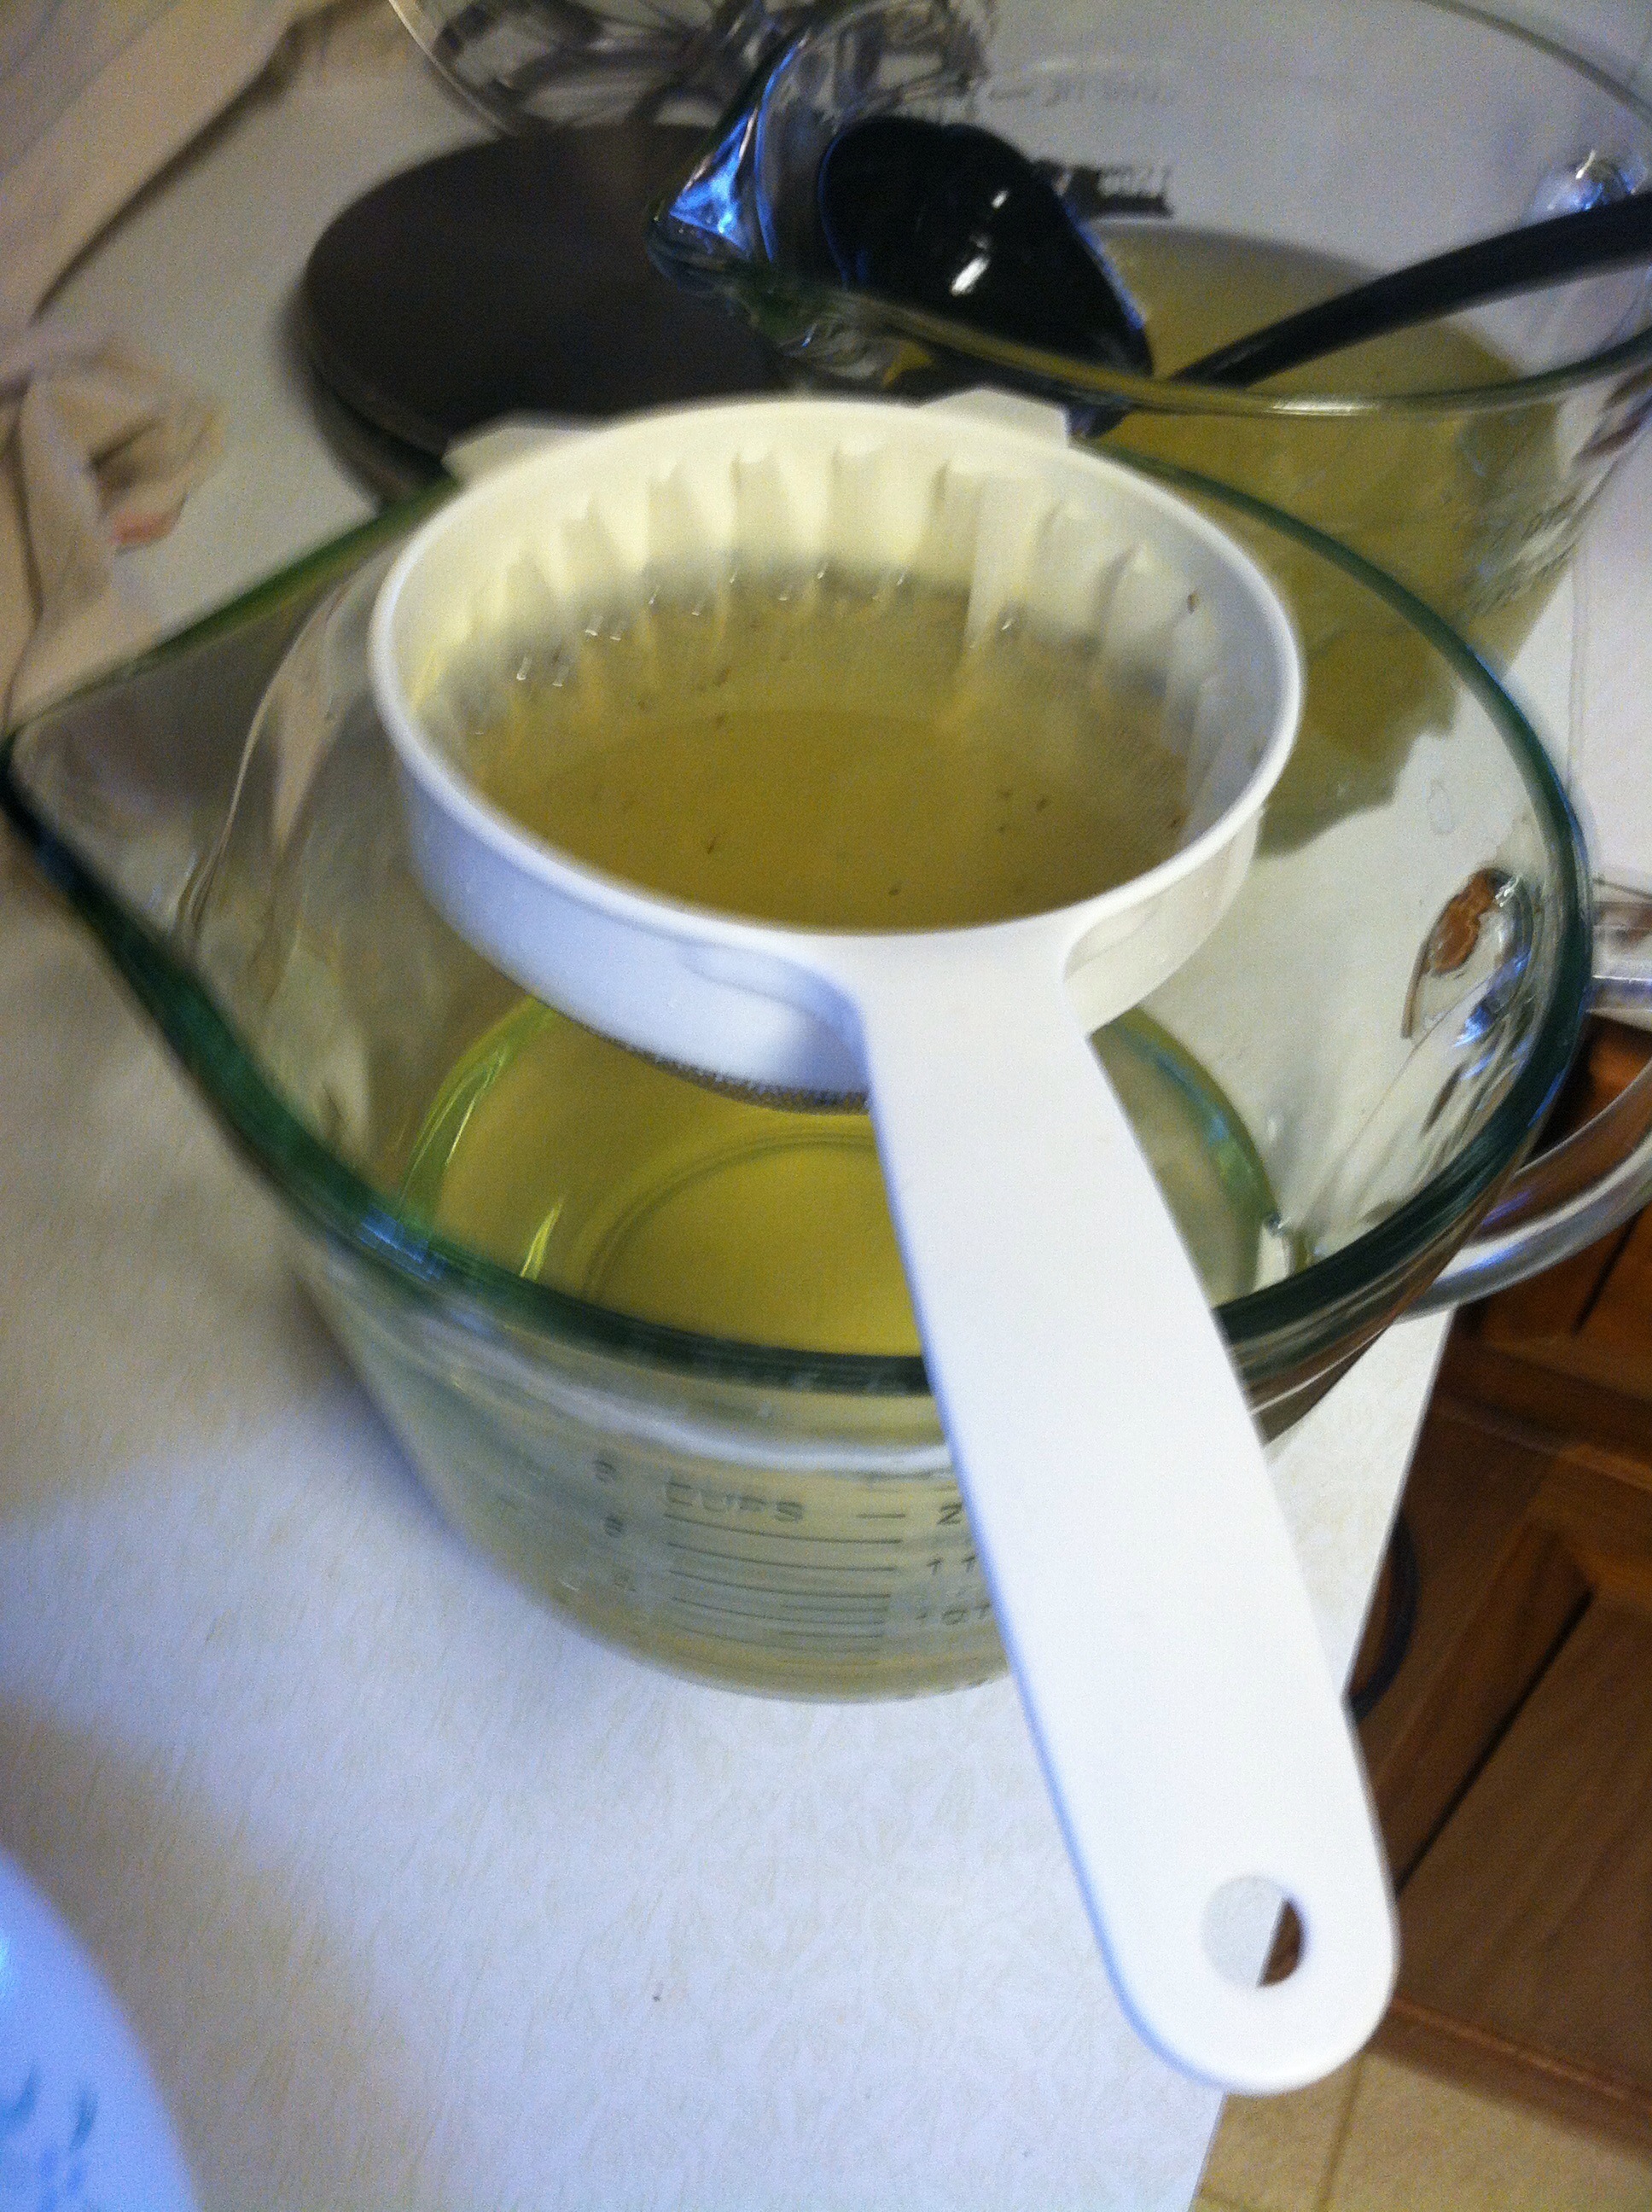
First, there’s the “sorta” successful batch. Rubberband had broken, so it was a fruit fly magnet. 😦 We were able to filter out the fruit flies and the vinegar was fine. But we threw the new “mother” or “scoby” (symbiotic colony of bacteria and yeast) away. Figured there were probably fruit fly eggs that had been laid on it. 😦
Fortunately, the rubberband didn’t break on the other jar! 🙂
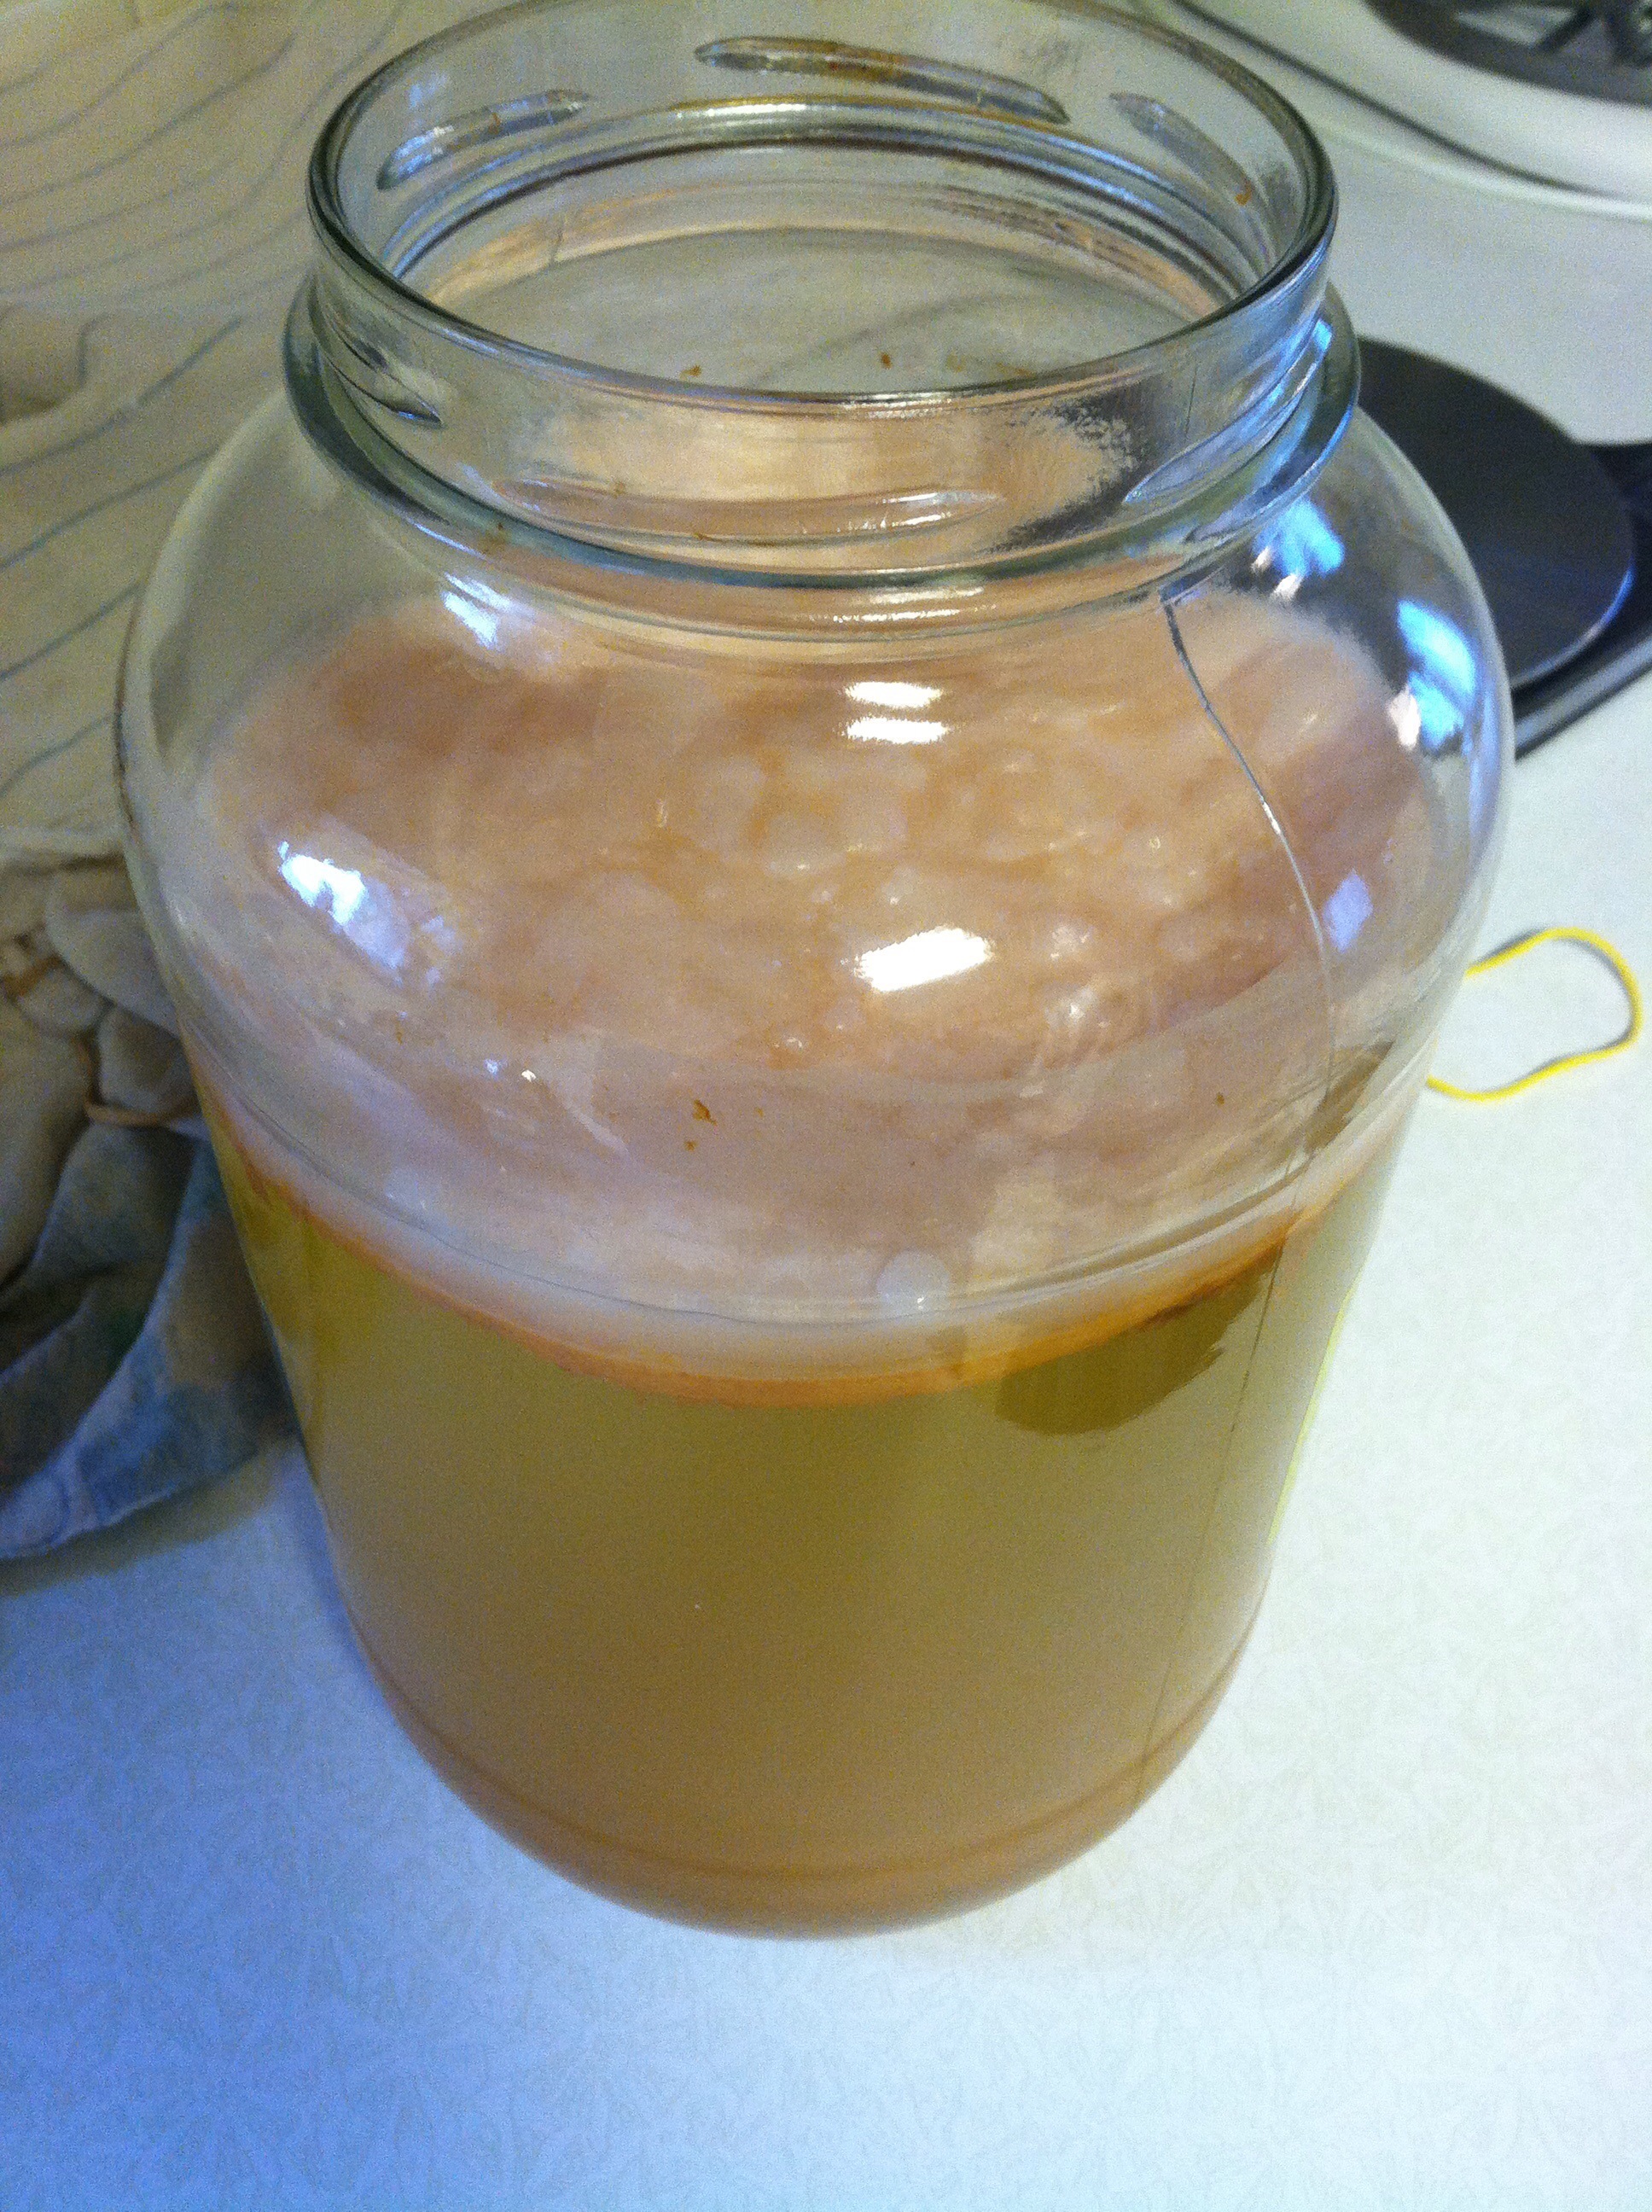

This is the “mother” we threw away…


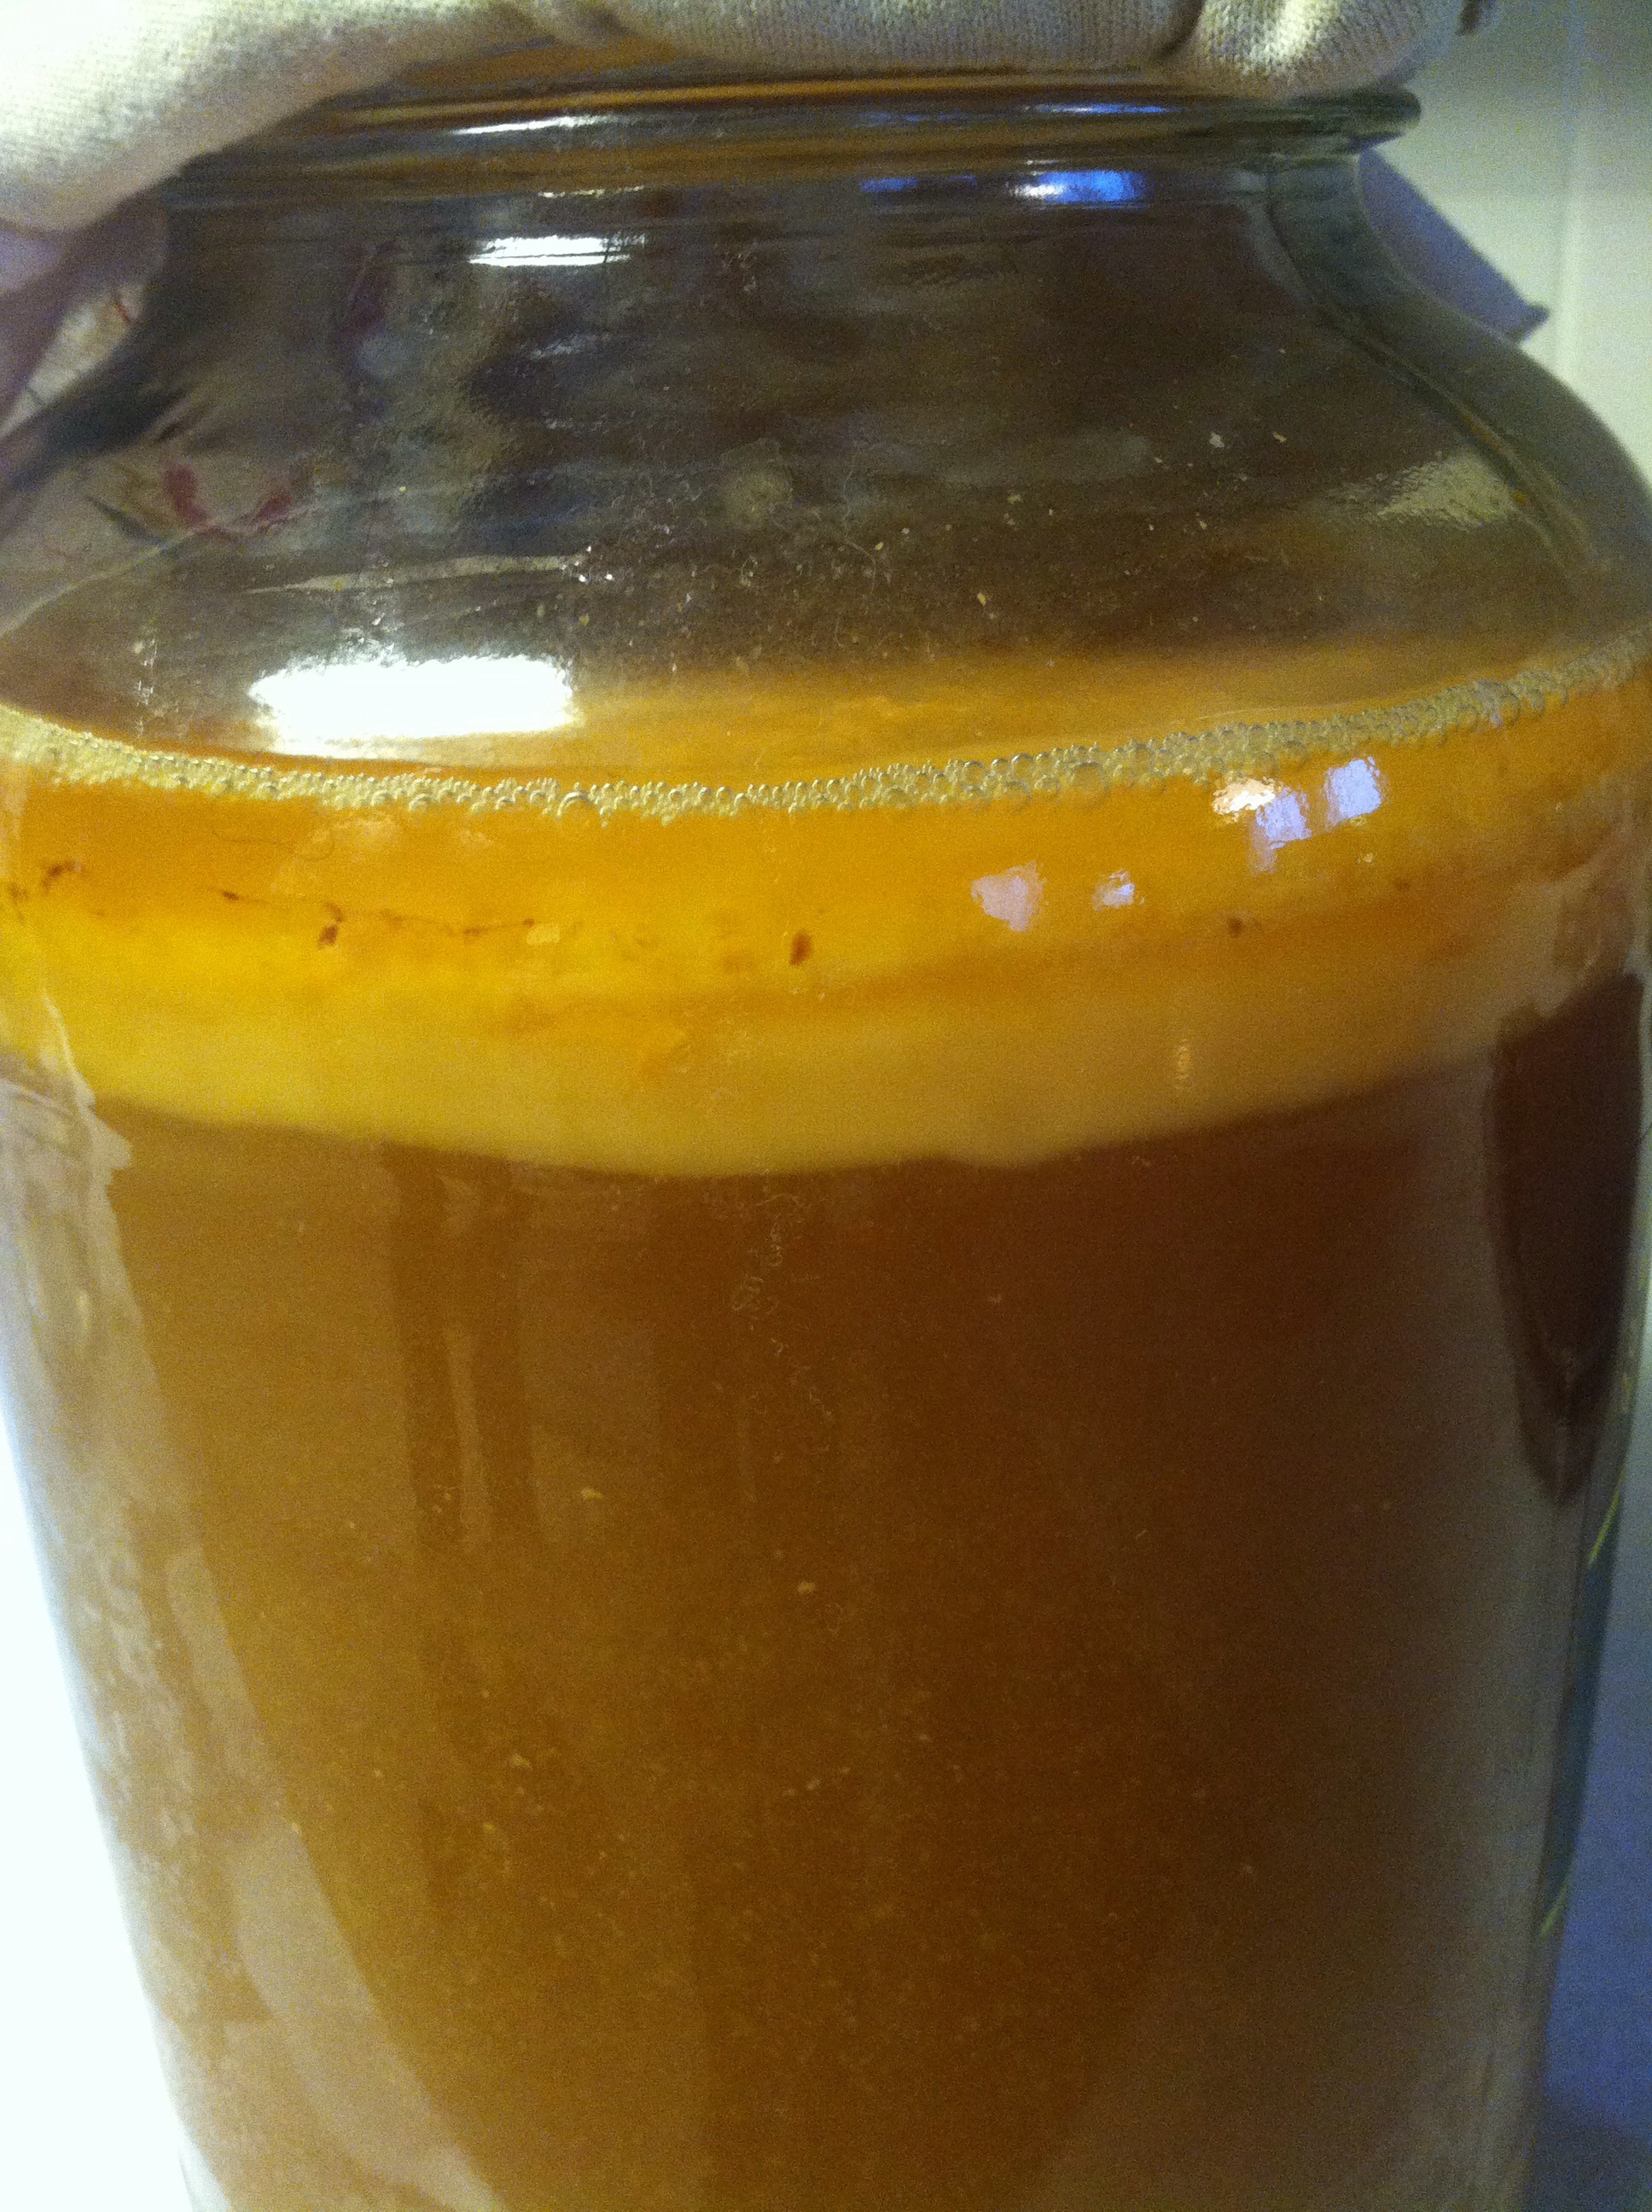
Here’s the “mother” from the good batch in the new raw apple cider – I forgot to take a pic of it when it was on the plate, but you can see how much nicer/thicker it grew… 🙂
For this new batch that is fermenting right now, we decided to skip the part where we try to turn the cider into hard-cider. Just threw the new “mother” in the fresh gallon of raw cider along with 1c of the raw ACV from the previous batch. Perhaps a future blog post will reveal that outcome… 🙂
Moral of the story: always back-up your rubberbands, lol! 🙂
Oh – and what do we do with all our ACV??
Canning and pickling…
Healthy salad dressings (I prefer oil & vinegar as a salad dressing, but the boys prefer this ranch dressing)…
In our roasters as we cook down our beef and chicken broth (it helps to draw minerals like calcium, magnesium, and potassium into the broth)…
And in a tonic we drink to help keep our immune systems strong:
2T honey + 2T raw ACV + 1/2 gallon water all blended together. We each drink maybe 1c every other day or so… Click here for more fun beverage ideas. 🙂
Had two marathon suet rendering days here this week, last week, a couple weeks ago, LAST MONTH, lol… Yeah. That’s how it’s been around here. Start writing a post one day and the next thing you know it’s over 30 days later! 😦
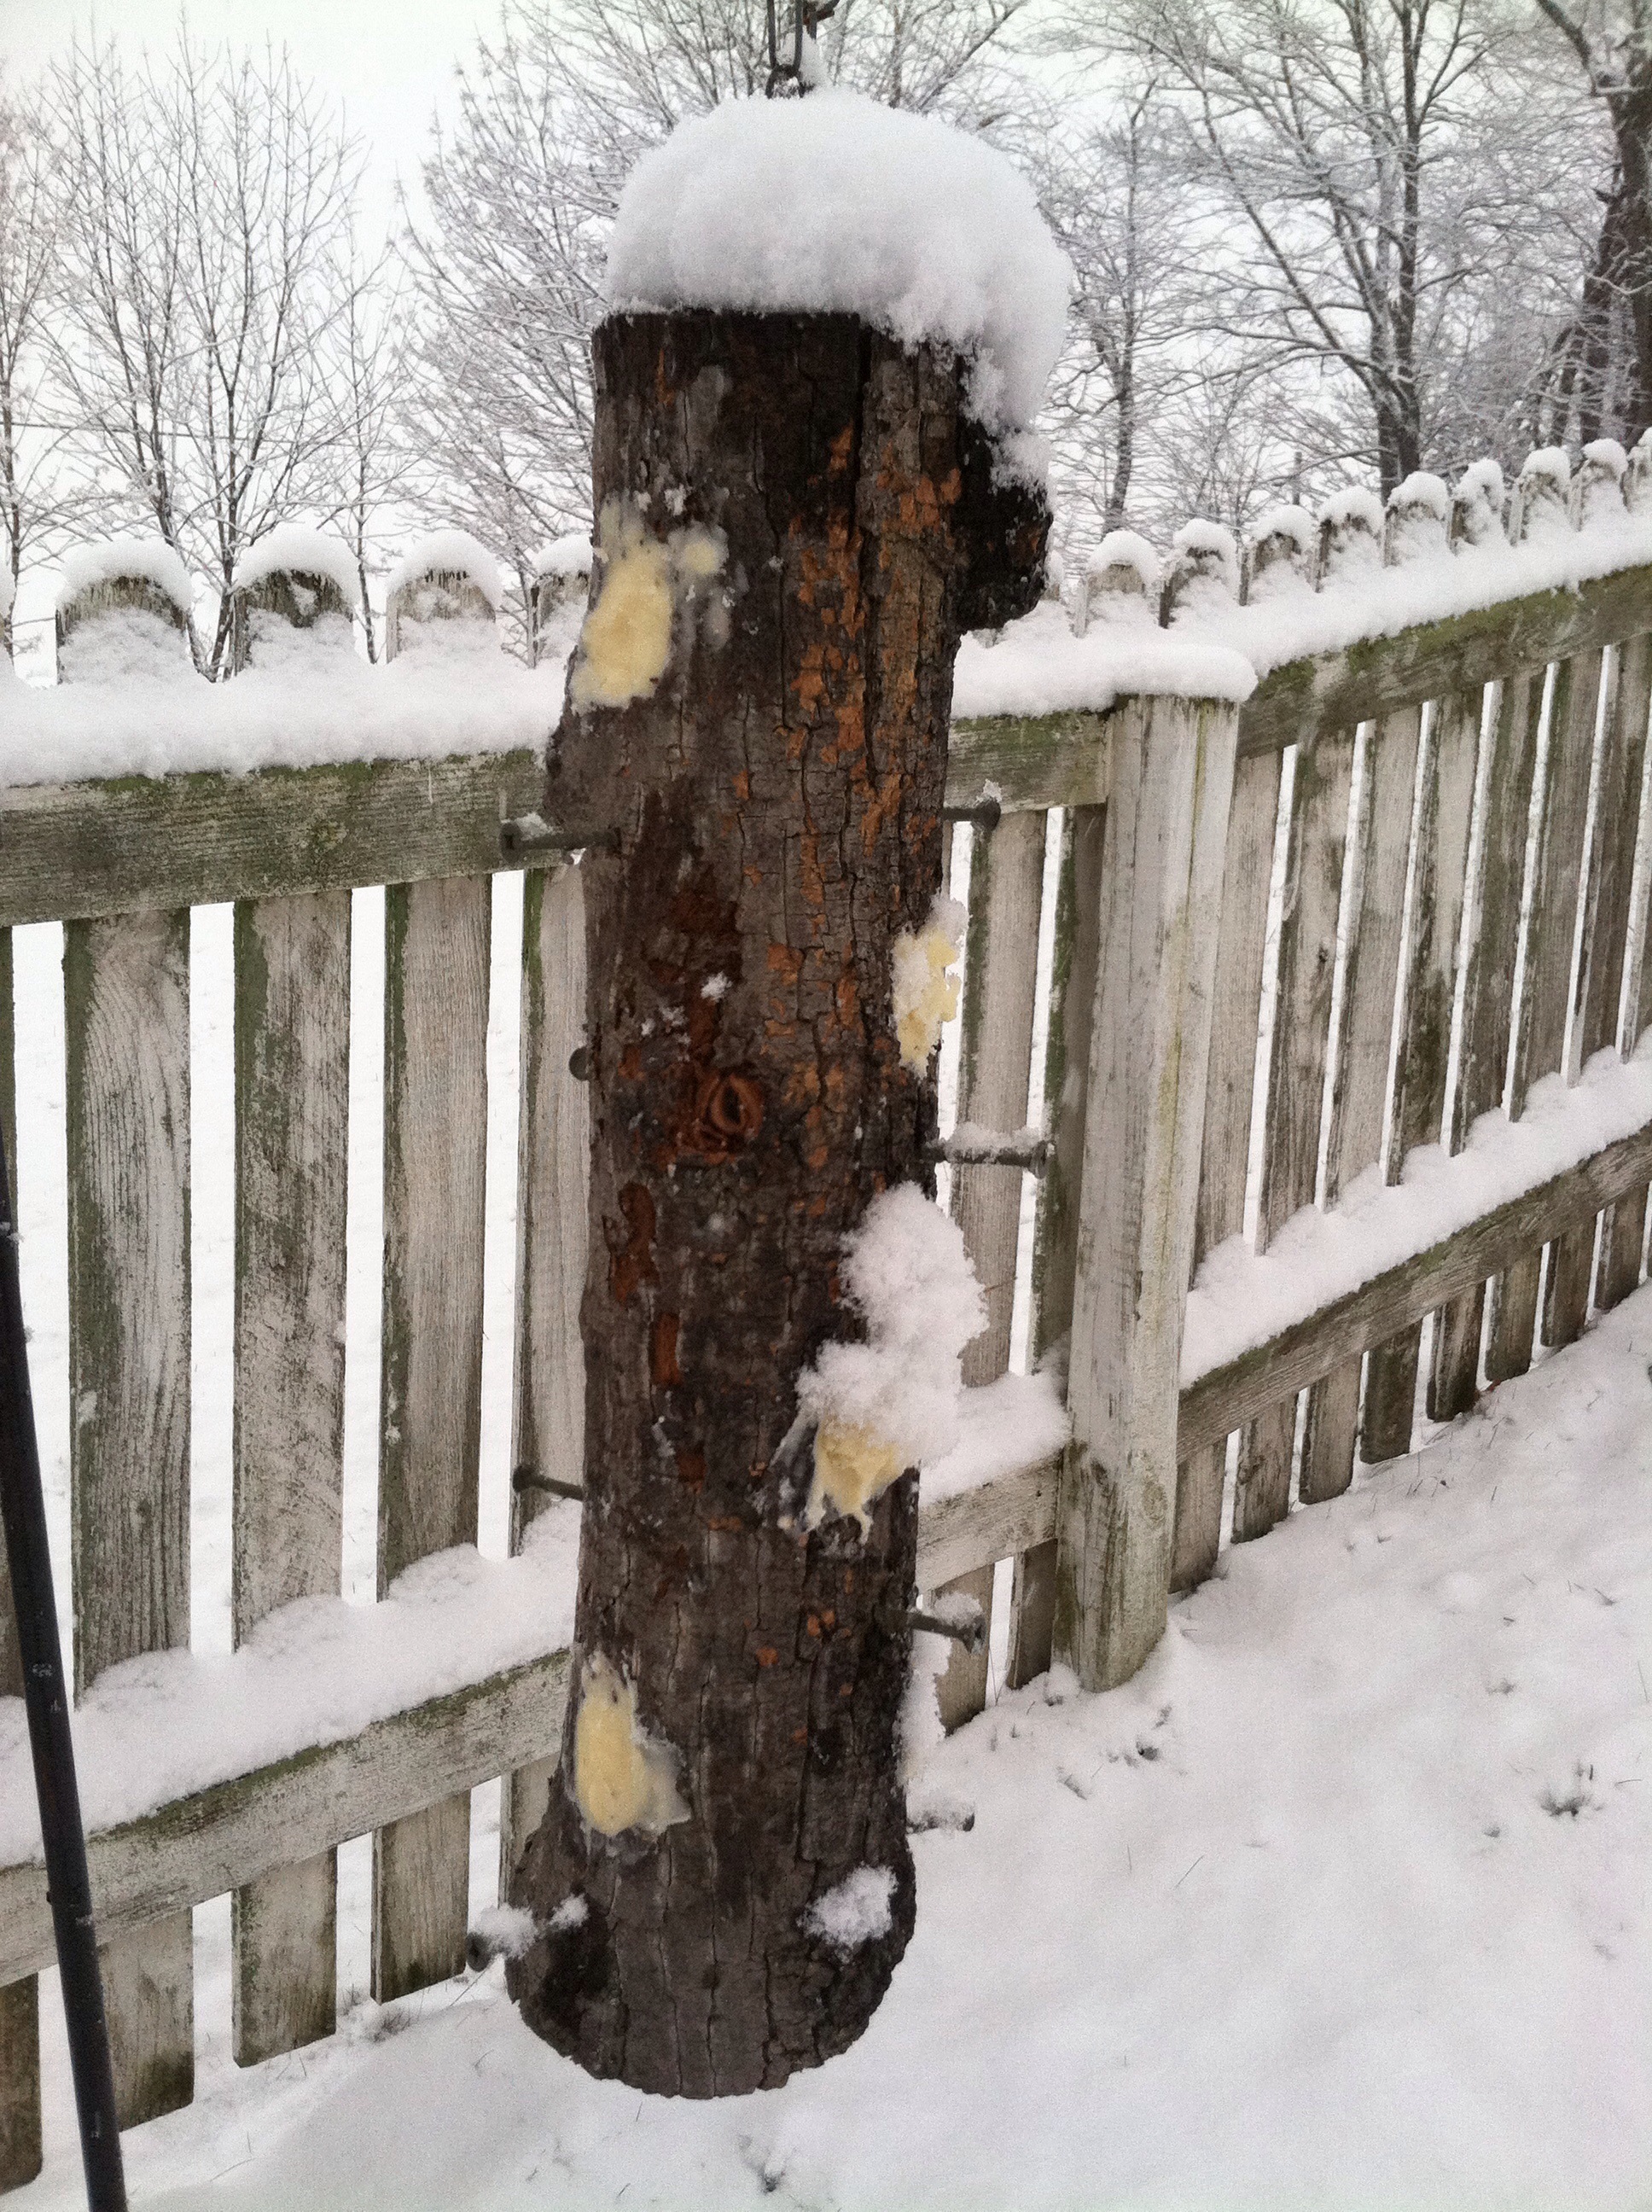
We rendered suet (fat around the kidney) a couple years ago, when we made tallow filled birdfeeder logs. But it was a messy job that no one was very fond of. So we weren’t gonna mess with it anymore – EXCEPT I kept hearing & reading about how healthy tallow from grass-fed beef is! It’s not just for the birds, lol… 🙂
Anyways…
Every time we take a beef in to get butchered, we get all the suet – the fat from around the kidney. (Why? Oh, because deep down, we want to be more efficient with what we have… But we are s-l-o-w learners!) After awhile, all that fat takes up a lot of freezer space (duh), lol… So getting these big awkward chunks of suet out has been nice. 🙂
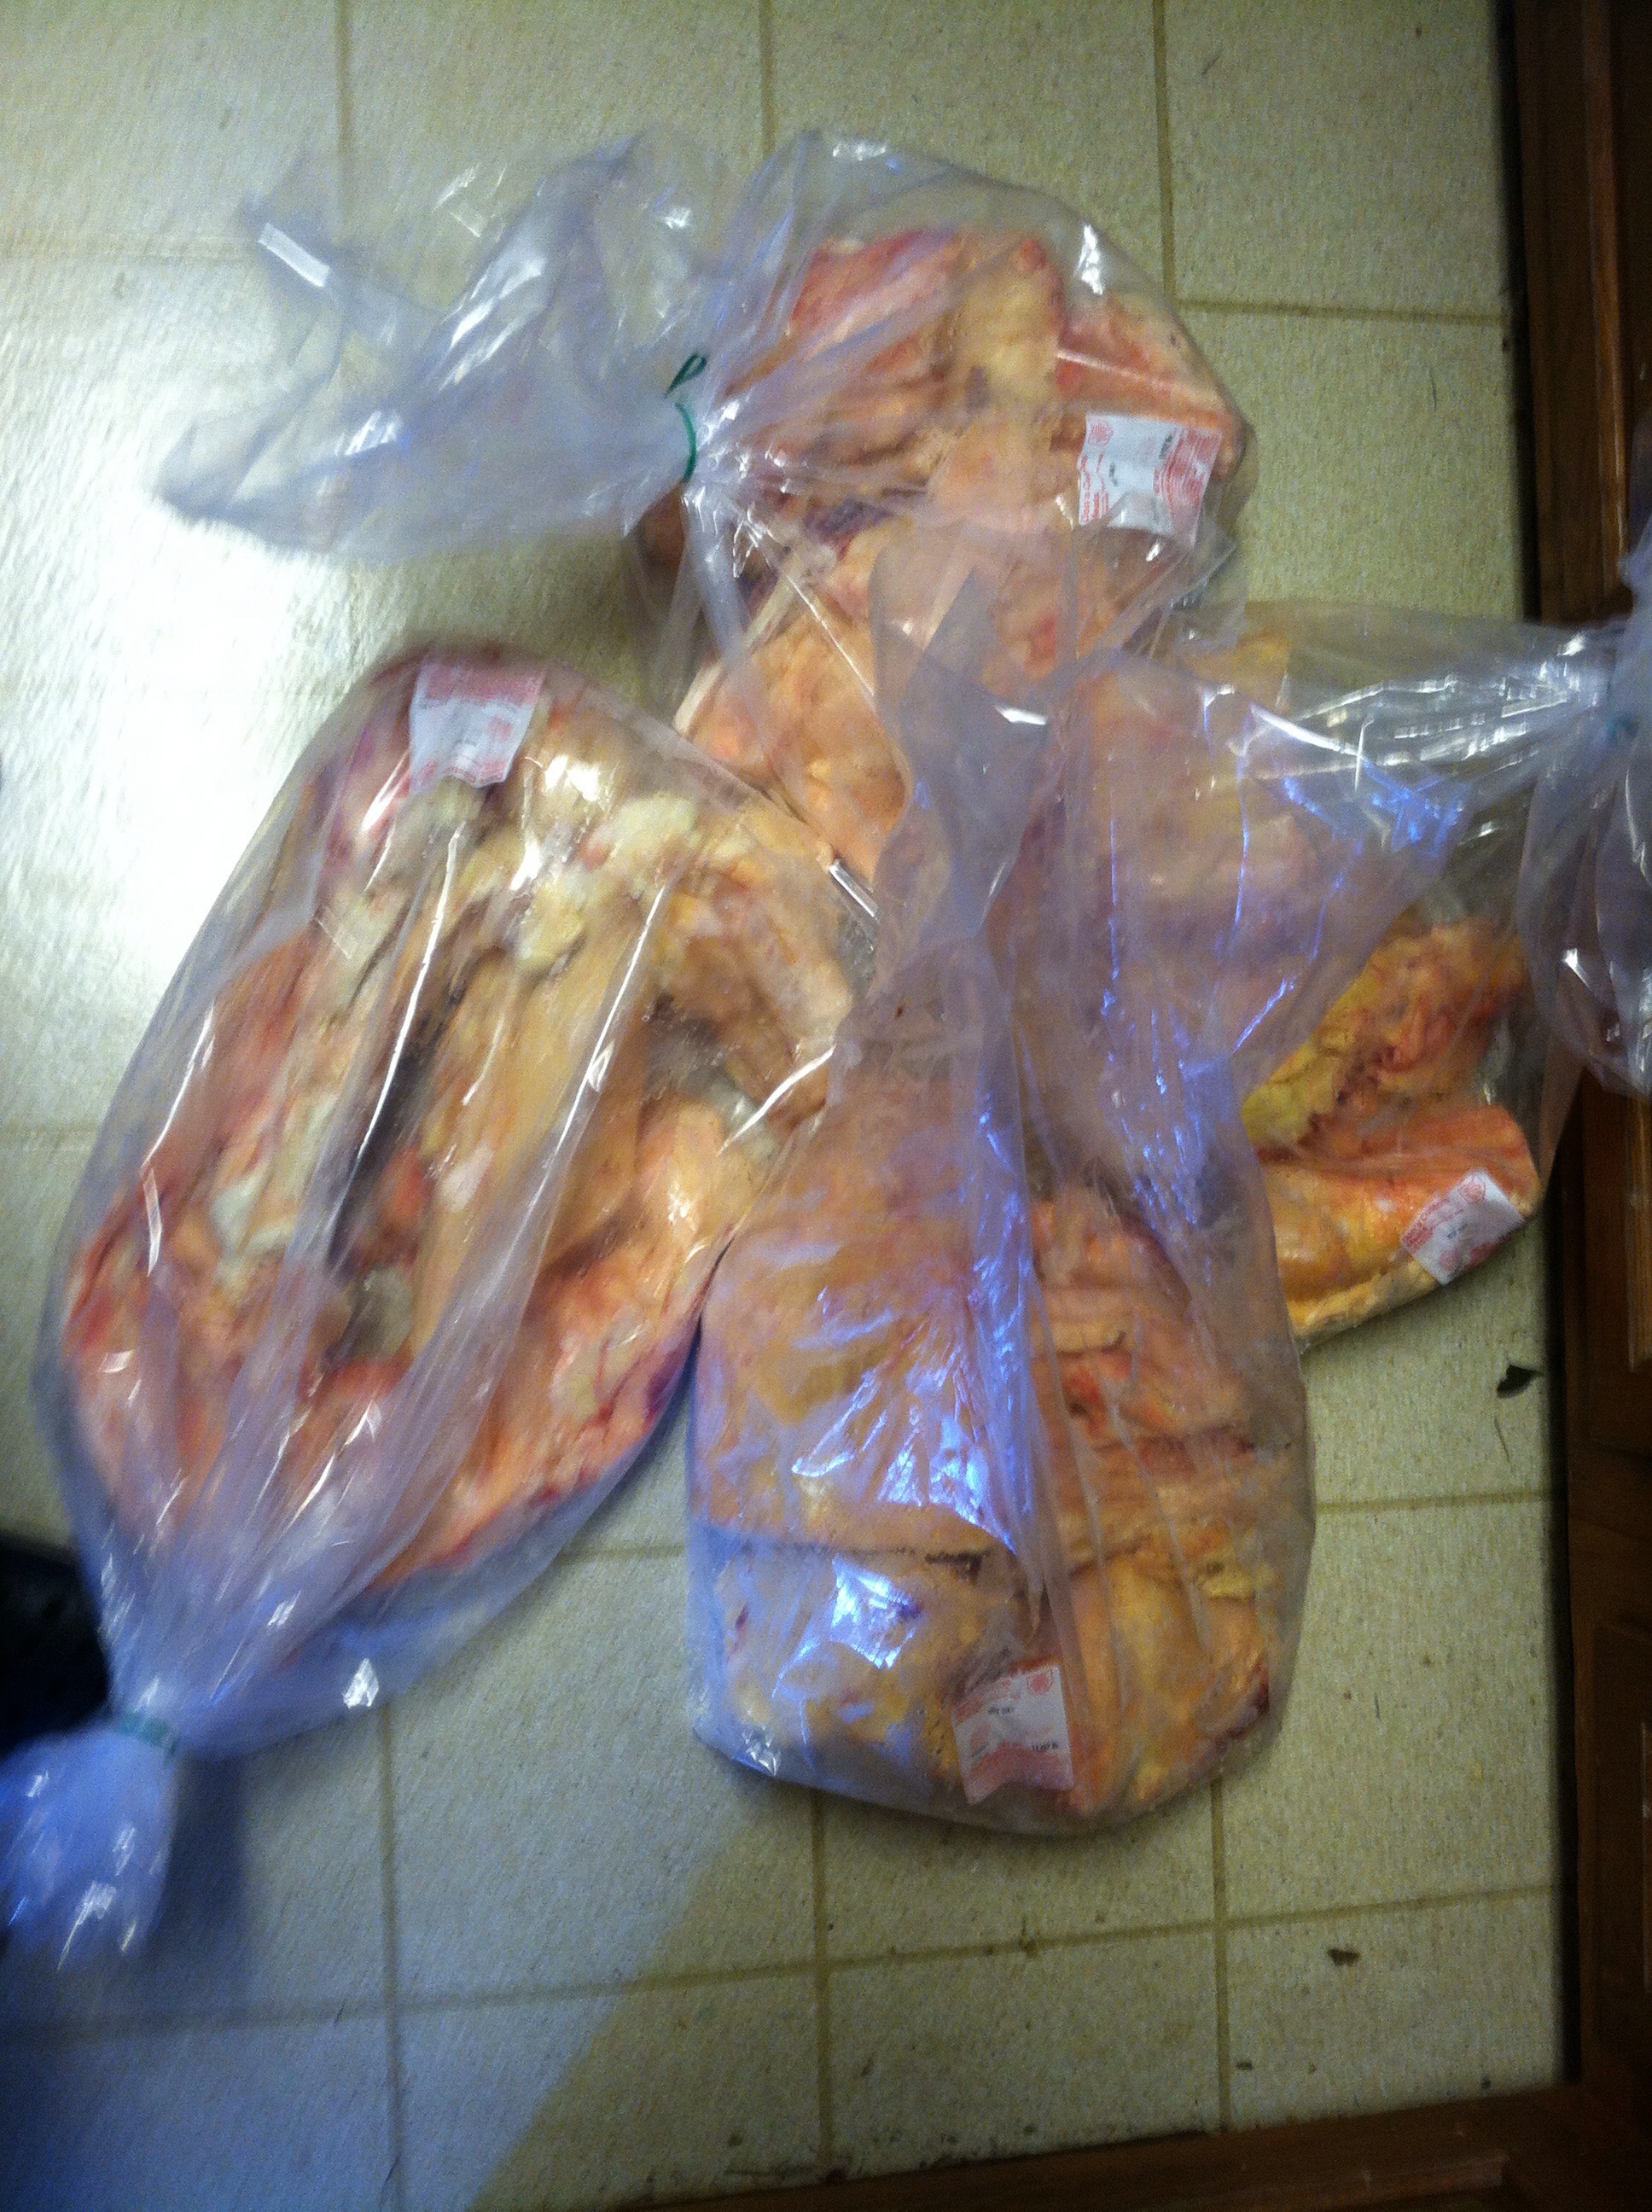
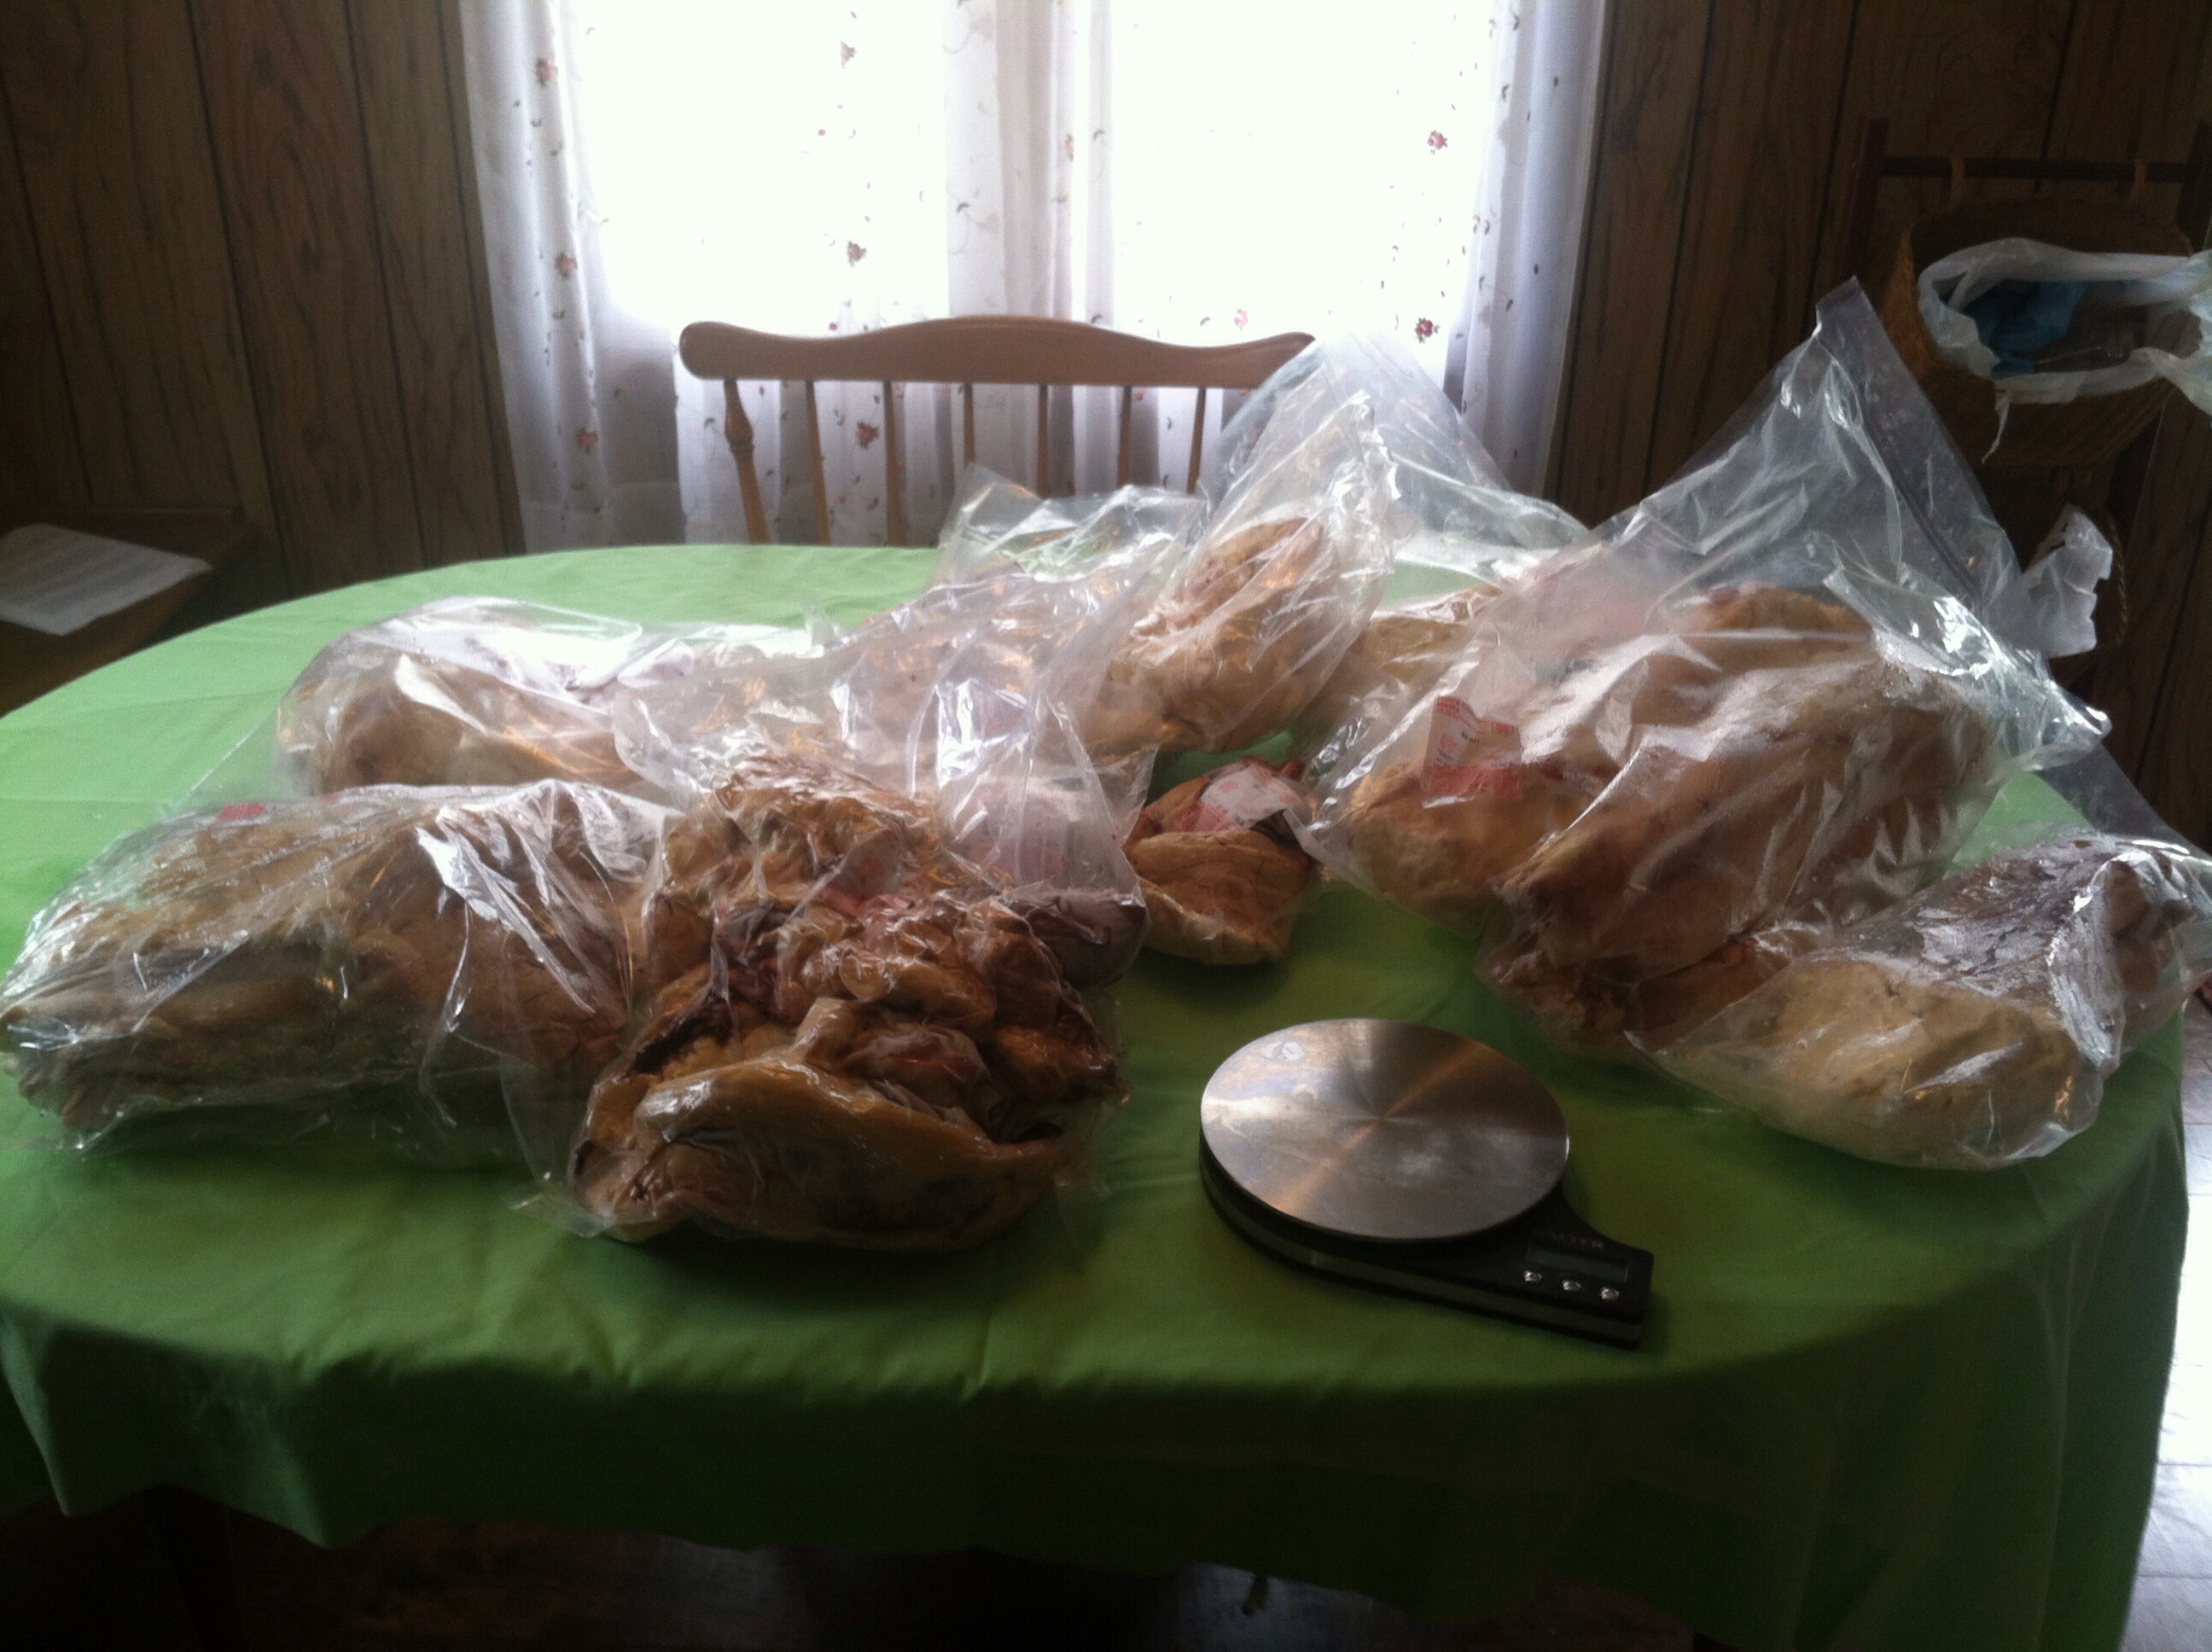
Day #1, we rendered these four bags: a little over 45 pounds. 🙂
Day #2 my 3 boys weren’t available to help, so my dear friend, Angie, came down & we rendered another 65 lbs. BLESS HER HEART! 🙂
And it was cool how this task fit in perfectly with our health lessons for school. 🙂 Coordinated well with studying about why we’ve chosen to try to consume less corn/processed foods, avoid trans fats, and eat more of the natural, saturated fats. Here’s a link to a great flier from the Weston A. Price Foundation: All About Trans Fats, and here’s a link to the health textbook we are using: Real Food Nutrition & Health.
Here are several of the sites I used for my research of tallow & the rendering process. Click on their names to go to their articles: realfoodforager.com and gnowfglins.com and nourishingdays.com and theprairiehomestead.com.
This post will walk you through our journey, and hopefully by the end, we’ll have a confirmed method. 🙂
Since: the smaller the pieces of suet, the quicker the fat will “melt”, we first ran cut-up pieces of fat through the meat grinder attachment on our mixer. (This is how we did it a couple years ago.) But it was really hard on the mixer after just a few batches, so we decided to stop since we had such a large quantity to render. (All the suet was partially thawed, because it’s easier to cut it when it’s more firm.)


Then we tried using our 17-year-old electric knife. After a few slices, it started to smell like it was burning up, so we stopped using it as well. 😦

Then we cut chunks with a regular old knife and I just used my hands to pull it into smaller pieces. It worked just fine (for me)… My 3 boys were less than thrilled at this option, lol… Yes, this is a GREASY, DIRTY JOB!
{Speaking of “greasy” – Cleanup from this process requires SUPER HOT WATER and preferably, lye soap. And I say that because we have both lye soap & a generic dish liquid that we used during cleanup. Hands down, my homemade Alander’s Acres lye soap cut through the grease soooo much better than the other stuff! :)}
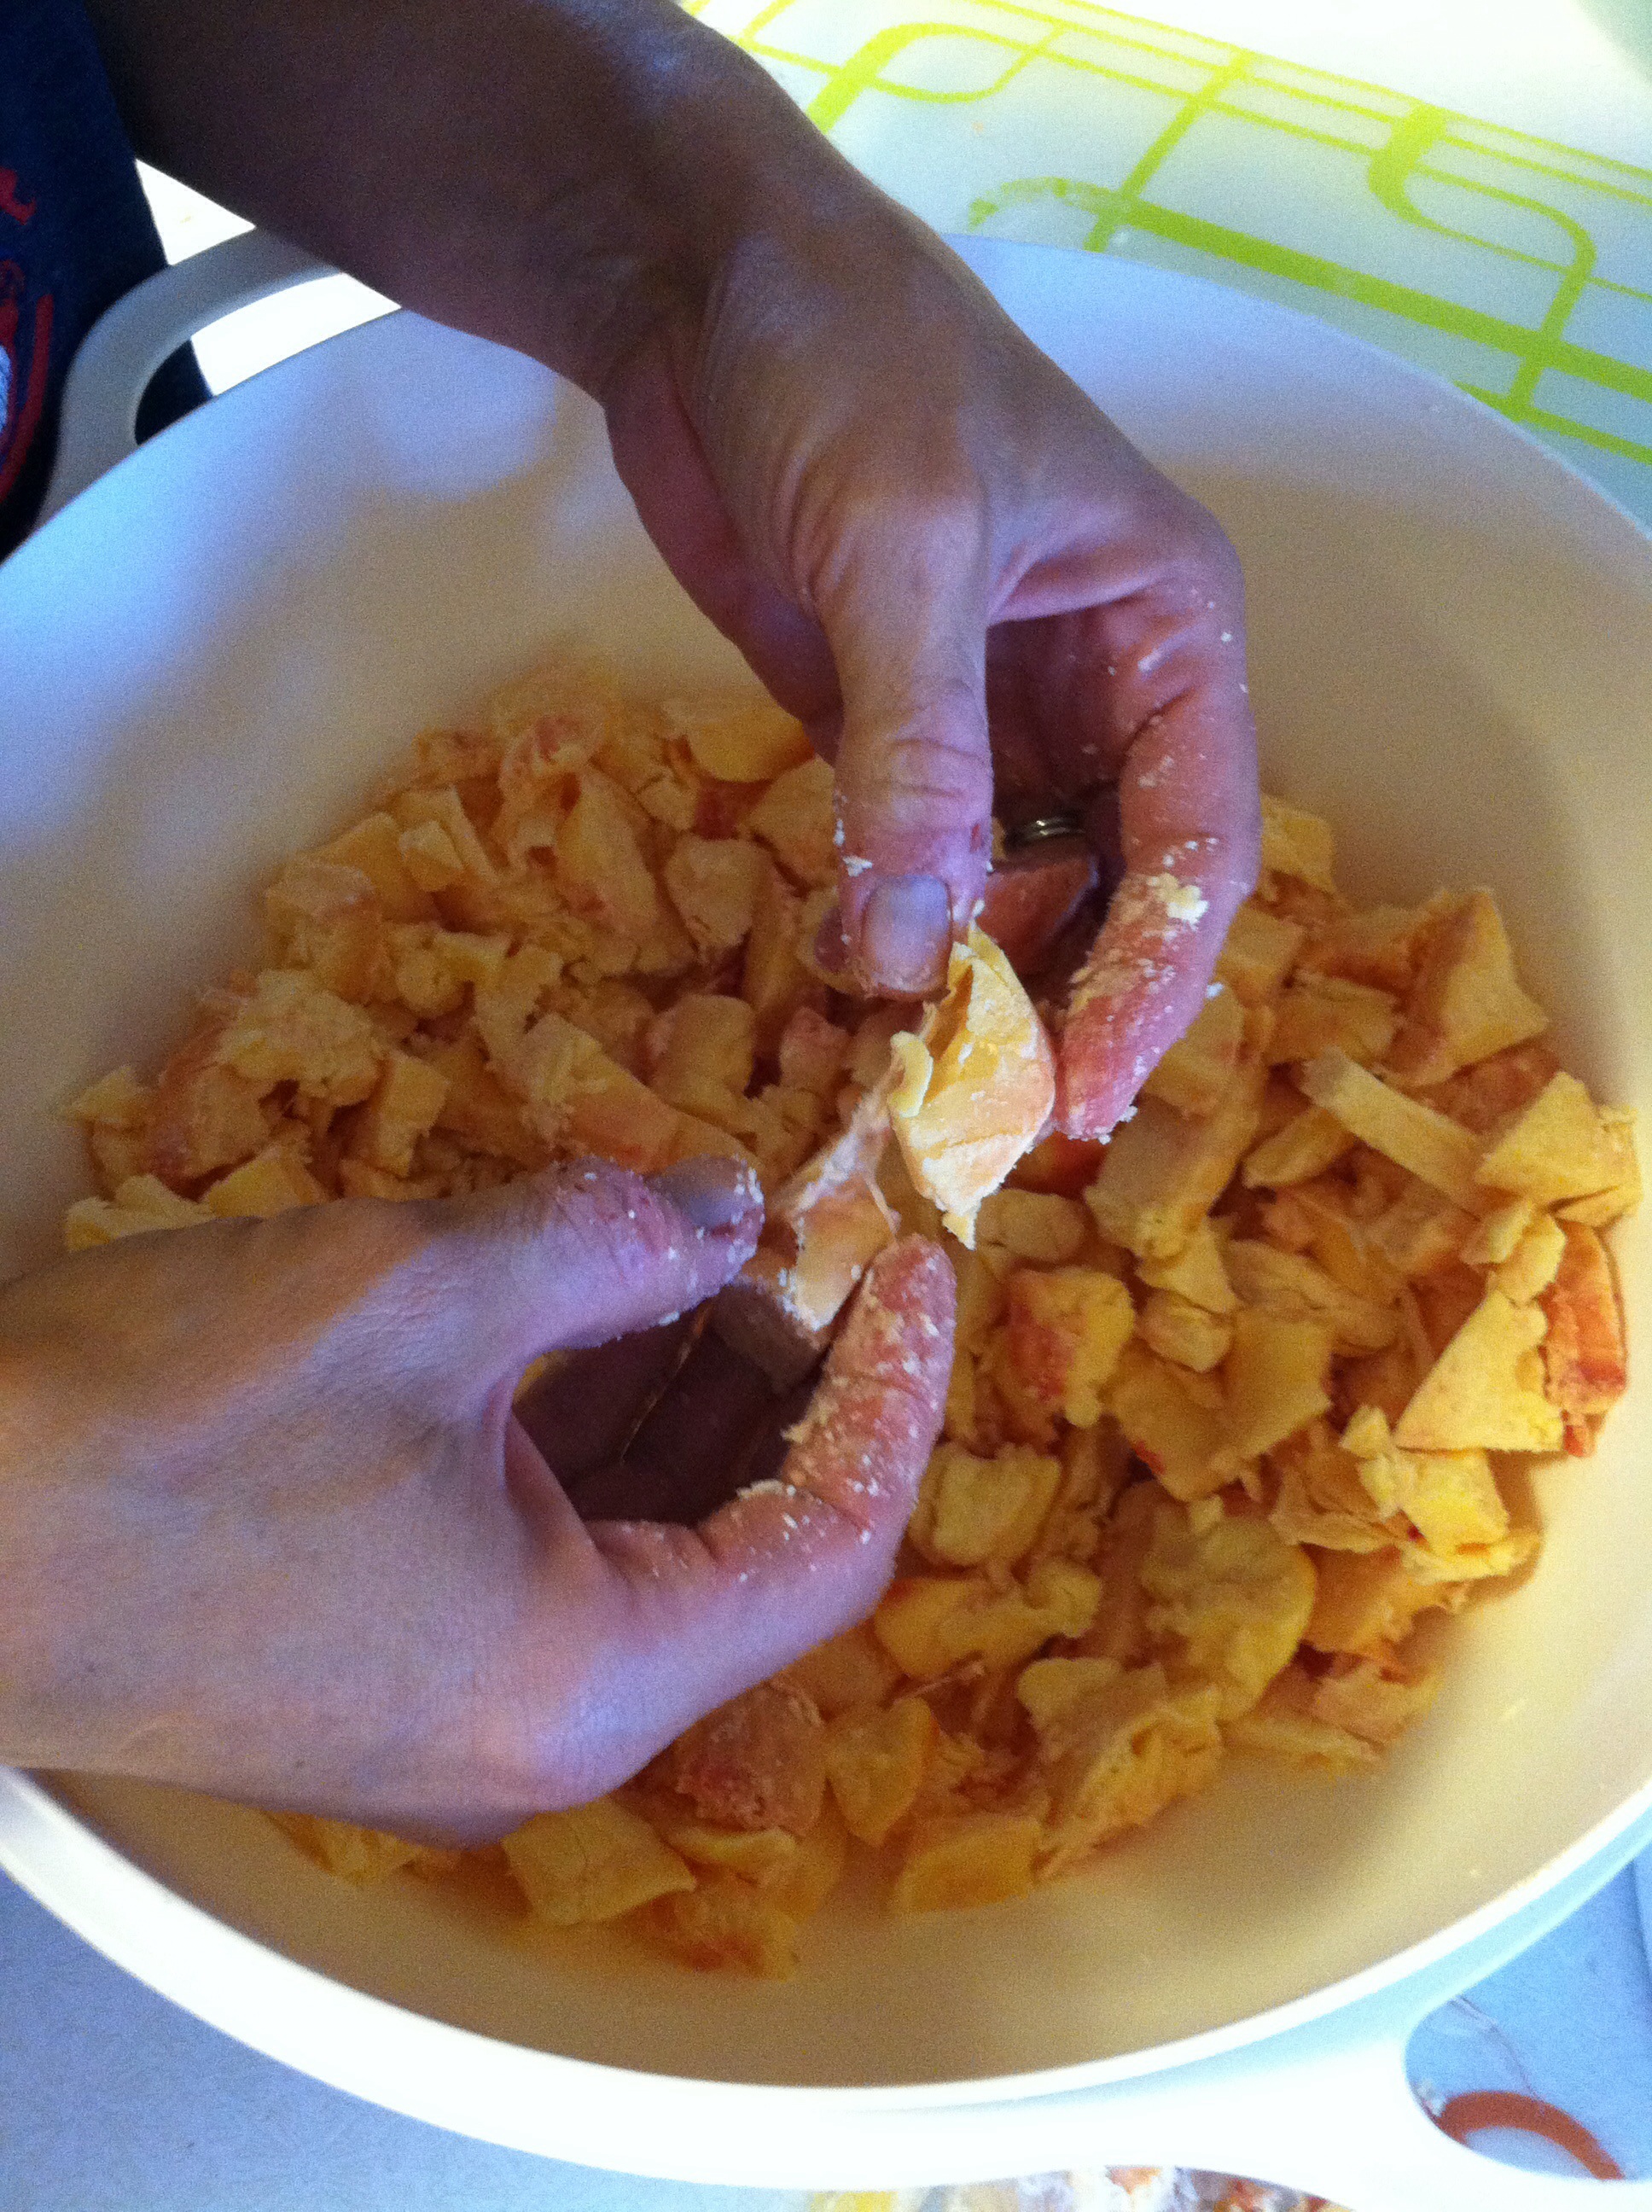
Has a neat membrane-type “wrap” around the fat that you try to pull off. Once that gets pulled away, it’s pretty easy to pull the fat out.

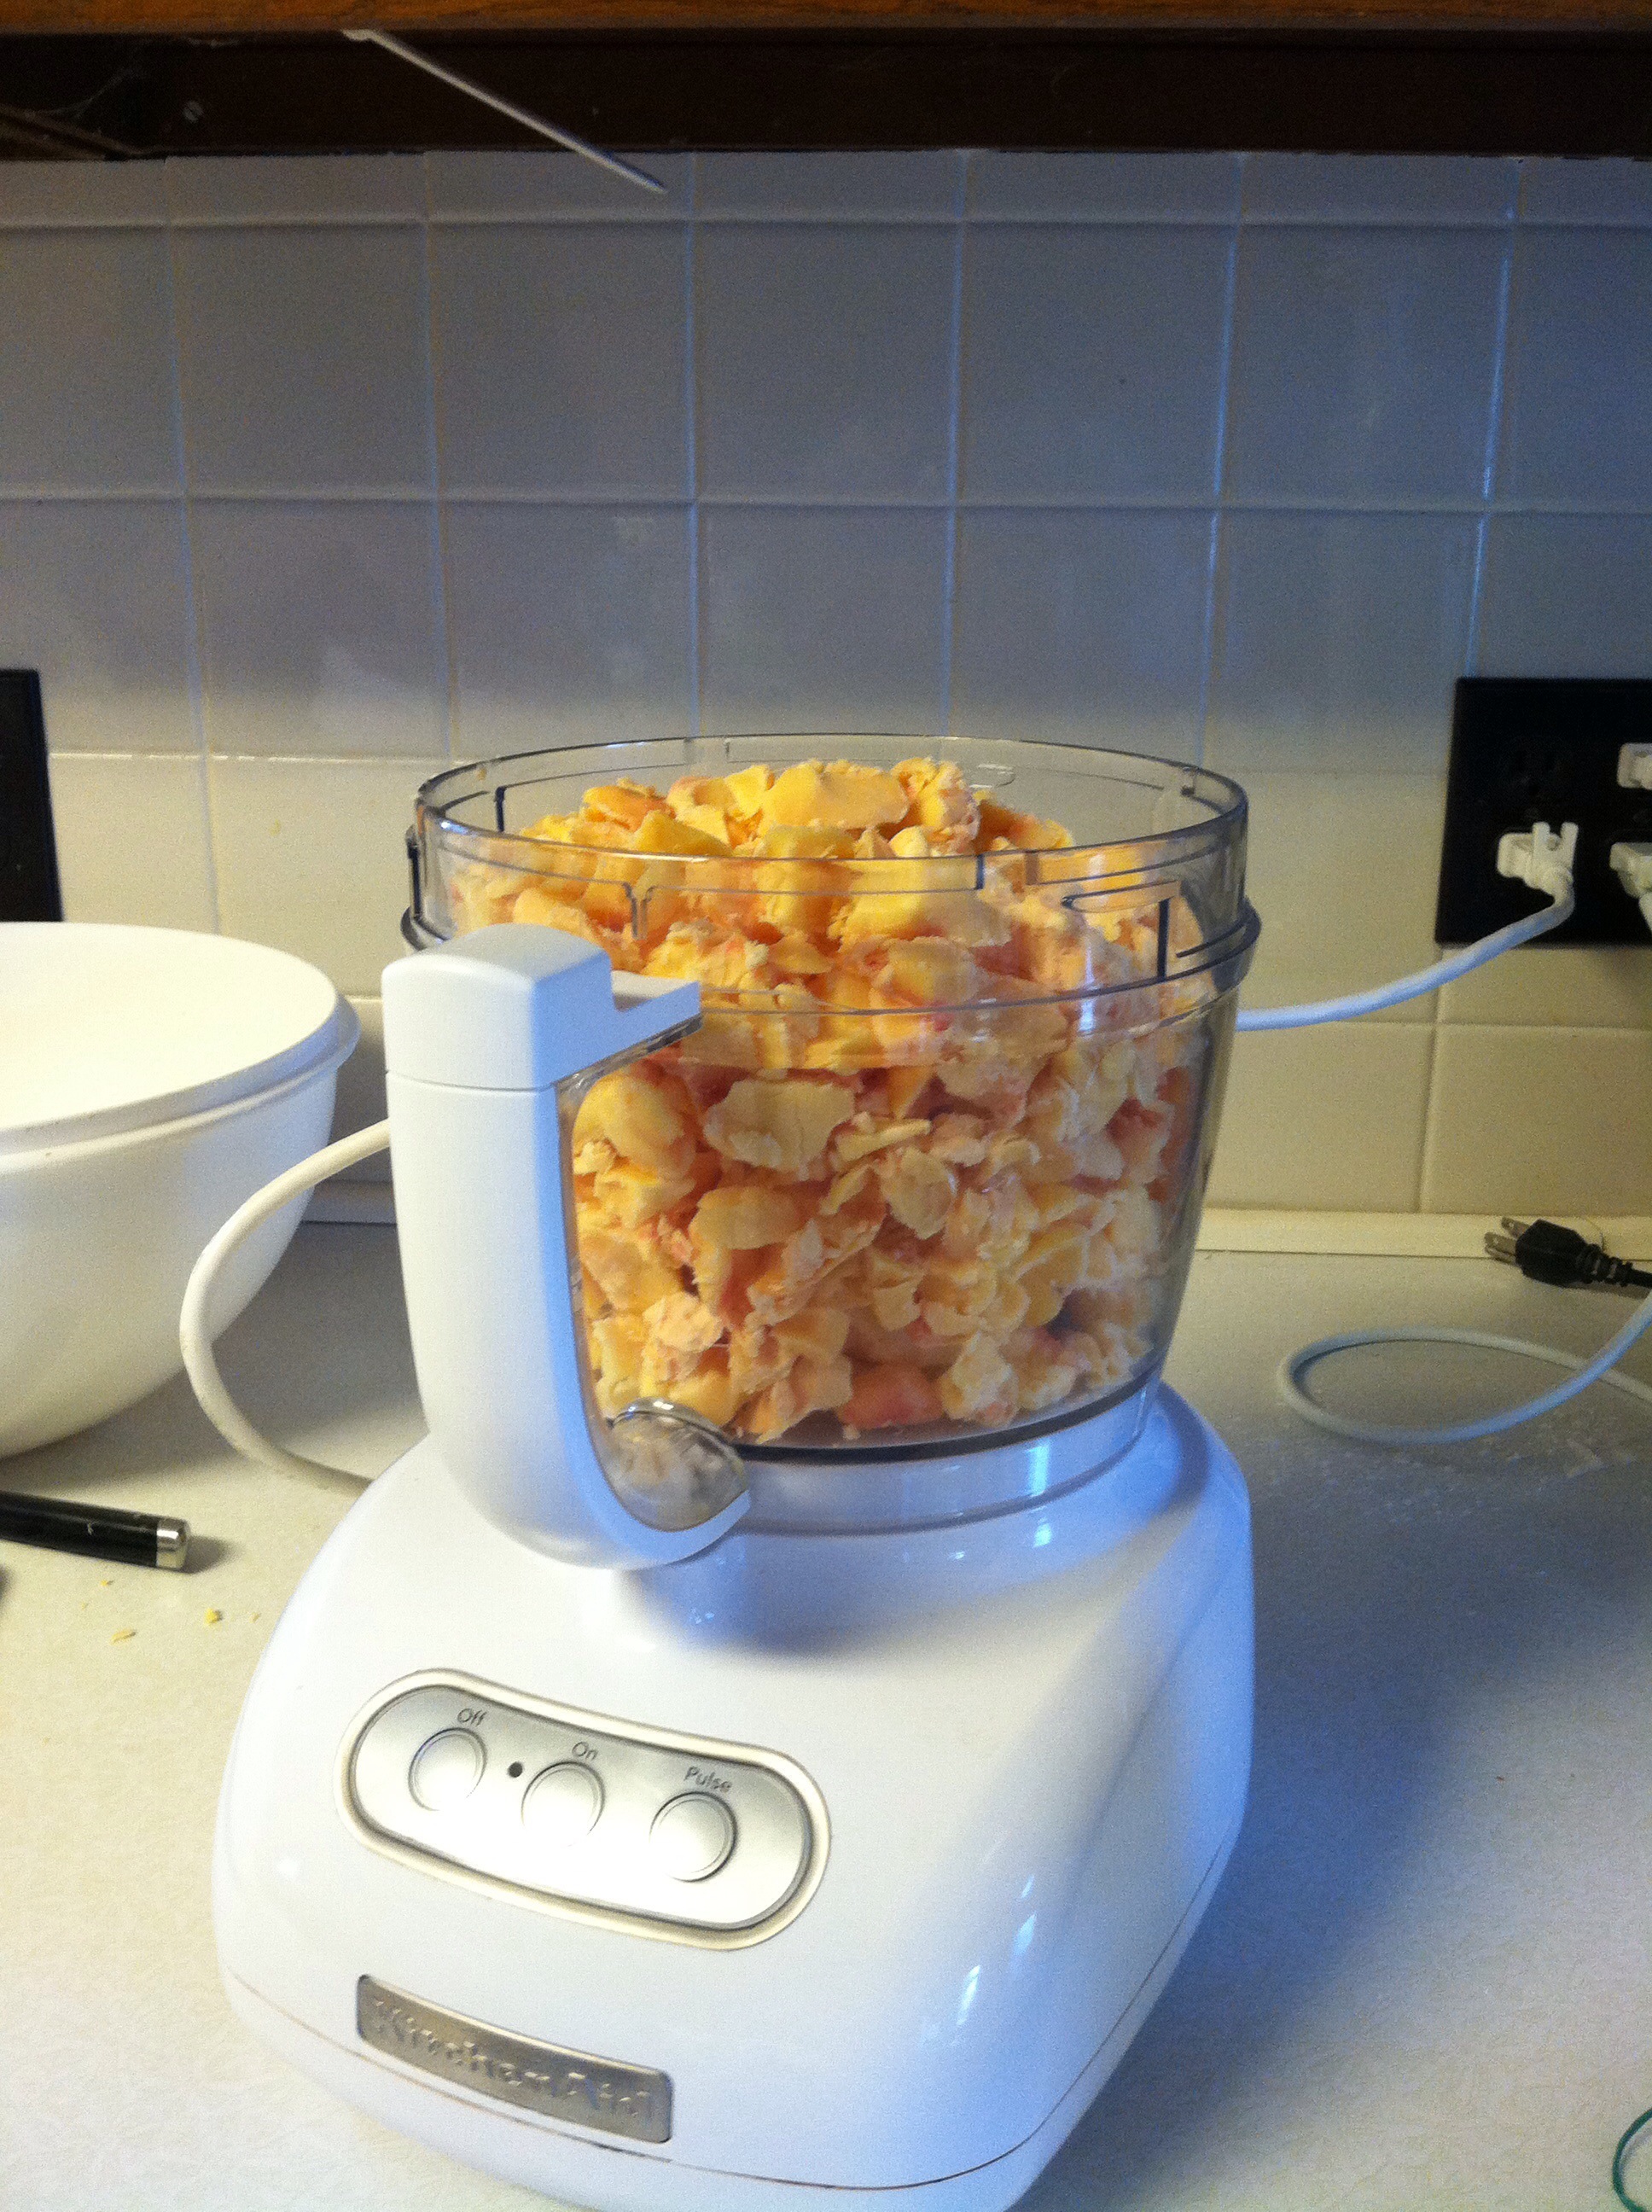
And then we used the food processor & pulsed batches just until it was “crumbled”. We found that filling the food processor HALF full was better than full like the pic below shows. 🙂
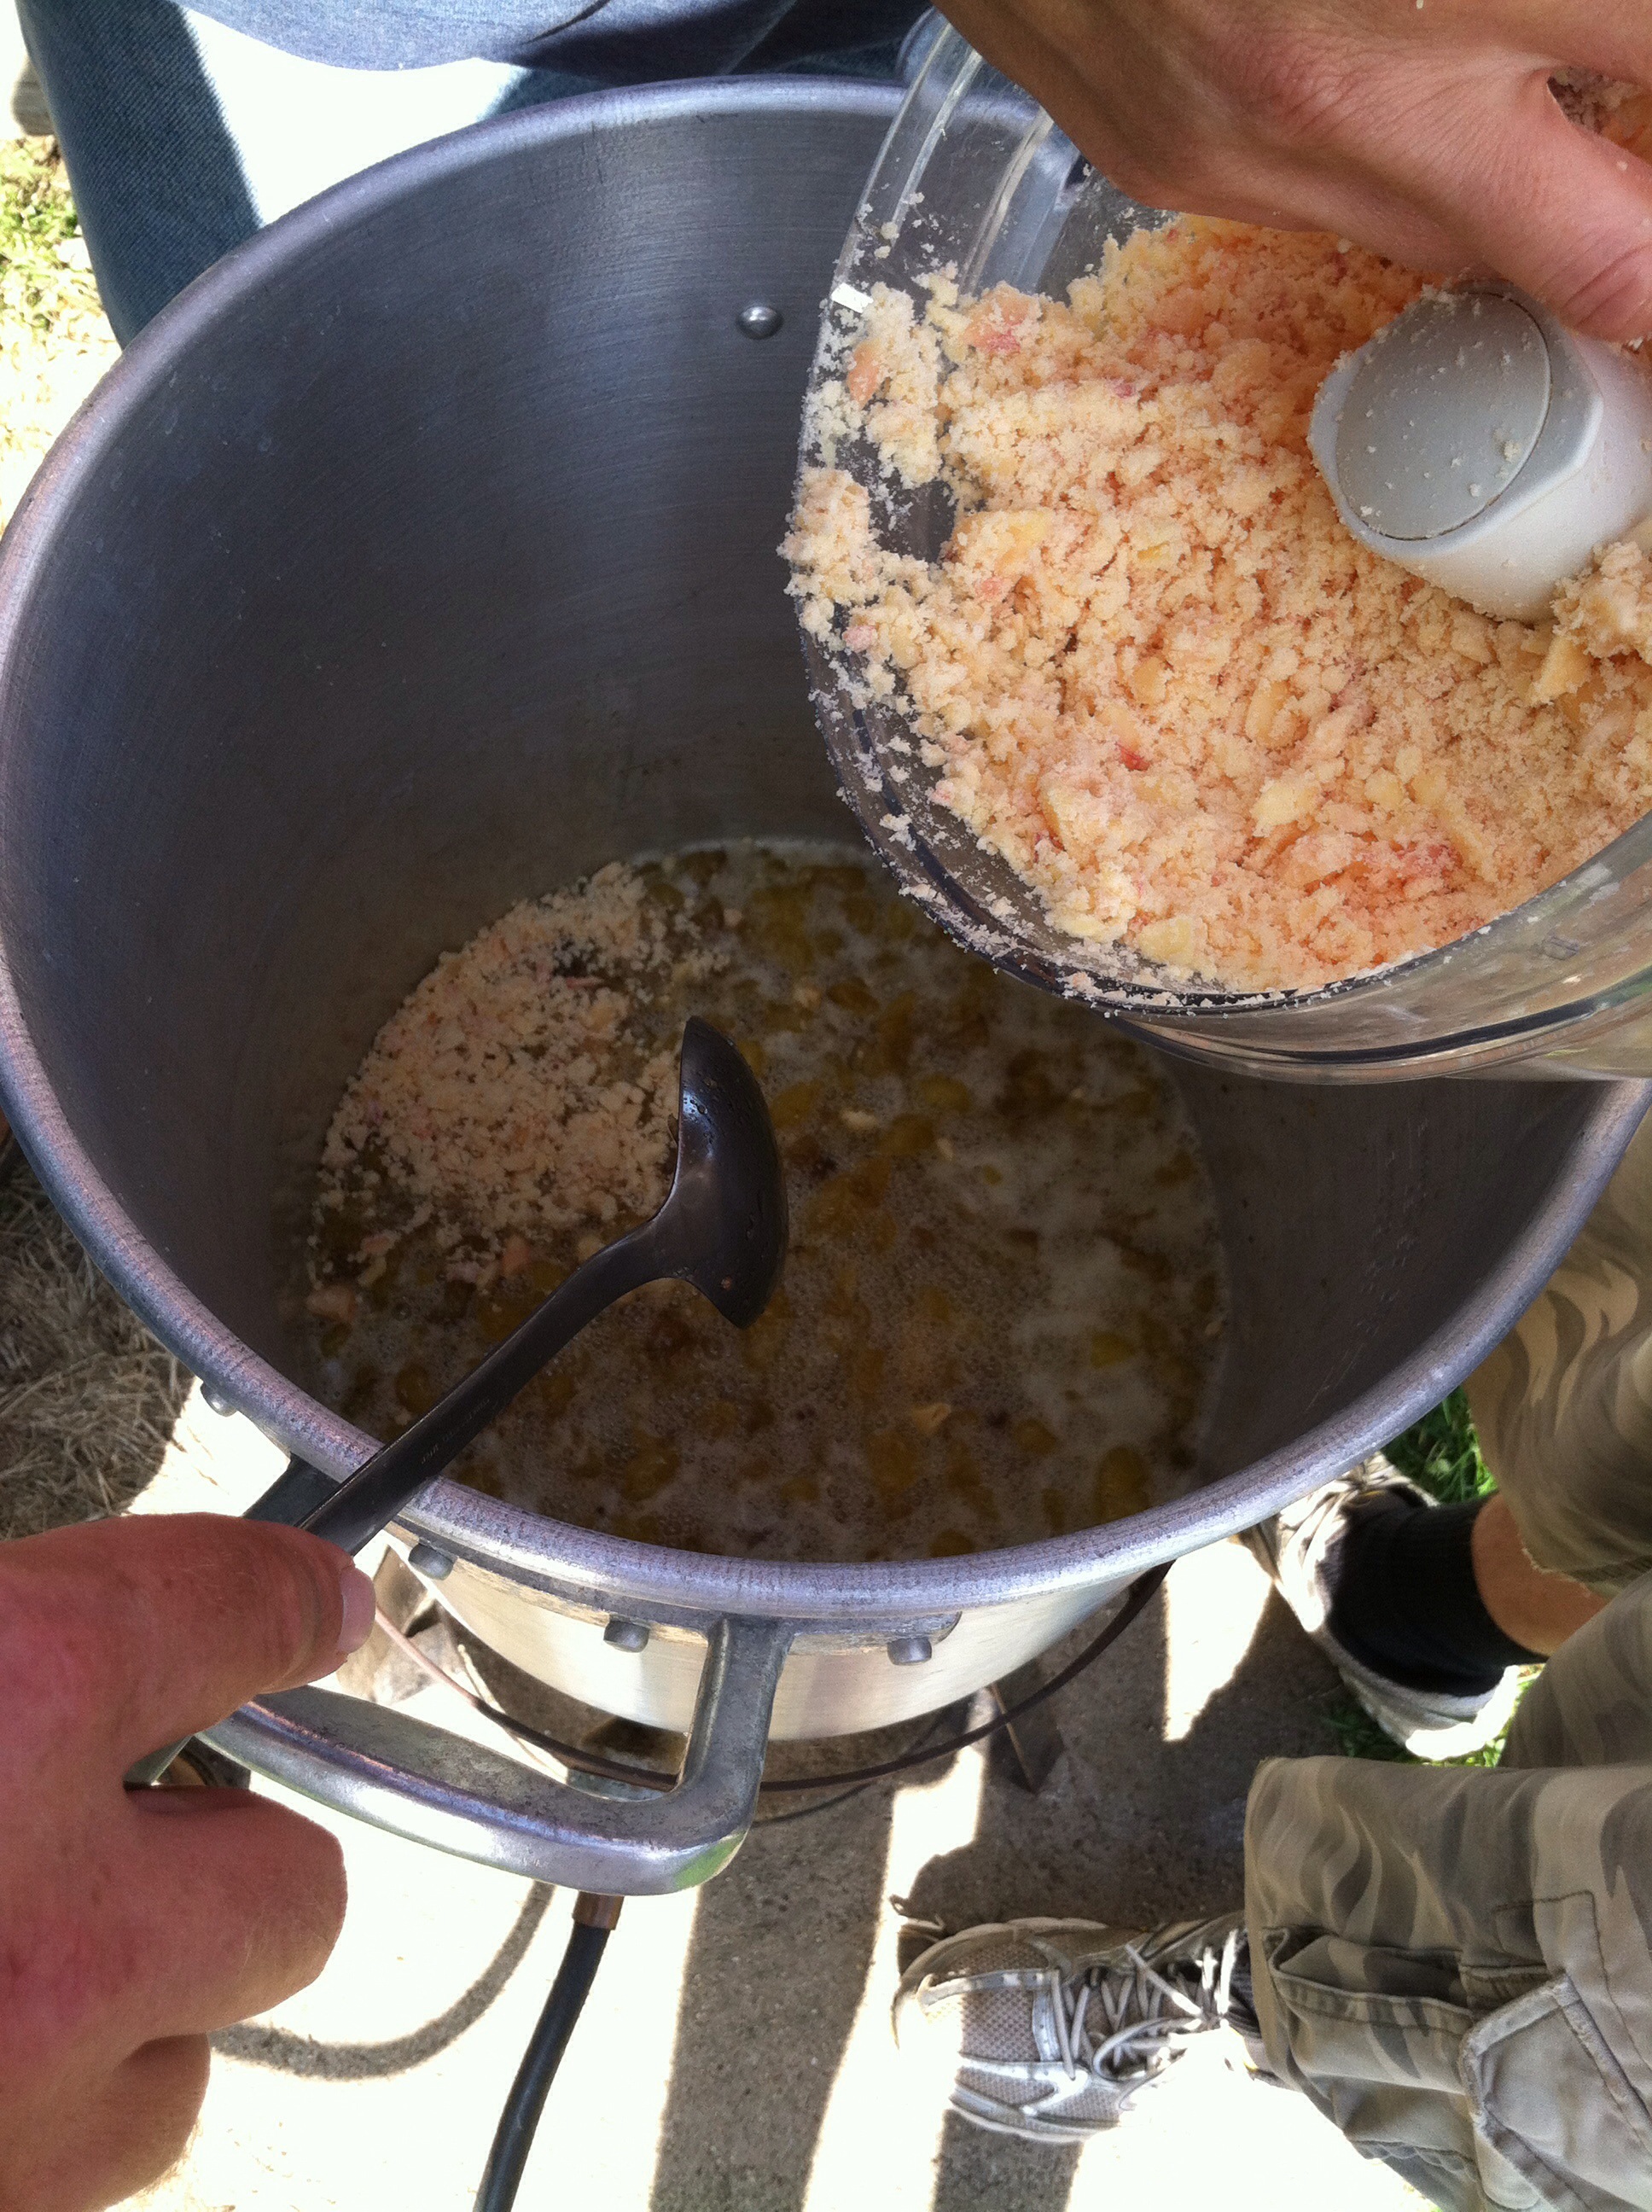
For Day #1, we borrowed our friends’ turkey fryer & just kept adding crumbles into the pot. It worked nice because it was a huge pot & it kept the distinctive smell OUTSIDE… 🙂
But for Day #2, we used our stovetop since it was a rainy day. It worked fine, but outside rendering is definitely our preferred method. 🙂
Each cat got it’s own personal stash of scraps, lol. Next time, we’ll have to give them smaller batches – they were full for DAYS after this and didn’t even come to the barn for milk each day… I see why this is fed to the Ididerod sledding dogs in Alaska! 🙂


Stirred it every-so-often…
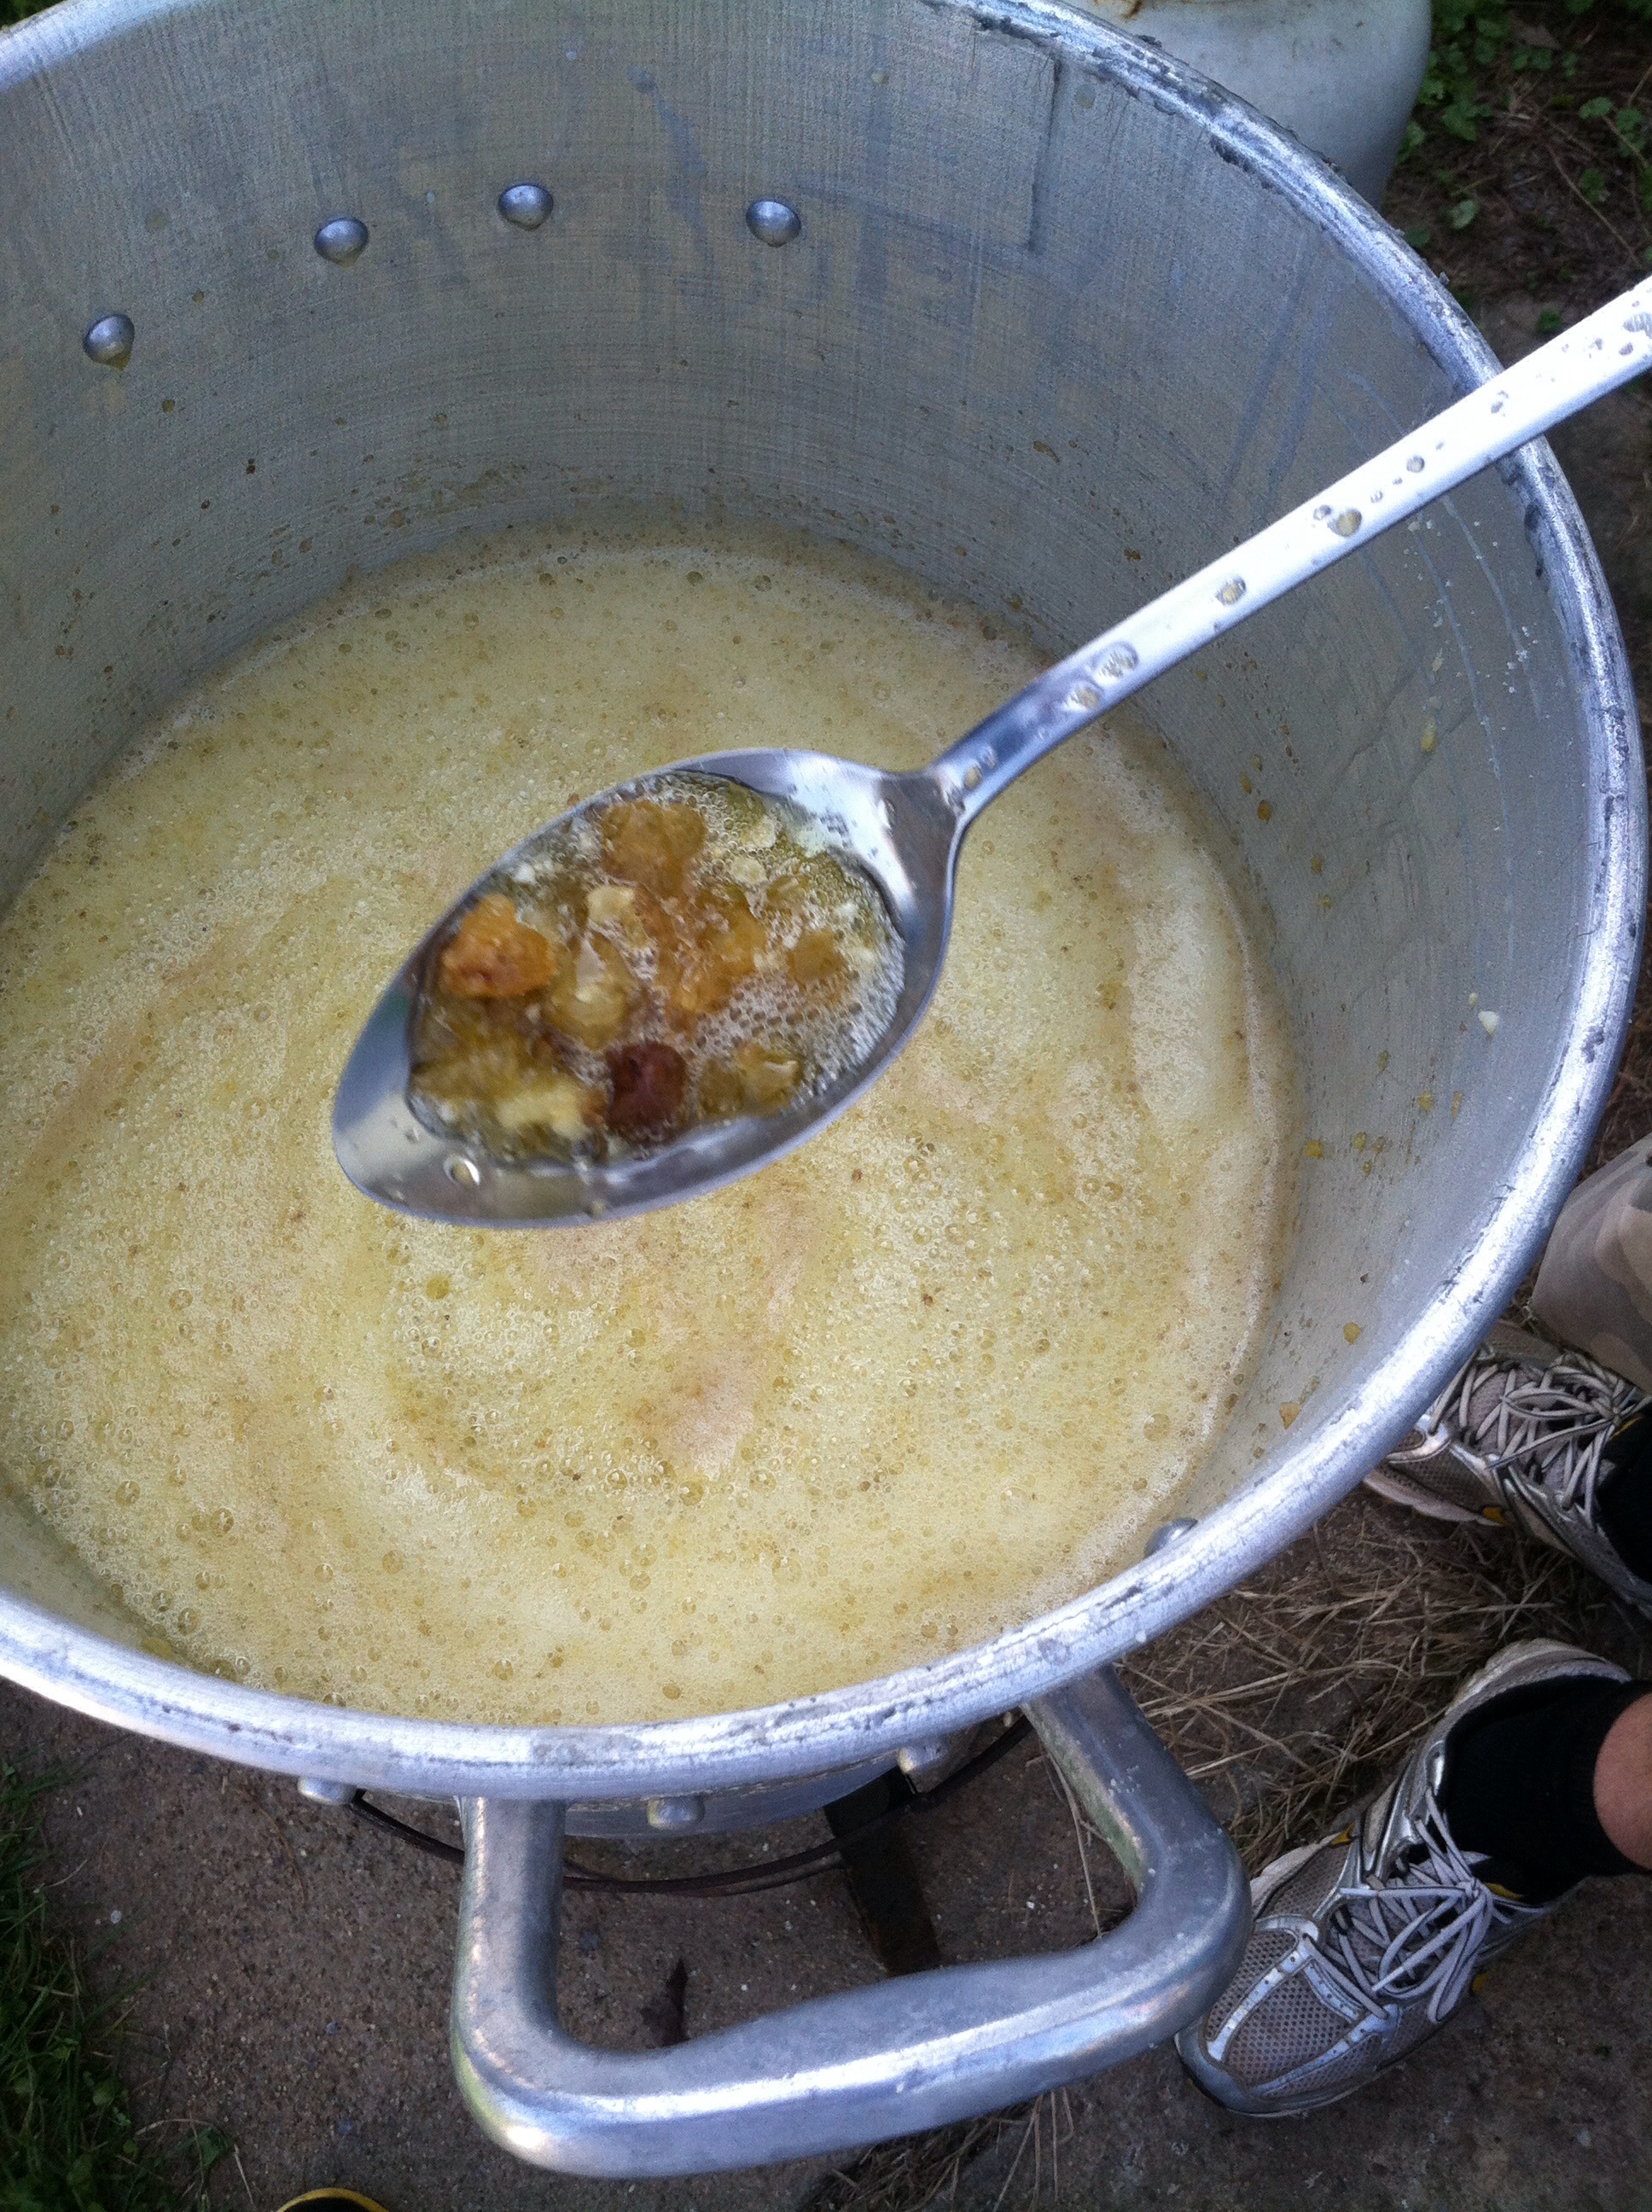


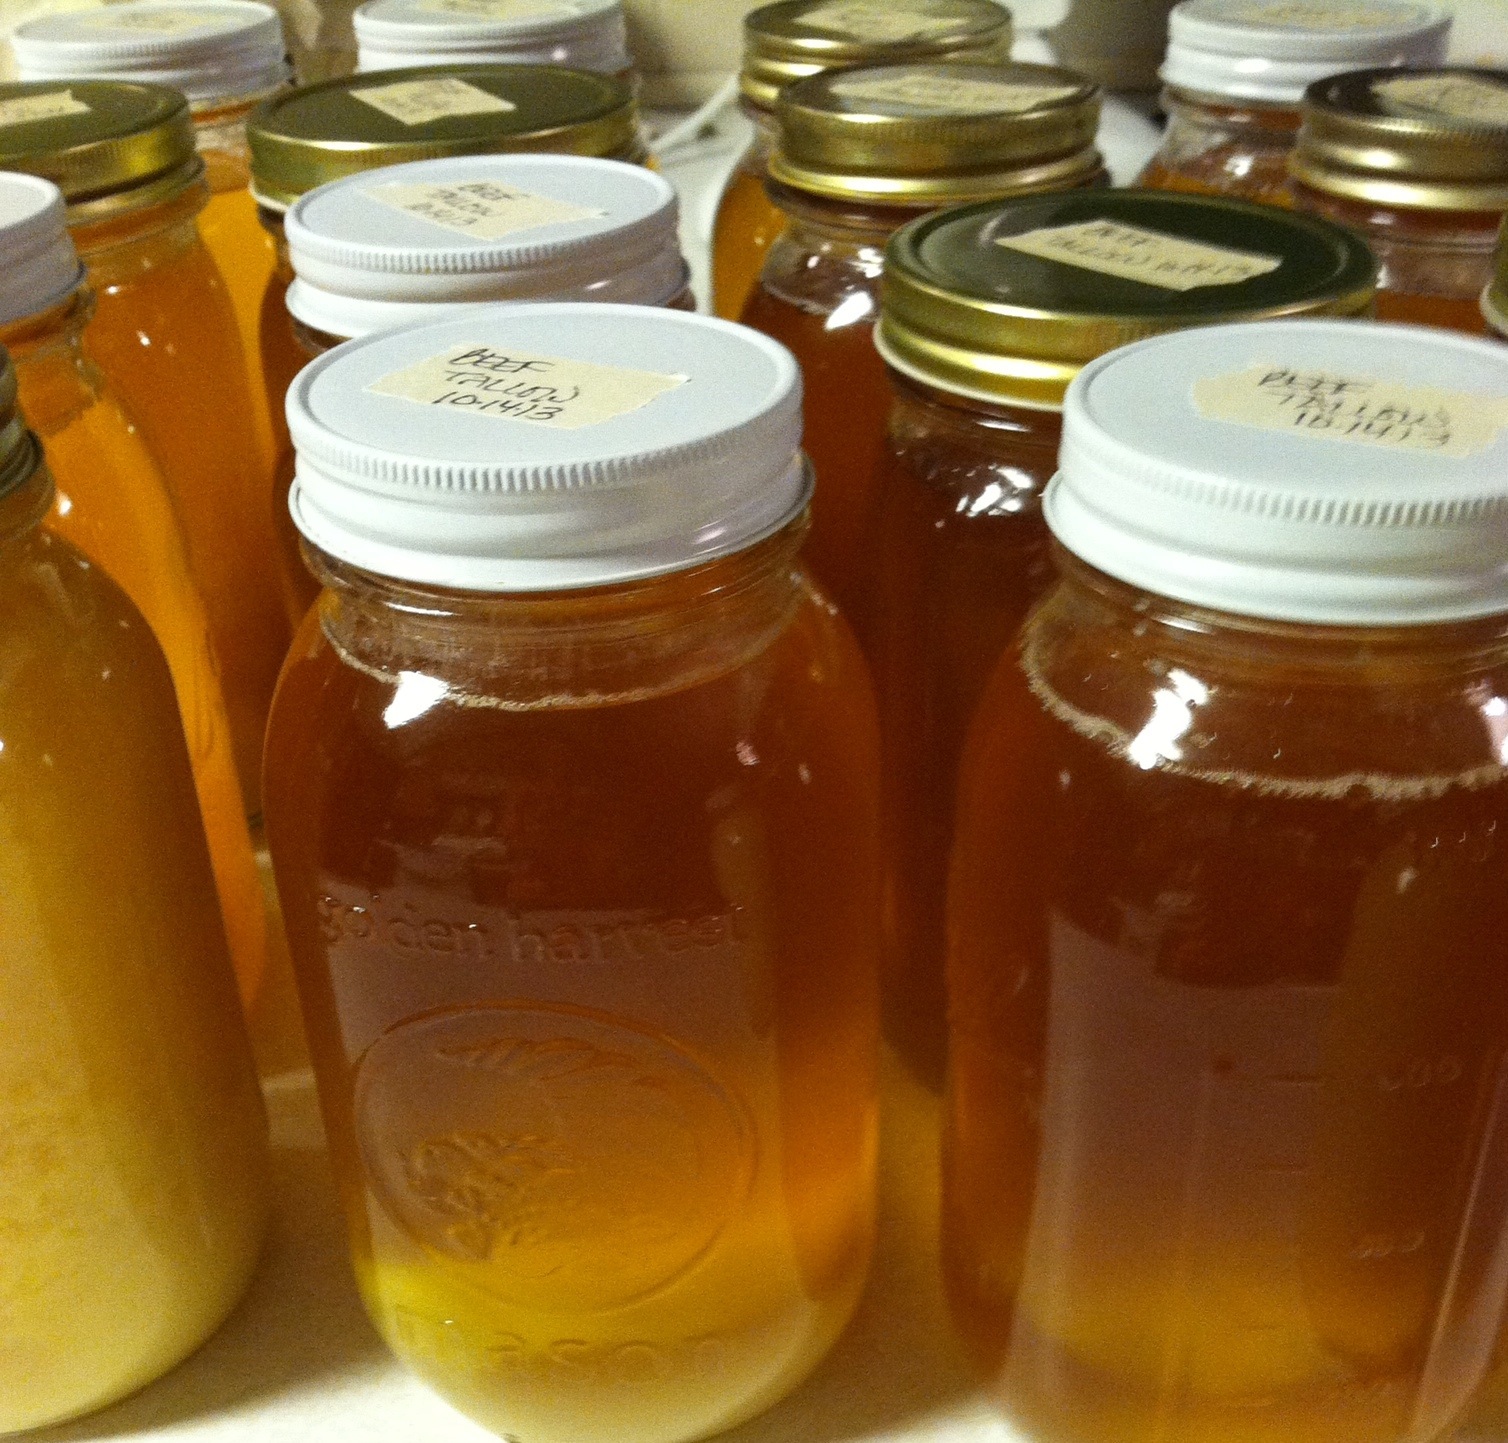
After a good 6 hours of rendering, it was finally done as the solids went to the bottom. Next step would be to strain it into jars. *KEY NOTE* Tallow will strain better/quicker if it is HOT. This was not a problem with the turkey fryer batch – we got it all strained before it cooled. Not-so-much with the Day #2 batch. Definitely didn’t have it hot enough for long enough, so it was more of a messy chore “fixing” it. Lesson learned! 🙂

Strained best through a thin, muslin cloth…


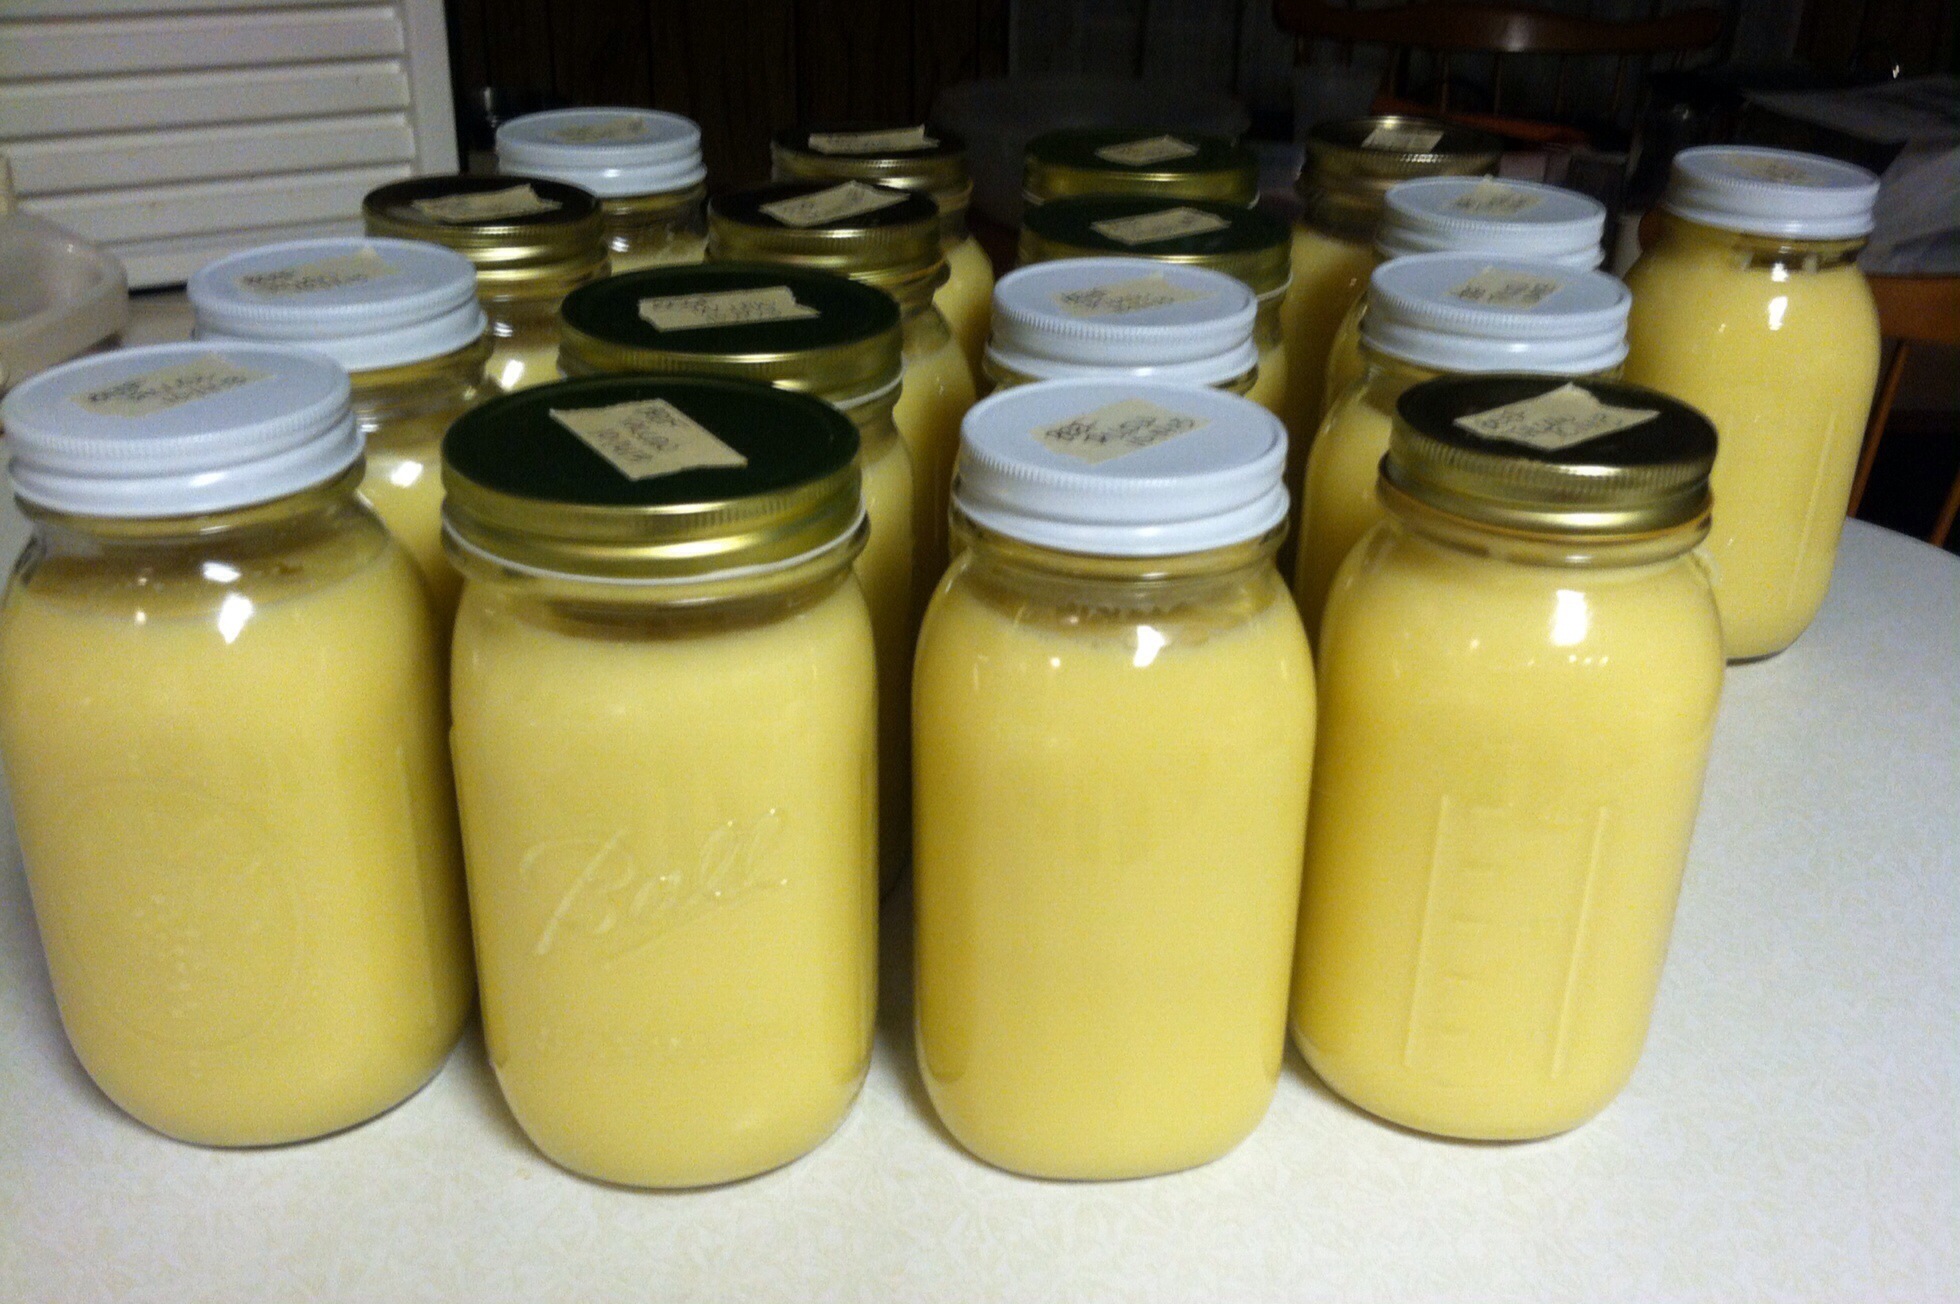
It didn’t take long, and the tallow solidified at room temp. It was neat to watch it change. Day #1’s batch all went into glass quart jars. Ran out of lids for jars, so Day #2’s batch went into one gallon plastic lidded buckets. I keep the tallow I use in my cupboard at room temp. The rest are in the fridge & freezer. We’ve shared some as gifts, and are hopeful this will be another product-line our customers are interested in. We are continually amazed at how the Lord opens new doors for us as He provides for our daily needs! 🙂

I’m gonna be honest here. My boys were NOT THRILLED about this project. Namely, because of the smell. And I’m not sure if it didn’t bother me because I already knew of the health benefits, so I was already poised to like it no-matter-what…? I mean, YES, it’s a distinctive “beefy” smell, but even Angie didn’t think it was too bad on Day #2… Though, she was already pre-biased, too, lol… 🙂
My boys asked that I NOT tell them when I cook with it. Soooo, I didn’t (for awhile). THAT was a bit challenging, as they are in and out of the kitchen VERY often. But, I’m happy to report they are officially converted. 🙂 Guess that’s a benefit to this post taking so long to publish – I’ve had lots of time to “play” with my tallow! 🙂 The biggest test, was using it in our sourdough crackers and tortillas. Each batch uses 105g (1/2c) of saturated fat. Normally, I use coconut oil. But if they turned out the same using tallow, OH MY, that would save us A LOT in off-farm purchases. AND THE VERDICT: SUCCESS!! Worked like a charm. Very cool. AND, I’ve told the boys, AND they’ve accepted it. (Probably helped that I didn’t tell them until AFTER they had scarfed down eaten several batches and had complimented me on how good they tasted!) 🙂
We’ve fried potatoes in it, cooked our eggs in it, grease our baking stones with it – basically anywhere I used to use coconut oil, I now use tallow. Except in a pie crust. They say it makes a beautiful crust, but I haven’t tried that yet. Pie is one of Mike’s favorites (and the poor guy hardly ever gets one, lol…), so I don’t know that I’ll experiment with that substitution yet. Sure would hate for him not to like it as much, and then not get another one for awhile! 🙂 Oh, and our toothpaste – I’m gonna stick with coconut oil for that recipe, too. Perhaps someday I’ll get that post up… [sigh] 🙂
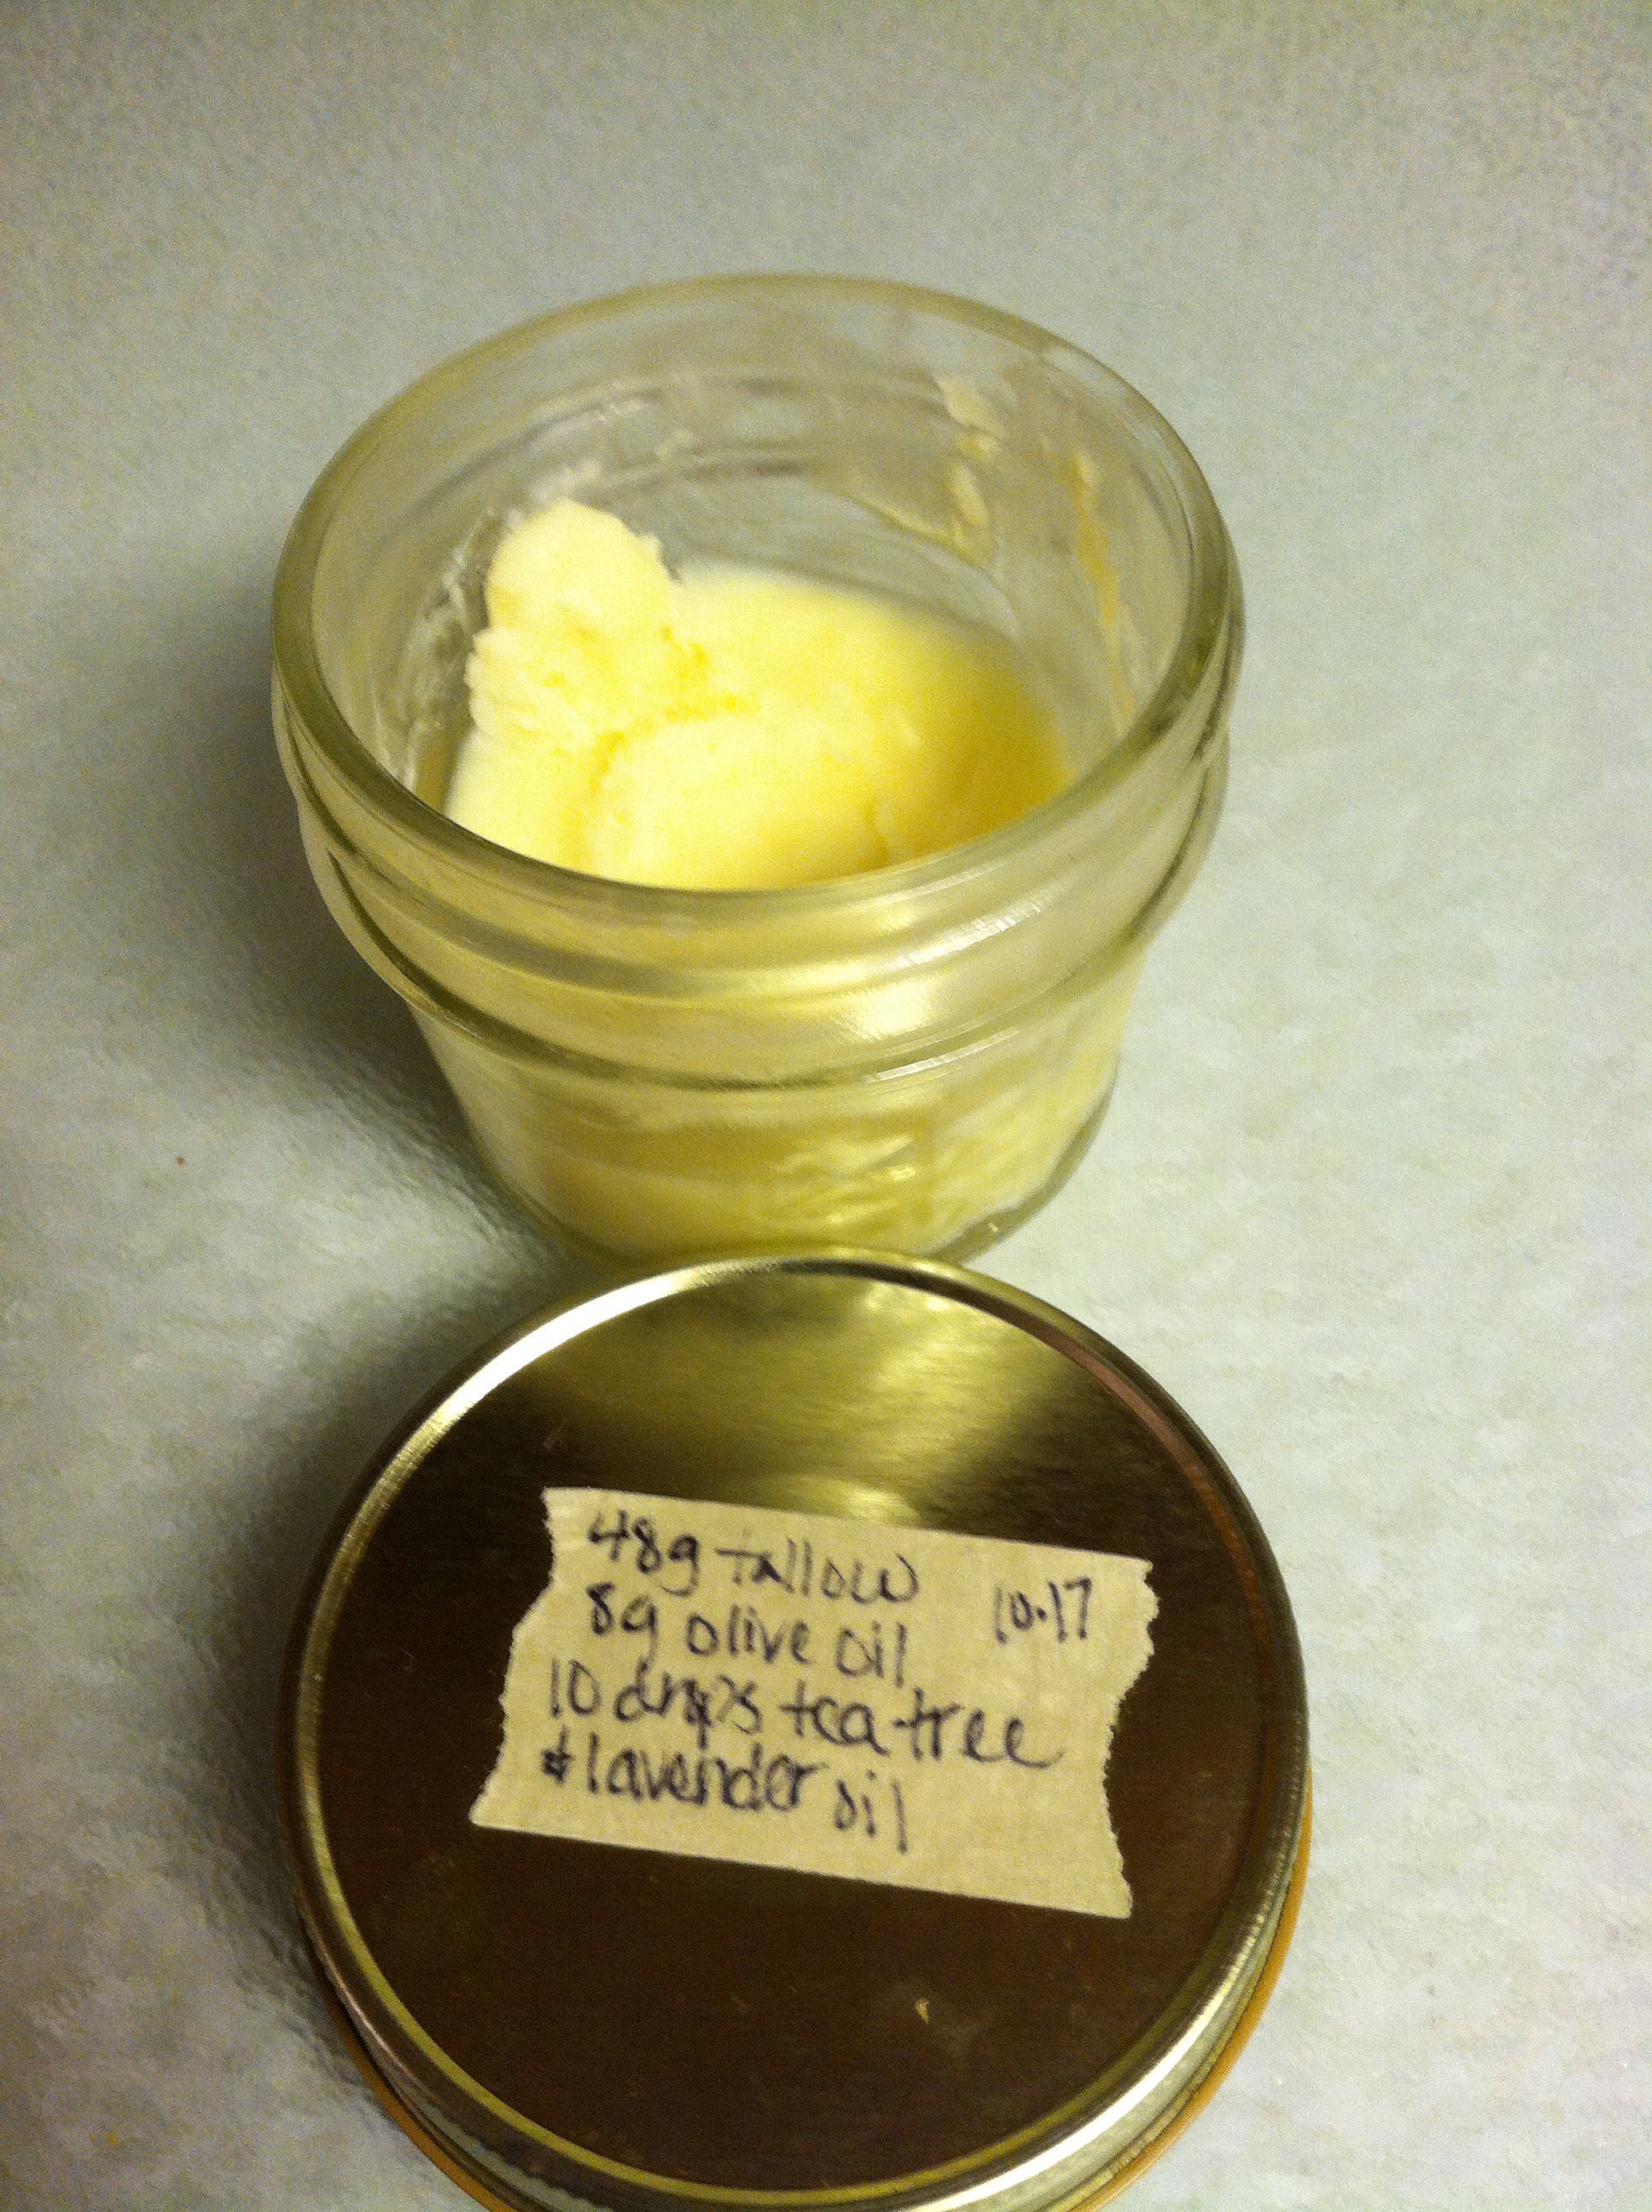
After reading this article about how wonderful tallow is for your skin, Angie & I experimented with a tiny batch of tallow balm. We added some olive oil and some of her therapeutic grade essential oils to it, and it is WONDERFUL. It smells amazing (lavender & tea tree oils), and feels great on our skin! It is definitely a “balm” – not super squishy like a lotion, but once it’s rubbed on the skin, body temp “melts” it and it becomes easier to spread. Definitely something I’d like to do more experimenting with – in my free time – [sigh], lol! 🙂
And yes, the birds are happier now around here. We re-filled their log feeders just in time for this week’s snow storm! 🙂

Here’s my final “numbers”: Our tallow yield was 60% of the weight of the suet chunks. After two 9 hour days of working in rendering about 110 pounds of suet, we got about 66 pounds of tallow. Each quart jar fits about 1.6 pounds of tallow and each 1 gallon bucket fits about 7.5 pounds of tallow. Pricing: $12/Q of finished tallow, or $48/gallon of finished tallow, or for those adventurous folks who wanna try their own hand at rendering grass-fed suet: $3/pound of suet. 🙂
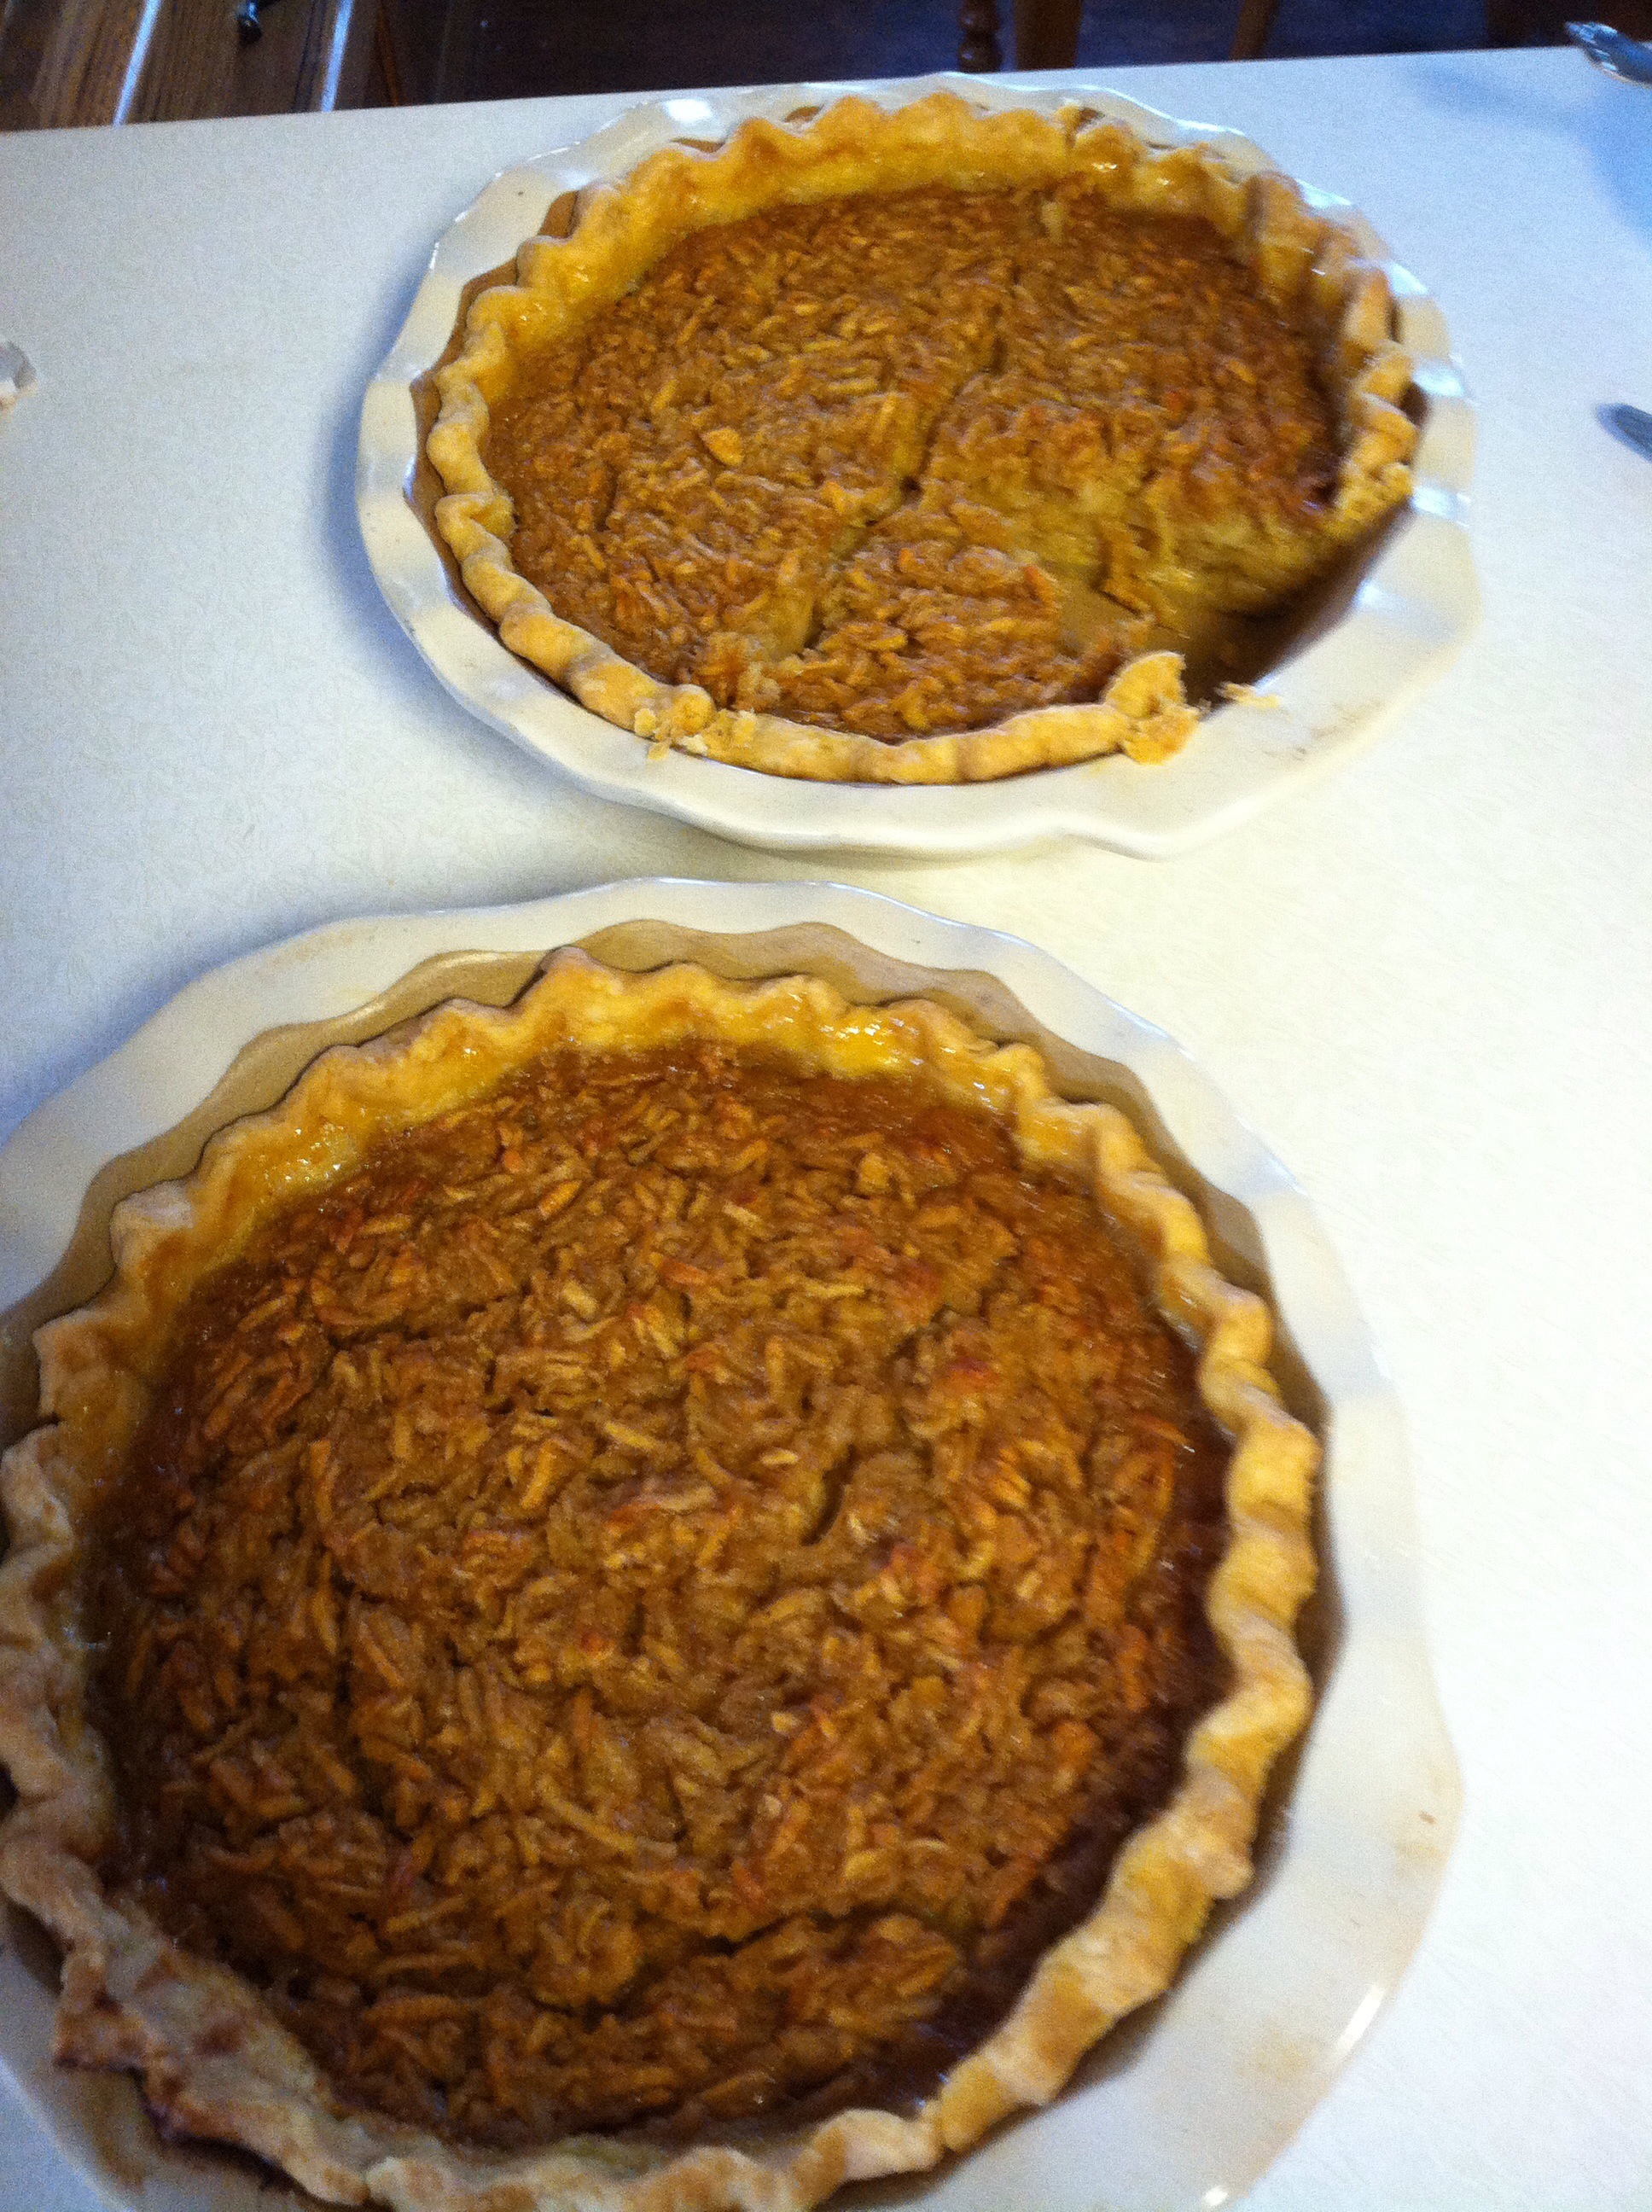
Apple pie with big chunks of apple are not a big hit here… But last year a friend brought Mike a SHREDDED apple & pear pie – and we loved it! 🙂
So when my Dad gifted me two big boxes of apples and pears a couple weeks ago, I knew I needed to reserve some to try to re-create that pie. Mmmmm… 🙂
Here’s my recipe for two pies:
2 pounds of apples & 2 pounds of pears. [Peeled, cored, and shredded – which yielded about 8 cups of shredded fruit.]
Mix in:
2c (290g) sucanat [our sweetener of choice]
6T (60g) of King Arthur Unbleached Flour (KAUF)
1t cinnamon & 1t nutmeg
4 beaten eggs
8 oz. of melted butter
2t vanilla
I let it sit while I made my pie crust:
With a pastry blender, mix up 2c KAUF (242g) with 1t (7g) sea salt and 3/4c (156g) mostly solid coconut oil or cold butter. Once uniform crumbles are achieved, I add 5T cold water & incorporate it with the pastry blender. Then I use my hands & form 2 balls. After letting it rest a couple minutes, I roll each dough-ball out on a floured lint-free towel, line my stoneware pie pans, and flute the edges between my fingers.
Then I added half the previously prepared pie filling on top of each pie crust.
Baked the pies for 10 minutes at 400°, then 70 minutes at 350°.
We TRIED to allow it to cool completely before sampling it, but we failed, lol. 🙂
We have kept them in the fridge, and they taste great cold, too! 🙂