
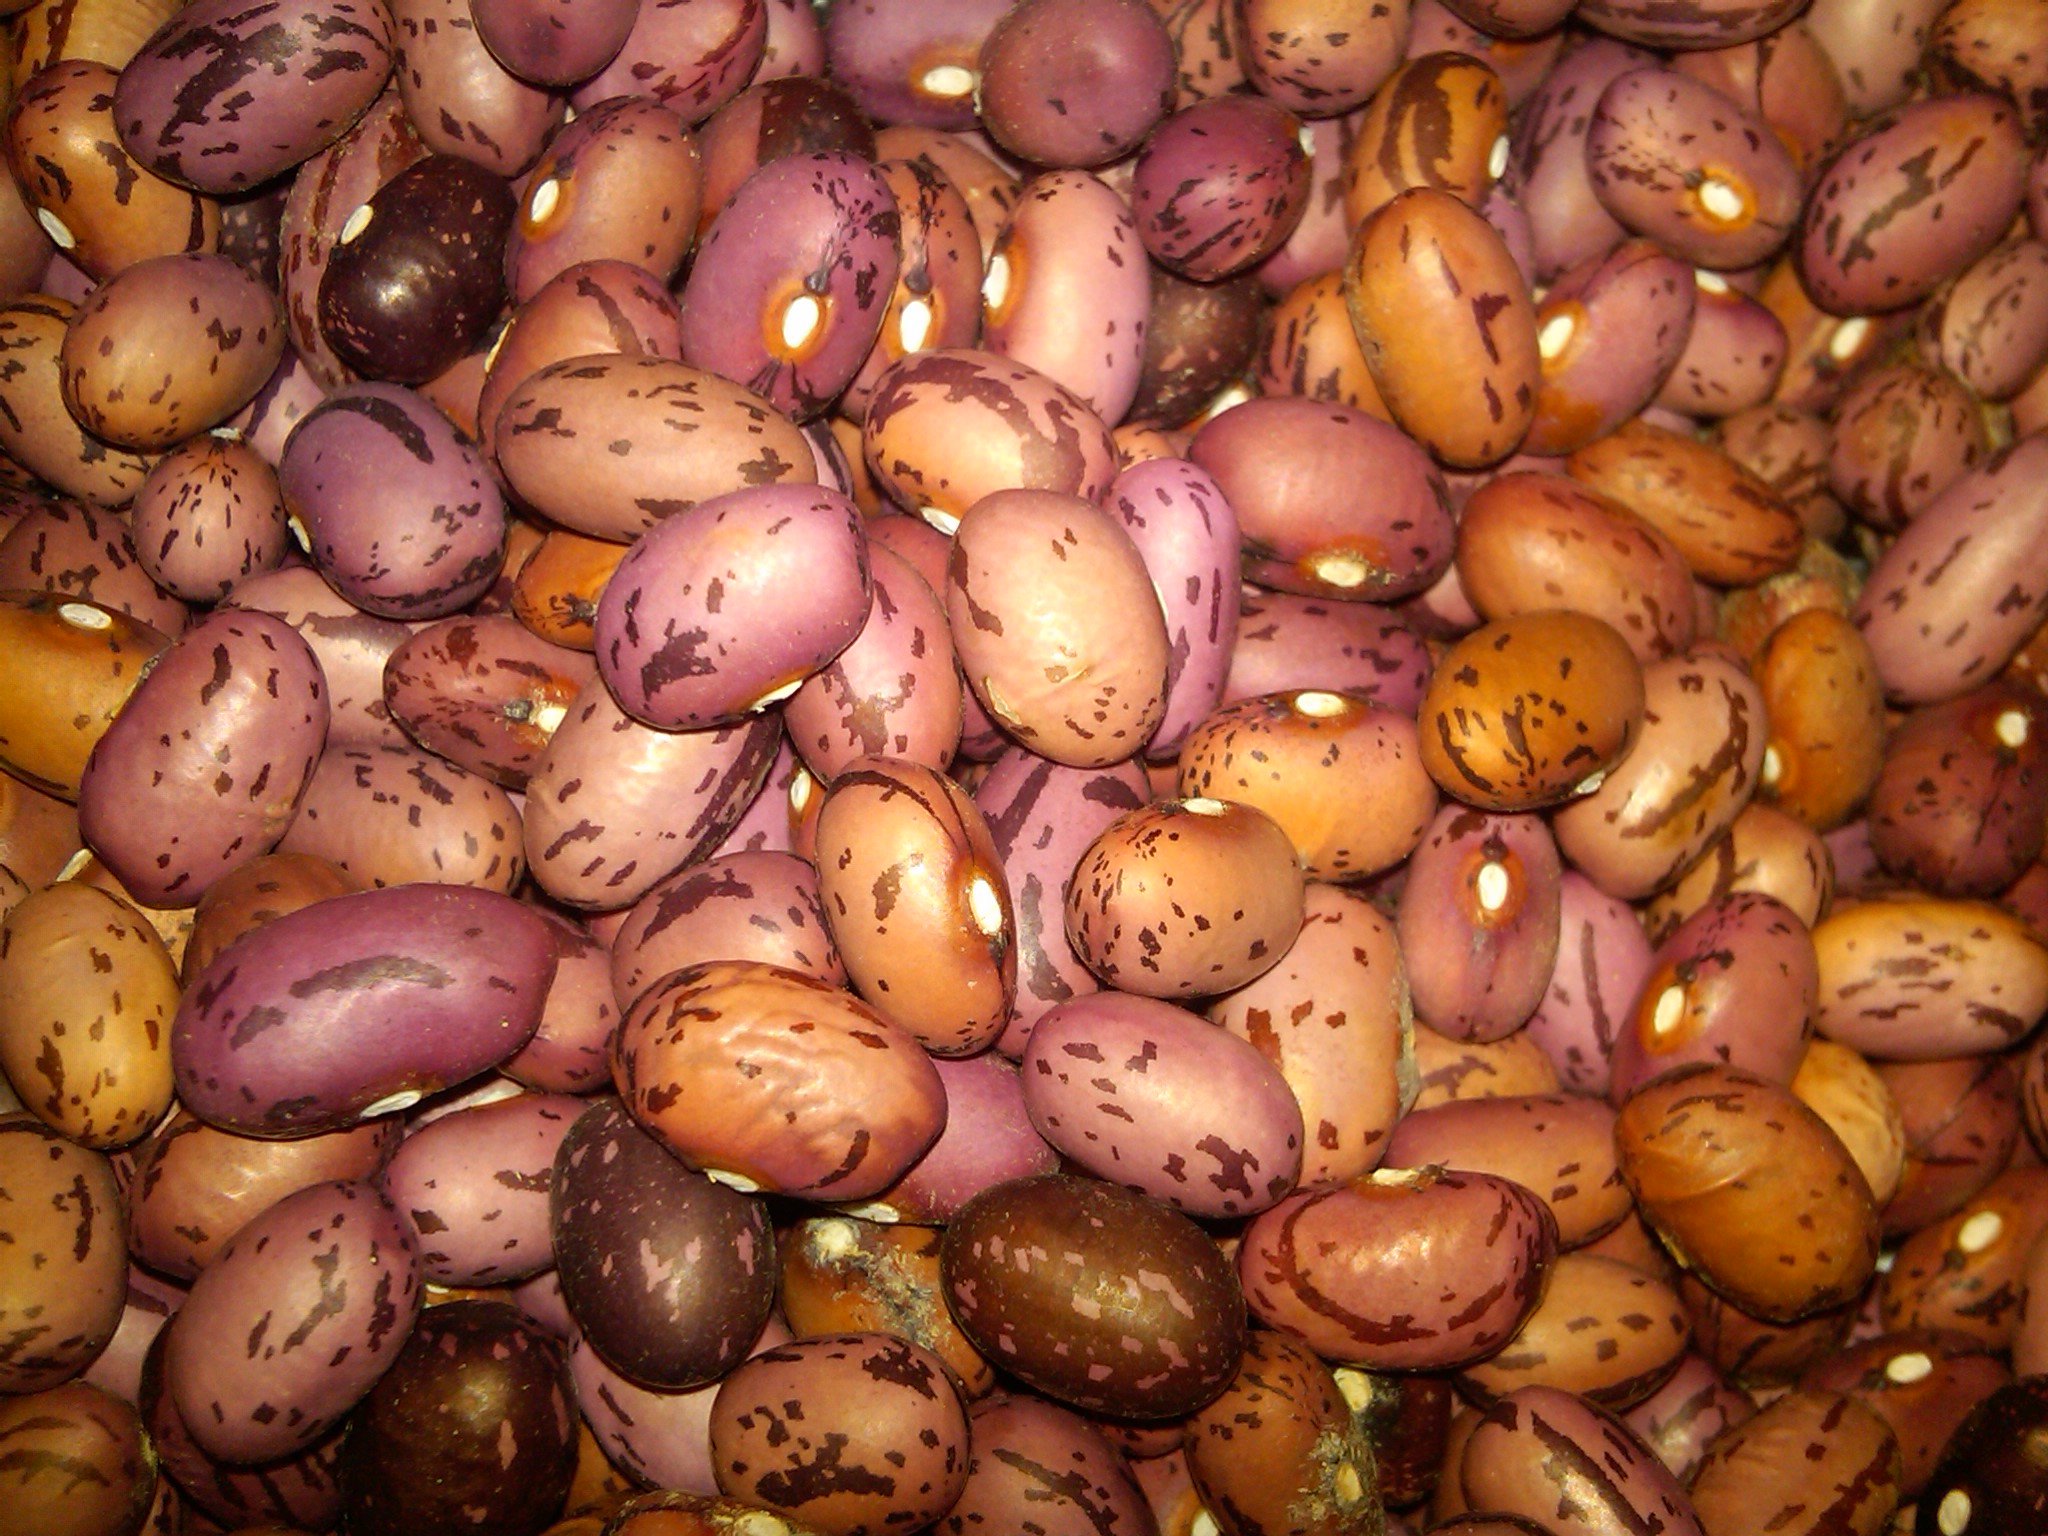
After touring a friend’s garden a few years ago, we were introduced to these soup beans. LOVE THEM! We normally grow Black Turtles, Vermont Cranberries, and Jacob’s Cattle. Their colors are beautiful and look so pretty in a glass jar! The seeds are planted just like you would green bean seeds, only instead of harvesting them to eat like you would green beans (which you CAN do…), we leave them on the plants until the pods are dried and the plants are yellow/brown – early fall. Once we harvest the dried pods, we simply remove the seeds from the pods. If they are really dry, the pods can “paper-cut” your fingers, so we try to not wait too long. [I was unable to find any pictures of them in this state, so perhaps this season I can take some & update this post…]
This is a GREAT chore that forces you to S-L-O-W down… I think that’s why I enjoy these beans so much. They force me to SIT and “listen”… Good therapy after a busy season of harvesting. 🙂
We do the best we can to sort out the imperfect seeds – ones that have sprouted or are cracked. Usually, they are in the minority. (One year we did grow one type of seed: Painted Ponies, that had a lot of imperfect seeds, so we haven’t grown it again.)
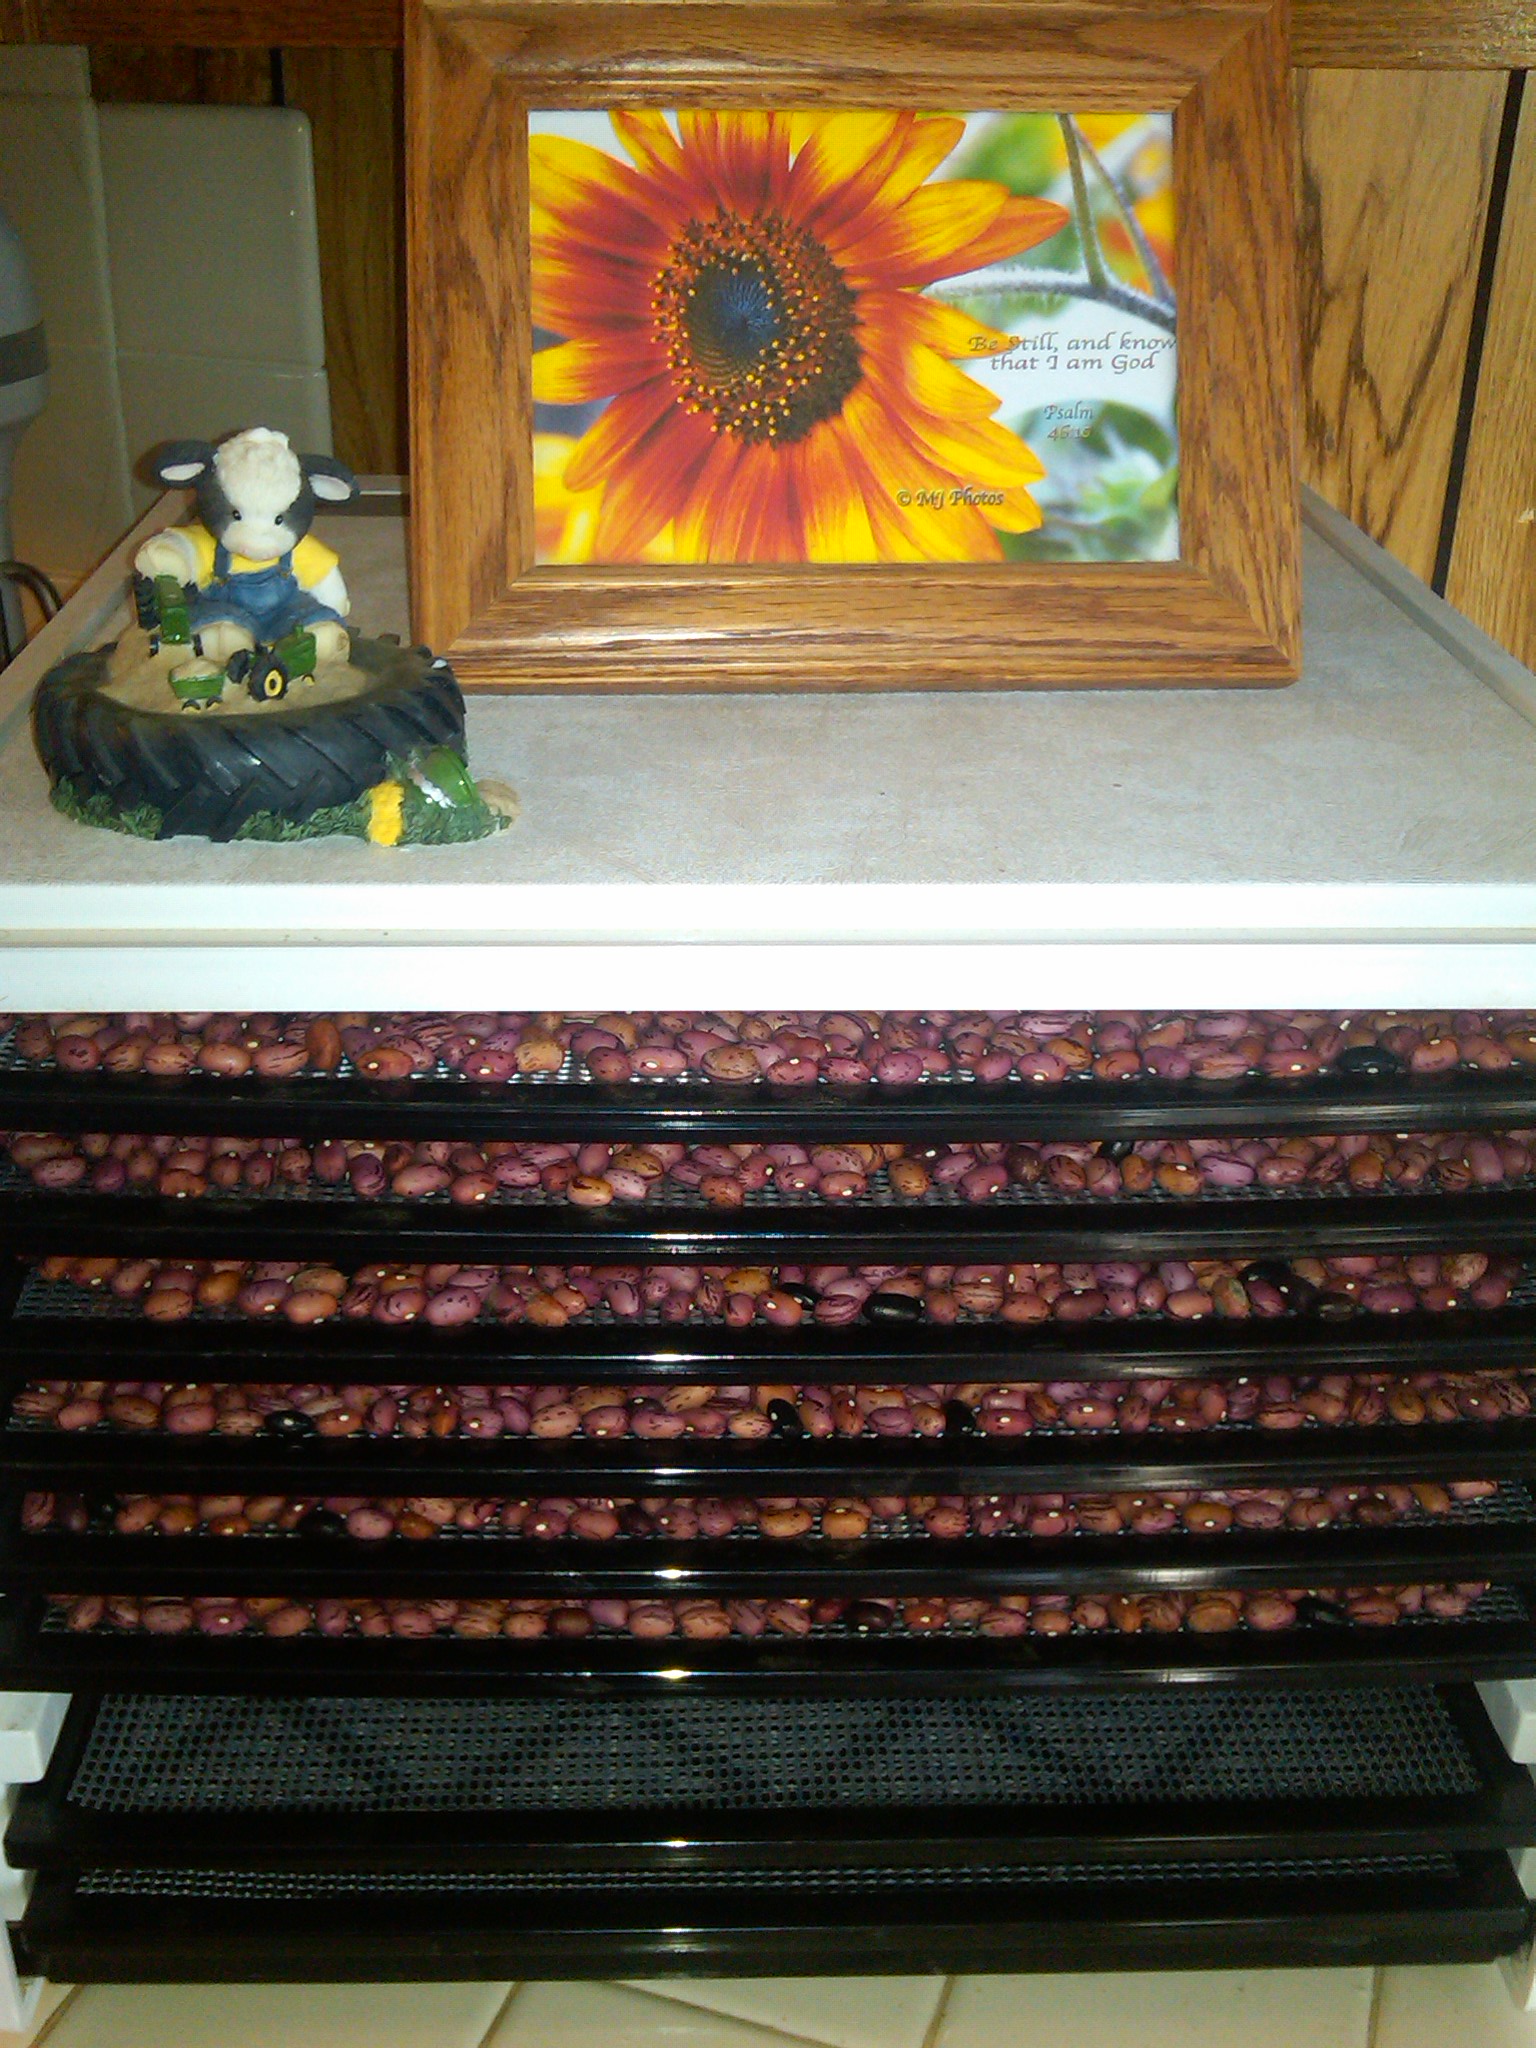
Just to make sure there is no moisture in the beans before storing them in glass jars in our pantry, we dry them in our dehydrator overnight.
To hydrate the beans, the best thing to do is soak them overnight. We like to use a mixture of water & whey. This actually makes the beans more digestible. That being said, in reality, I don’t always have the forethought to do that. Most of the time I want to use them in a recipe the same day. So below is the method we use that is quicker and works for us.
My formula for determining how many beans to hydrate is:
1/2 pound of dried beans = 1 cup of dried beans = 3 cups of finished, hydrated beans
Place dried beans in a large pot and cover with water by at least 2 inches. Bring to a boil. Boil for 1 minute. Remove pot from the heat, add a lid, and allow it to sit for 1 hour. Drain and rinse the beans. Add fresh water to cover the beans for at least 2 inches. Bring to a boil. Add a lid & lower the heat. Allow the beans to simmer for about 10-15 minutes. (…taste testing the crunchiness of a bean every so often…) Also need to remove the lid & stir occasionally – will keep the foamy water from overflowing onto your stove-top.:)
**This procedure is about half the time most cookbooks say to prepare dried beans. We learned that the age of the beans determines how long the hydrating will take…when we followed the cookbooks, our beans were MUSH, lol. (Kinda makes you wonder just how old the beans are that are on the store shelves! Not a big deal, though – it is a nice attribute that this is a food with a long shelf-life.) After experimenting with less & less boiling times, we came up with our above procedure. I say all this so that it is understood that it may take longer to get older dried beans to desired softness. 🙂


Last season we had 21 quarts of beans for our pantry, 11 quarts for next door, and many smaller jars we filled & gave away as Christmas gifts with our bean soup recipe. 🙂

I am coming up in May. I want to see all of you and eat your food. 😀
LikeLike
Lol – great! Looking forward to it! 🙂
LikeLike
I tried my hand at dried beans last year, and it didn’t go well. But with the drought (and rabbits!), I was at a disadvantage. I’ll definitely try again after reading this!
LikeLike
Yeah – that made it extra hard – you had two strikes working against you! Hopefully this season will provide sufficient rains for our gardens… Then you’ll just have to deal with the rabbits, lol! We haven’t had too many issues with them hurting our veggies – perhaps it’s because of all the cats around here? Let us know if you need any to build a “cat herd” – we are bound to have a litter or two of kittens this year… 🙂
LikeLike