Category Archives: Family

our chili recipe

2 quarts tomato juice

2 quarts whole tomatoes (crushed up)

1 quart tomato sauce

4 pounds cooked ground beef

2 cups chopped green peppers

4 cups of mixed dried beans – softened* (see below)

4 t minced garlic or 8 cloves, minced

4 t sea salt

2 c chopped sweet onion

2 c chopped celery

2 T chili powder

1/4 cup evaporated cane juice (56g)

Add to pot. Heat & simmer over low heat for several hours, stirring occasionally. 🙂

Yield is about 20 servings.

*One of these days, I’ll get a post up about our dried beans.  Here’s how we “soften” them.  Take 4 cups (1 pound) of dried beans and pour them in a tall pan with water covering them by at least 2 inches.  Bring them to a rolling boil for one minute (IF YOU ARE USING STORE BOUGHT BEANS, DOUBLE THE COOKING TIME.).  Remove from heat & add lid. Let sit 1 hour. Drain/rinse. Add back to pot with water covering them by several inches.  Bring to a boil. Add lid, and simmer 20-30 minutes. (SAME AS EARLIER, IF STORE BOUGHT, DOUBLE COOK TIME.)

our barley-stuffed peppers recipe

Since we freeze these as individual halves, we make a big batch of the filling and use however many green peppers we have to fill.  Leftover filling is great as a side or burrito filling, too!

IMG-20120802-01796

IMG-20120802-01795

1 pound “sausage”

2 cups chopped sweet onion

1 t garlic granules

1 pint tomato sauce

4 cups barley, cooked (5 c water + 1 cup barley + 1 t sea salt = bring to a boil, reduce heat to low, cook covered about 45 minutes)

1/2 t dried thyme

1 t sea salt

1/4 t coarse pepper

Mix up above, spoon into blanched green pepper halves (place pepper pieces in boiling water for 3 minutes, drain in cold water). Place in ungreased baking dish. Cover & bake at 350° for 25-30 minutes or until peppers are to desired tenderness. Makes a bunch. 🙂

Stuffed pepper soup recipe

IMG-20120813-01920

IMG-20120909-02145

3 pounds ground beef

2 quarts beef broth

2 quarts water

2 quarts tomato juice

2 quarts whole tomatoes (which I usually crush up with my potato masher)

1-1/2 cups barley

4 cups chopped green peppers

1/2 cup evaporated cane juice (112g)

1/2 T molasses or sorghum

4 t sea salt

2 t coarse pepper

In 8 quart stock pot, brown beef. Drain. Add back to pot with remaining ingredients. Bring to a boil. Reduce heat. Cover and simmer until barley is cooked. Tastes best after day 1. 🙂

Yields about 20 servings.

Processing peppers

IMG-20120924-02333

Figured I’d finally get some harvesting posts up since I couldn’t find the time to do it “live”.  As we get loads of green peppers, what I don’t eat raw (my favorite), we chop and freeze.  When we have large batches at once, after washing & removing the stem/seeds, we send chunks through the chopper blade of our food processor.  We freeze them in 2 cup and 4 cup freezer bags.

We have a stuffed pepper soup recipe that calls for 4 cups of chopped peppers, and we use 2 cups in our chili recipe – hence storing those sizes.  I think last year we froze enough that we could make 8 batches of our soup and another 8 batches of our chili.  We also like to make a bunch of barley-stuffed peppers which we freeze individually so we can just take out what we want.  I place them side-by-side in a covered container until fully frozen, and then stack them in gallon sized freezer bags.

IMG-20120802-01796

IMG-20120802-01795

That’s pretty much how we calculate what we need for a year… When it’s time to cook, I like to grab what I need in the size that I need – kinda like our very own grocery store, lol! It really works great for the type of lifestyle we live. Ideally, someday we’d like to use less plastic, but we are not there yet.  For now, being able to create a filling meal in a shorter amount of time is a higher priority. 🙂

IMG-20120924-02341

Many of our hot peppers, we just wash & freeze whole.  We like to throw a couple whole peppers into pots of “whatever”, just for flavor. We’ve learned to taste test while recipes simmer – because it doesn’t take too long for the “heat” to take over, lol…

IMG-20120907-02133

Every year, my 3 boys try to make their own hot sauce.  Found a recipe for a lacto-fermented hot sauce online, so they tried it last season.  They sorted their peppers by “hotness” and made 3 different batches.  They are still undecided if they really like it or not…(which in my opinion, means they must not like it, lol)

IMG-20120915-02258IMG-20120921-02298

IMG-20120922-02302

We froze the hot sauce in half pint jars, but didn’t have enough lids for them.  Used foil & set them into sandwhich ziplock baggies in an effort to NOT stink up our freezer, but that didn’t work.  Next season, we will have metal lids, lol. 🙂

IMG-20120921-02300

Ricotta dumplings recipe

In preparation for our crazy season to begin, I’ve been making big batches of foods I can freeze. I found the base recipe for these online, and have tweaked it for us. These dumplings taste wonderful and are nice to have as an option for a quick meal. 🙂

Fill a large stock pot half full of water & bring it to a boil.

While that is getting to temp, mix up the following:

1 pound ricotta cheese (or a mixture of ricotta & cottage cheese)

8 eggs

Then add & mix well:

6 cups of flour (726g) – I use King Arthur Unbleached Flour

3t sea salt

1t coarse black pepper

Place dough on a floured surface. Dough should be a little sticky. I usually divide my dough into 4 chunks or so. With my hands, I pat the dough to about 1/2″ thickness. (Make sure there’s enough flour under the dough so that when you cut your dumplings, they will be easy to pick up.) Cut dough into 1″ squares.

Water should be boiling by now. Drop dumplings in water and boil 4 minutes. Usually takes me about 4 batches to get all the dumplings cooked. Stir just to make sure there aren’t any stuck to the bottom of the pan. (Oh – and you may need to lower the heat on your burner. That should help prevent water from boiling over. Yeah, I always learn the hard way, lol!) Remove dumplings with a slotted spoon or hand-held strainer & place in a colander to drain. This way you can keep re-using the same pot of water to make all the dumplings. 🙂

These are great plain or under a variety of sauces! 🙂

20130228-072605.jpg

20130228-072056.jpg

Whey soup recipe

I mentioned last year in my ricotta cheese post, that I’d post our recipe for “whey soup” sometime. Guess today’s the day! 🙂

1 quart of homemade chicken or beef bone broth
1/4 cup of noodles of choice (optional)
1t sea salt

[I’m adding these pics a day later than the original post was written. Michael just made a half recipe today, if you are noticing the smaller portion – fyi]

20130228-094937.jpg

Heat to simmer and until noodles are fully cooked. Add 1 cup of whey – but don’t boil.

20130228-095132.jpg

Since we normally use frozen whey “ice-cubes”, I turn my burner off, but keep my pan on the burner… Keep stirring until the whey has dissolved. (If necessary, heat it a bit until it’s to your desired eating temp.) That’s it! 🙂

20130228-095312.jpg

This serves a generous 2 bowls of soup… Or 1 huge bowl for Michael, lol. He’d eat it everyday if we let him. I gotta ration some things around here or I’d never have time to leave my kitchen! 🙂

20130228-095506.jpg

Such a great soup if you are feeling under-the-weather! A great immunity booster and wonderful healing food… 🙂

Rags instead

Several years ago, we began the transition toward buying less of the “disposable” paper stuff. Needed to lower our expenses, so we could pay our bills + work on paying down our debt. At this same time, we cancelled our weekly trash pickup, too.

Everything we used to “throw away” was now separated into recycle, burn, or trash piles. When we first started, we’d have enough trash stuff for Mike to load up the truck and drive to the dump every 3 months. Then it was every 6 months. And now it is once a year! This was a huge blessing on two counts: 1) the price per truckload at the dump has risen EACH TIME, and 2) Mike DESPISES going to the dump, lol. Both of these were big motivators for us to remain diligent in reducing the “trash” pile. 🙂

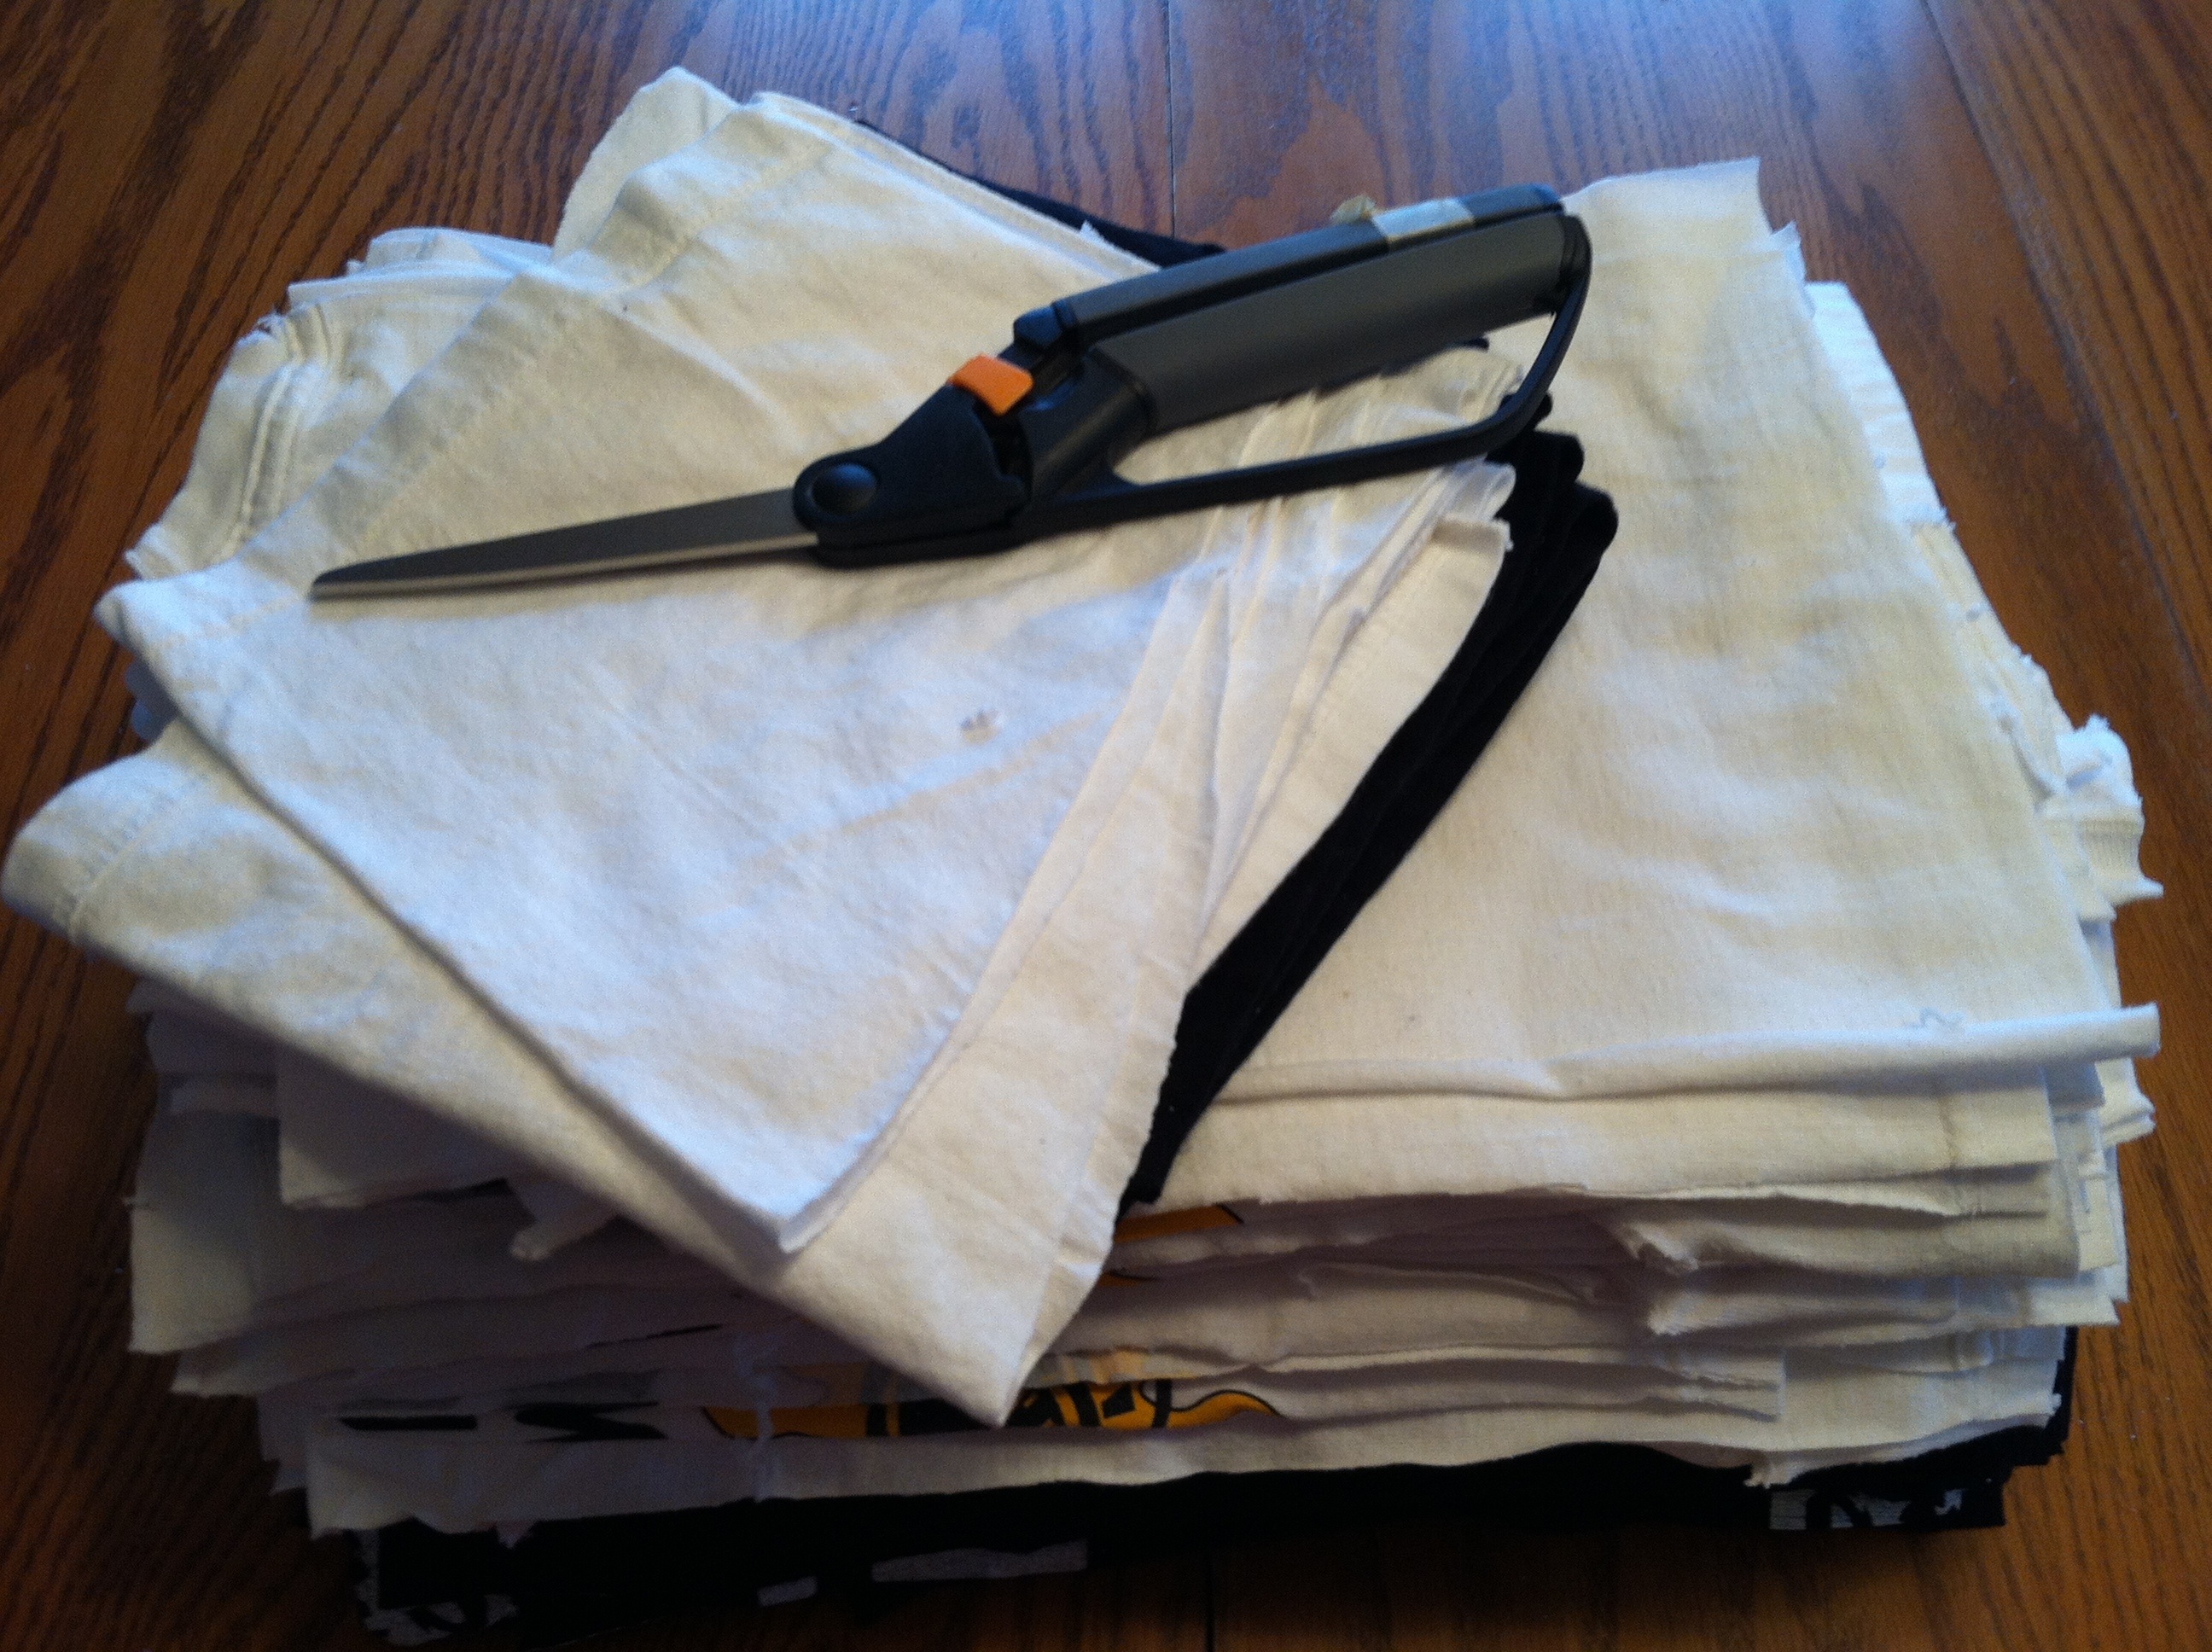
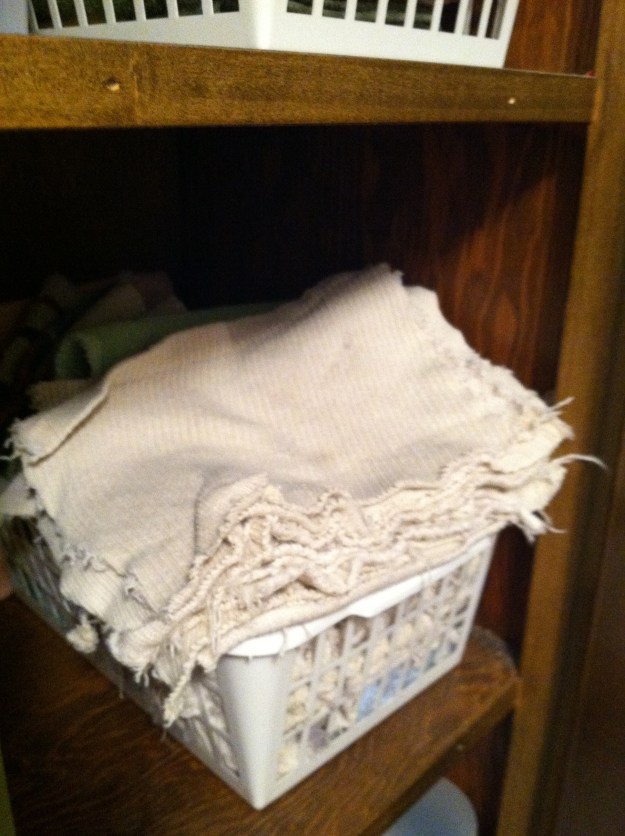
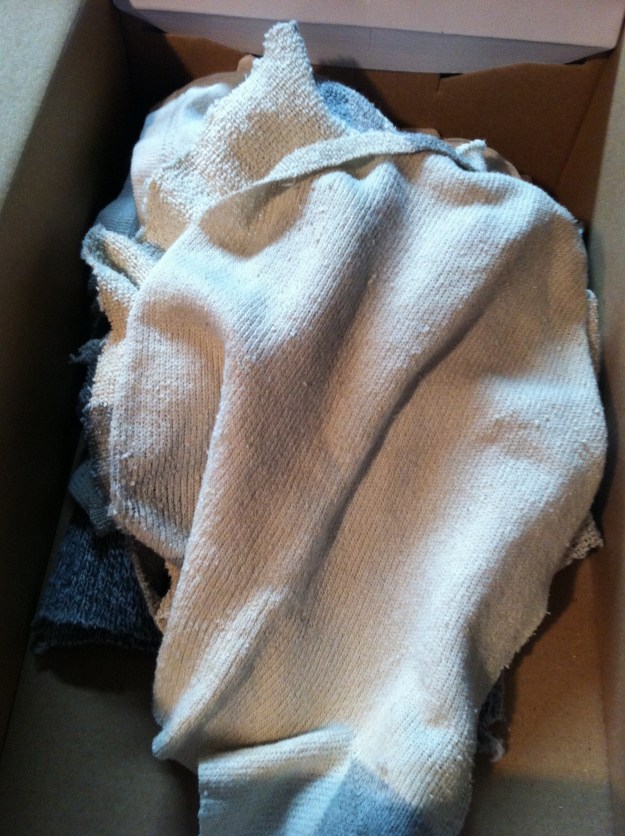
Decided to cut up our old t-shirts…the ones with stains & holes – and use them for the same thing we used to do with kleenex and paper-towels. (Yeah, this is the same girl who just did a post about admiring old hankies – but that was TO LOOK AT, not keep one in my pocket all day, lol…) I wasn’t real keen on the thought of old-fashioned handkerchiefs (AT FIRST). In fact, they kind of grossed me out a little. So, the idea was born about making single-use but re-usable rags. Fashioned one of our kitchen drawers to be a “rag drawer”, and filled it with squares of t-shirt pieces.

20130226-104117.jpg

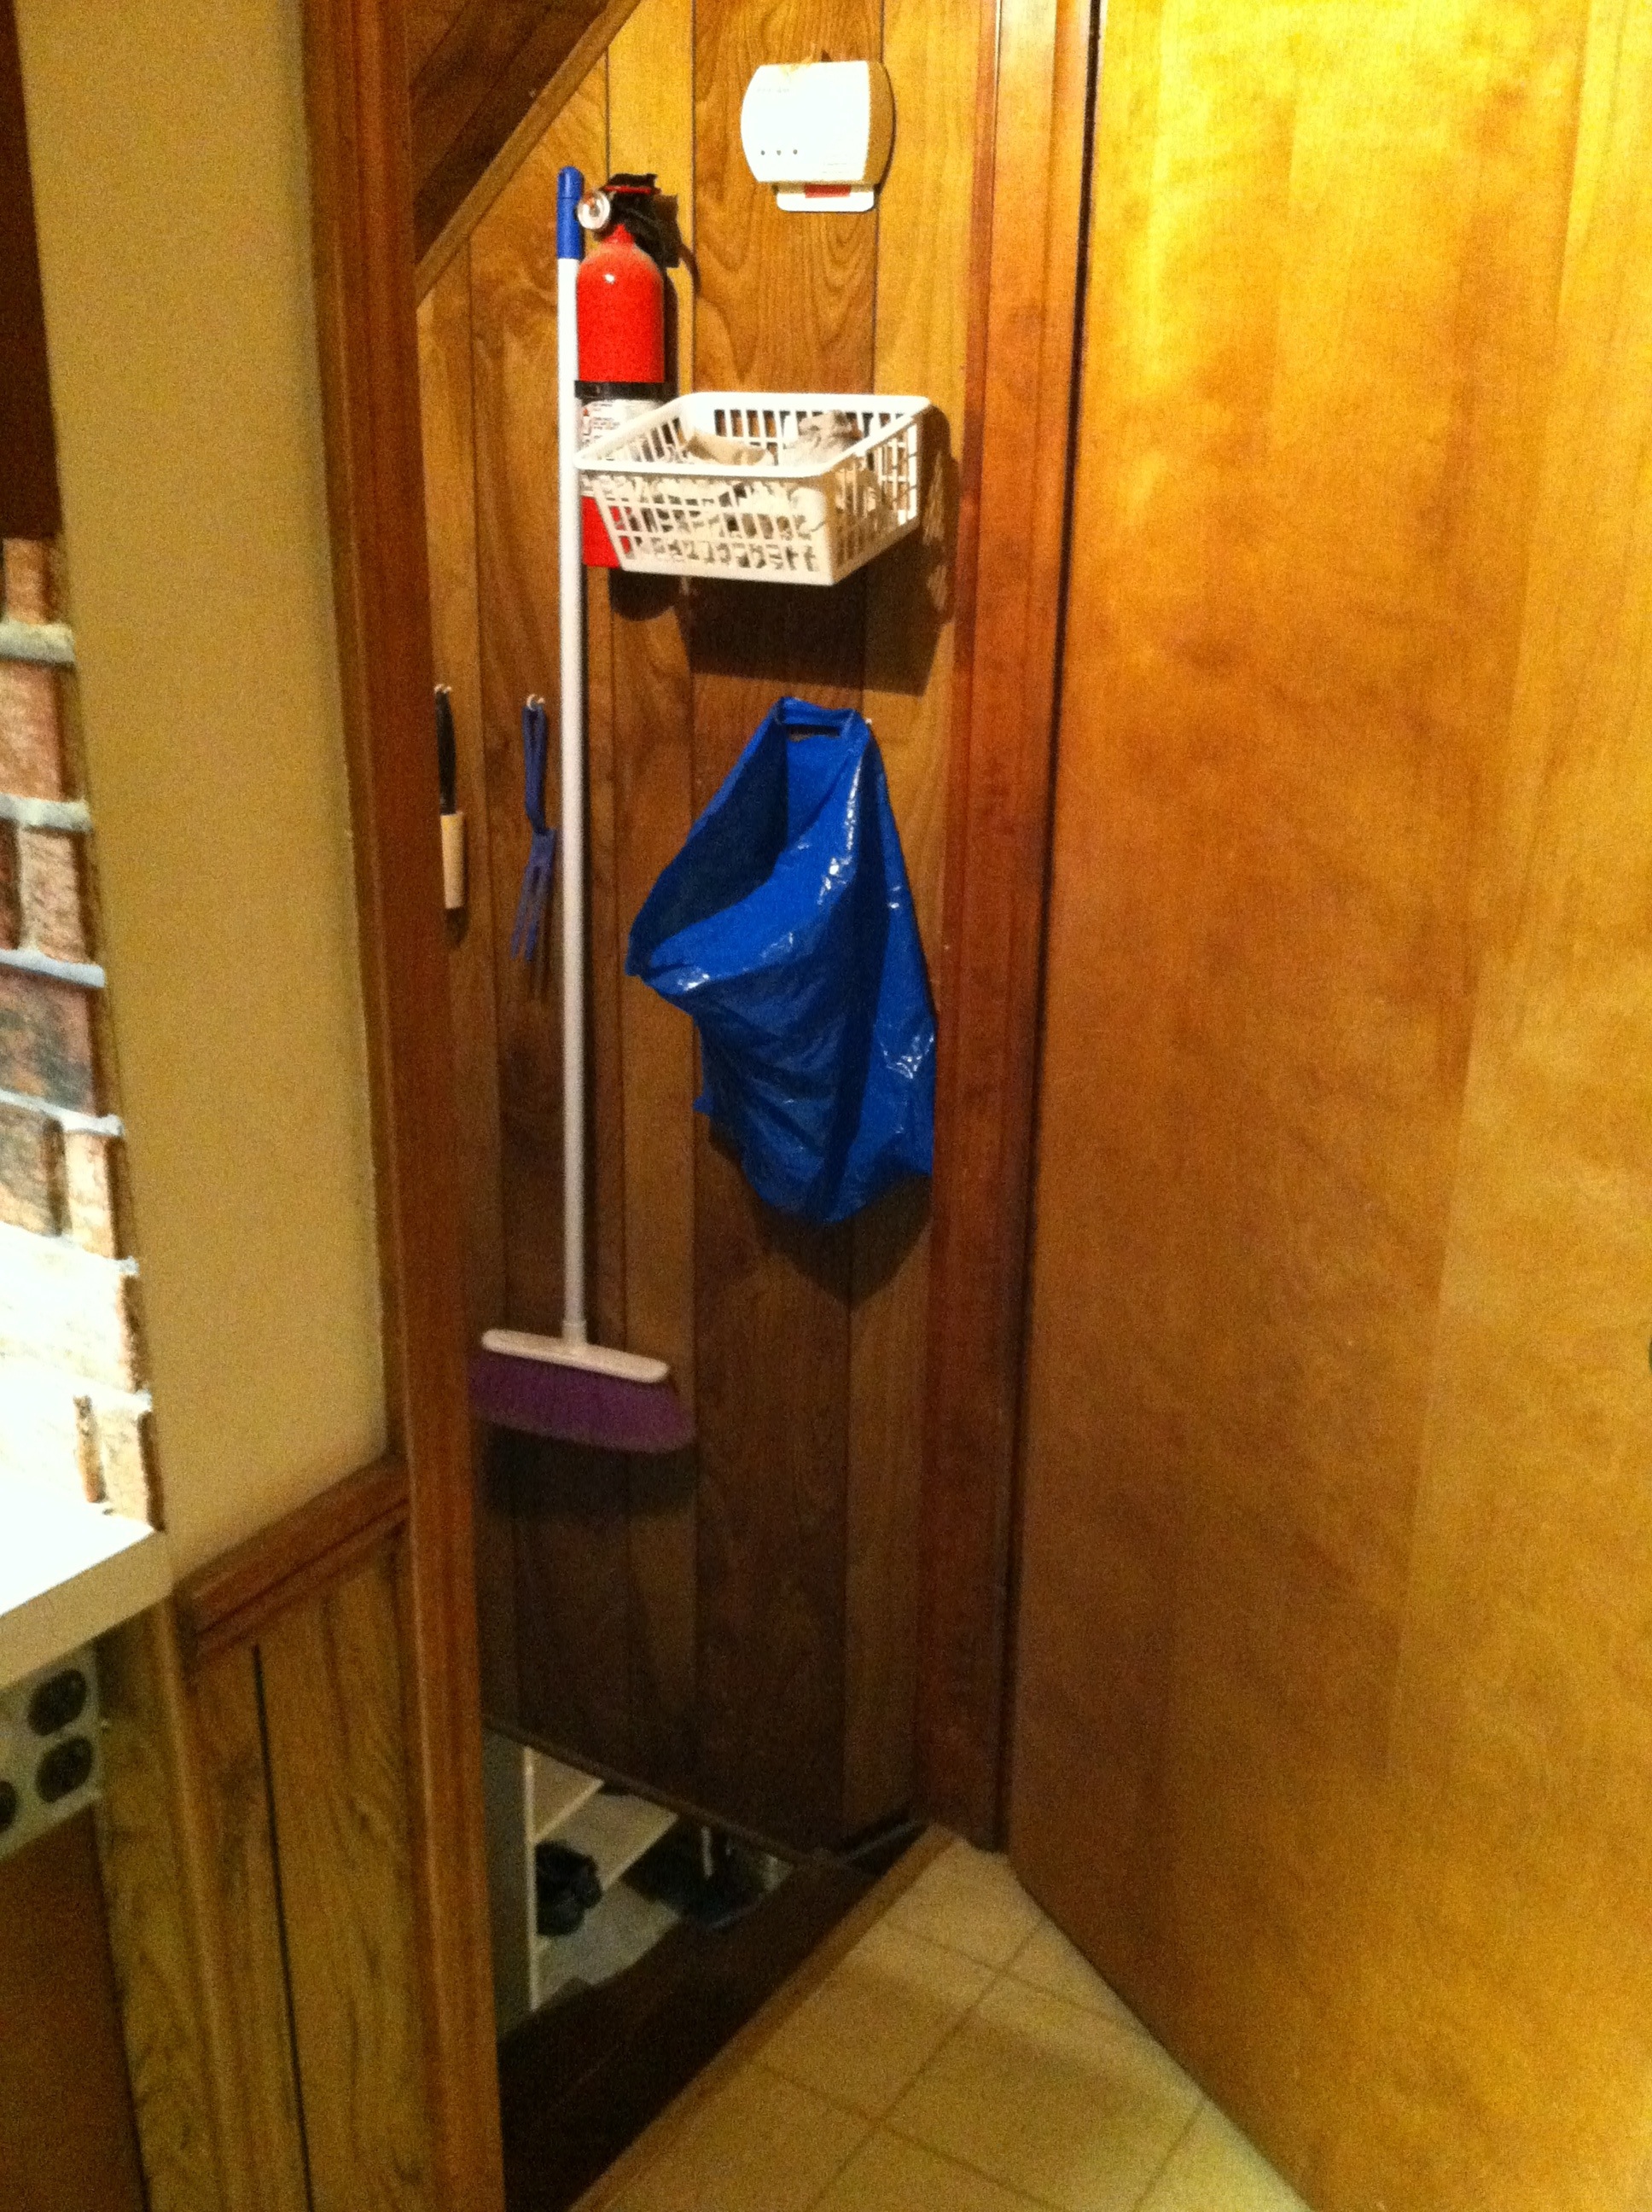
Attached a basket to the wall in our basement stairwell where we throw our dirty rags and they get thrown in the wash with our other laundry.

20130226-104401.jpg

Once we got into the new routine, it has been smooth sailing! 🙂

My goodness, I know we’ve saved a TON of money by not buying kleenex – we used to go through a box a week, easy! And, the rags are soooo much softer than tissues. In fact, we often DO carry our rags in our pockets now – yeah, JUST LIKE HANDKERCHIEFS, lol! Hmmm, what a good idea… 🙂

They are also great for kitchen clean-up. If there’s a spill or something I don’t want to use my crocheted dishcloth on, I just use a rag or two or three… If it’s something super yucky, I don’t feel guilty at all about throwing the rag in the burn pile, because I know we are blessed with an overabundance of future t-shirt rags – even plenty to share! 🙂

20130226-110806.jpg

Do we still have rolls of paper towels? Yes, but that’s only because my dad bought us two packs of 15 rolls three years ago. According to my estimates, we use not quite 2 rolls A YEAR! His gift oughta last us another 8 years, minimum, lol. 🙂

The dark-colored rags usually go next door to be used in our dairy. (Makes it easy to tell which rags go where once they’ve been washed. (Or is that more of my control freakishness shining through…?) When we have enough dirty rags for a load, we wash them with homemade lye soap. Works great! 🙂

Our old, holey socks are also cut-up & have functions post foot-life. Top half works great for general cleaning & for a cotton ball substitute.

20130226-104737.jpg

Bottom half, which never lies flat, gets thrown in a shoebox for the 3 boys to use in the garage. These are “disposable” rags for stuff like wiping up oil, paint, or other outside messes. They end up in the burn pile. 🙂

20130226-105238.jpg

This paperless oddity has led to some funny conversations when new friends visit with us. “Where’s your trash can?” is answered, “Um, what kind is it – burnable, recyclable, or trash?” And “Could I have a kleenex?” leads to strange-but-polite-looks as we explain our single use/re-usable rags… 🙂

My 3 boys like to tease me about how much MORE money we could save by not buying toilet paper anymore, lol – but unless someone else takes over laundry duty, this lady’s gotta draw the line somewhere!! 🙂

Hanky pincushions

Last year, I was gifted a box of my Grandma Cegelka’s hankies.  I don’t know if she used them all or not, but I do know she kept them in her “special” box, so that makes them special to me. 🙂

She’s been gone several years now, but her memory lives on.  Sure wish I would have asked her more questions when I had the opportunity.

252

I wanted to create some kind of keepsake gift with Grandma’s hankies.  For the hankies with simple edges, I found this idea online. Was a fun way to use up some old buttons I had laying around. 🙂    I welcome any other ideas to try, as well…especially some kind of Christmas ornament… 🙂

Some of the other ones have crocheted edges, which are some of my favorites.  I also have some of her crocheted doilies and some linen doilies that she or someone in her family embroidered.  Funny, I would never really call myself a “girlie girl”, but there’s just something about these old treasures that speak beauty to me… Perhaps a future post of some of their pics will be forthcoming. 🙂

Lord willing, someday I’d love to create window treatments and/or a quilt using some of my favorite hankies & doilies. 🙂

One month until 2013 calves!

First due date of our dairy girls is March 23rd – one month from today! 🙂

Name brainstorming has begun – thought I’d post our tentative list…

20130223-120712.jpg

Just a refresher on how we do names: Each mama is assigned a name category for her daughters. Then her daughter’s last name is her mama’s first name. Soooo, when I enter the animal (+ picture) as a contact in my phone, it is easy to see all the daughters of a particular cow, since they all have the same last name. Also makes it easier to remember who is a part of which family when the first names fit in a particular category. I (especially) need to have some kind of “system” to help my brain process a bunch of new additions in a quick span of time, lol! 🙂

Boys are named a bit differently. In 2010 we started with using the “aviator’s alphabet”. (Alpha, Bravo, Charlie, etc.) Last year, we ended with Romeo, so this year we begin with “S”. Technically, our first bull then should be named Sierra. But since we have a personal (female) friend with that name, we are gonna go with Sahara instead. 🙂

Of course, all of these brainstorms are “subject to change” once we meet the calf, but at least we have something to start with! 🙂