
2013 Easter invitation…
2 Replies

We take our harvests and try to stretch it to feed us for one year. Rather than work to a certain “number”, we take whatever our harvest is & divide it by 12. Saves us a lot of stress – that fear of “not having enough”… It encourages us to be more content with what we have and plan our meals accordingly. 🙂
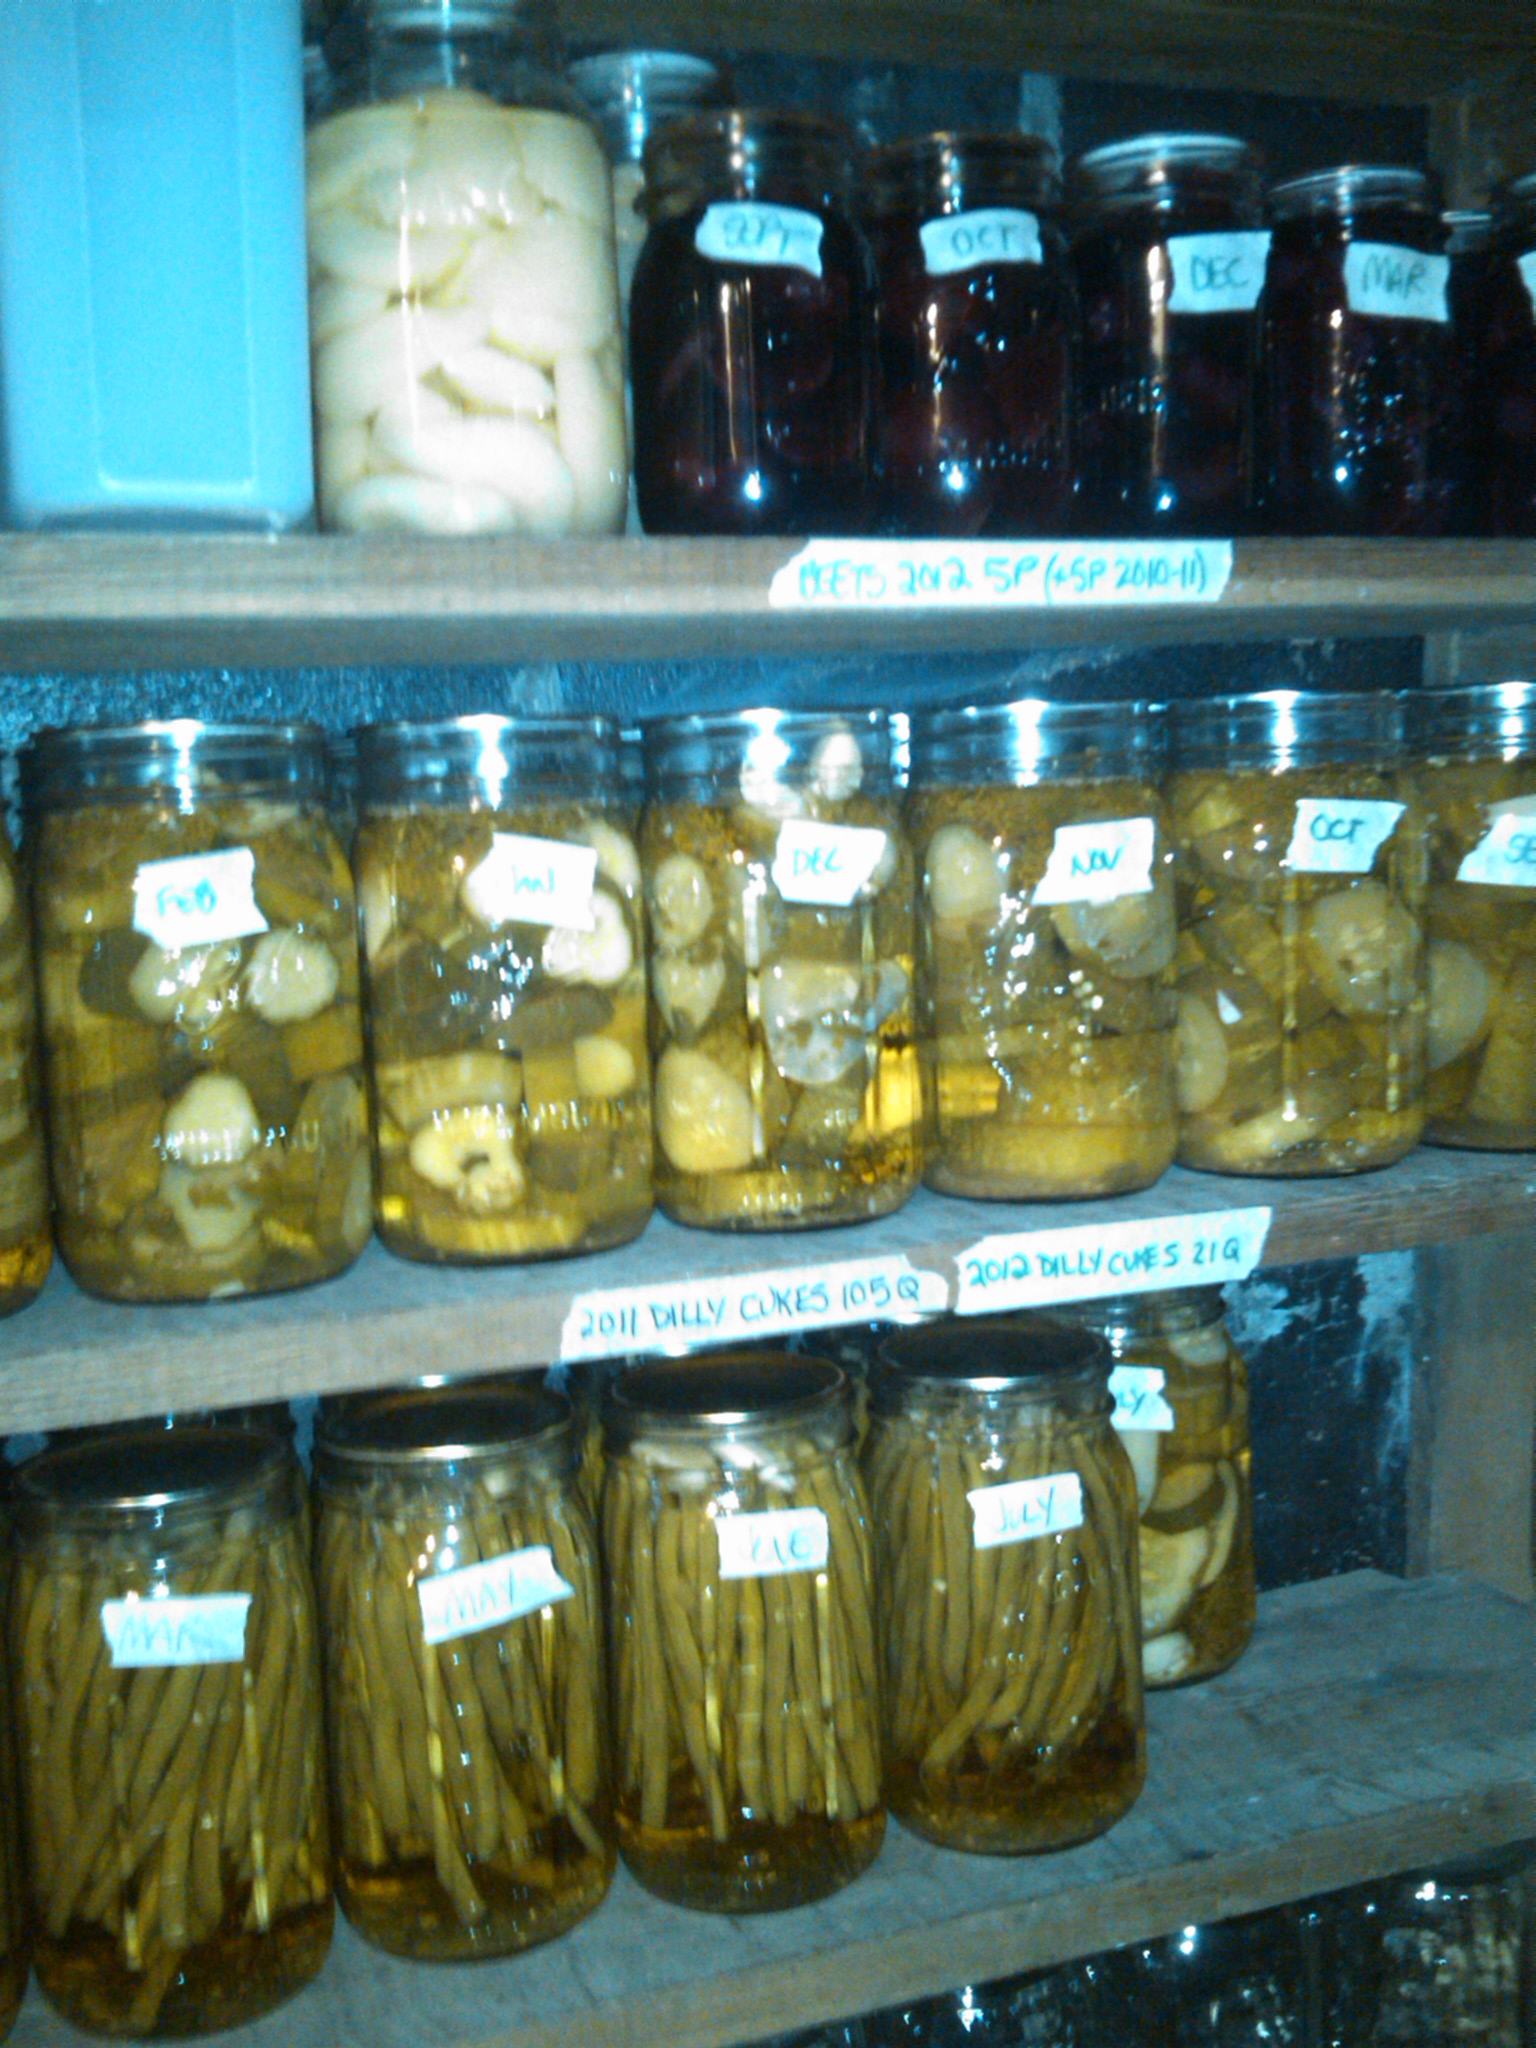
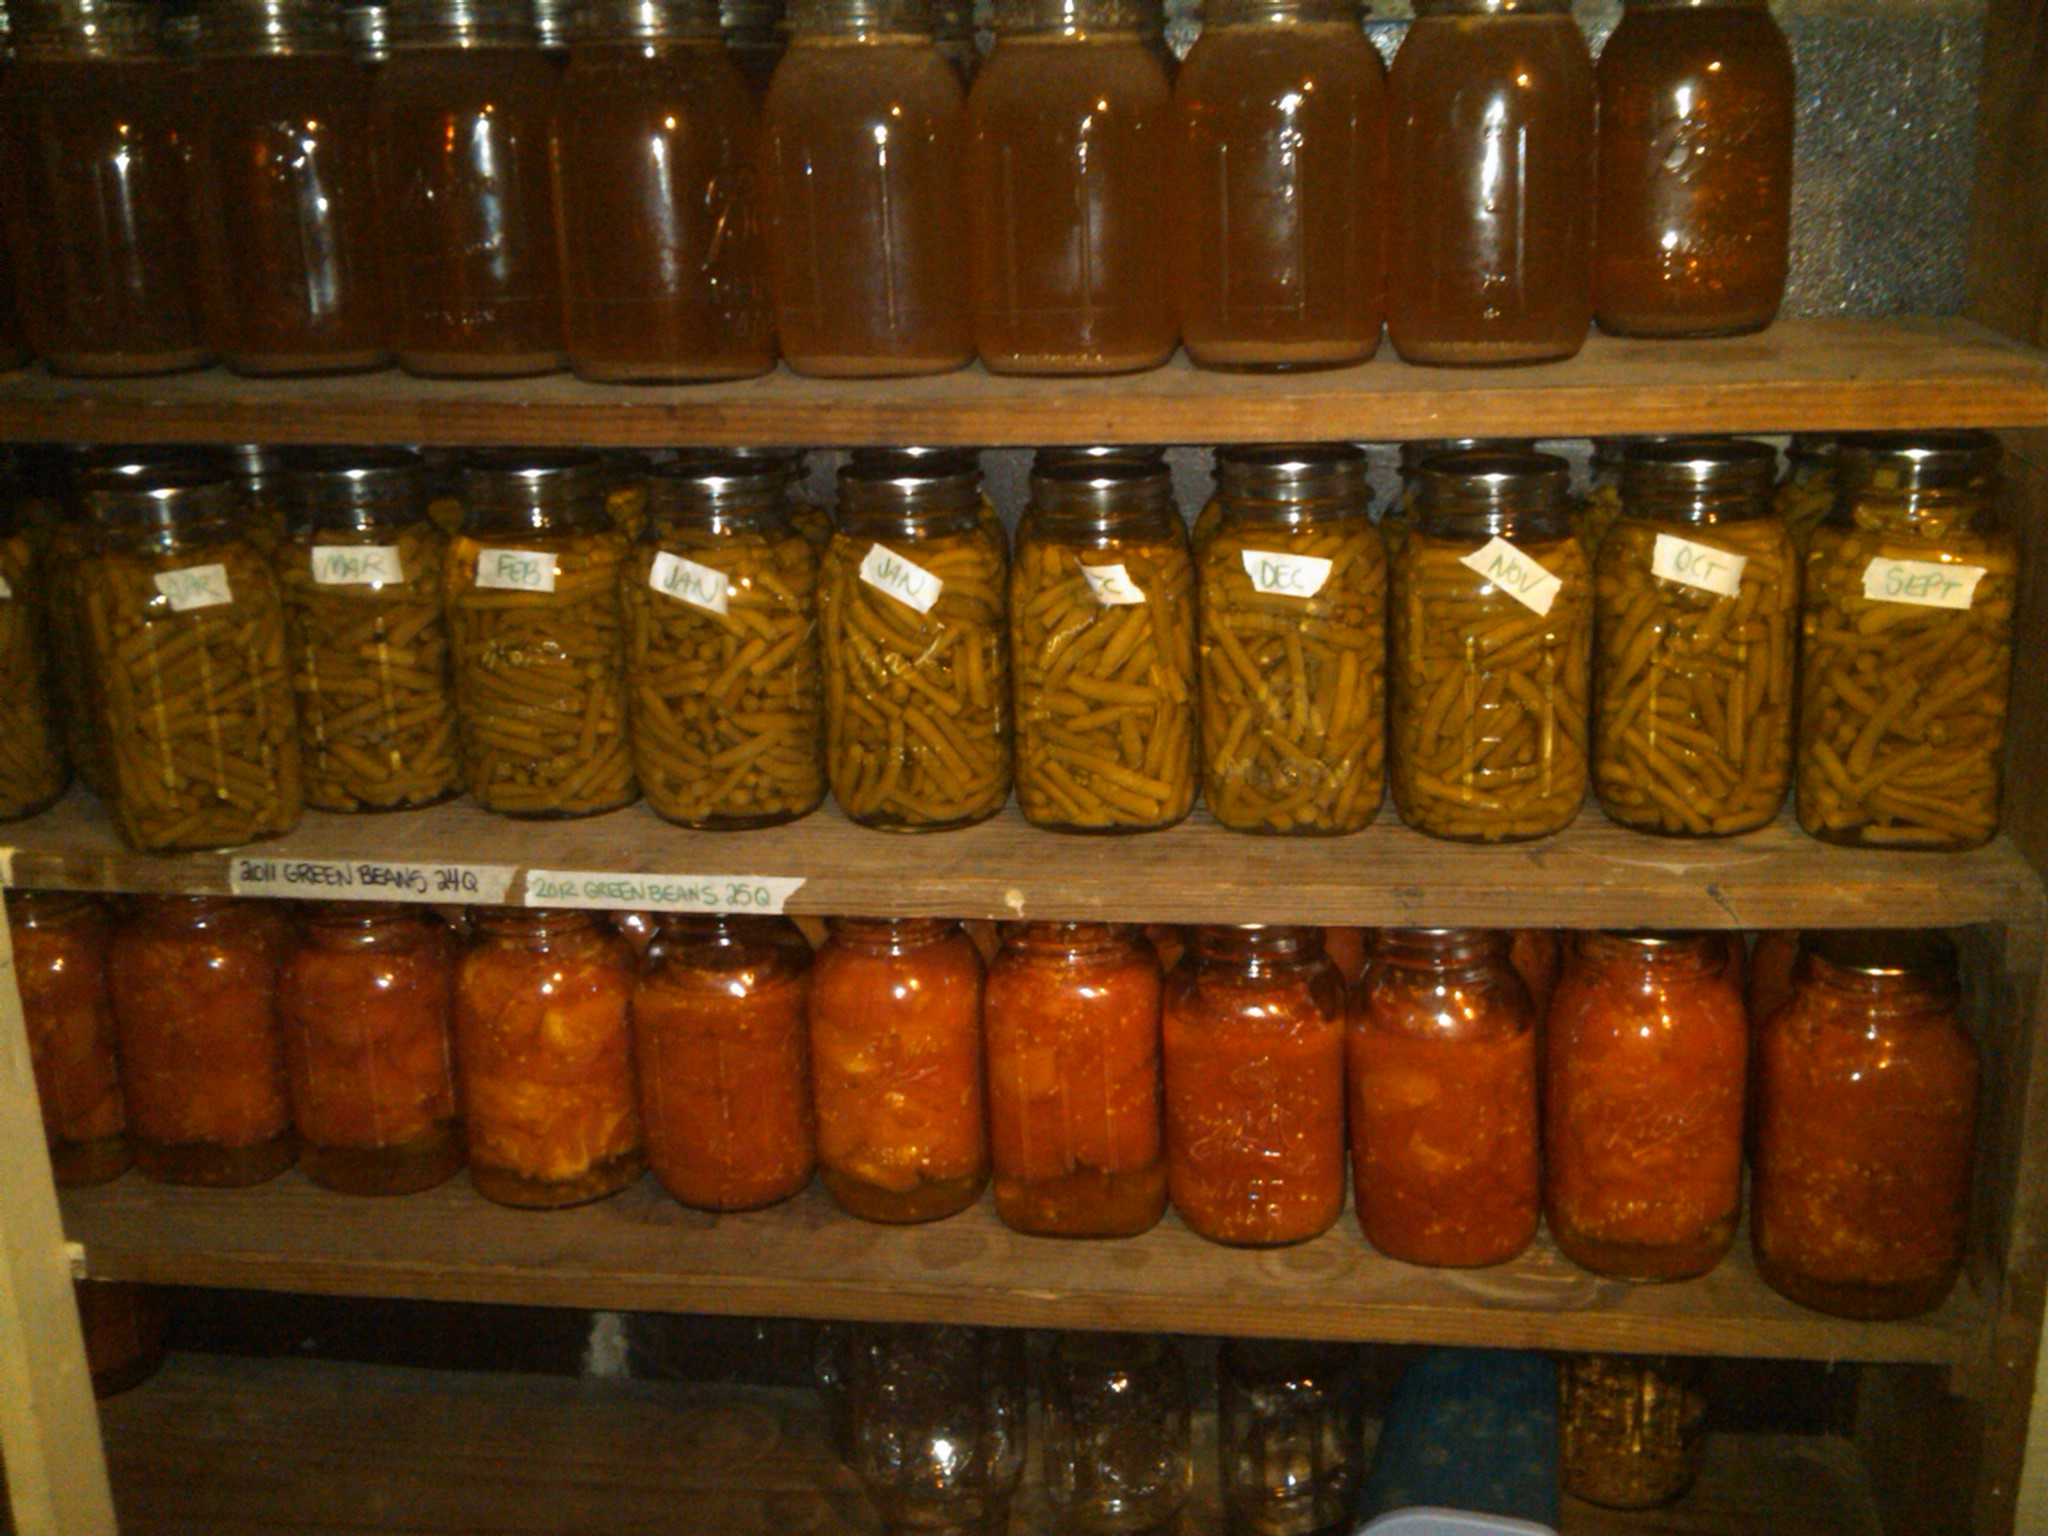
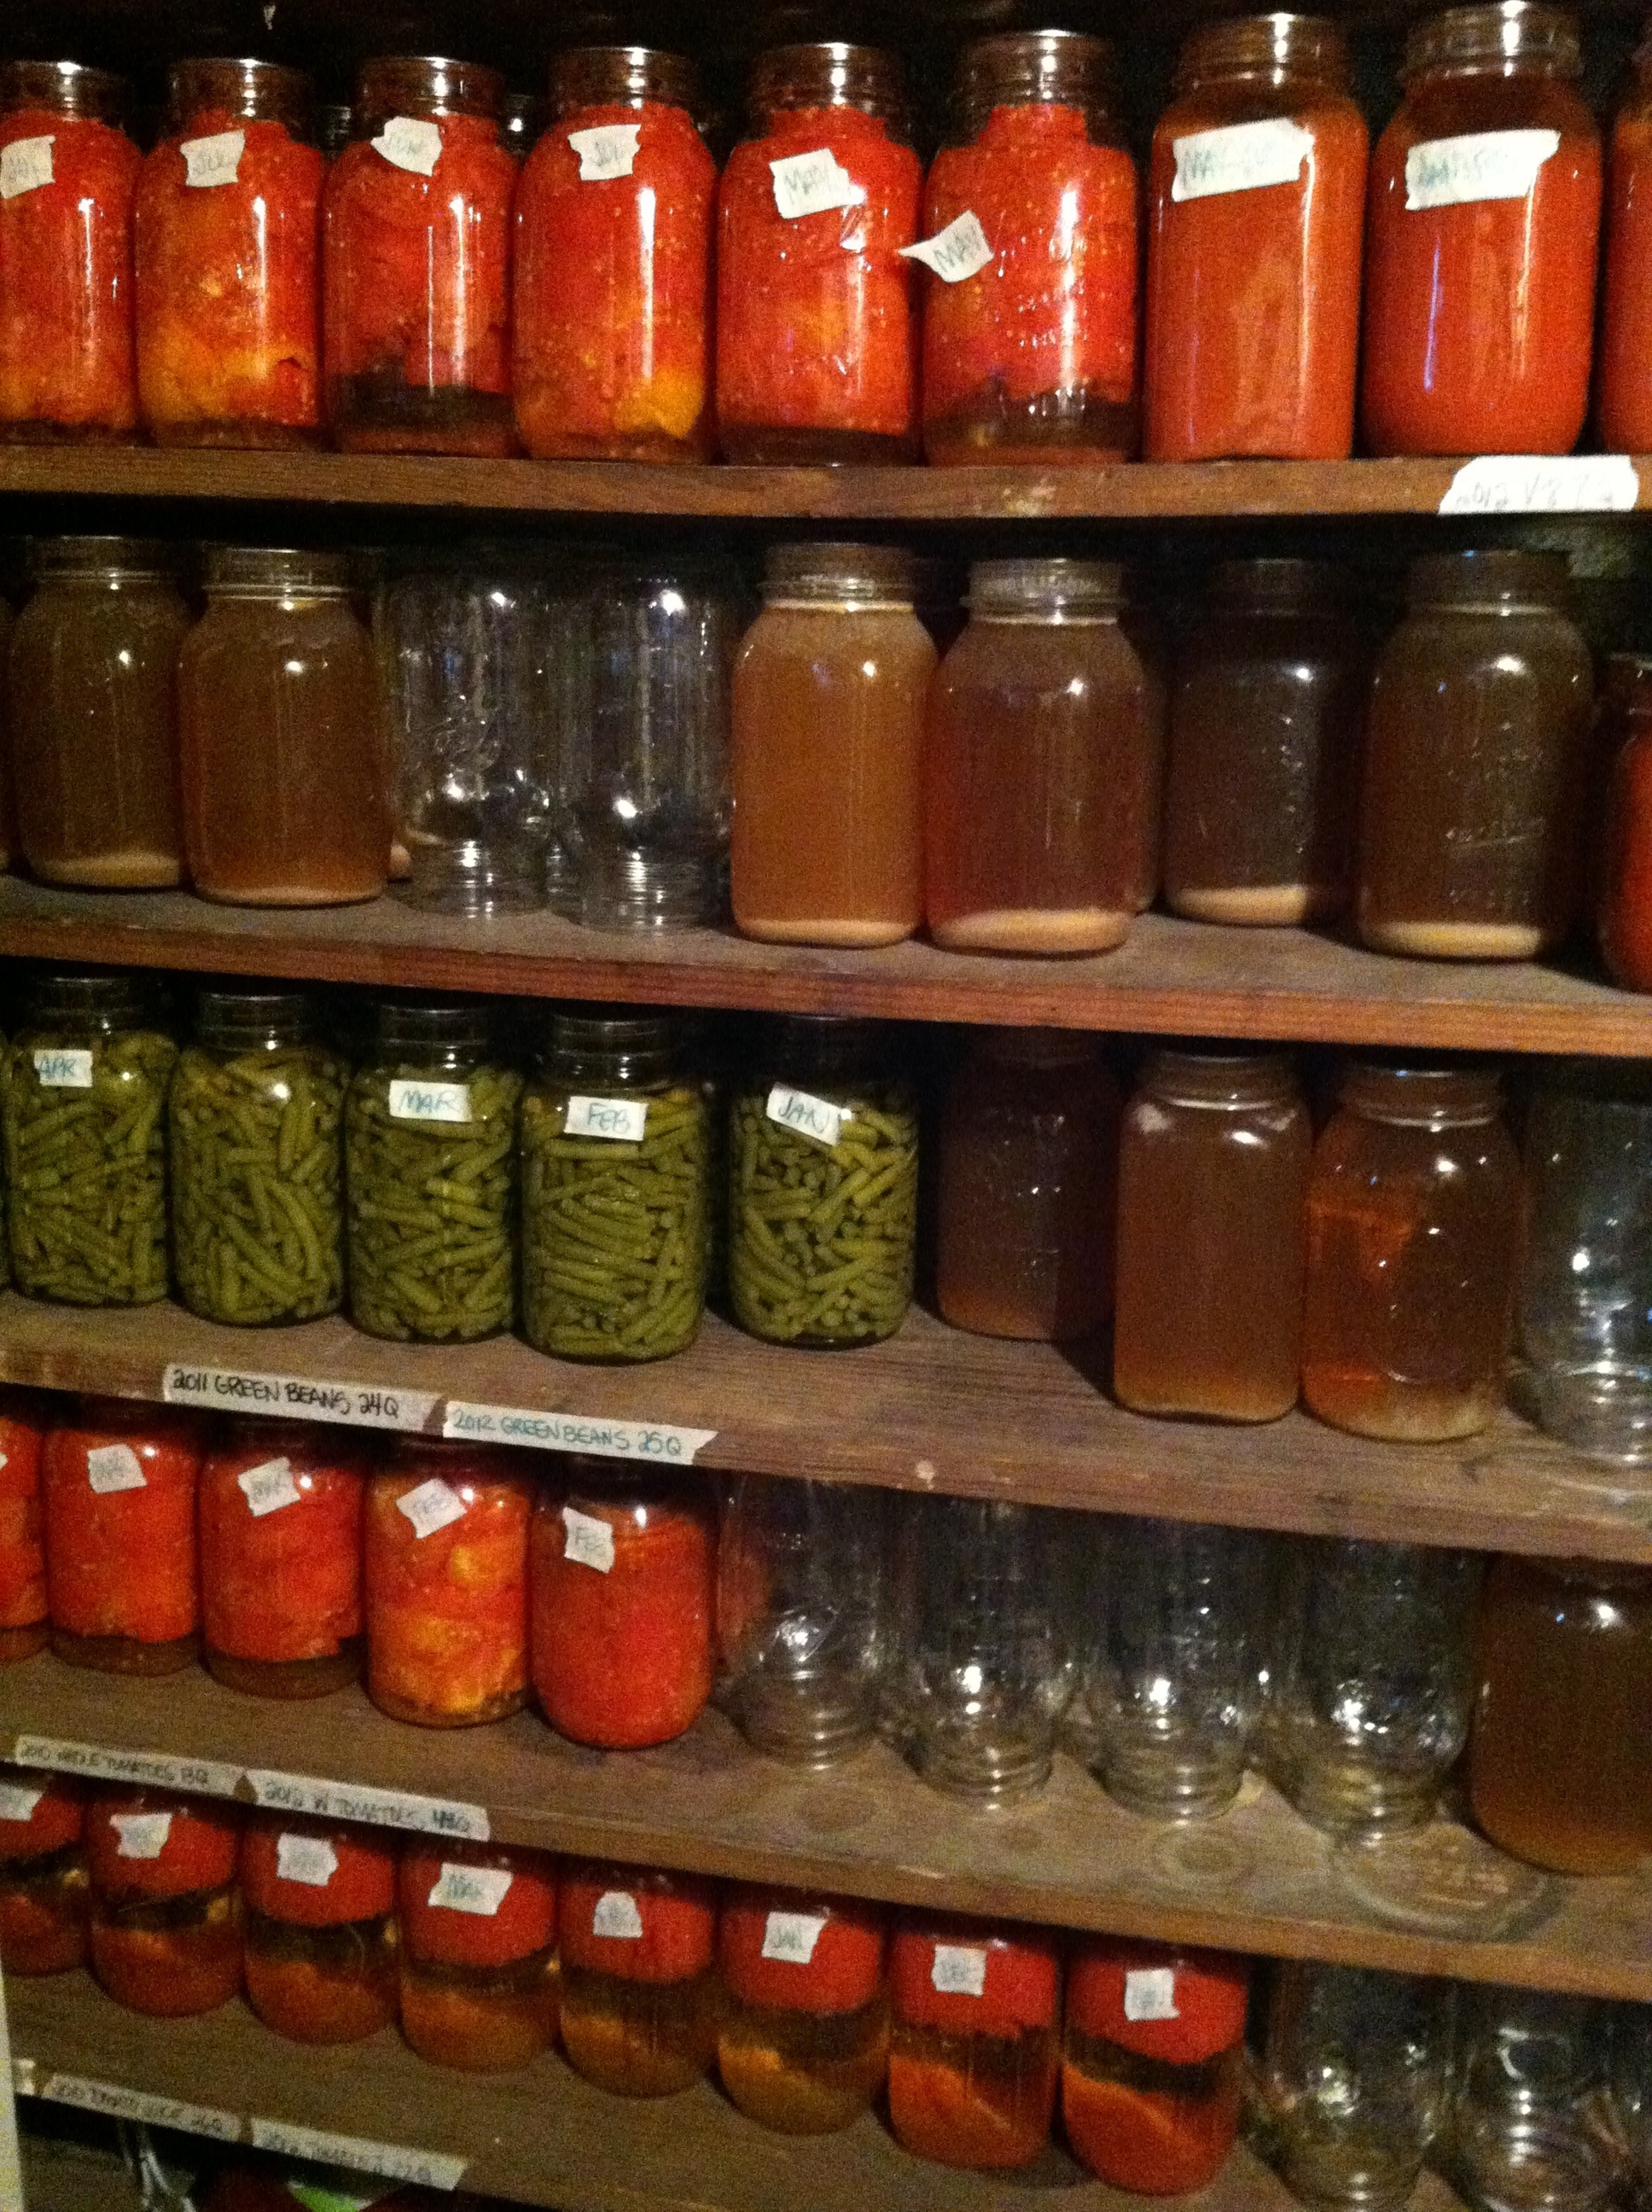
I do keep a record of each year’s total on the pantry shelves with a piece of masking tape – just so I have a ballpark idea of what we had the previous couple of years. Helps with knowing how many canning supplies I should invest in for the next season, too. And quite honestly, once we finish processing, I stop thinking about it & my brain can’t recall those numbers when someone asks. (This blog is actually helping to document tallies as well…) 🙂
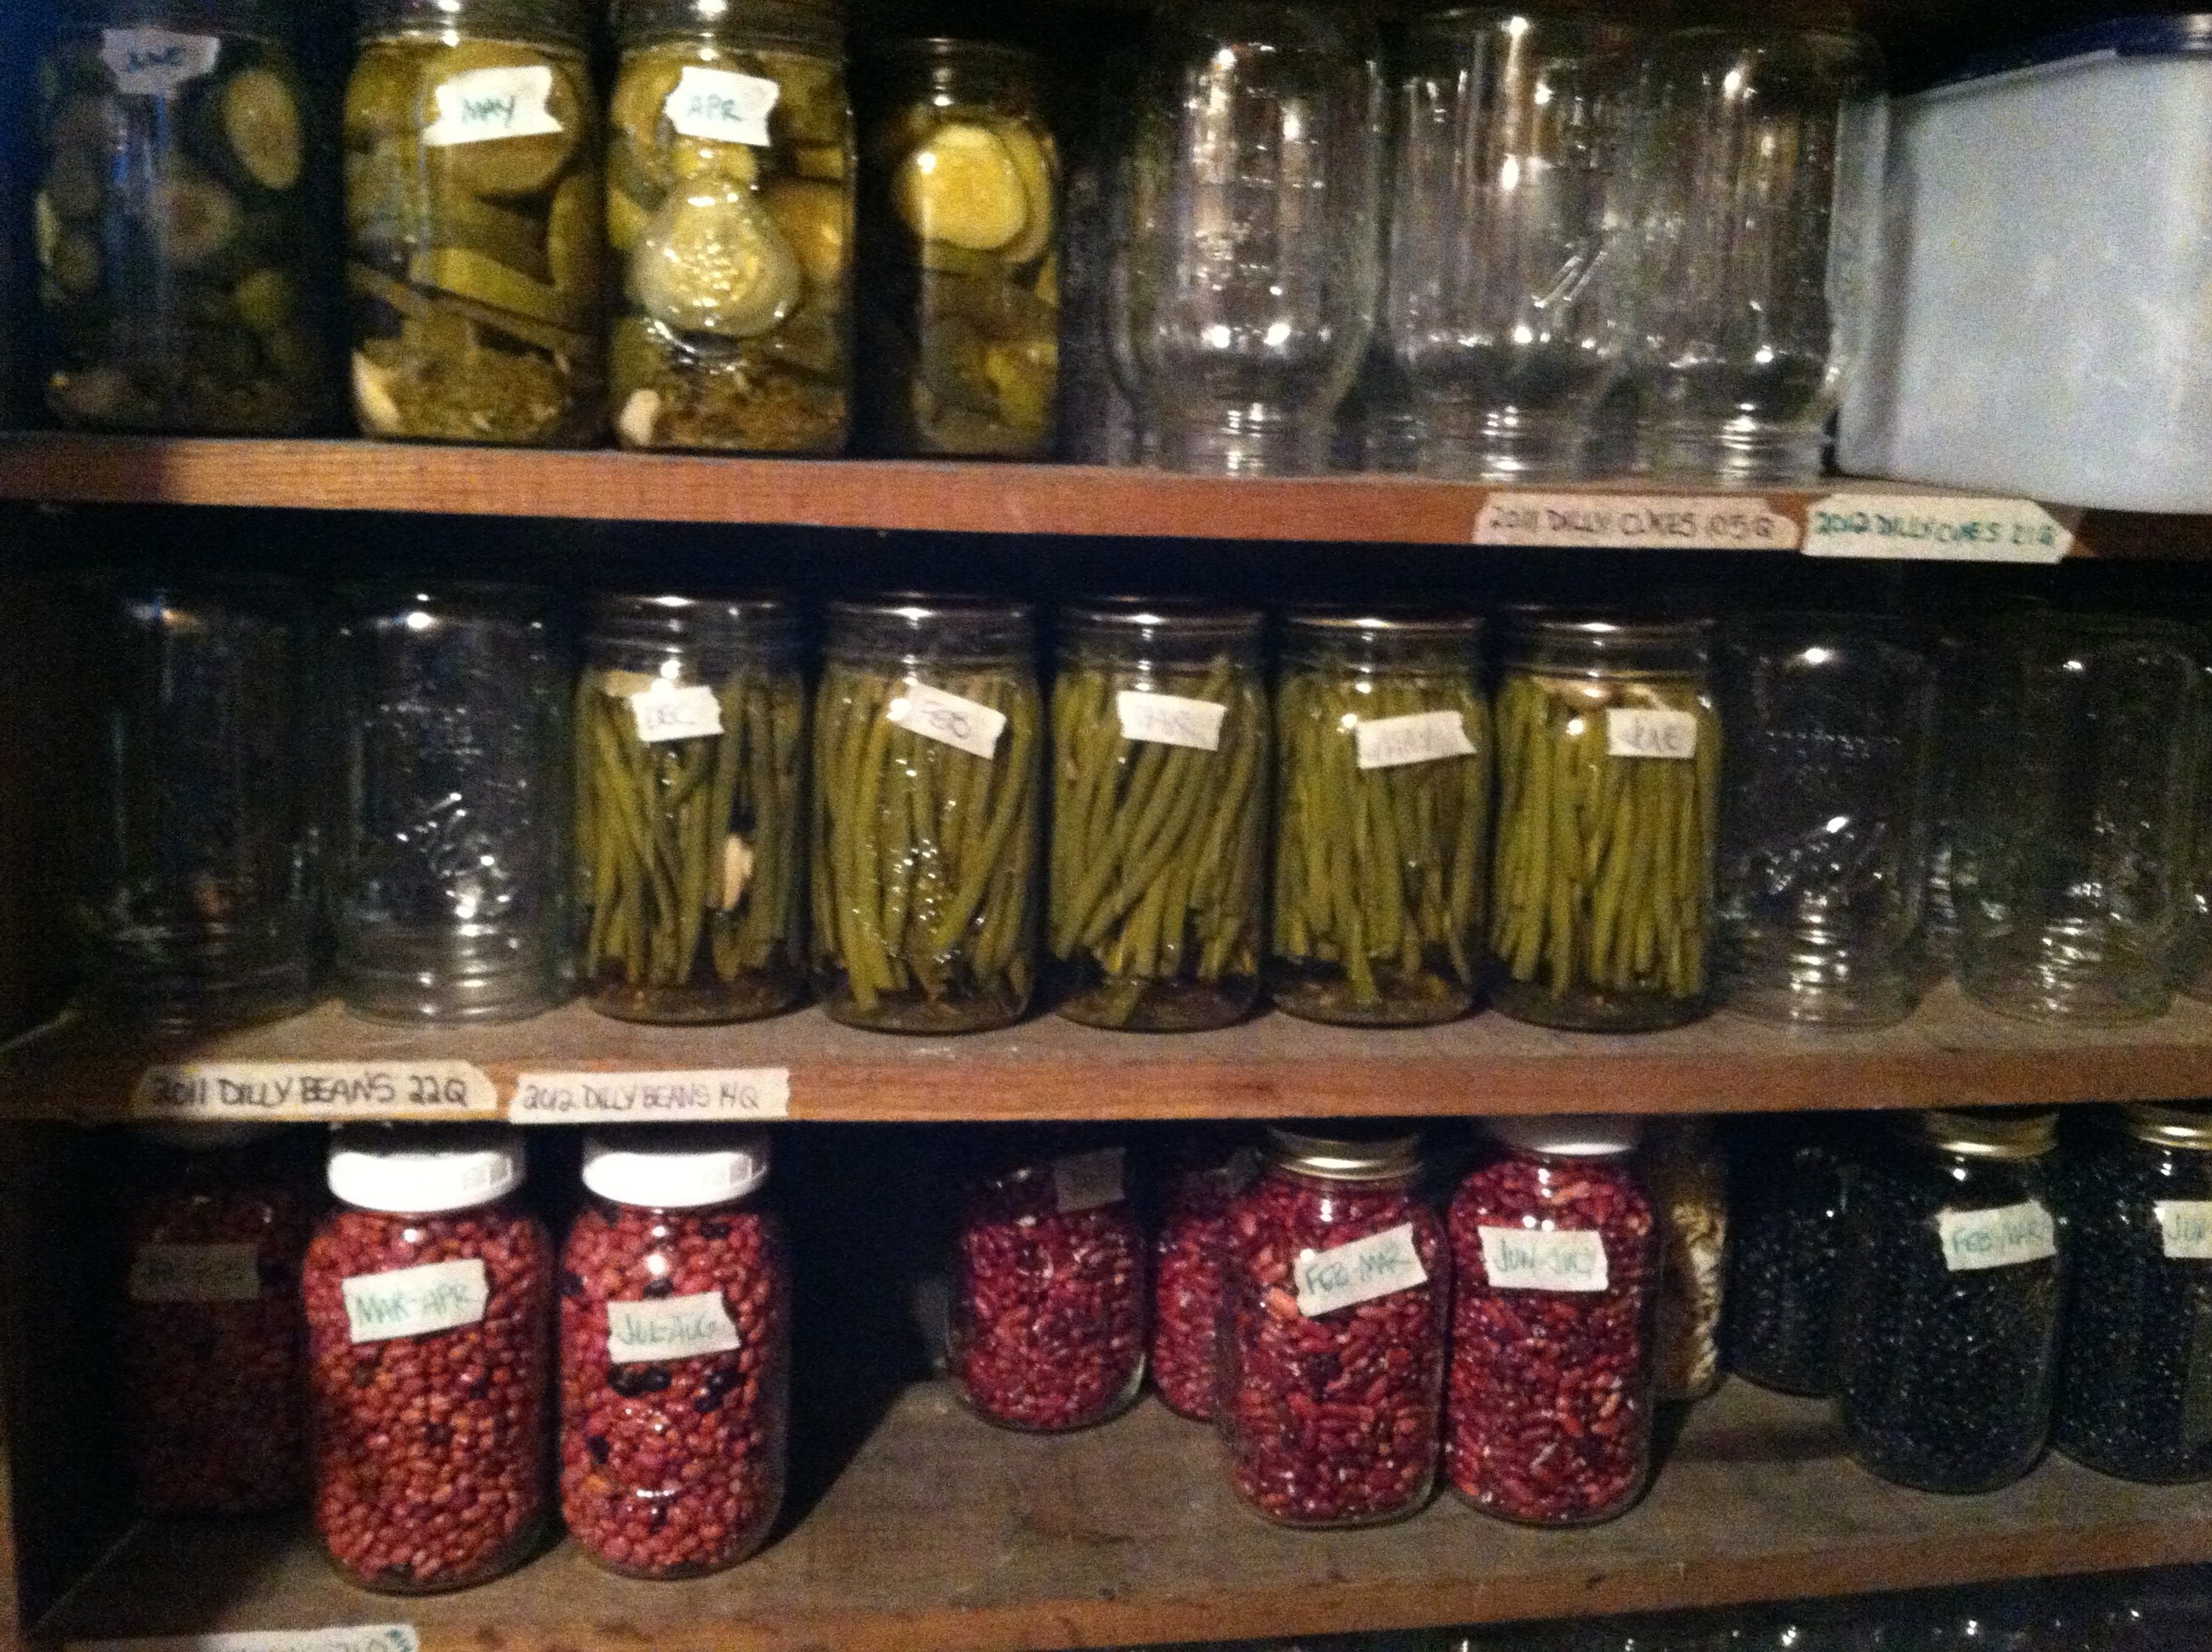
Once the monthly breakdown is calculated, I mark each jar with the month it can be used in. It helps me to see at a glance what items I have “available” to use & plan our meals accordingly. Since we all cook here, it allows the current chef to assess his options from our pantry “grocery store”… And it keeps my boys from eating 22 quarts of dilly beans in 2 months, lol! 🙂
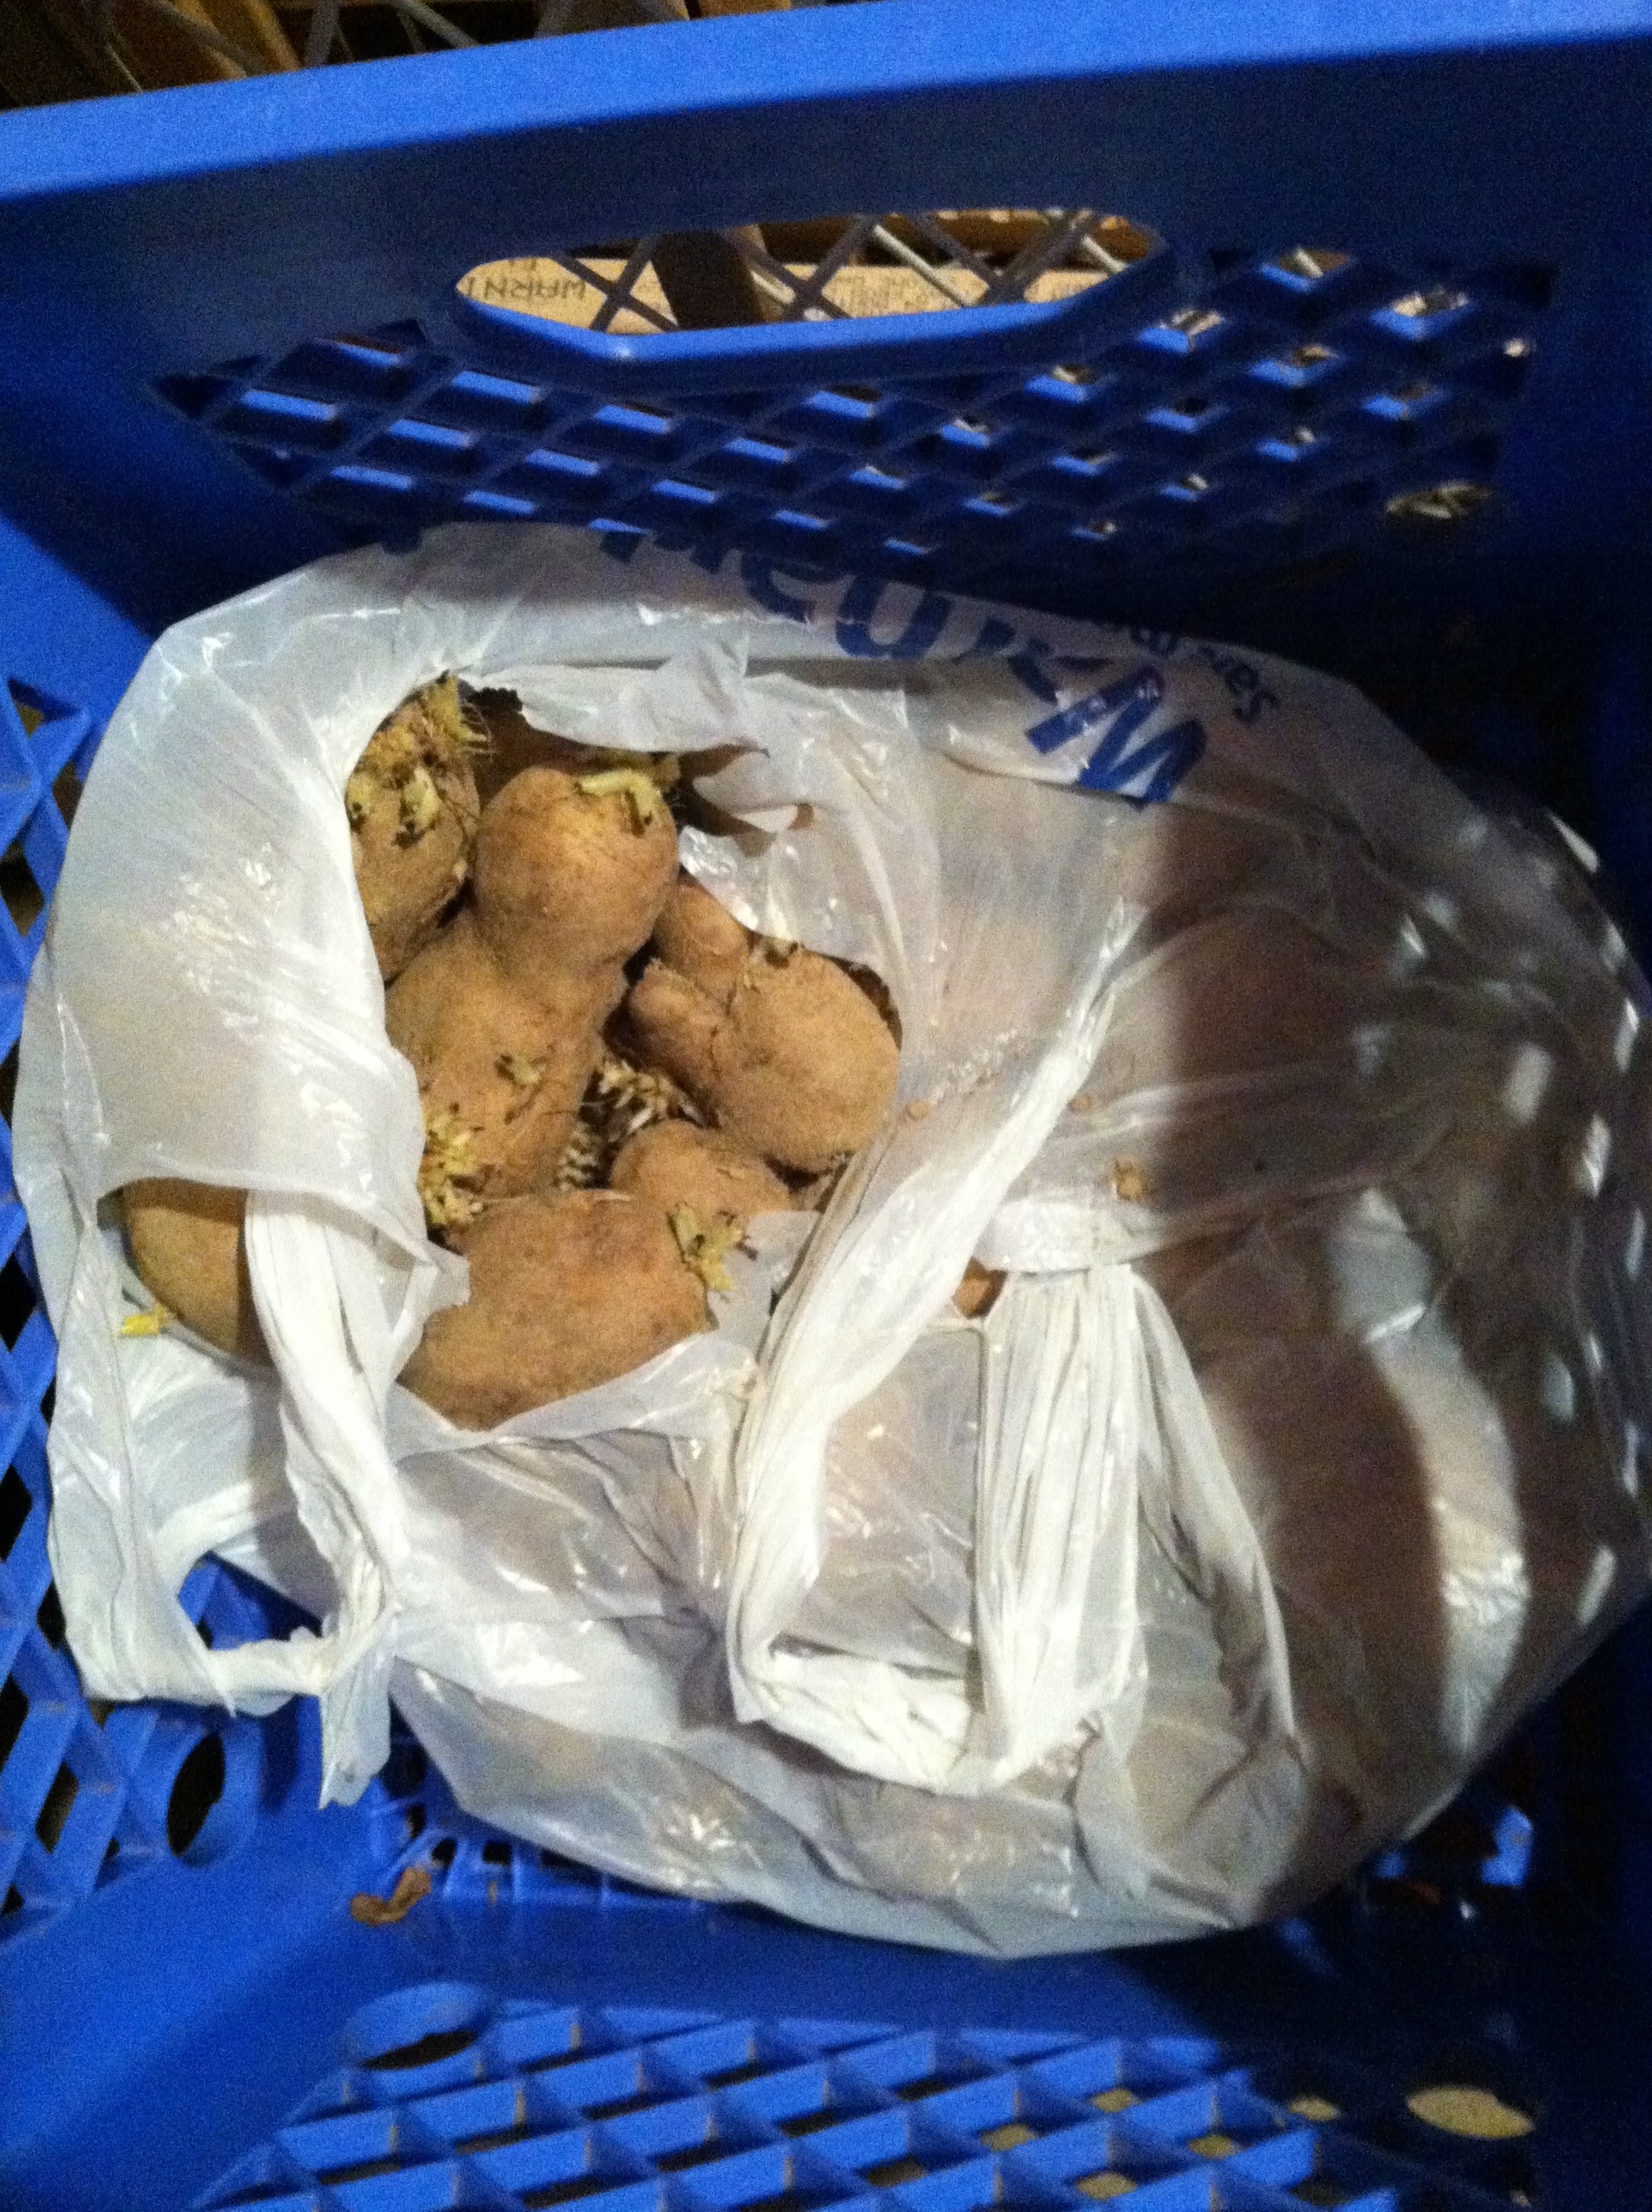
I have yet to remember to weigh our potato harvests. While the kennebec potatoes we grow don’t last us a full year, we can usually go 6 months or so. Last season we started with 3 milk-crates of taters, and are now into our last crate. They are sprouting, but not soft.
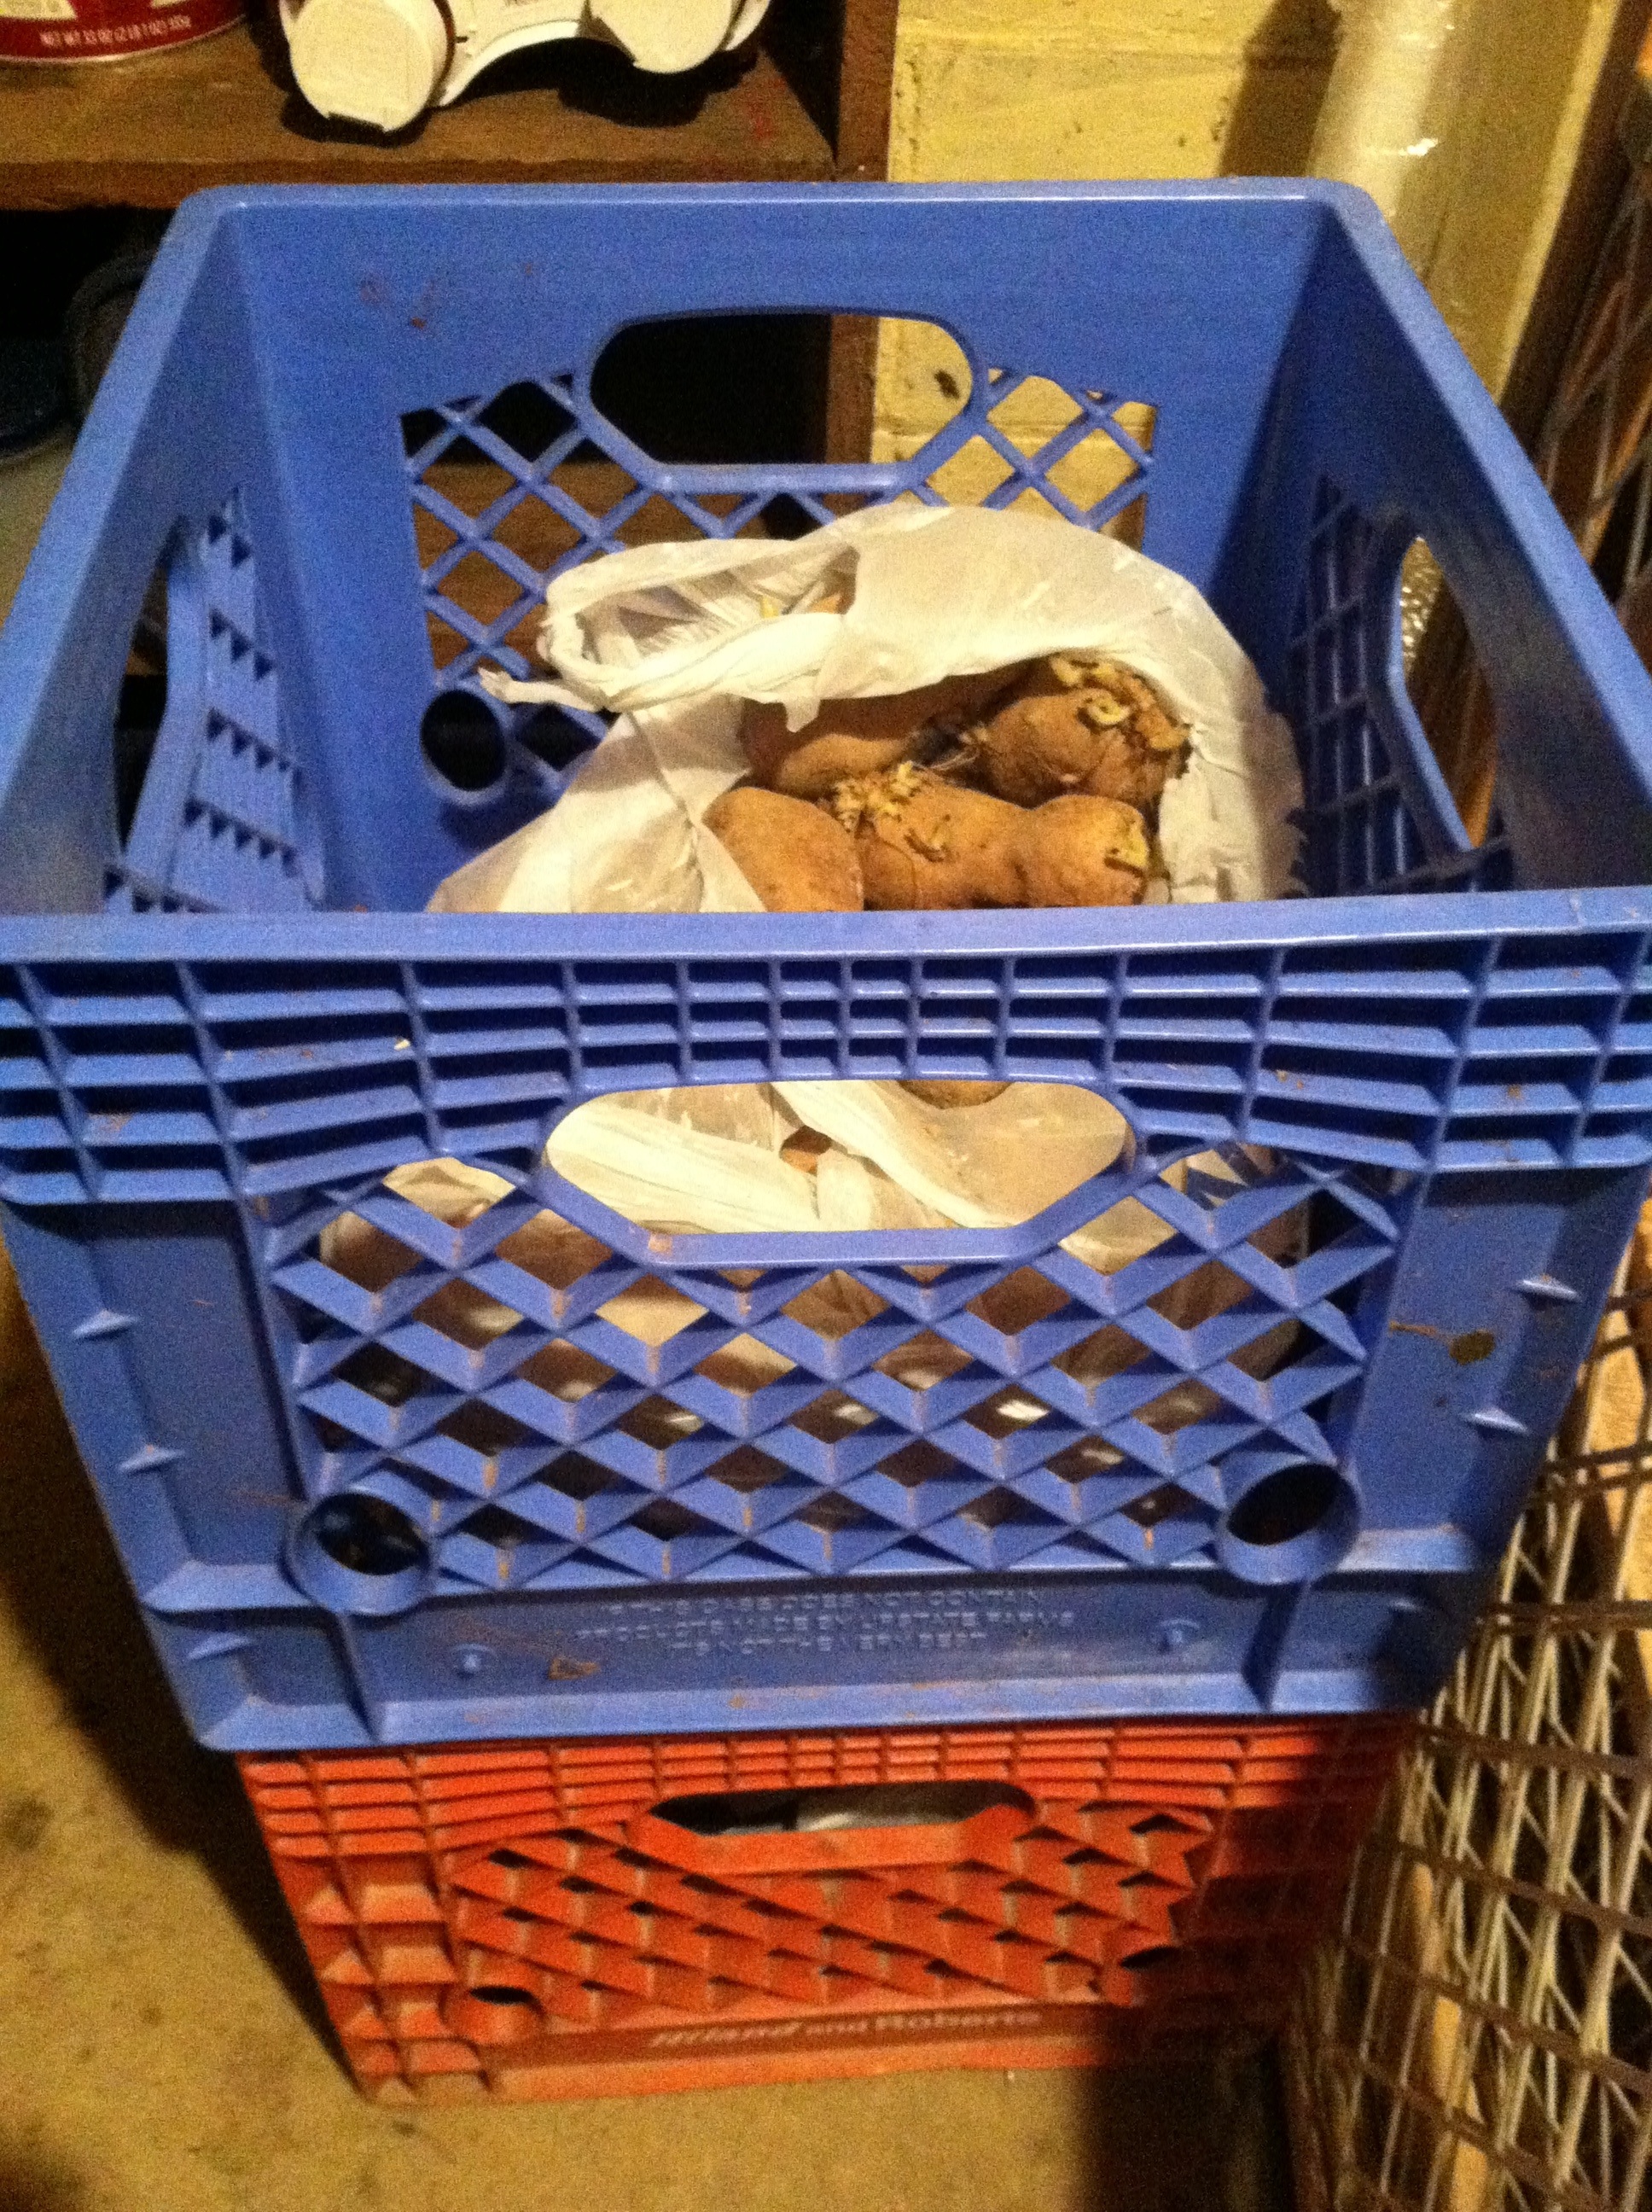
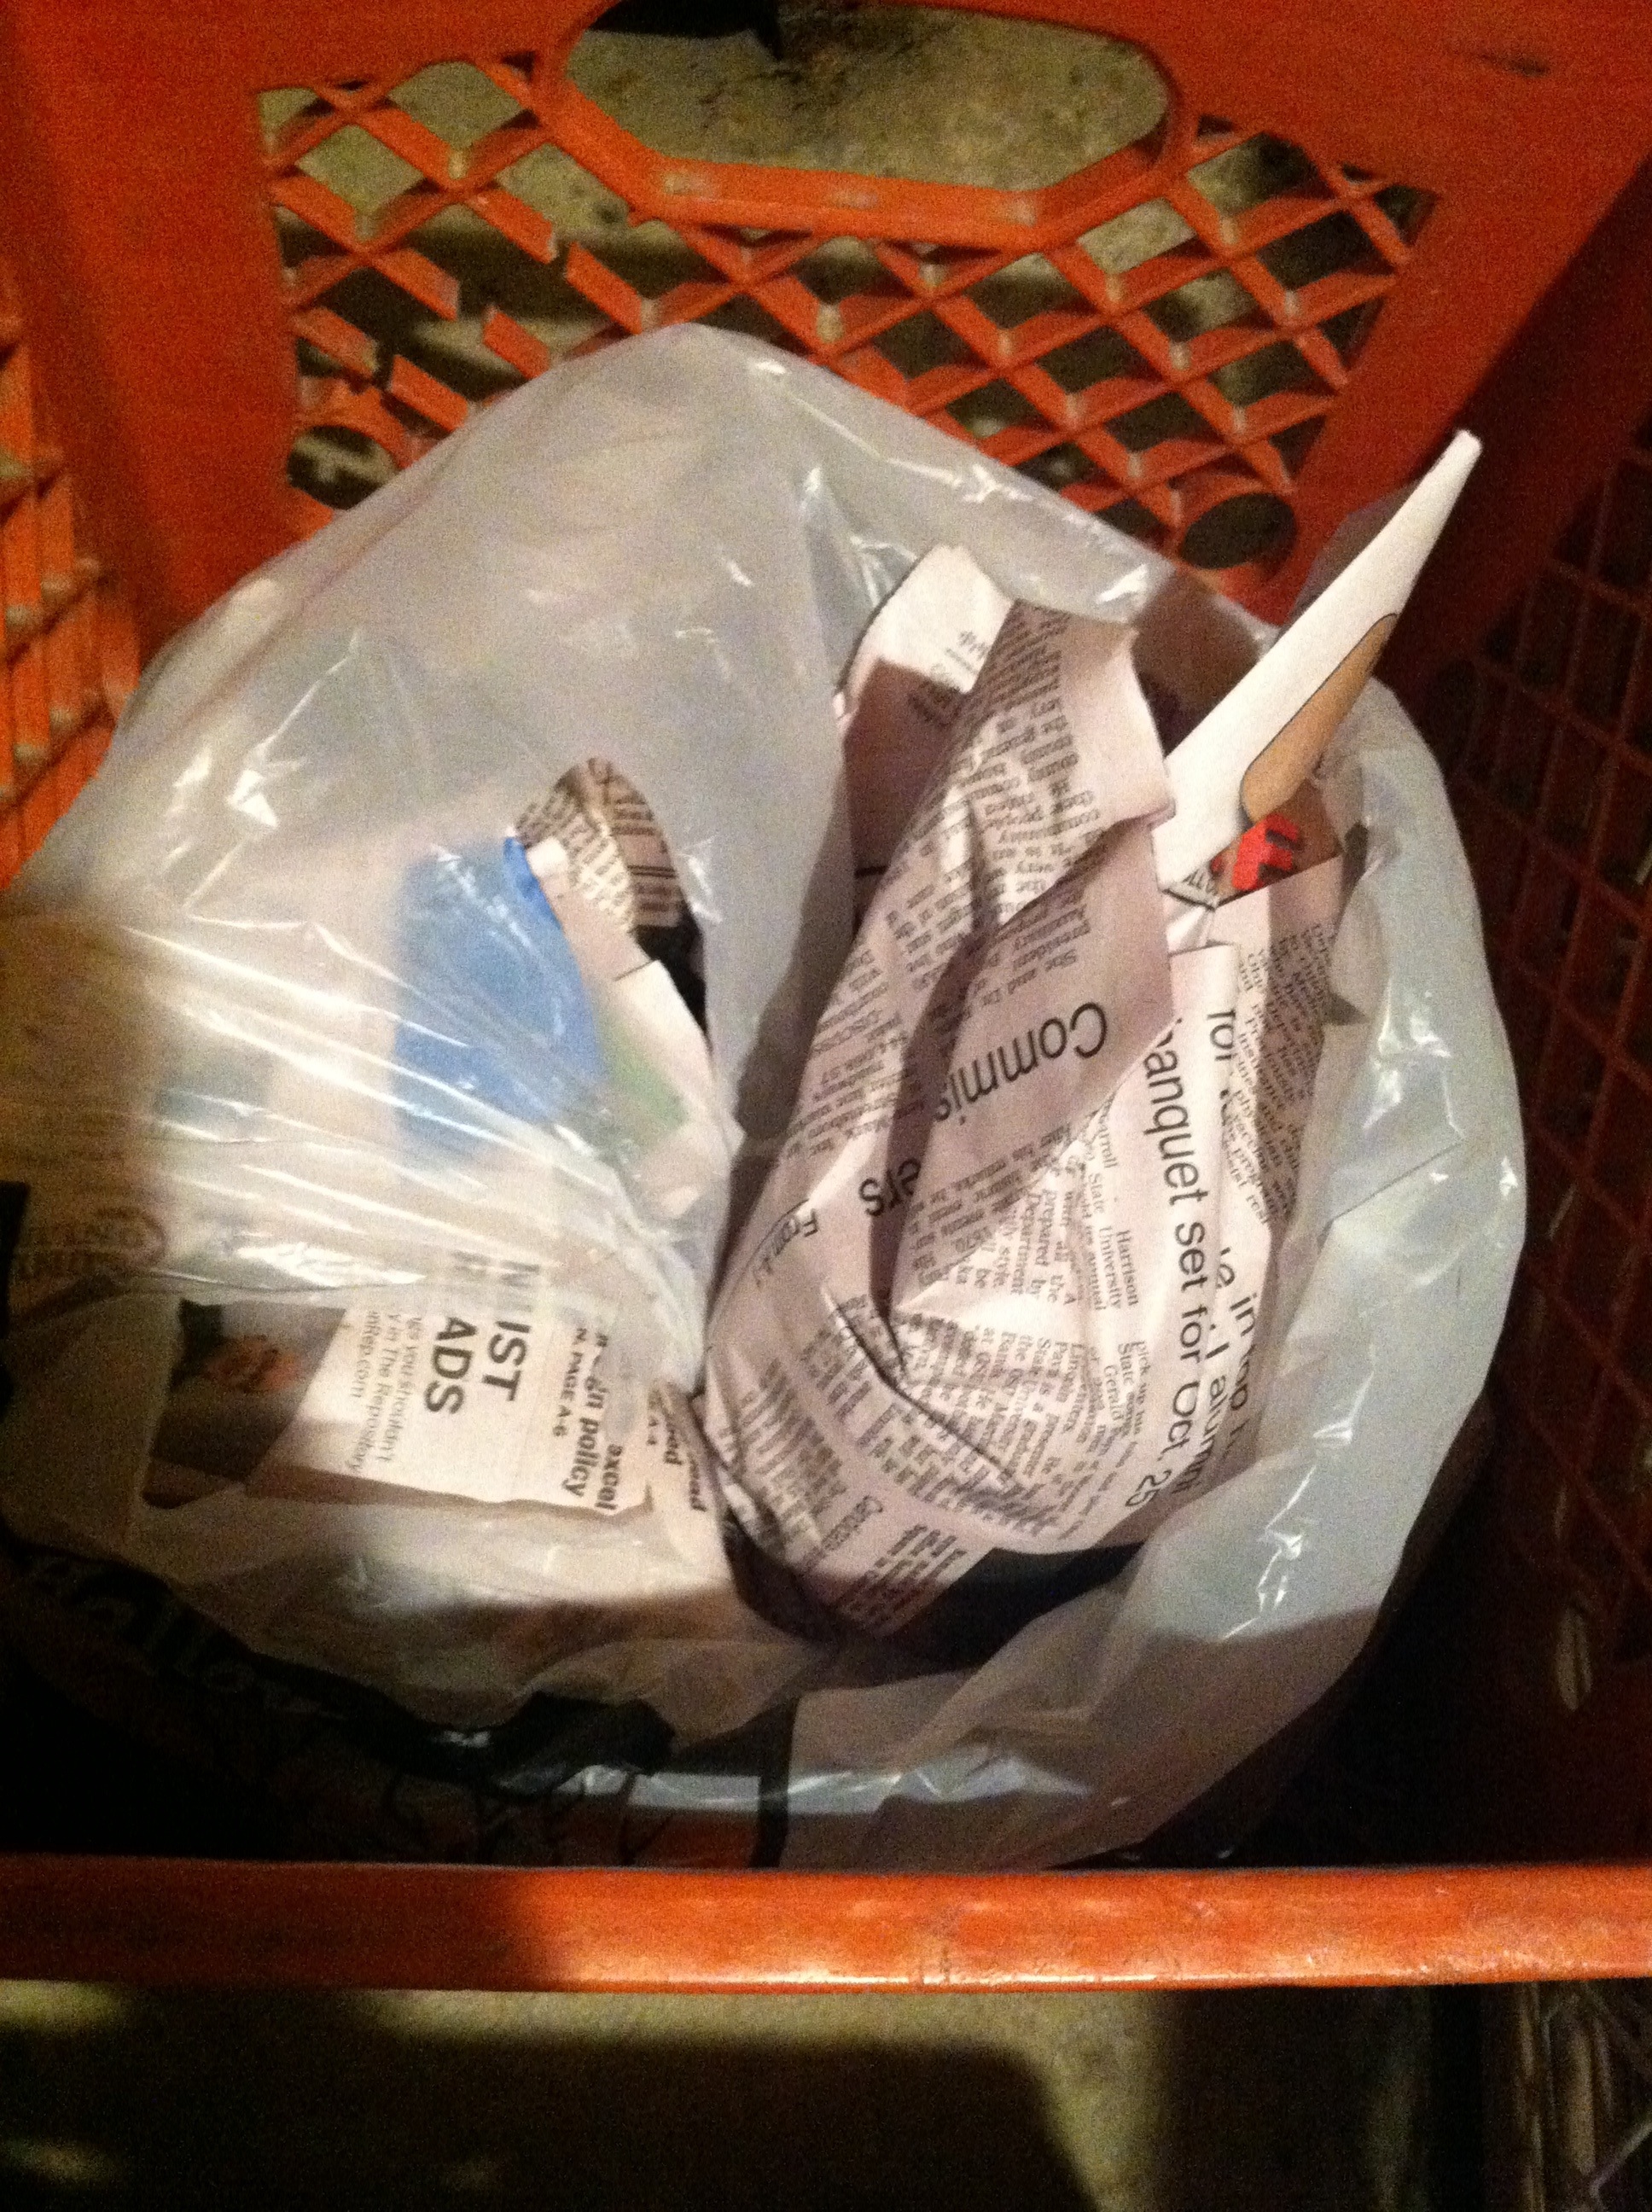
And Grandma’s special sweet potatoes are wrapped in newspapers & stored in a crate as well. I forgot to weigh these, too – but I do know we had 2 crates full. These taters last longer – I bet we go 9 months or so… 🙂
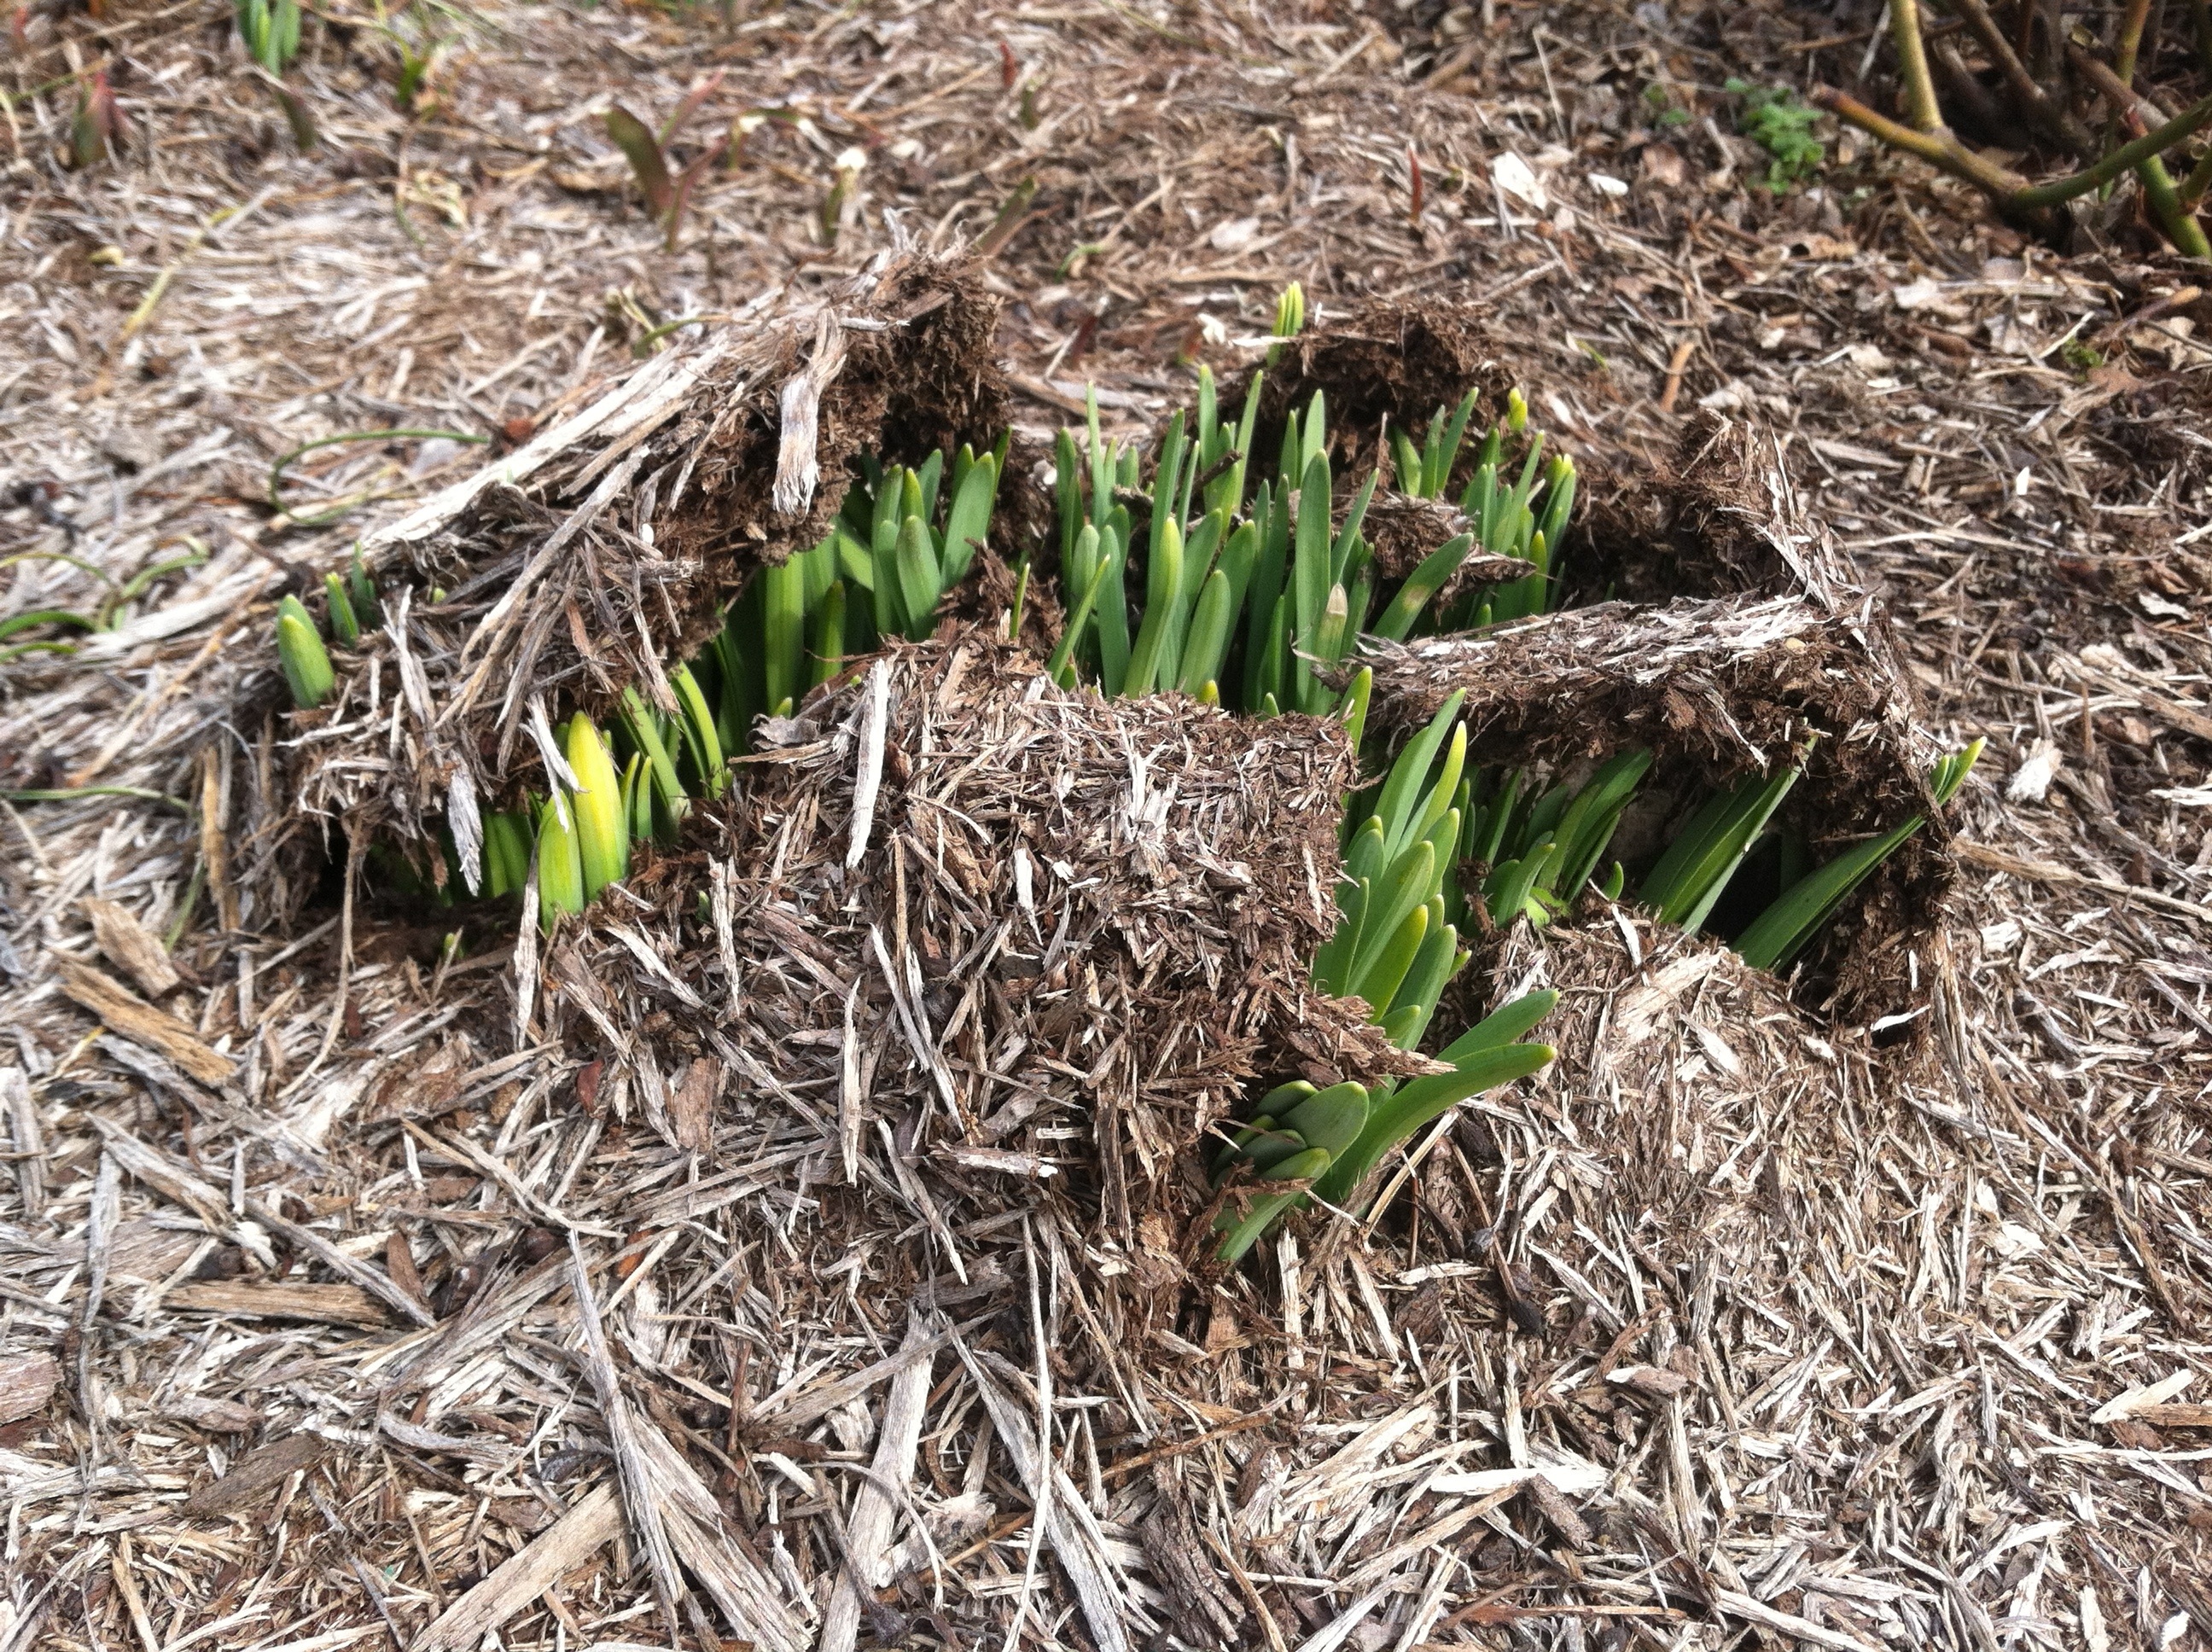
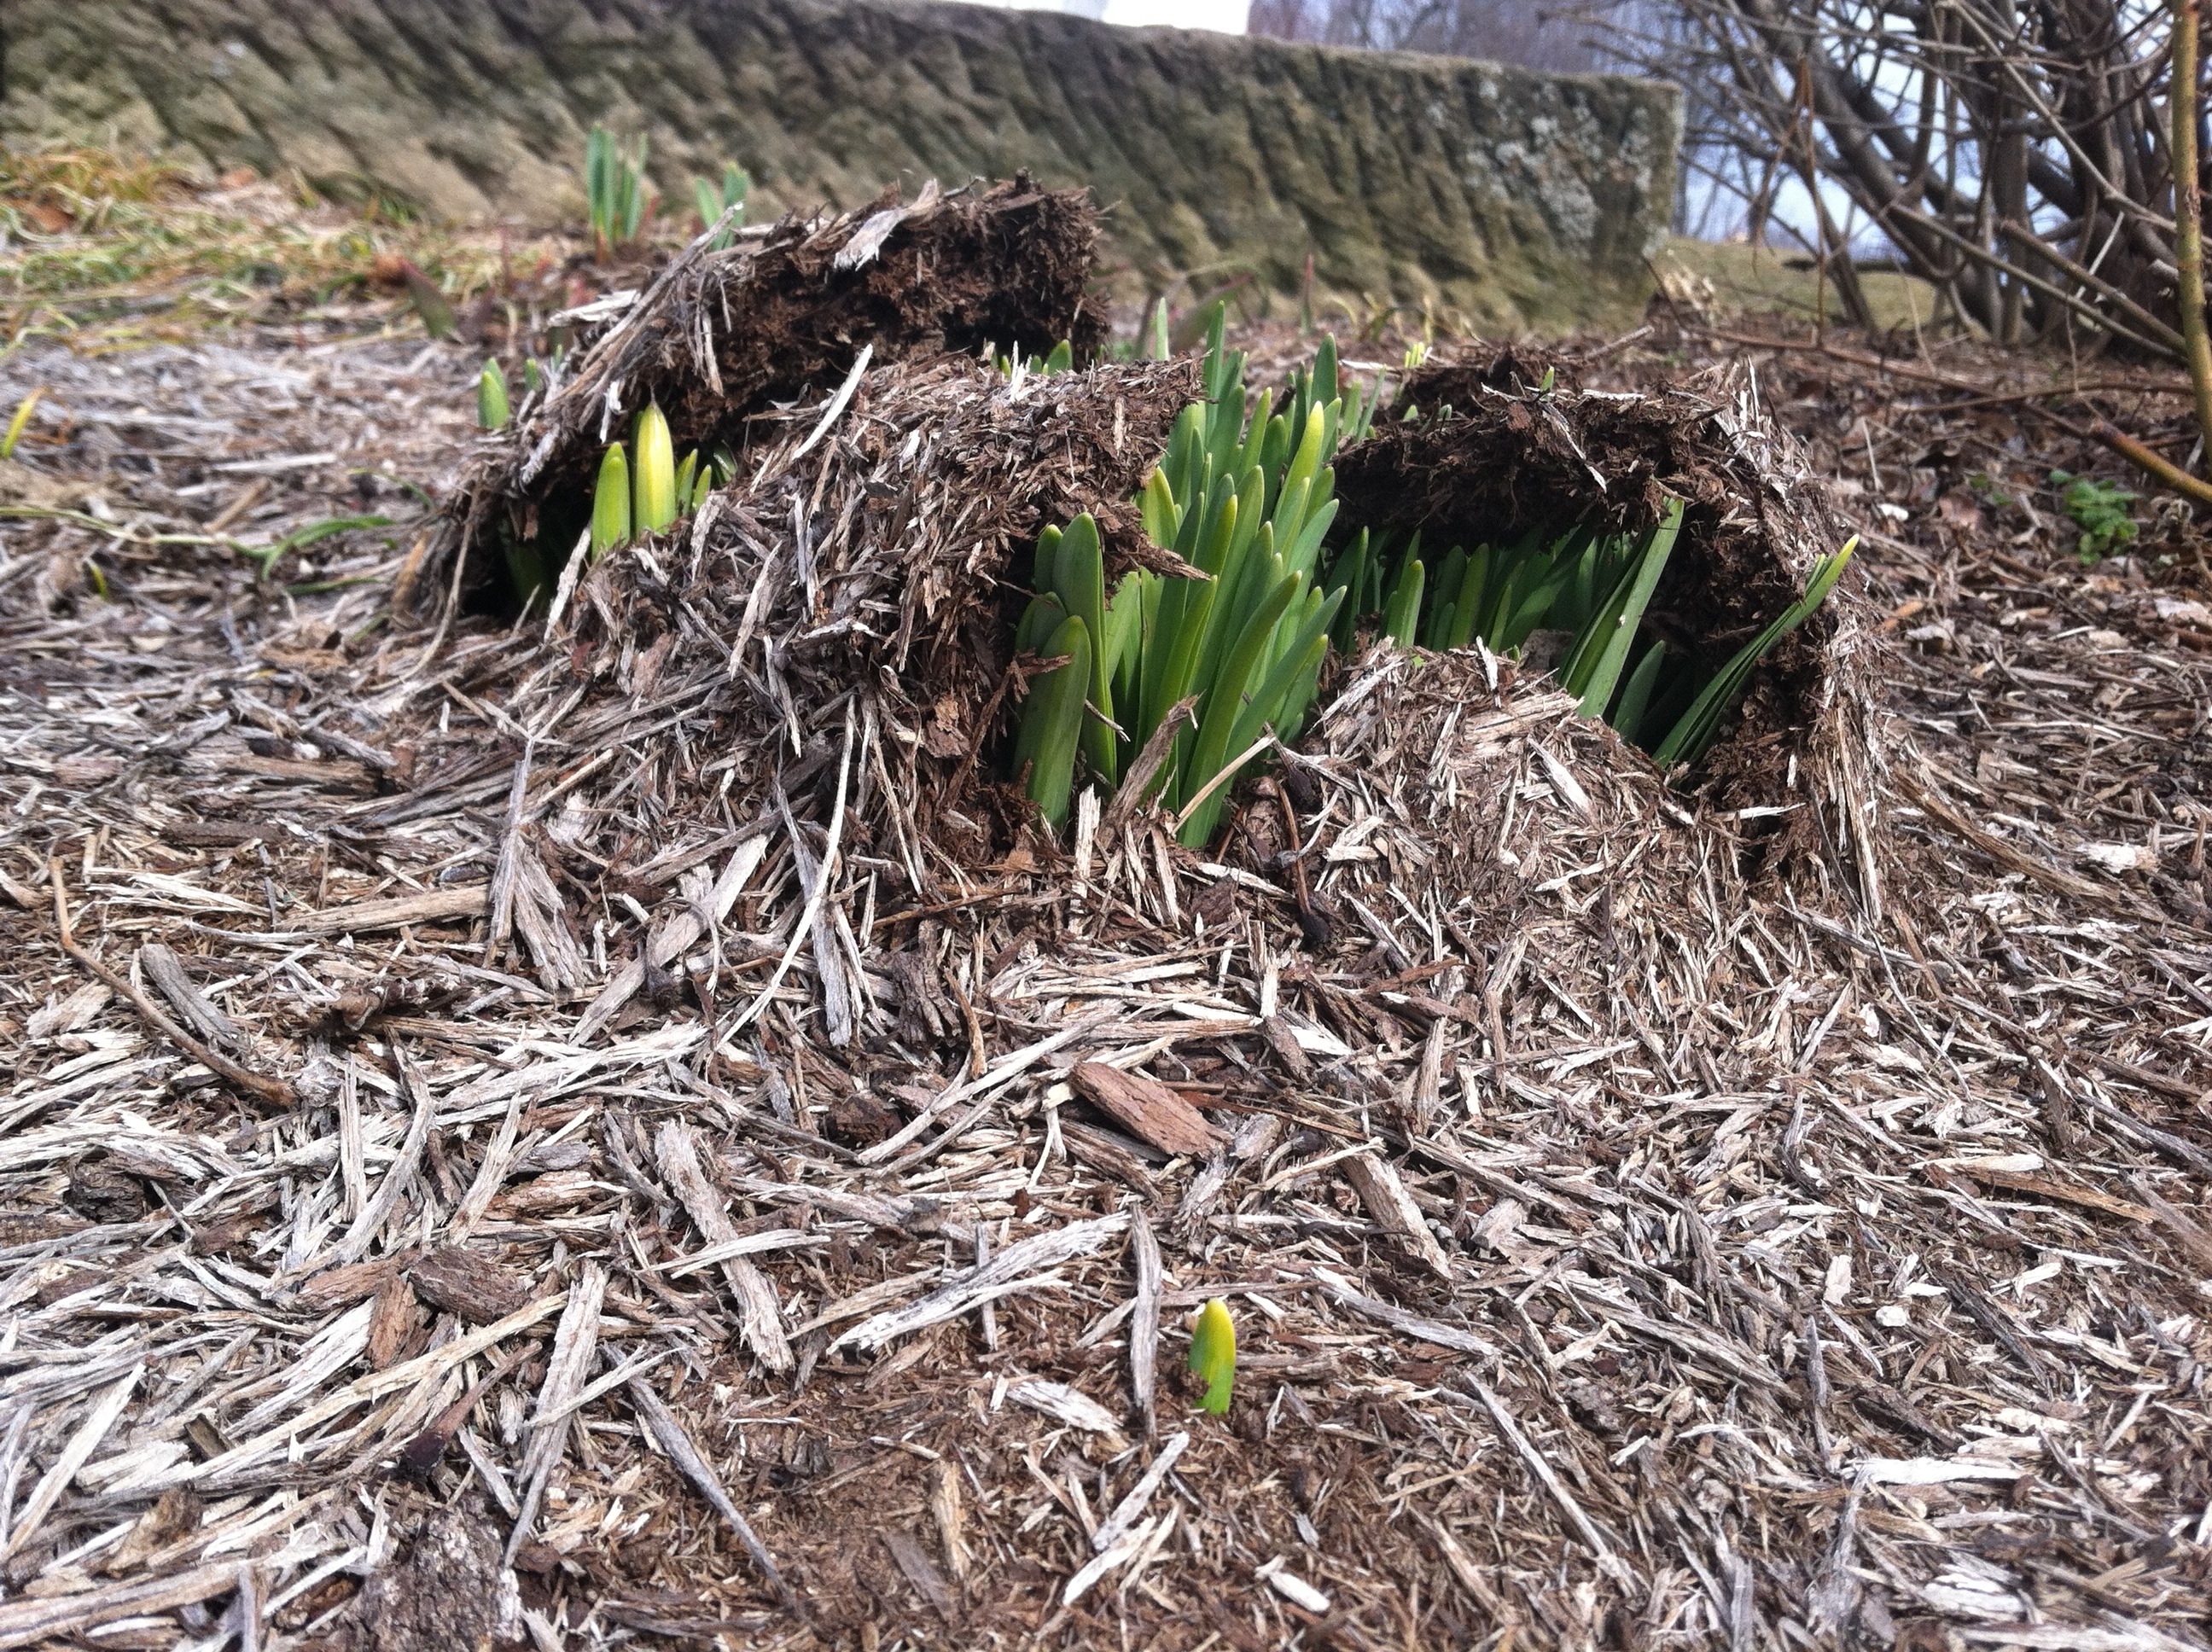
What a beautiful weekend we just had! Thought I’d share some pics of spring bursting forward…
Daffodils shooting through the dirt…
Buttercup looking HUGE, lol…

PeaPod’s udder is getting bigger… Her due date is just 12 days away!
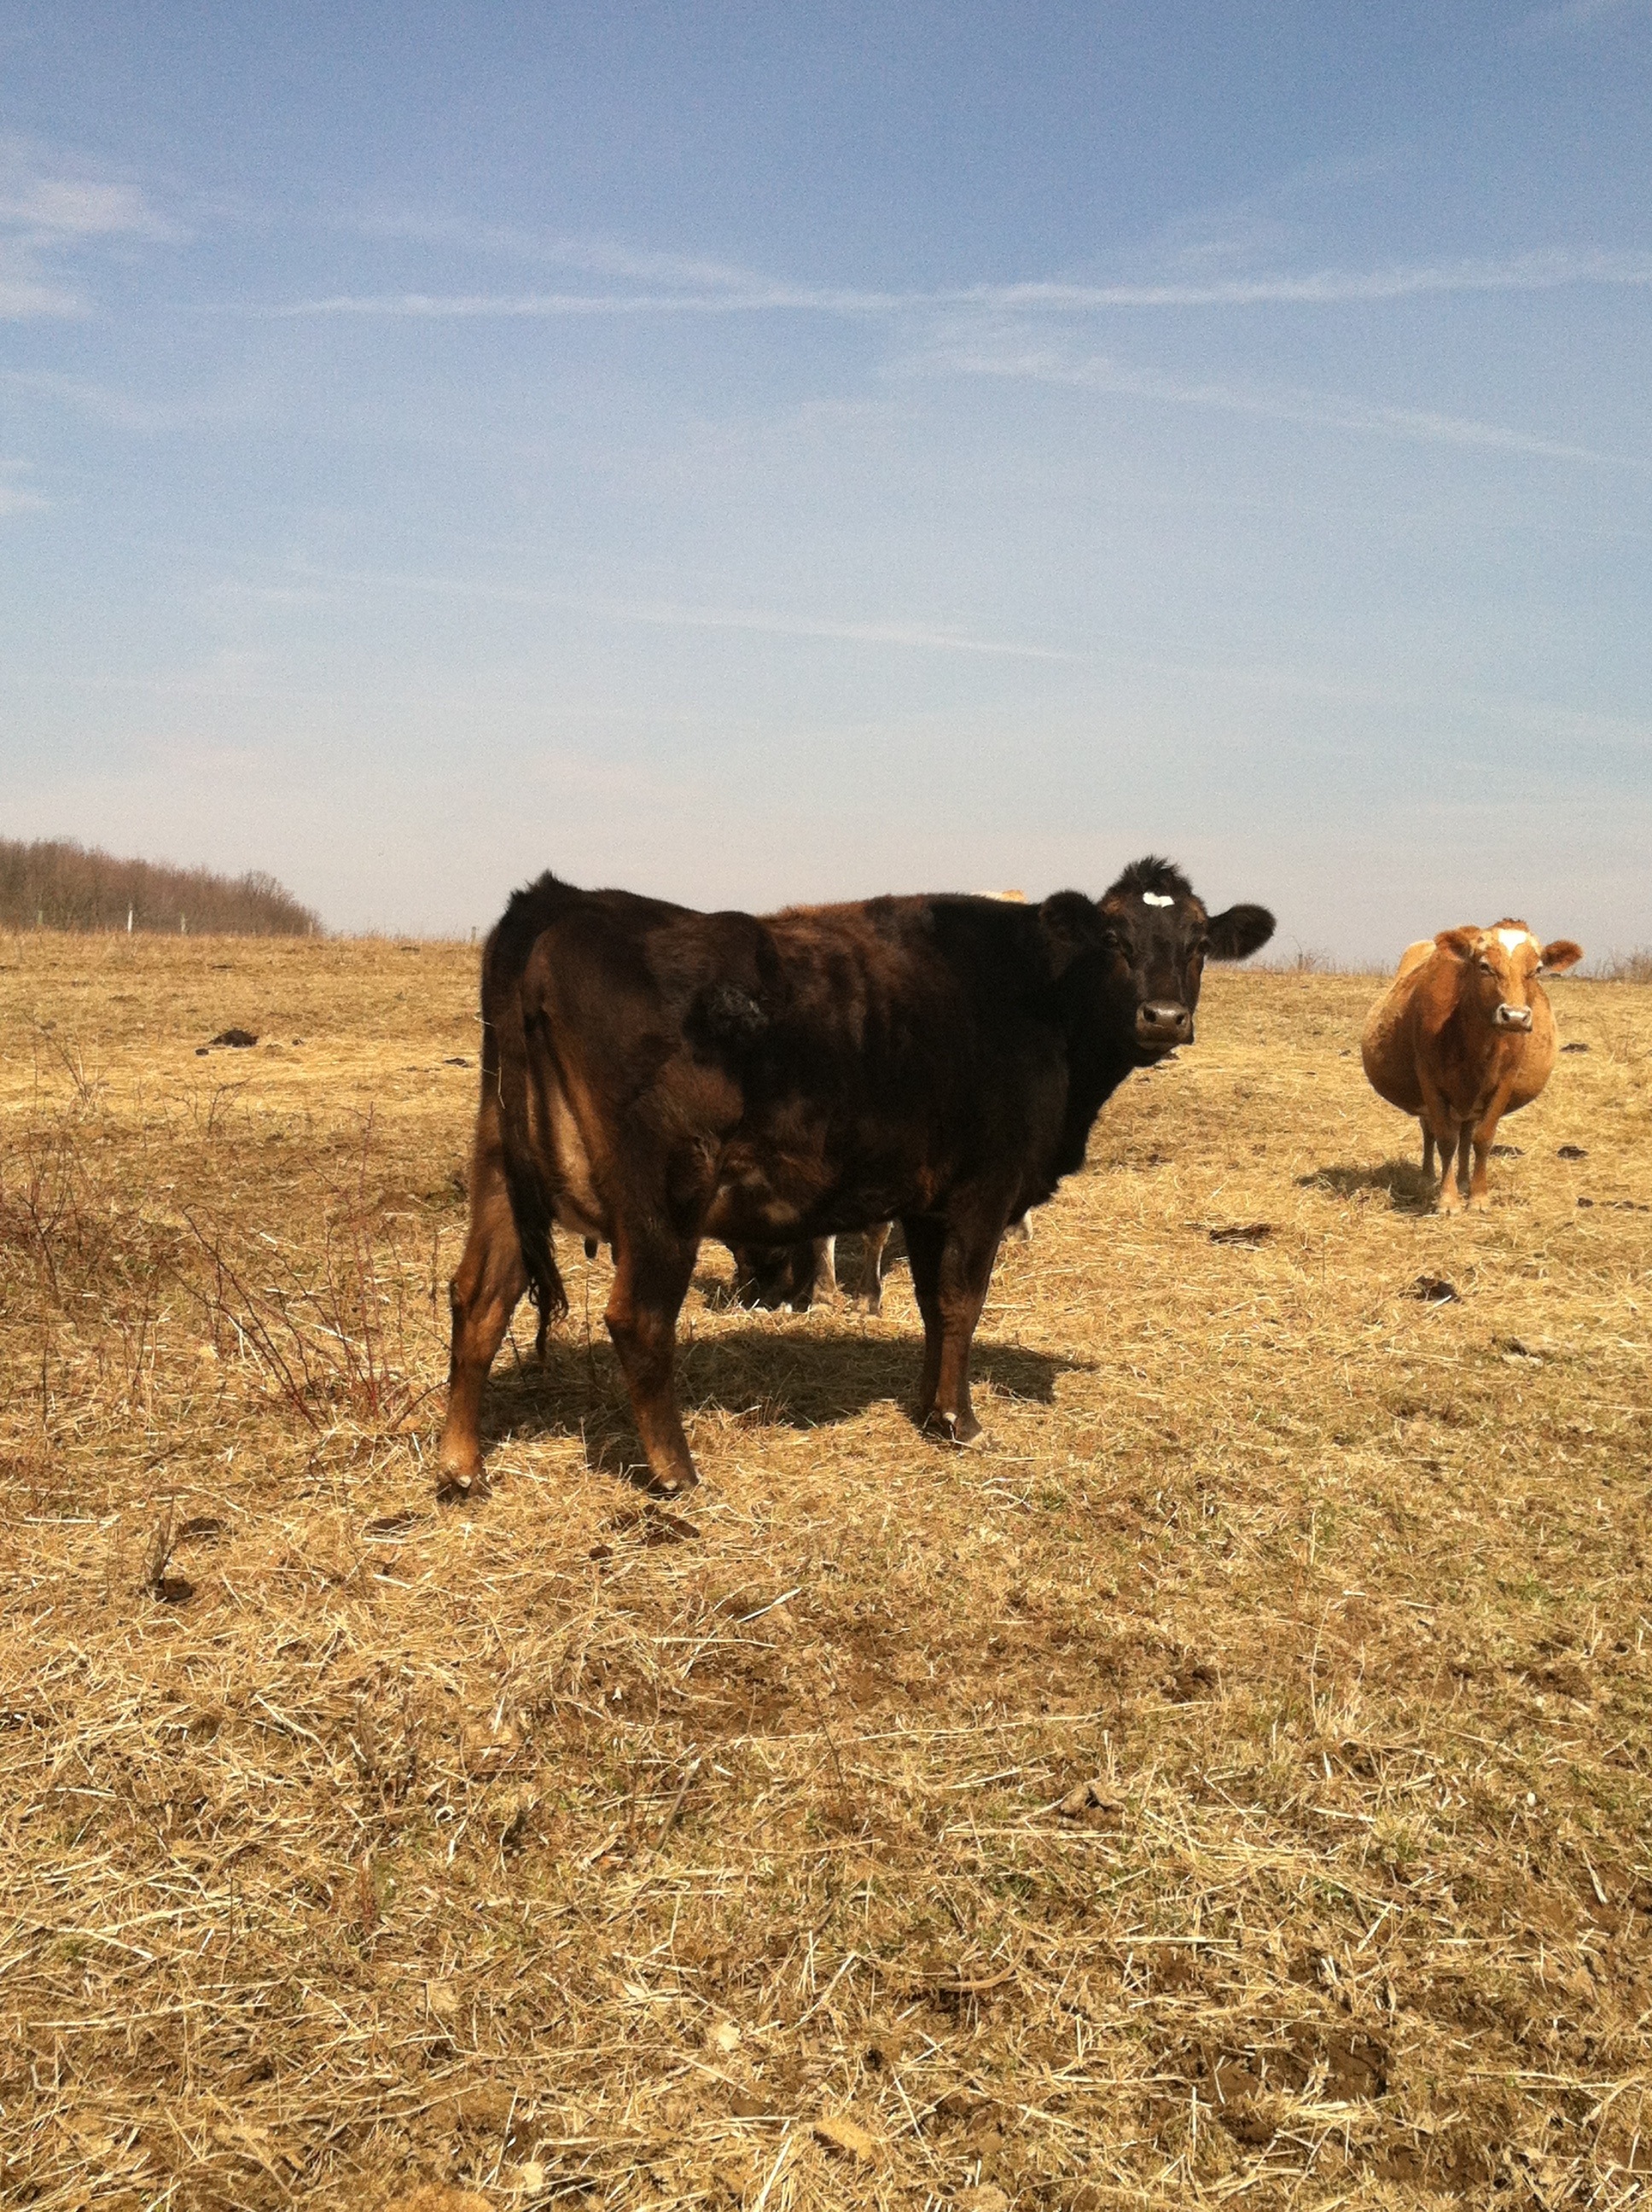
And Tangerine is swelling up, too… Her due date is the 29th.

We’ve begun our morning “calf-check” walks. A wonderful way to begin each day… 🙂

The anticipation of spring is one of my favorite times of the year. Thoughts of vibrant colors & new life are right around the corner. 🙂
It makes two of my least favorite chores enjoyable: hand-washing delicates, and ironing…time-consuming tasks that are tedious & slow moving. But this act of tenderly washing delicate craftmanship & smoothing out its wrinkles, parallels my walk with Jesus. And I love reflecting on this while I prepare for the new season, the new births, the new outdoor activities… Jesus has tenderly washed me of my sins, and straightens out the wrinkles of my life more and more each day. Fits so perfectly with preparing to celebrate His Resurrection in just a few weeks! 🙂
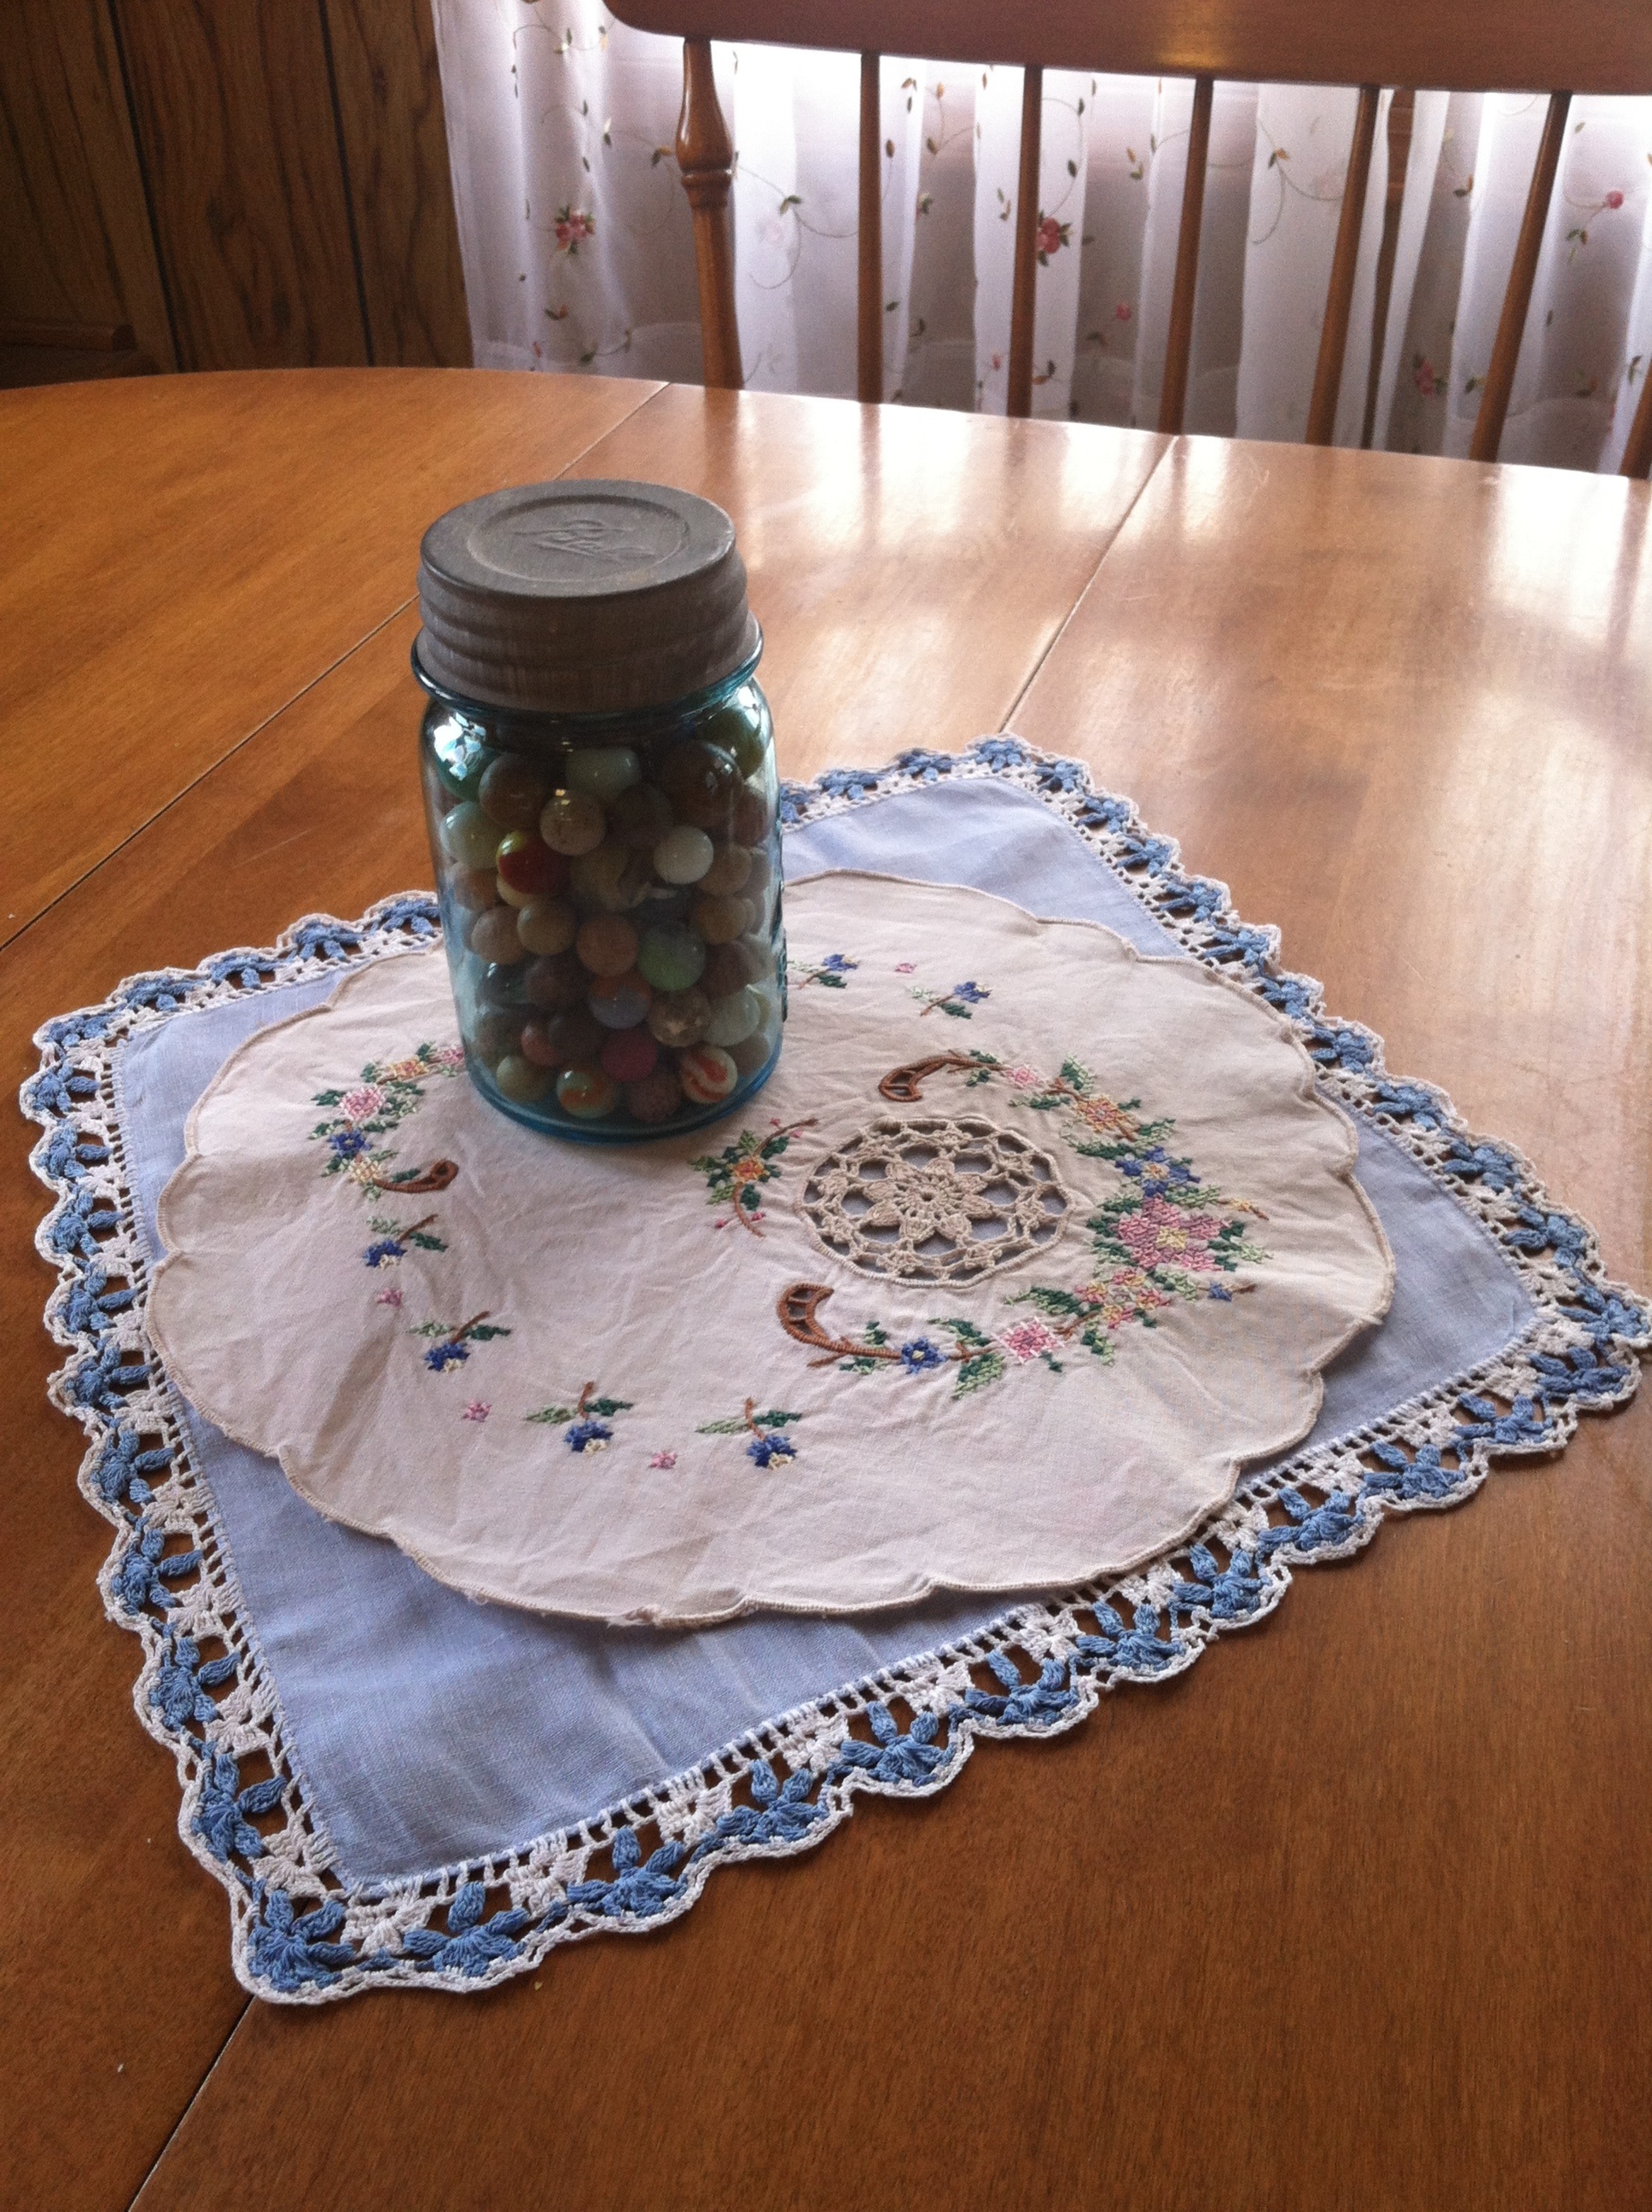
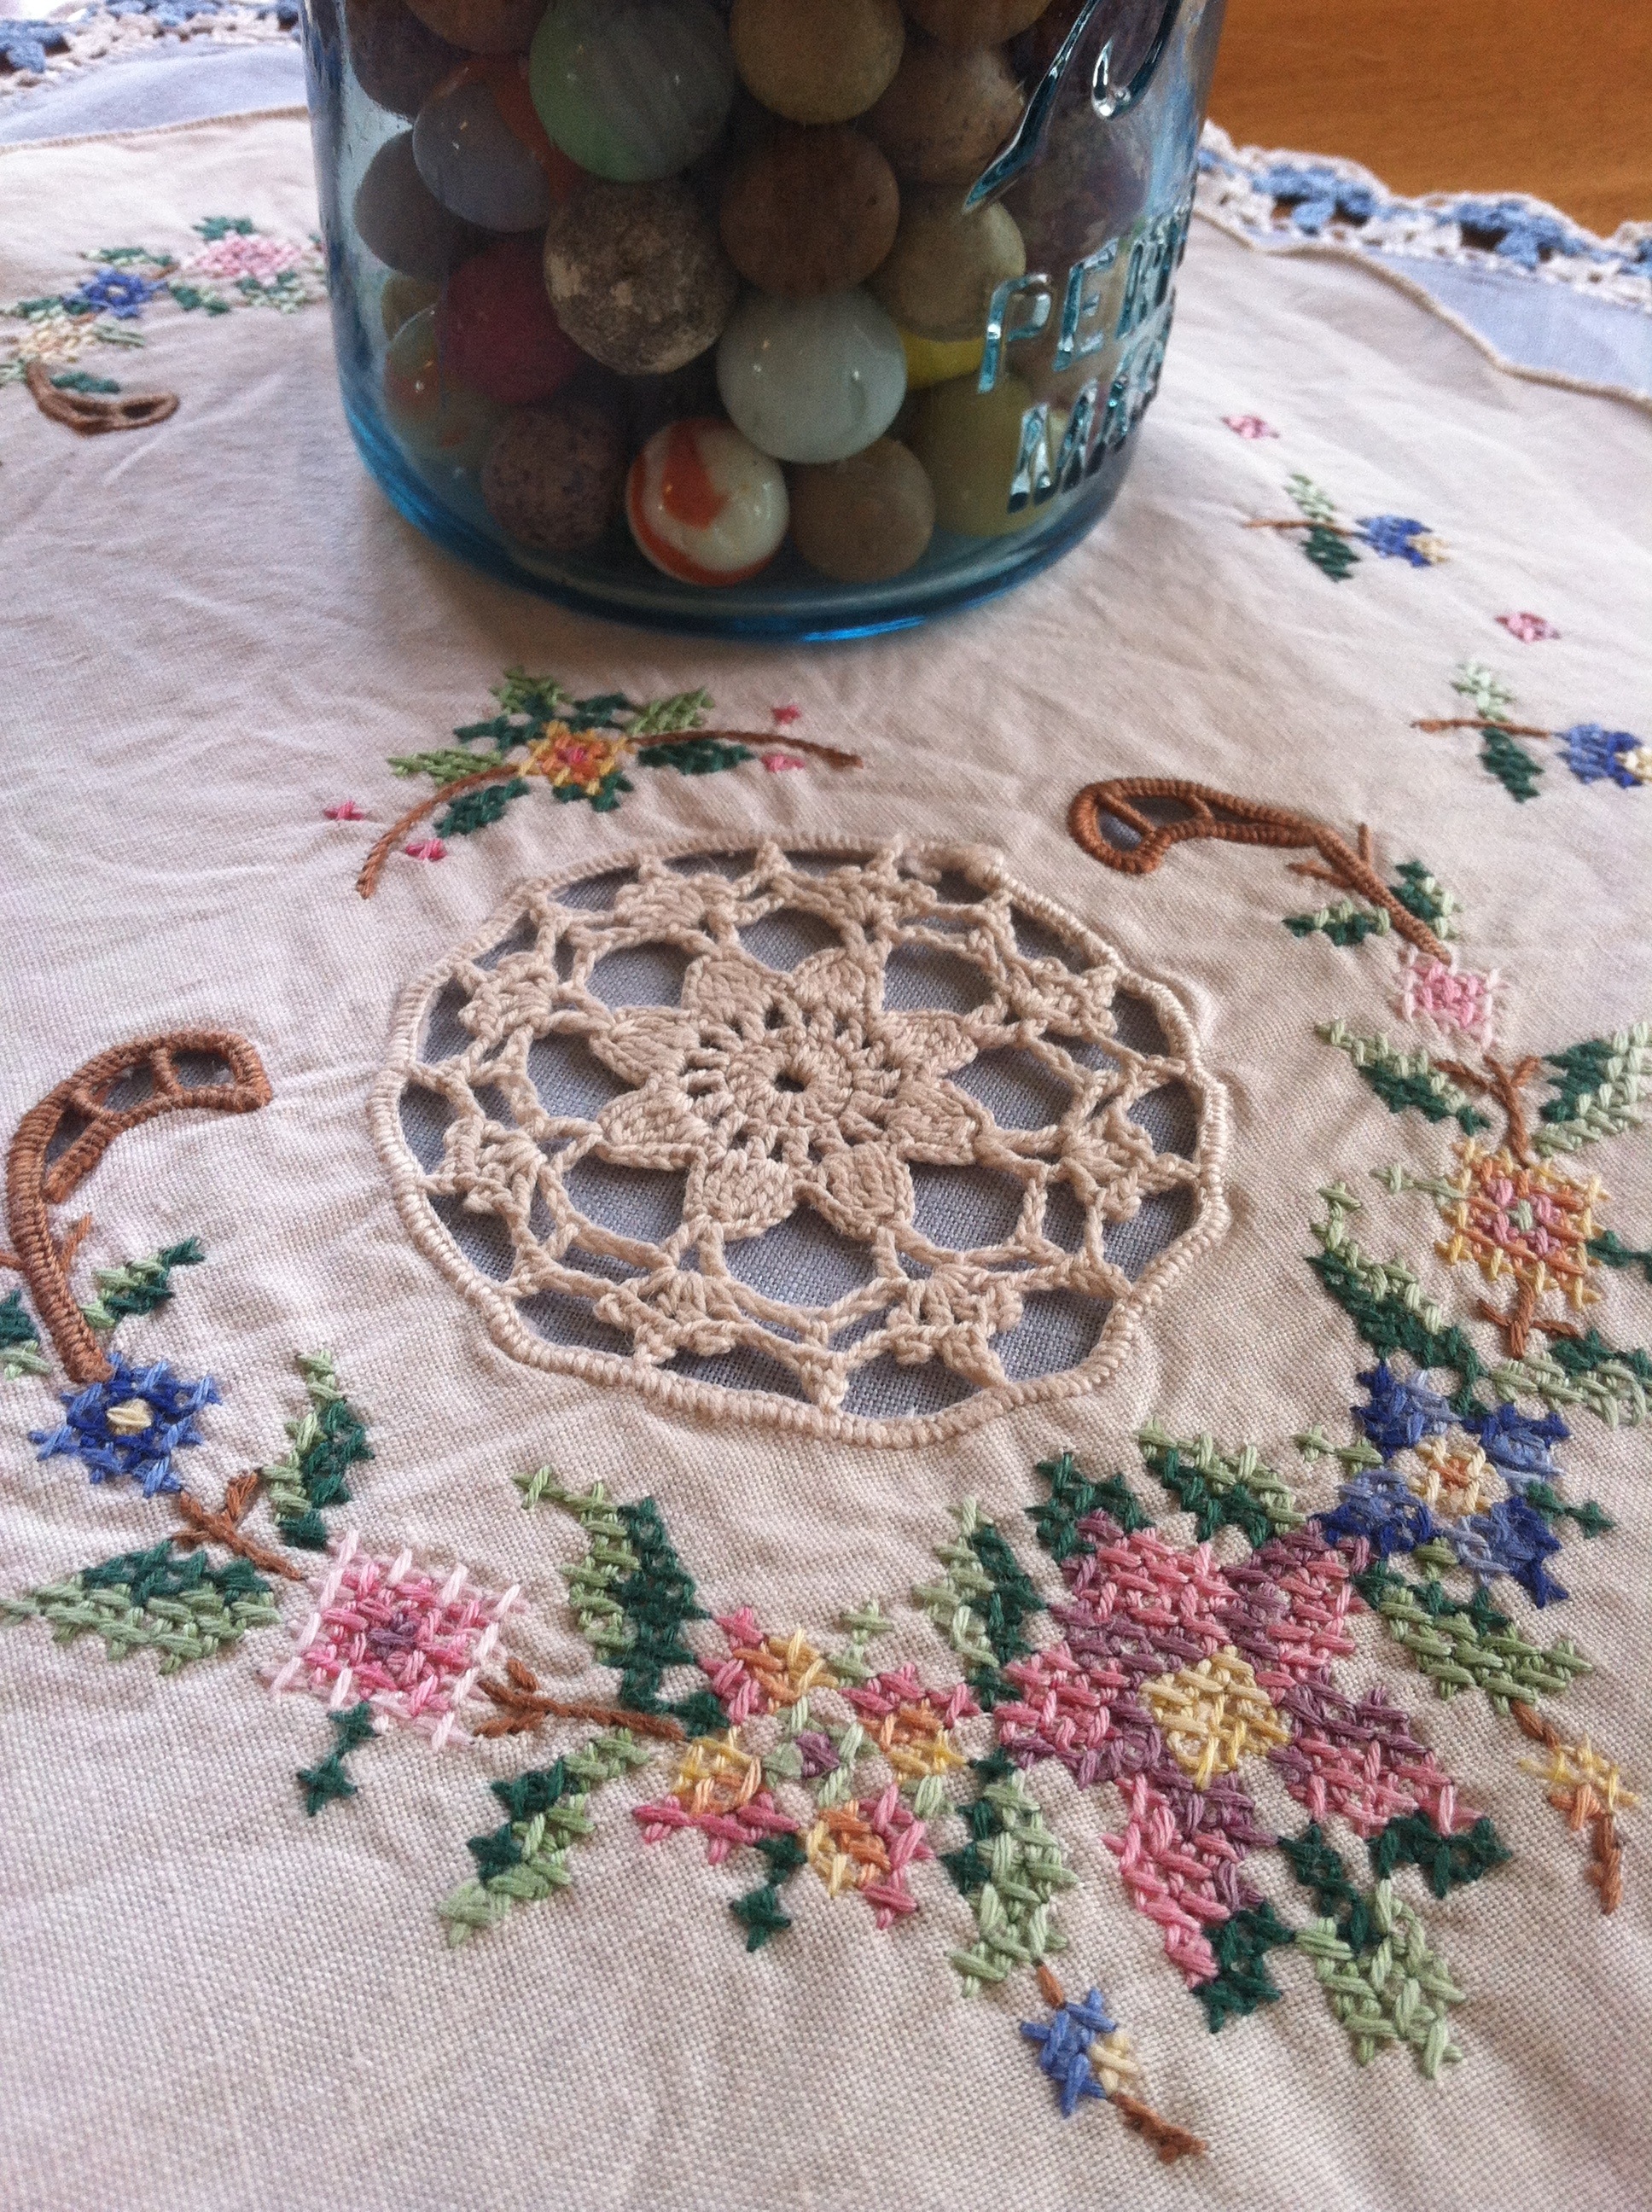
Thought I’d share some pics of what the transformation of spring looks like inside our home. 🙂


Marbles? Yes, marbles, lol… Love that they are old & colorful – and um, hidden meaning here… On those hard days when I feel overwhelmed and like I’m “losing my marbles” – this visual reminder will help me stop & LOOK UP to where my Hope comes from. 🙂


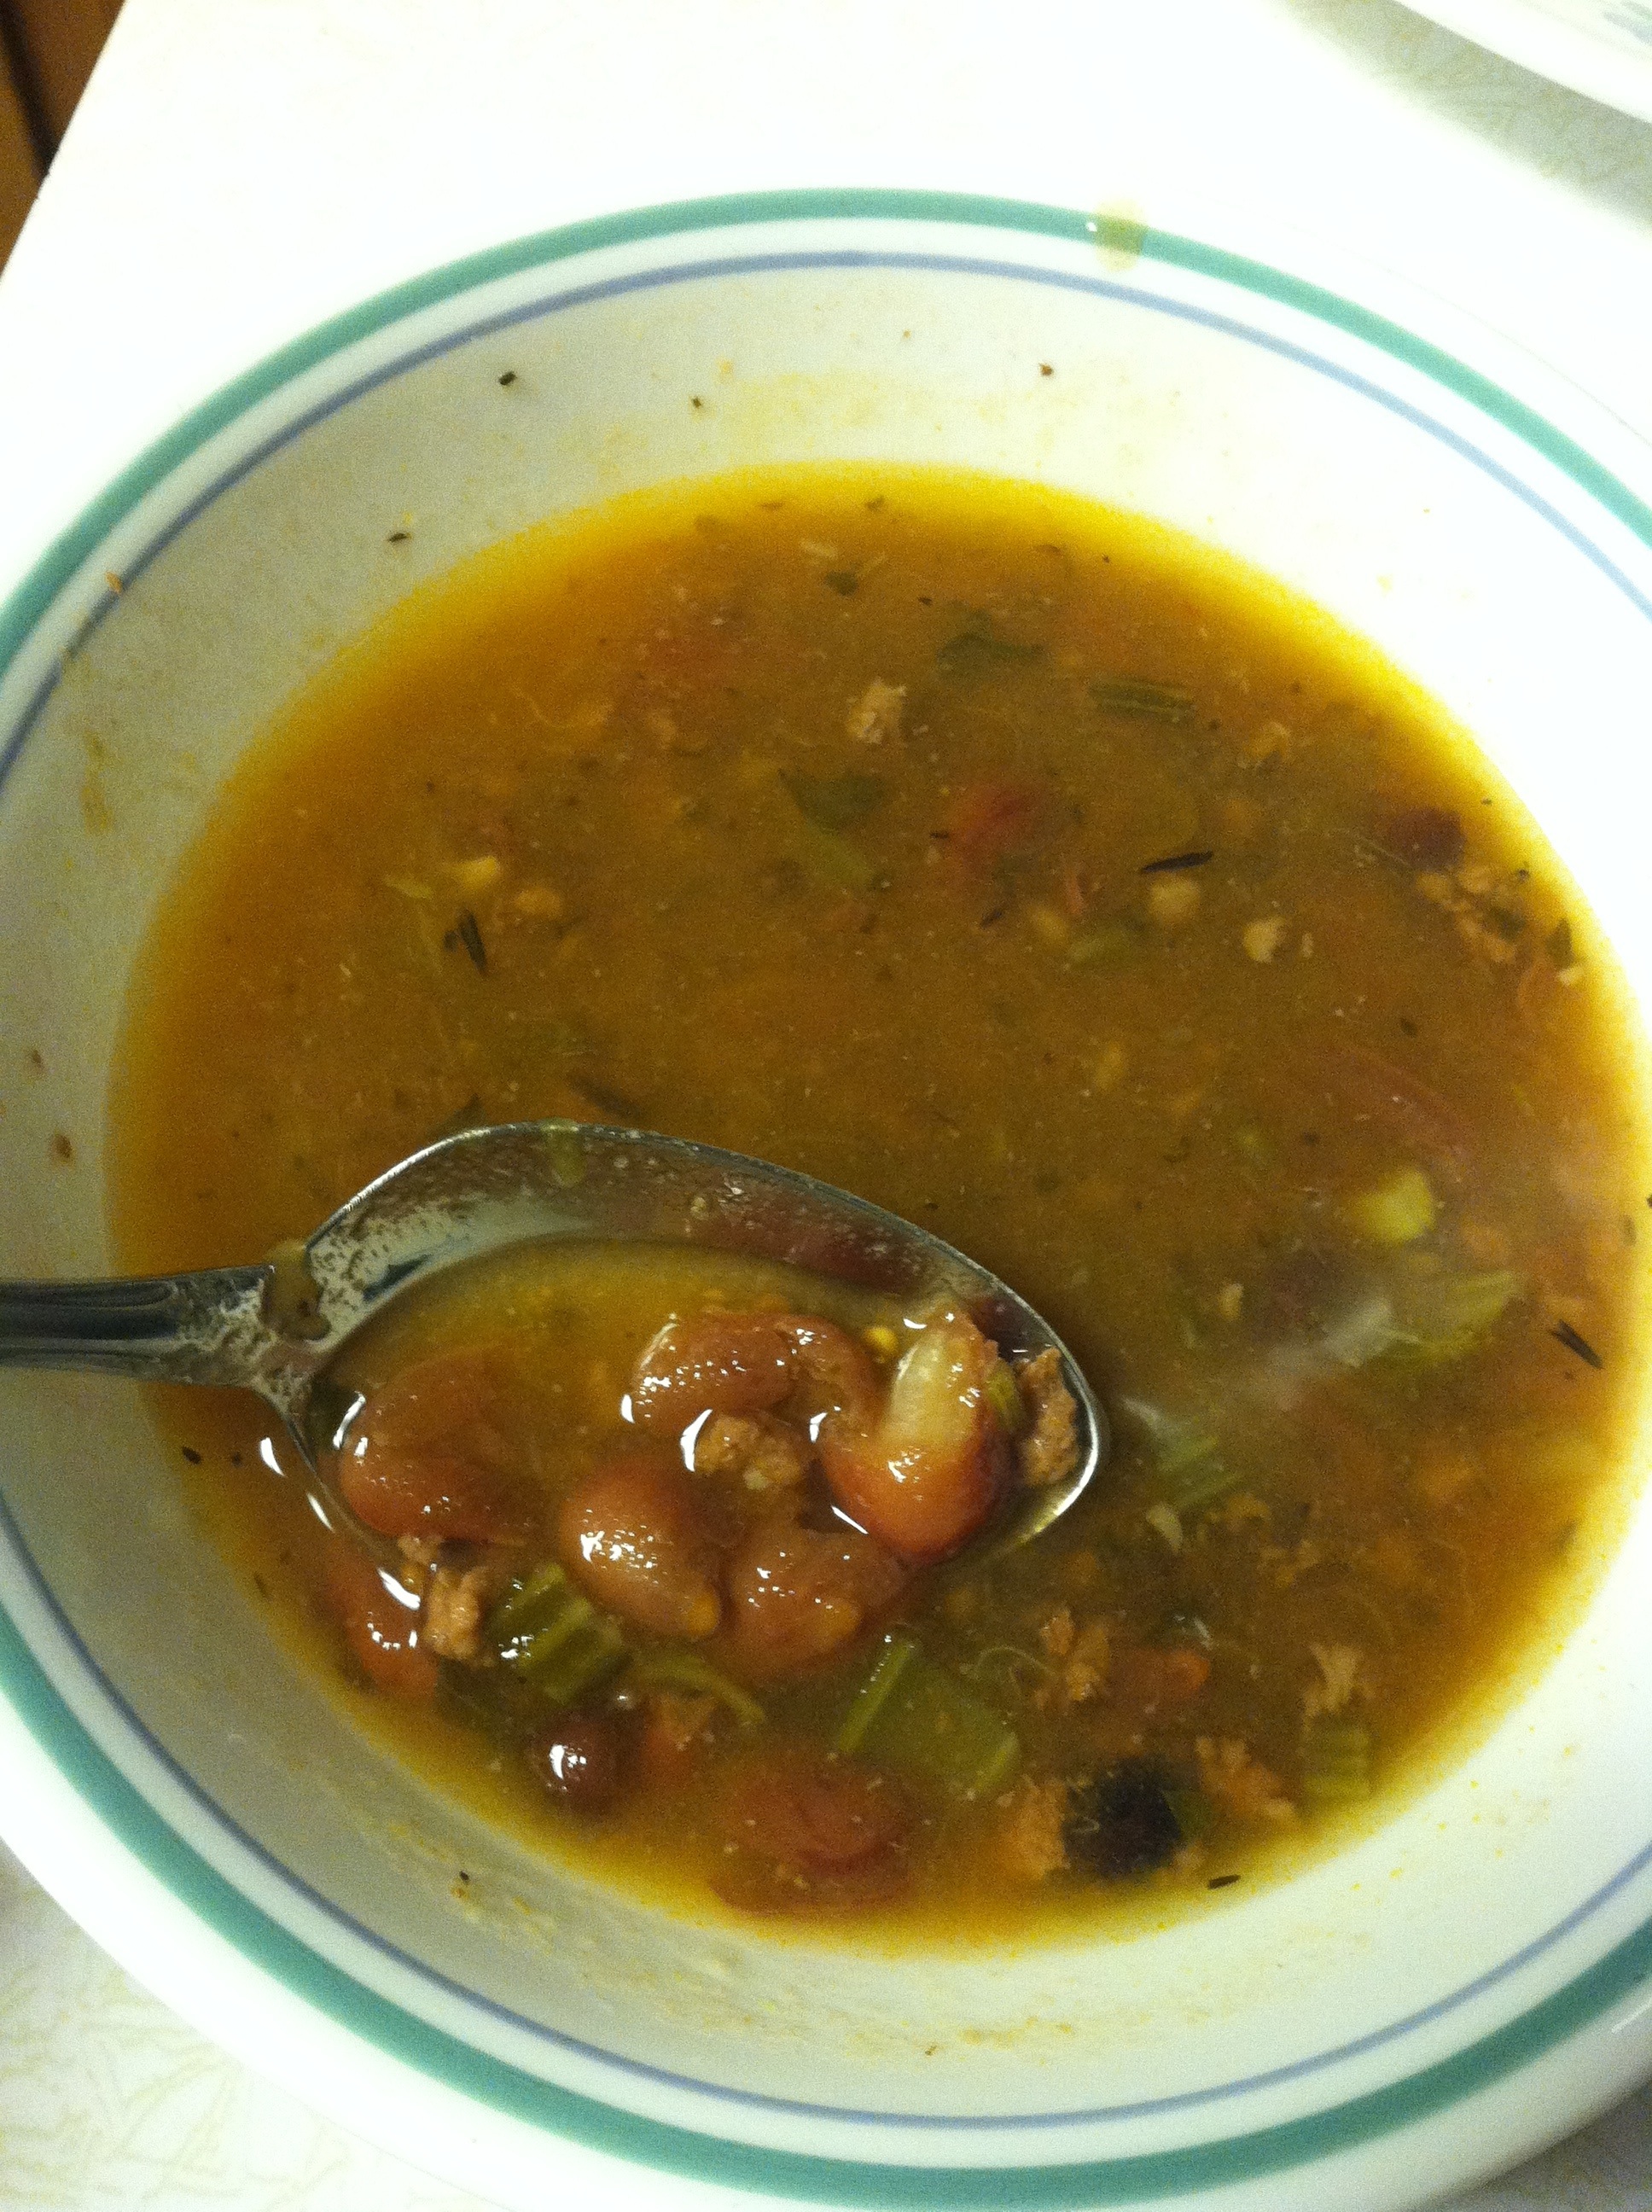
Since this is a favorite soup of ours, we make a huge stockpot of it, and freeze portions for future meals. I like that I can make lots of soup without using up a bunch of our canned broths…
Hydrate 2 pounds+4 ounces of dried beans. (Click here for my “bean formula” & how we prepare our beans.)
Once hydrated, place in 8 quart stock pot with 6 quarts of water.
Add:
1-1/2 pounds cooked & drained ground beef
2 quarts of whole tomatoes, crushed
3 cups of chopped celery
3 T sea salt
3 t dried parsley flakes
6 garlic cloves, minced
3 t dried thyme
6 bay leaves
1 T coarse pepper
a couple whole hot peppers, optional
Cover the pot & allow soup to simmer for hours, stirring occasionally. It tastes great the day you make it, but gets better & better as days go by! (May need to remove the hot peppers after the first day or so, depending on how spicy you like your soup!) 🙂

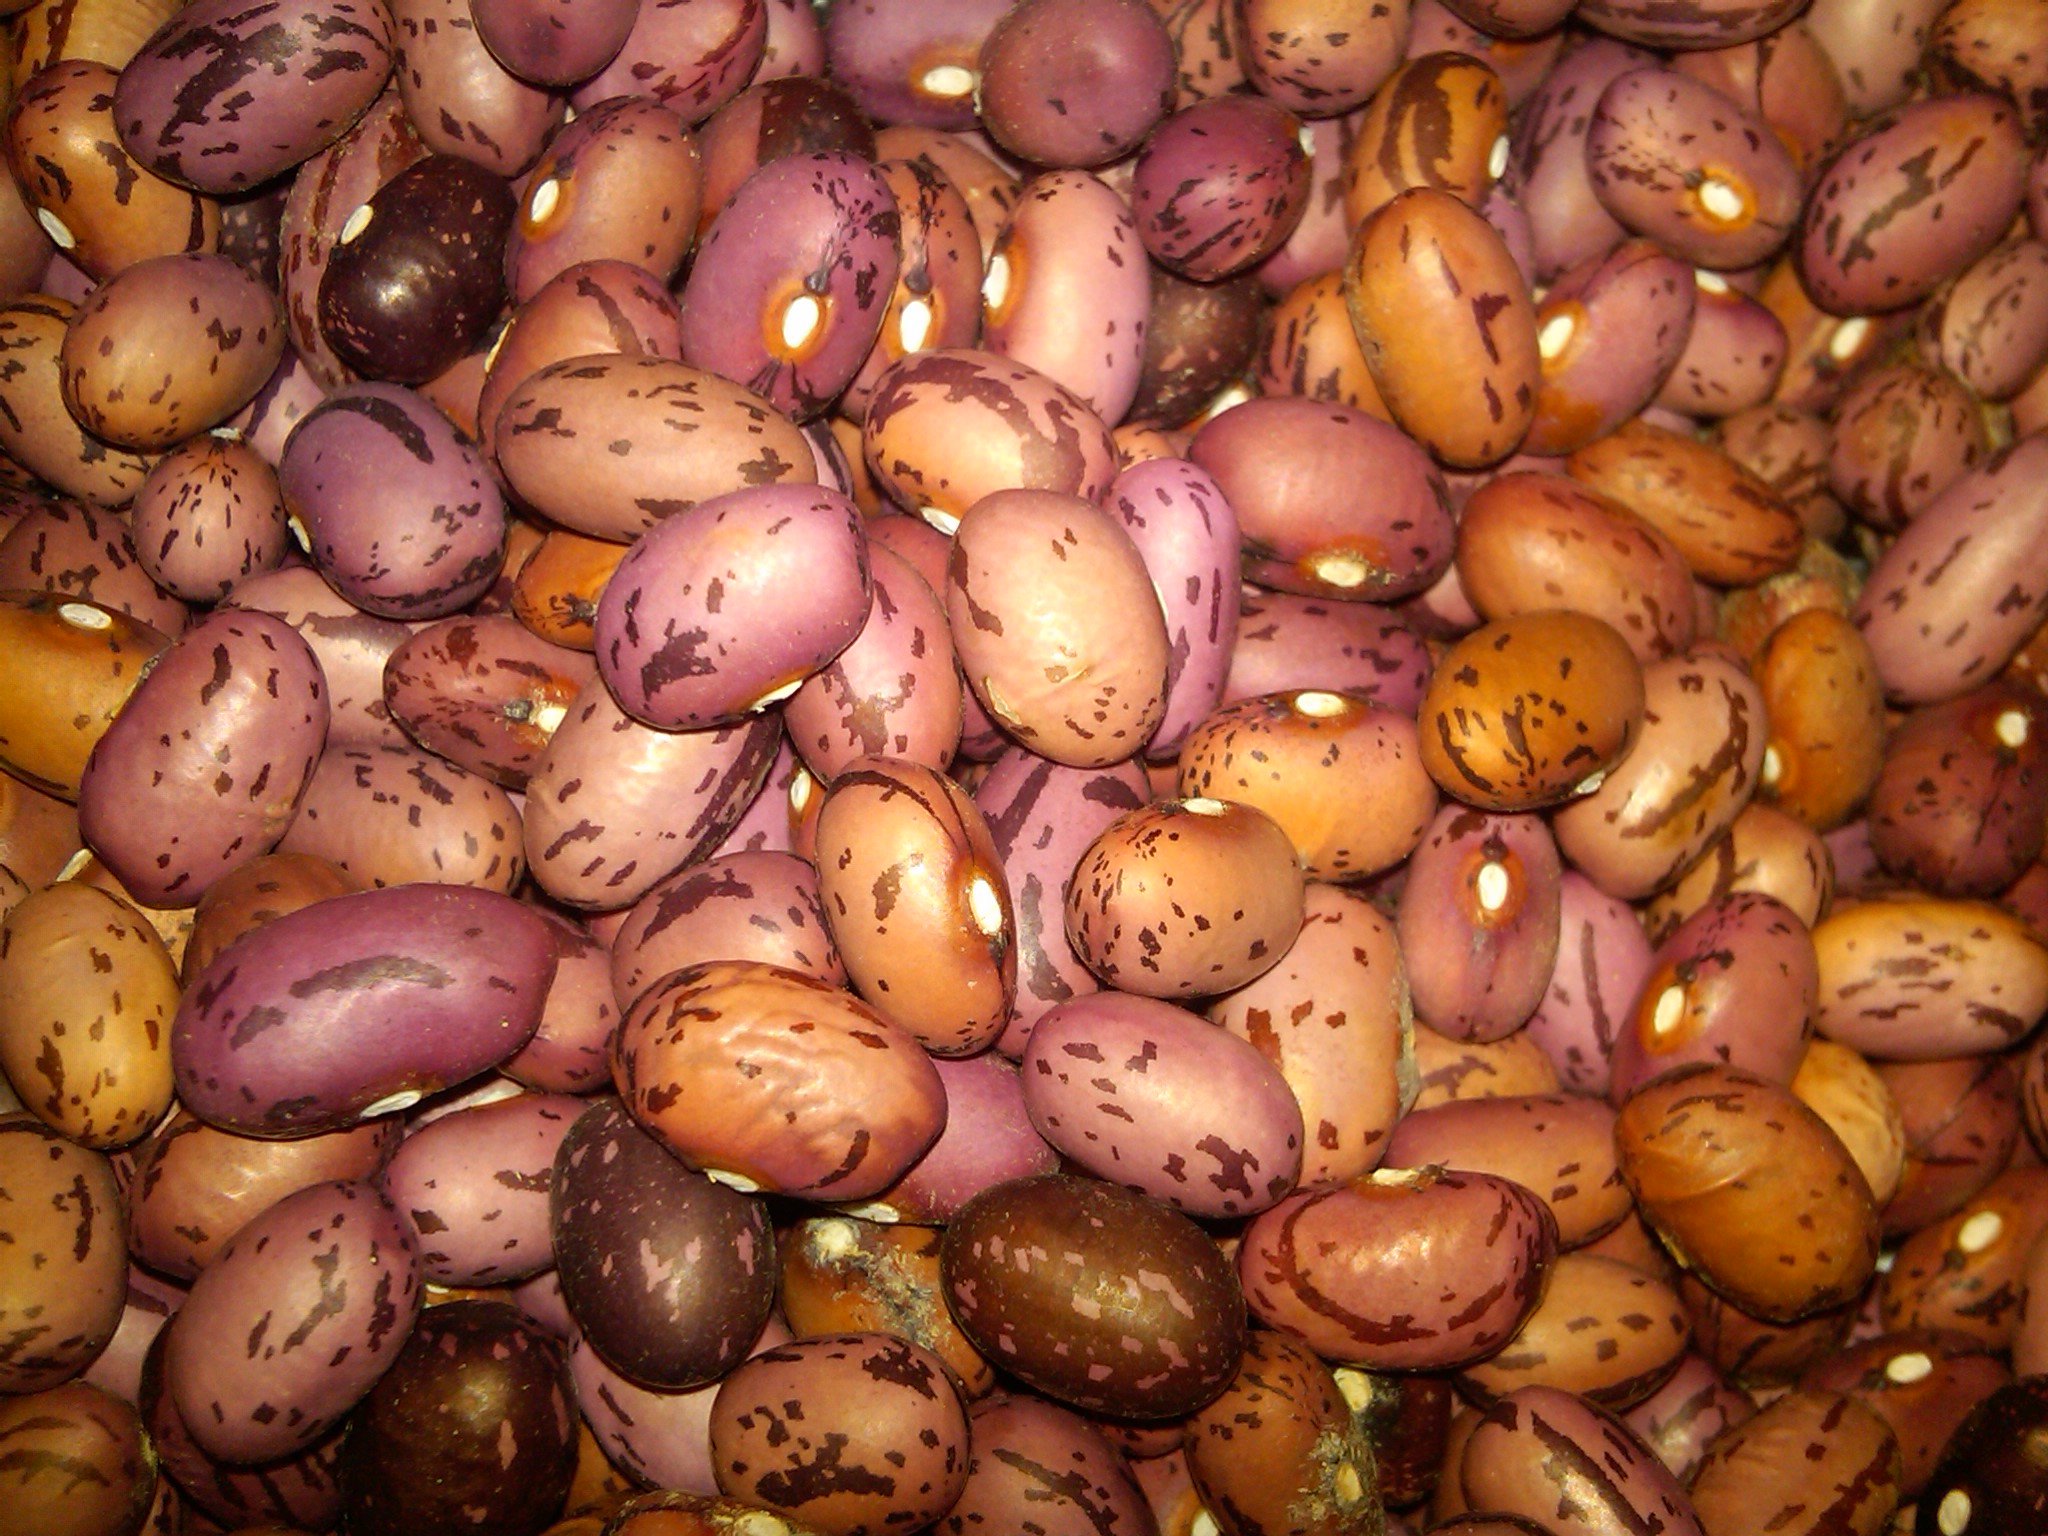
After touring a friend’s garden a few years ago, we were introduced to these soup beans. LOVE THEM! We normally grow Black Turtles, Vermont Cranberries, and Jacob’s Cattle. Their colors are beautiful and look so pretty in a glass jar! The seeds are planted just like you would green bean seeds, only instead of harvesting them to eat like you would green beans (which you CAN do…), we leave them on the plants until the pods are dried and the plants are yellow/brown – early fall. Once we harvest the dried pods, we simply remove the seeds from the pods. If they are really dry, the pods can “paper-cut” your fingers, so we try to not wait too long. [I was unable to find any pictures of them in this state, so perhaps this season I can take some & update this post…]
This is a GREAT chore that forces you to S-L-O-W down… I think that’s why I enjoy these beans so much. They force me to SIT and “listen”… Good therapy after a busy season of harvesting. 🙂
We do the best we can to sort out the imperfect seeds – ones that have sprouted or are cracked. Usually, they are in the minority. (One year we did grow one type of seed: Painted Ponies, that had a lot of imperfect seeds, so we haven’t grown it again.)
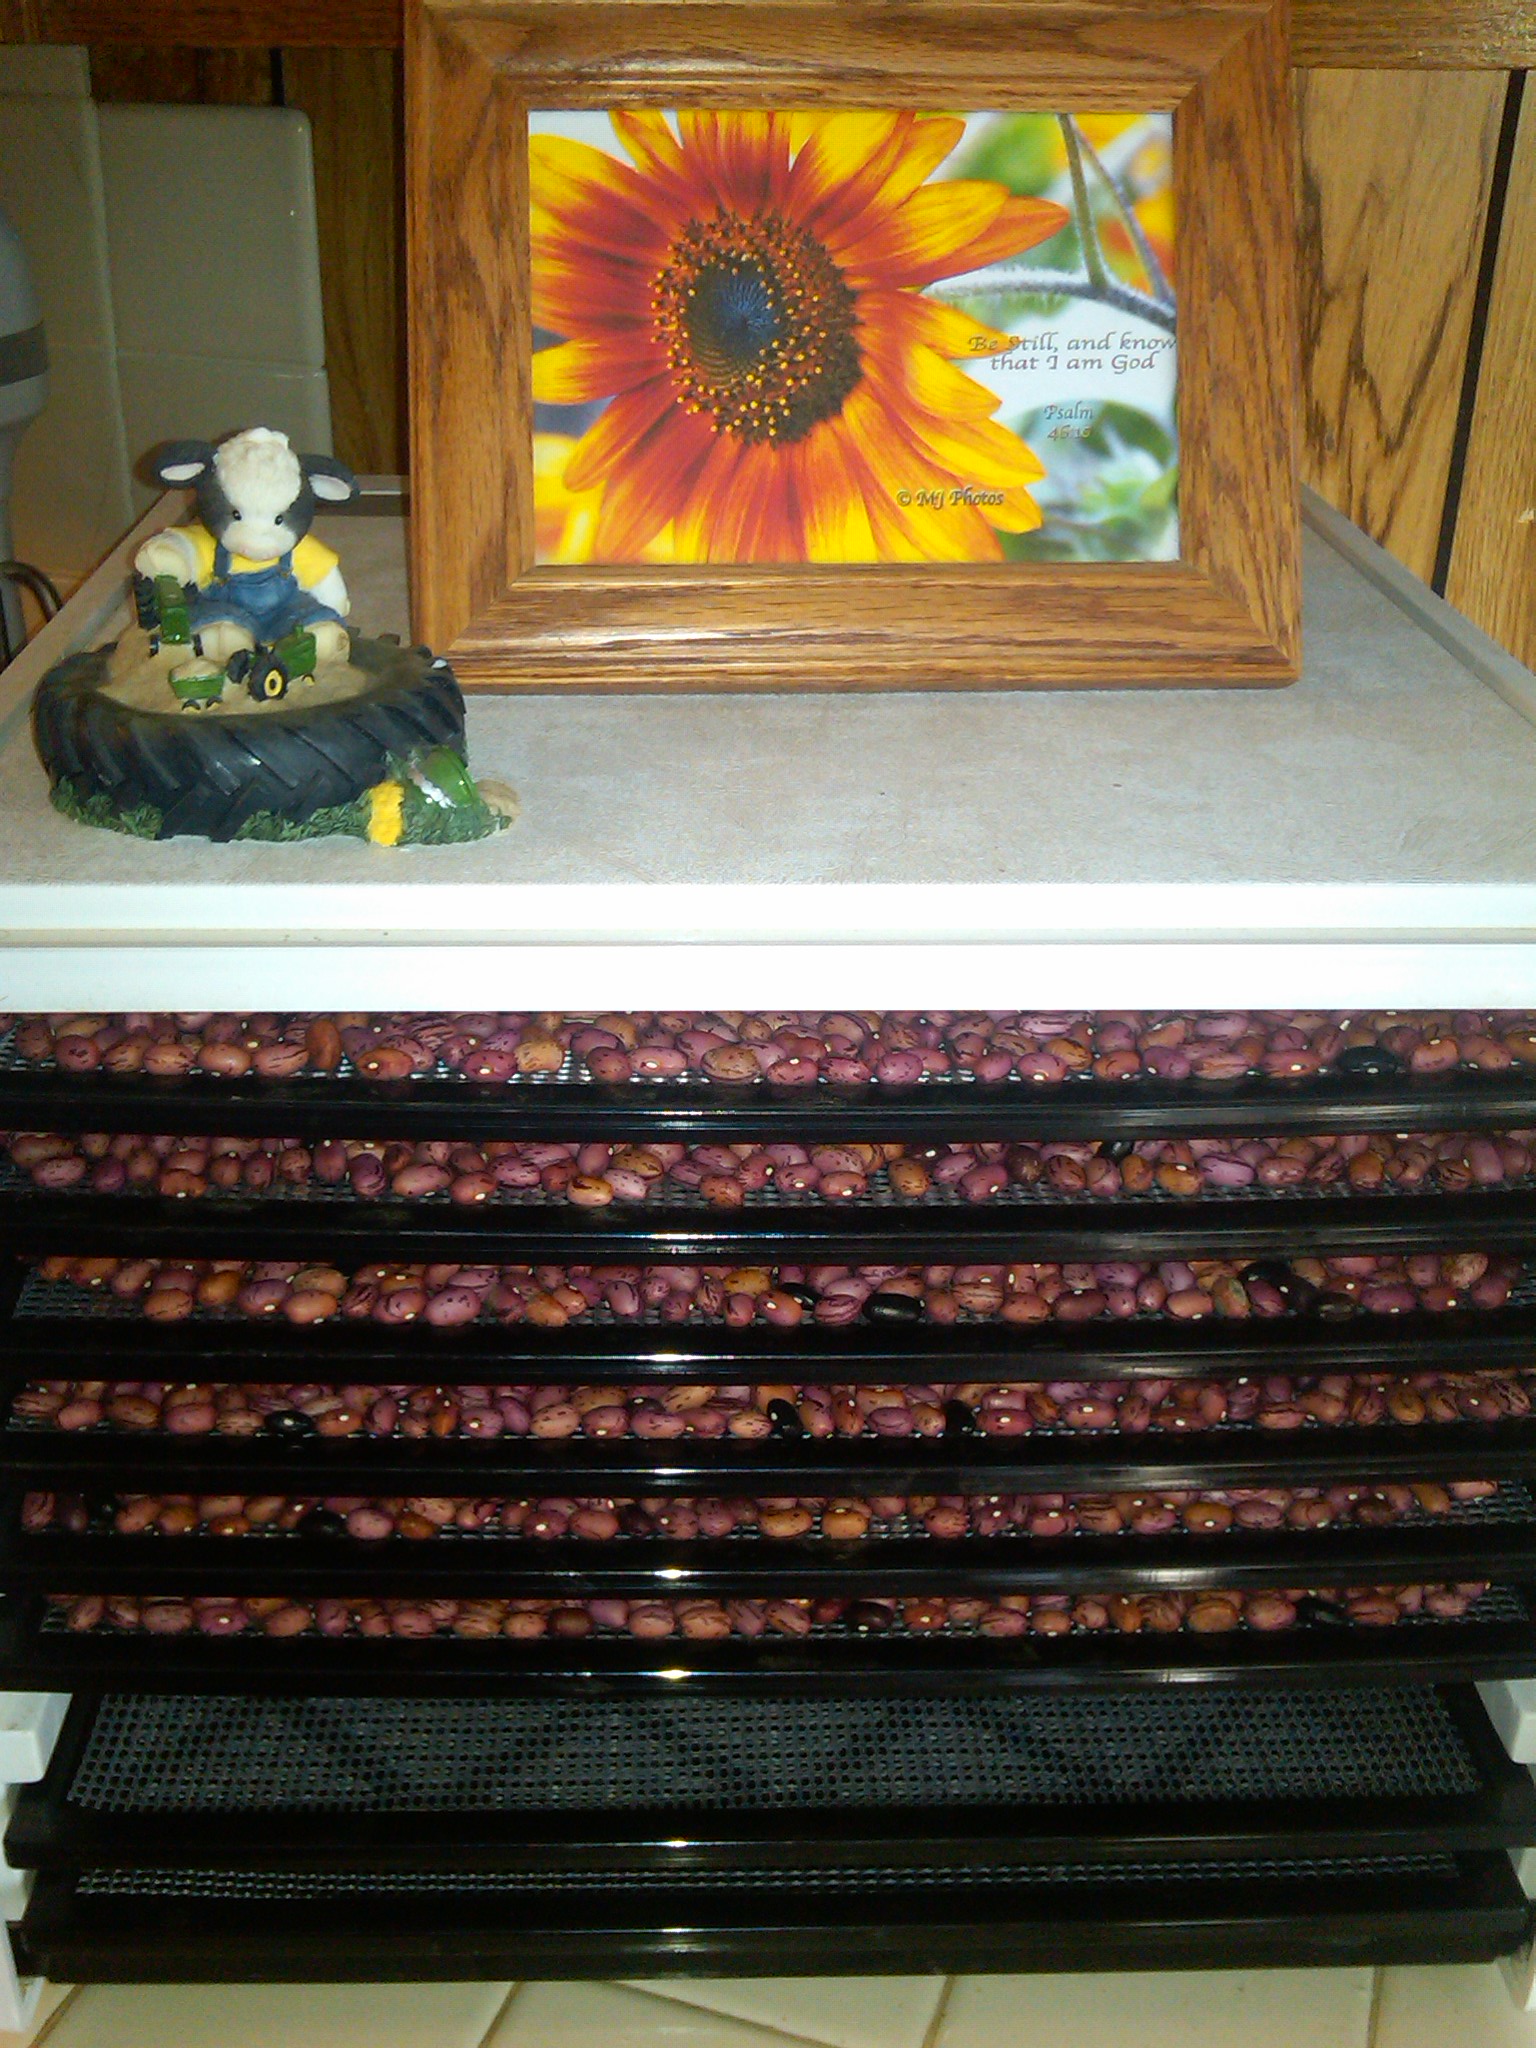
Just to make sure there is no moisture in the beans before storing them in glass jars in our pantry, we dry them in our dehydrator overnight.
To hydrate the beans, the best thing to do is soak them overnight. We like to use a mixture of water & whey. This actually makes the beans more digestible. That being said, in reality, I don’t always have the forethought to do that. Most of the time I want to use them in a recipe the same day. So below is the method we use that is quicker and works for us.
My formula for determining how many beans to hydrate is:
1/2 pound of dried beans = 1 cup of dried beans = 3 cups of finished, hydrated beans
Place dried beans in a large pot and cover with water by at least 2 inches. Bring to a boil. Boil for 1 minute. Remove pot from the heat, add a lid, and allow it to sit for 1 hour. Drain and rinse the beans. Add fresh water to cover the beans for at least 2 inches. Bring to a boil. Add a lid & lower the heat. Allow the beans to simmer for about 10-15 minutes. (…taste testing the crunchiness of a bean every so often…) Also need to remove the lid & stir occasionally – will keep the foamy water from overflowing onto your stove-top.:)
**This procedure is about half the time most cookbooks say to prepare dried beans. We learned that the age of the beans determines how long the hydrating will take…when we followed the cookbooks, our beans were MUSH, lol. (Kinda makes you wonder just how old the beans are that are on the store shelves! Not a big deal, though – it is a nice attribute that this is a food with a long shelf-life.) After experimenting with less & less boiling times, we came up with our above procedure. I say all this so that it is understood that it may take longer to get older dried beans to desired softness. 🙂


Last season we had 21 quarts of beans for our pantry, 11 quarts for next door, and many smaller jars we filled & gave away as Christmas gifts with our bean soup recipe. 🙂

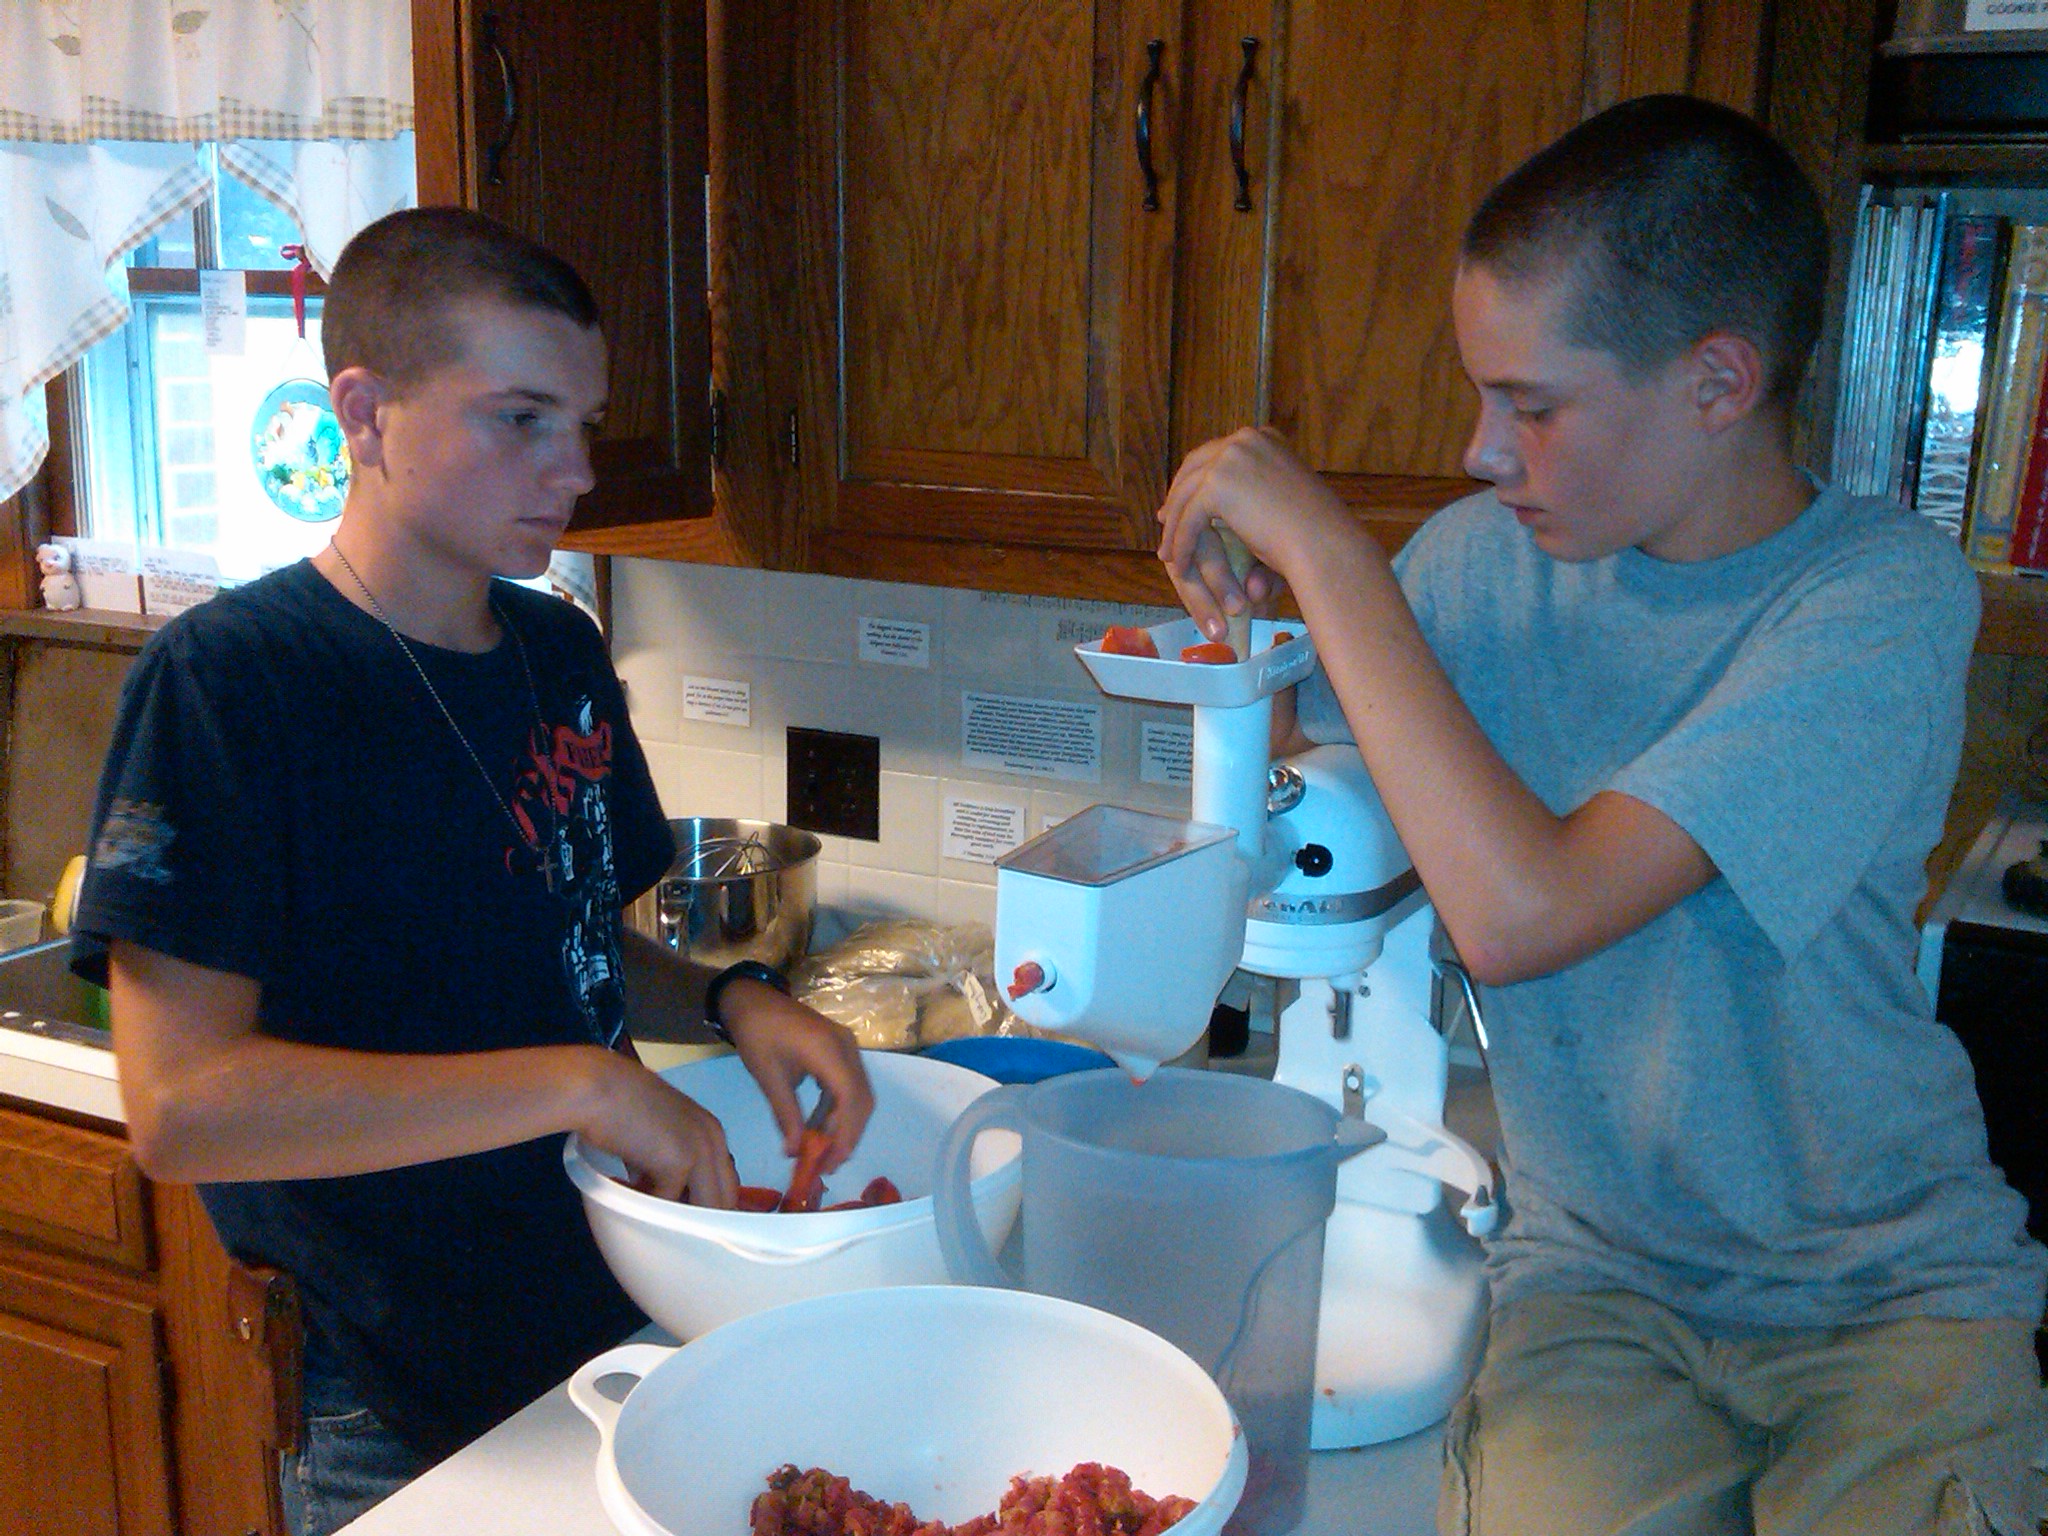
It’s a beautiful thing to witness one generation teaching the ones behind them… 🙂
Lord, may we all recognize teachable moments in our daily walks…opportunities to show Love, feel Love, speak Love, and receive Love. Thank You for reminding me that not all learning happens at a desk or from a book – and that Your work is done 24 hours a day, 7 days a week. Continue to prepare me for Your lesson-plan and may I always remember that You are THE TEACHER. I love being Your willing assistant! AMEN
Fix these words of mine in your hearts and minds; tie them as symbols on your hands and bind them on your foreheads. Teach them to your children, talking about them when you sit at home and when you walk along the road, when you lie down and when you get up. Write them on the doorframes of your houses and on your gates, so that your days and the days of your children may be many in the land the Lord swore to give your ancestors, as many as the days that the heavens are above the earth. (Deuteronomy 11:18-21 NIV)
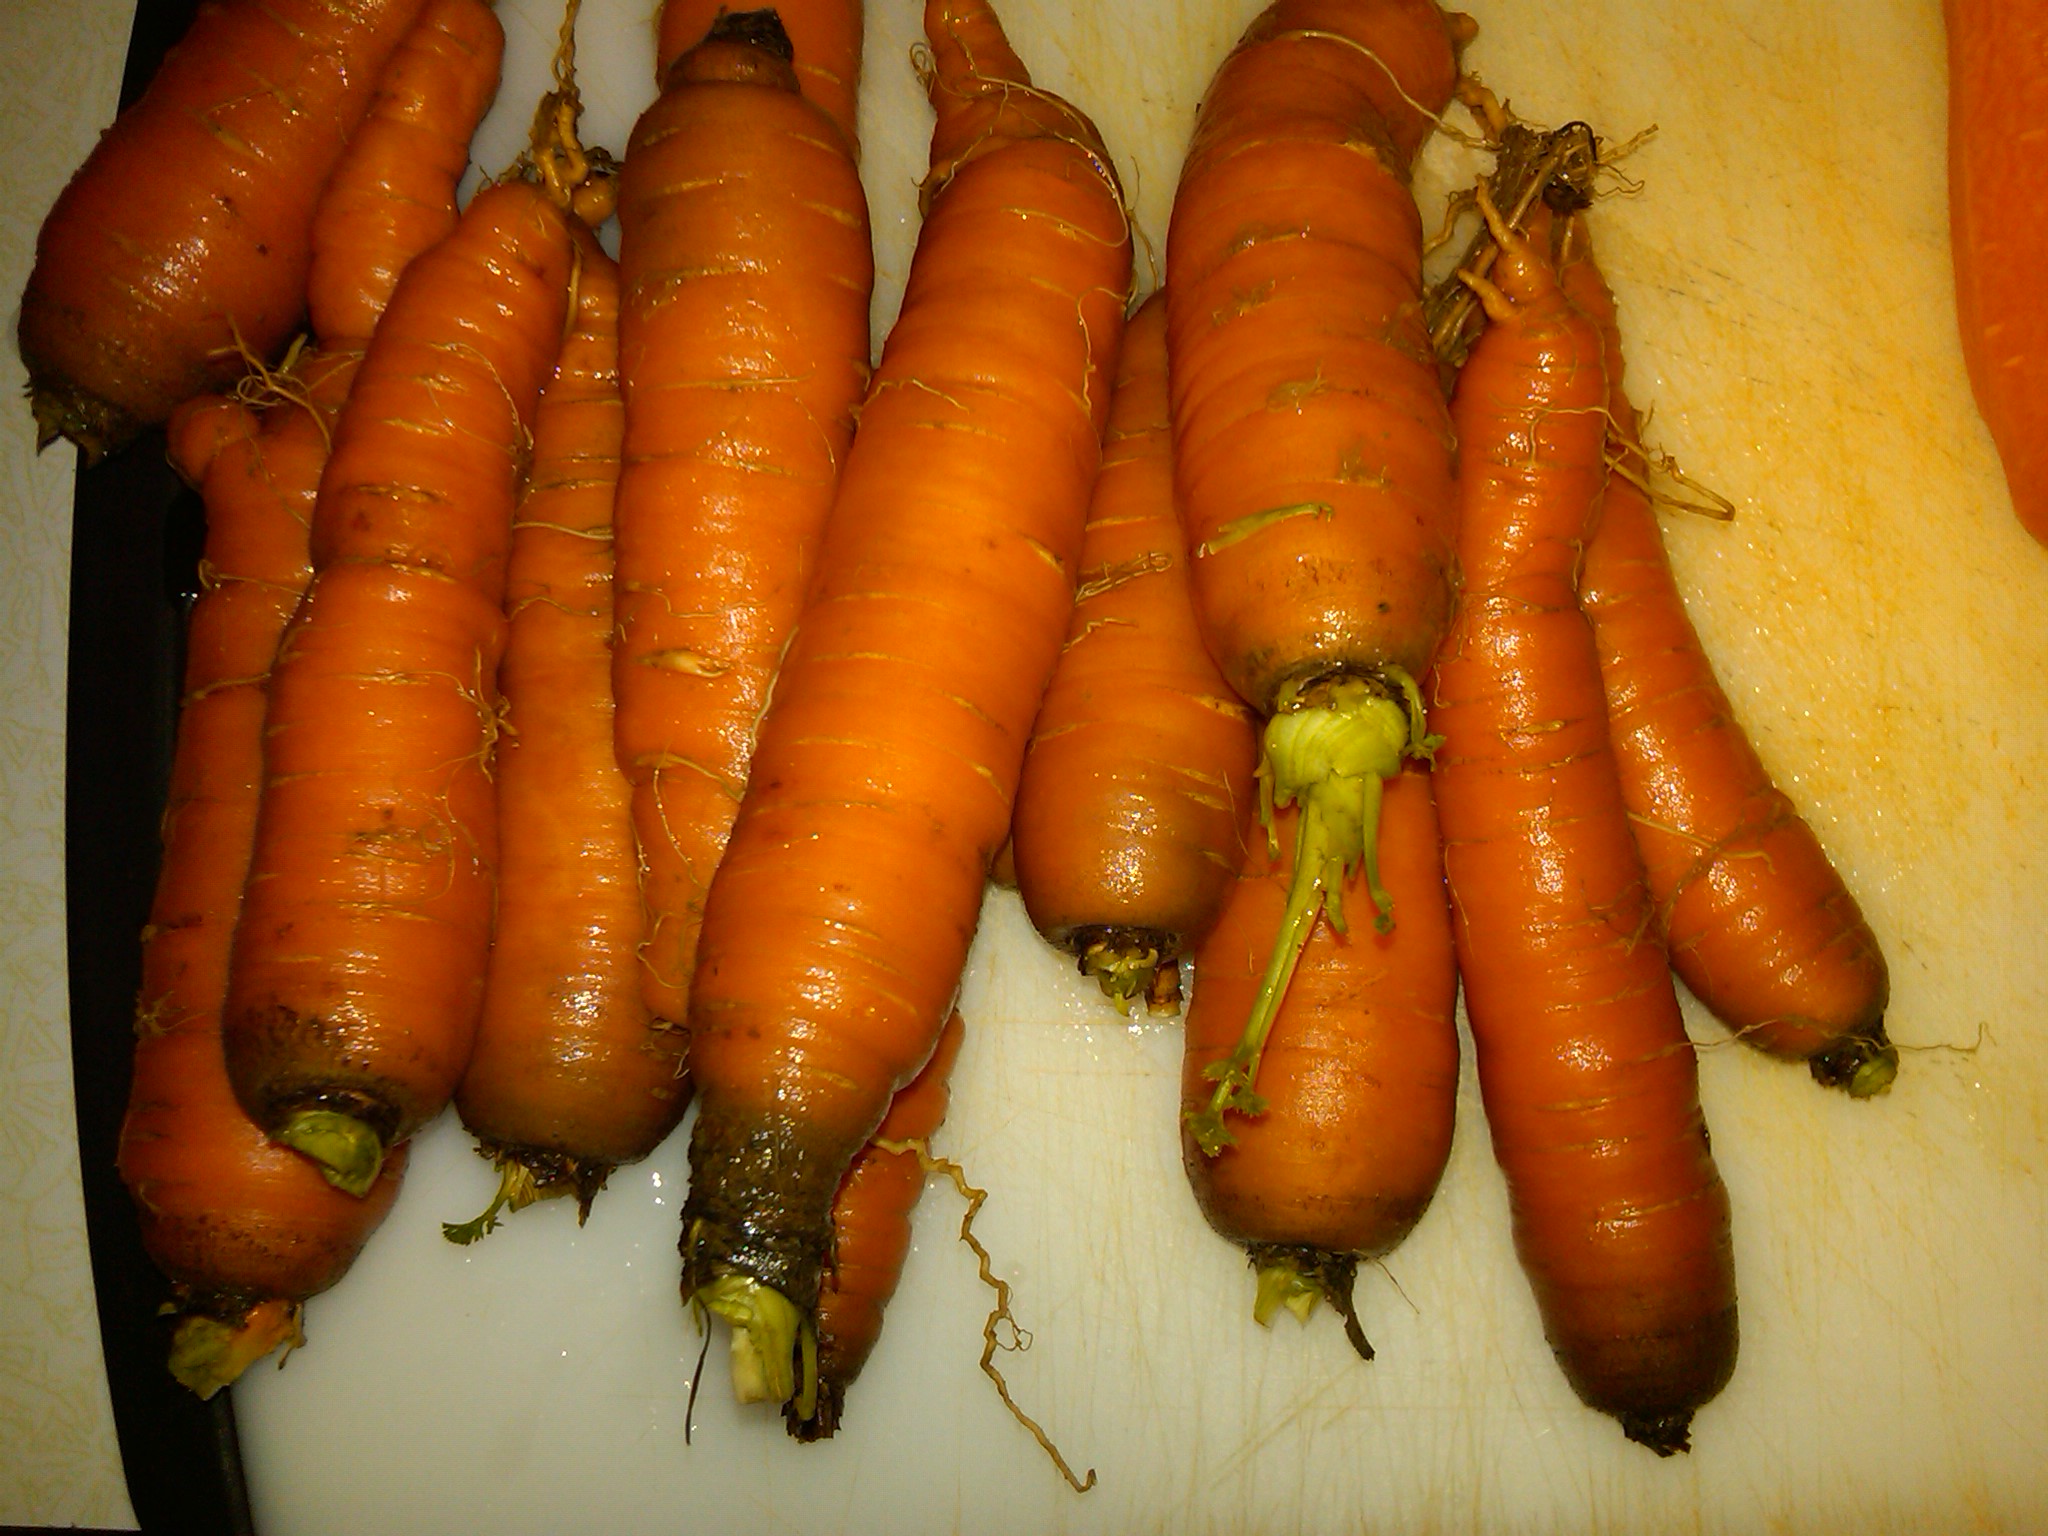
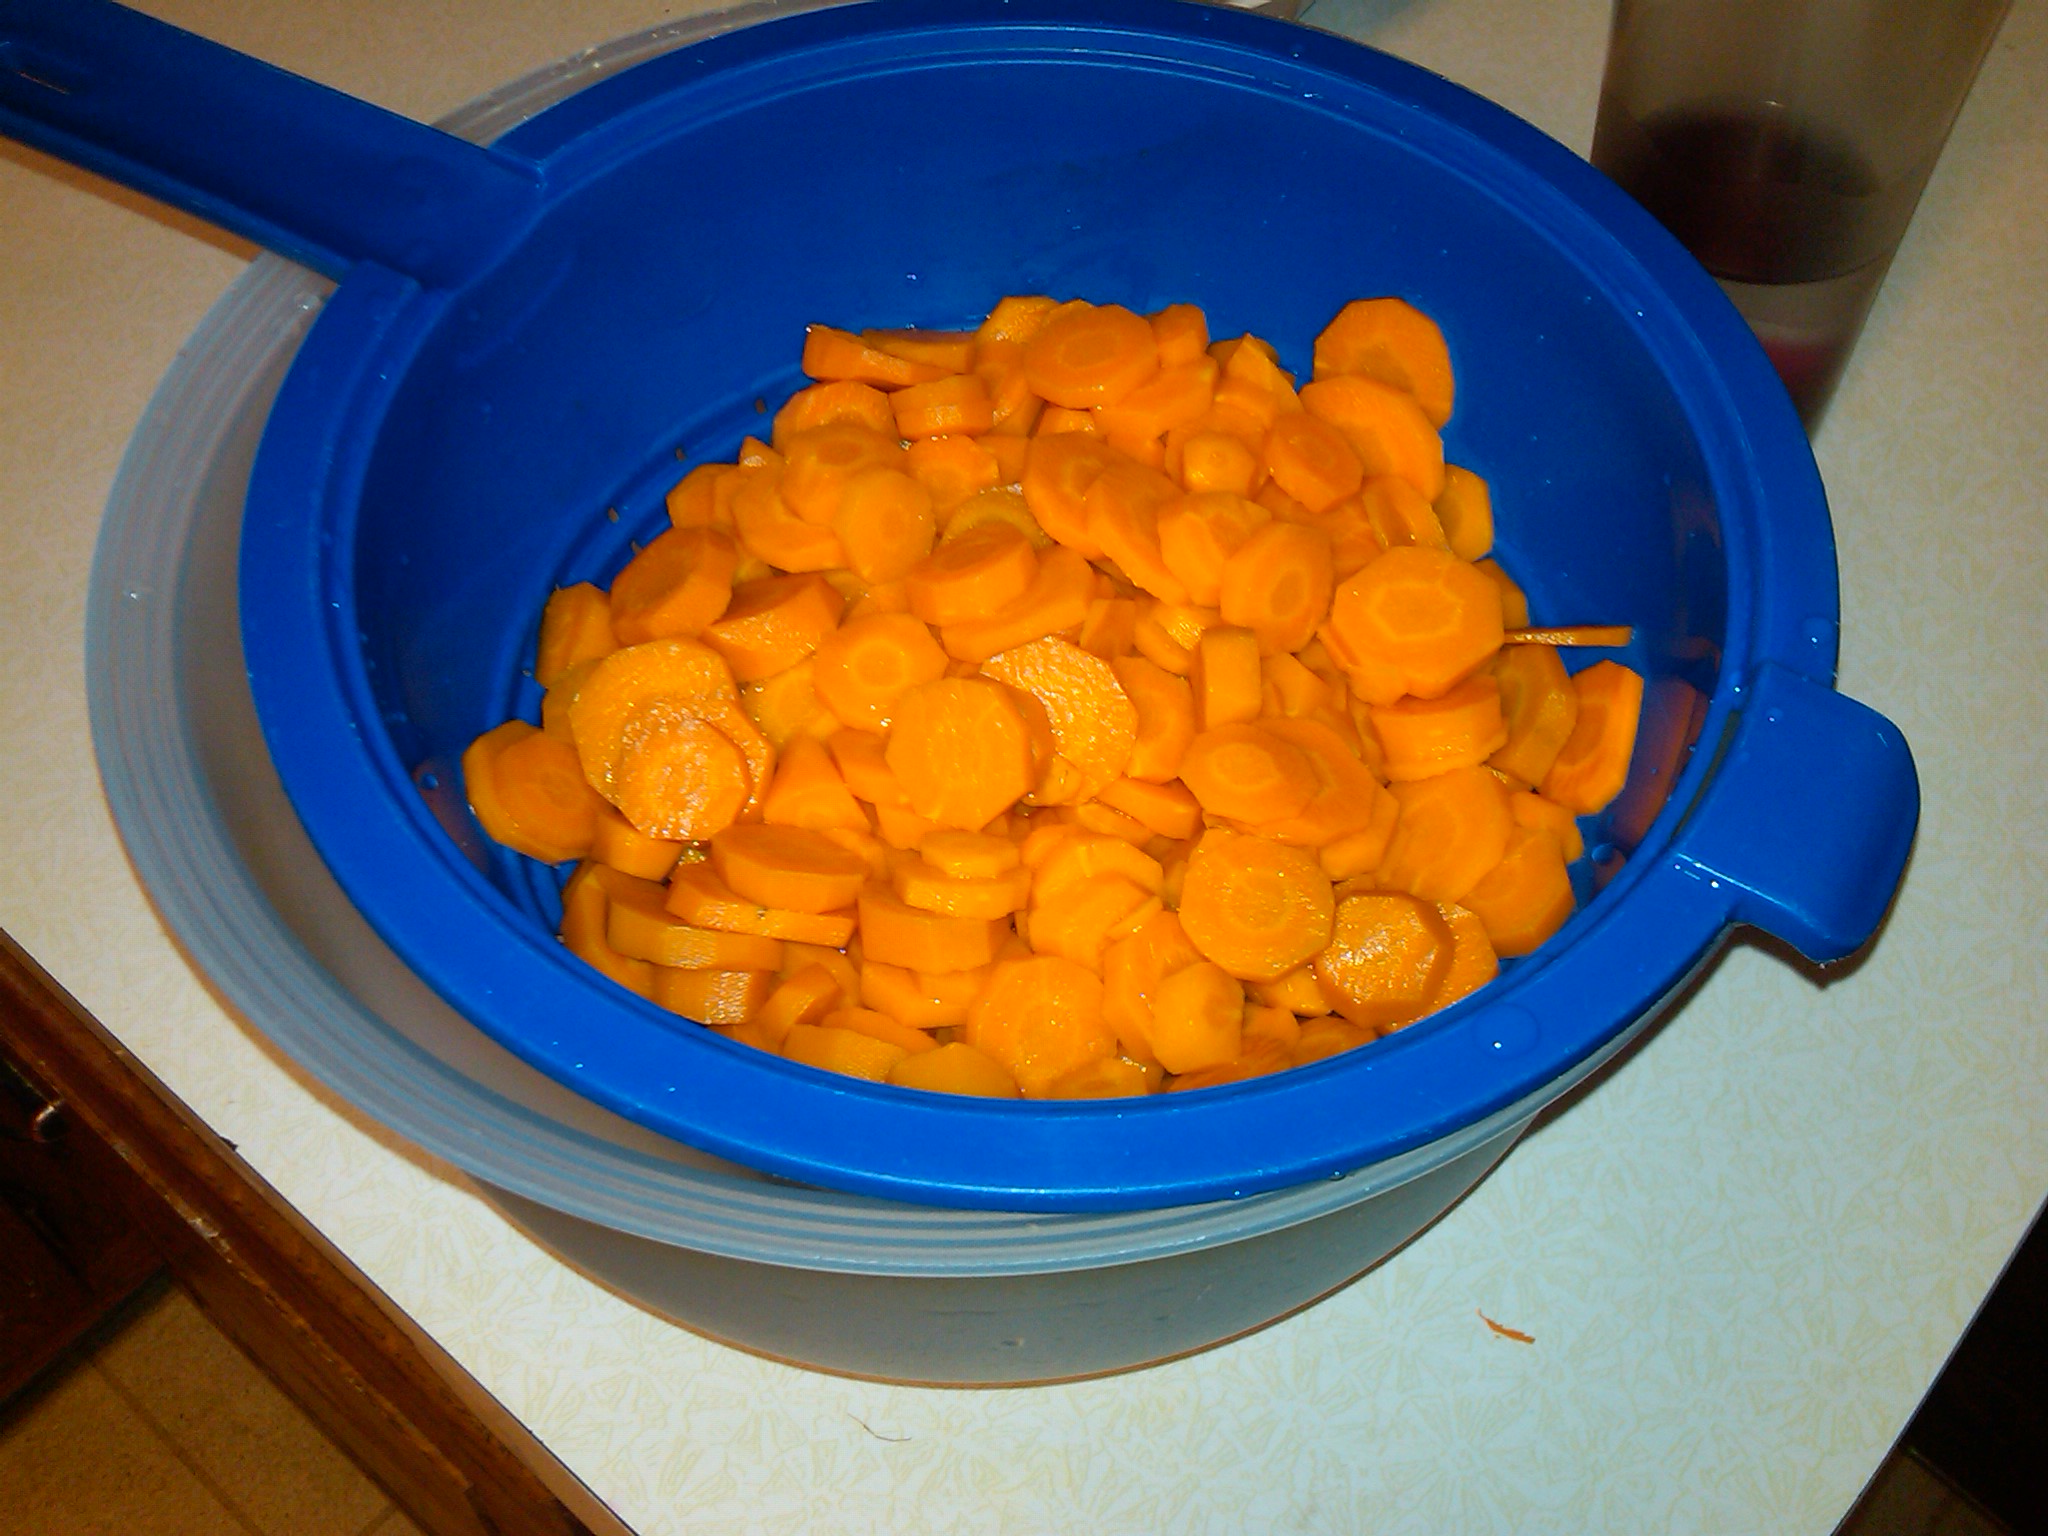
The carrots that aren’t eaten fresh, we blanch, chop, & freeze. Once they have drained well, we throw them in a big gallon bag. They don’t freeze into a solid clump, so we just scoop out whatever we need for our recipes for the year. I think last season we had 8 full gallon sized bags of carrots. 🙂
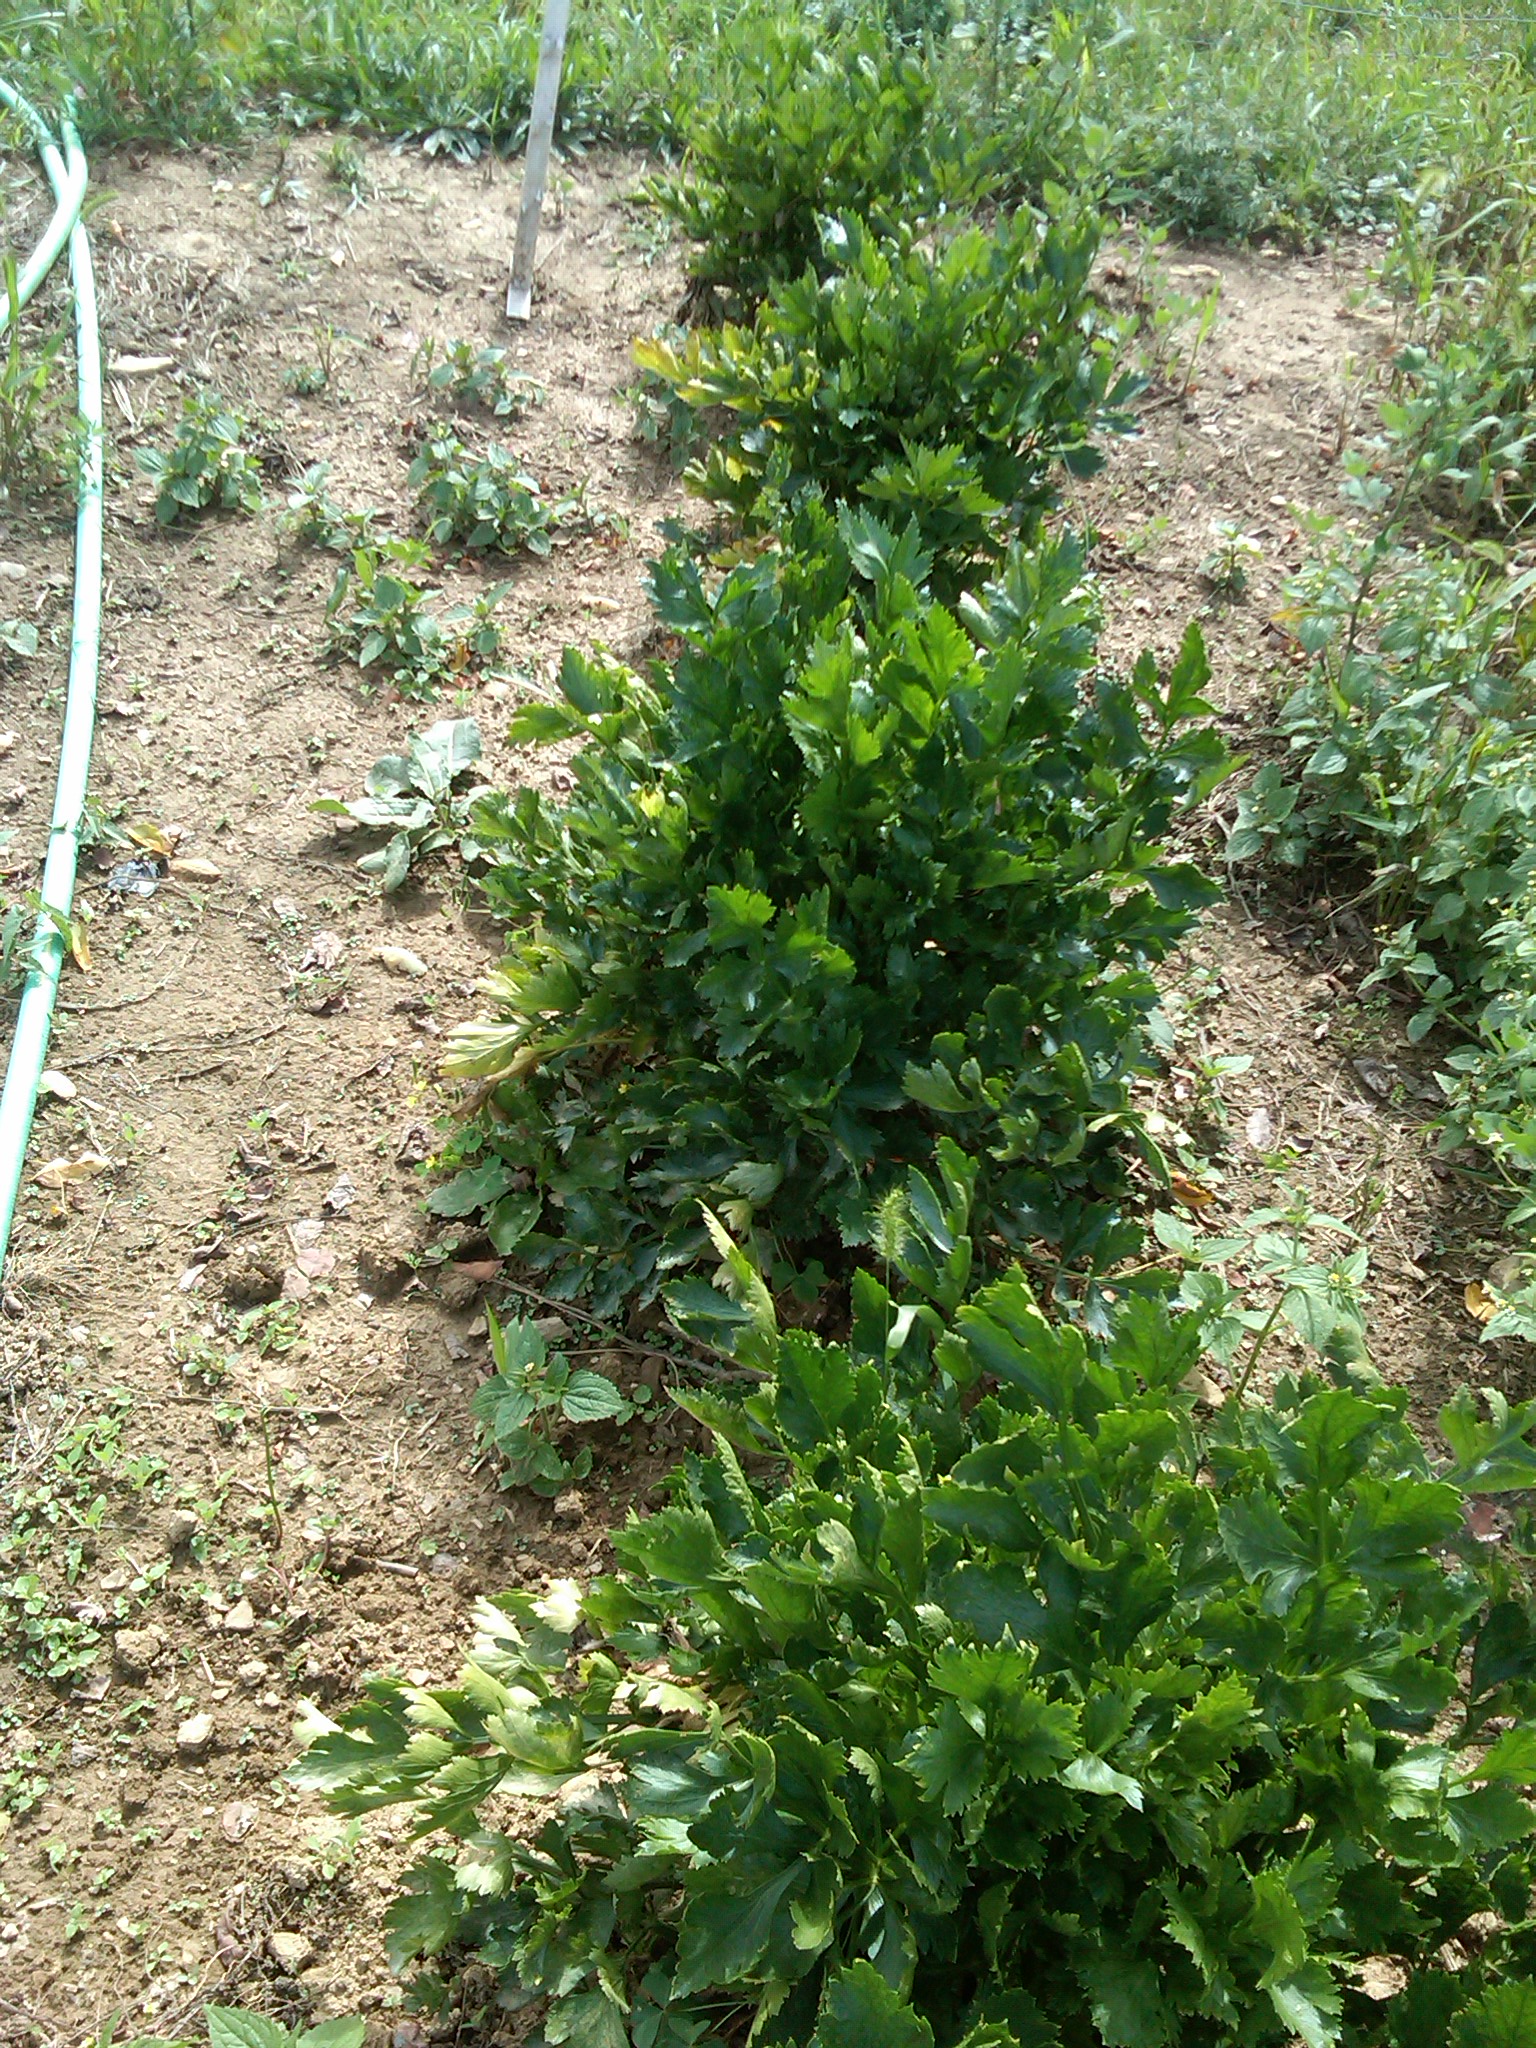
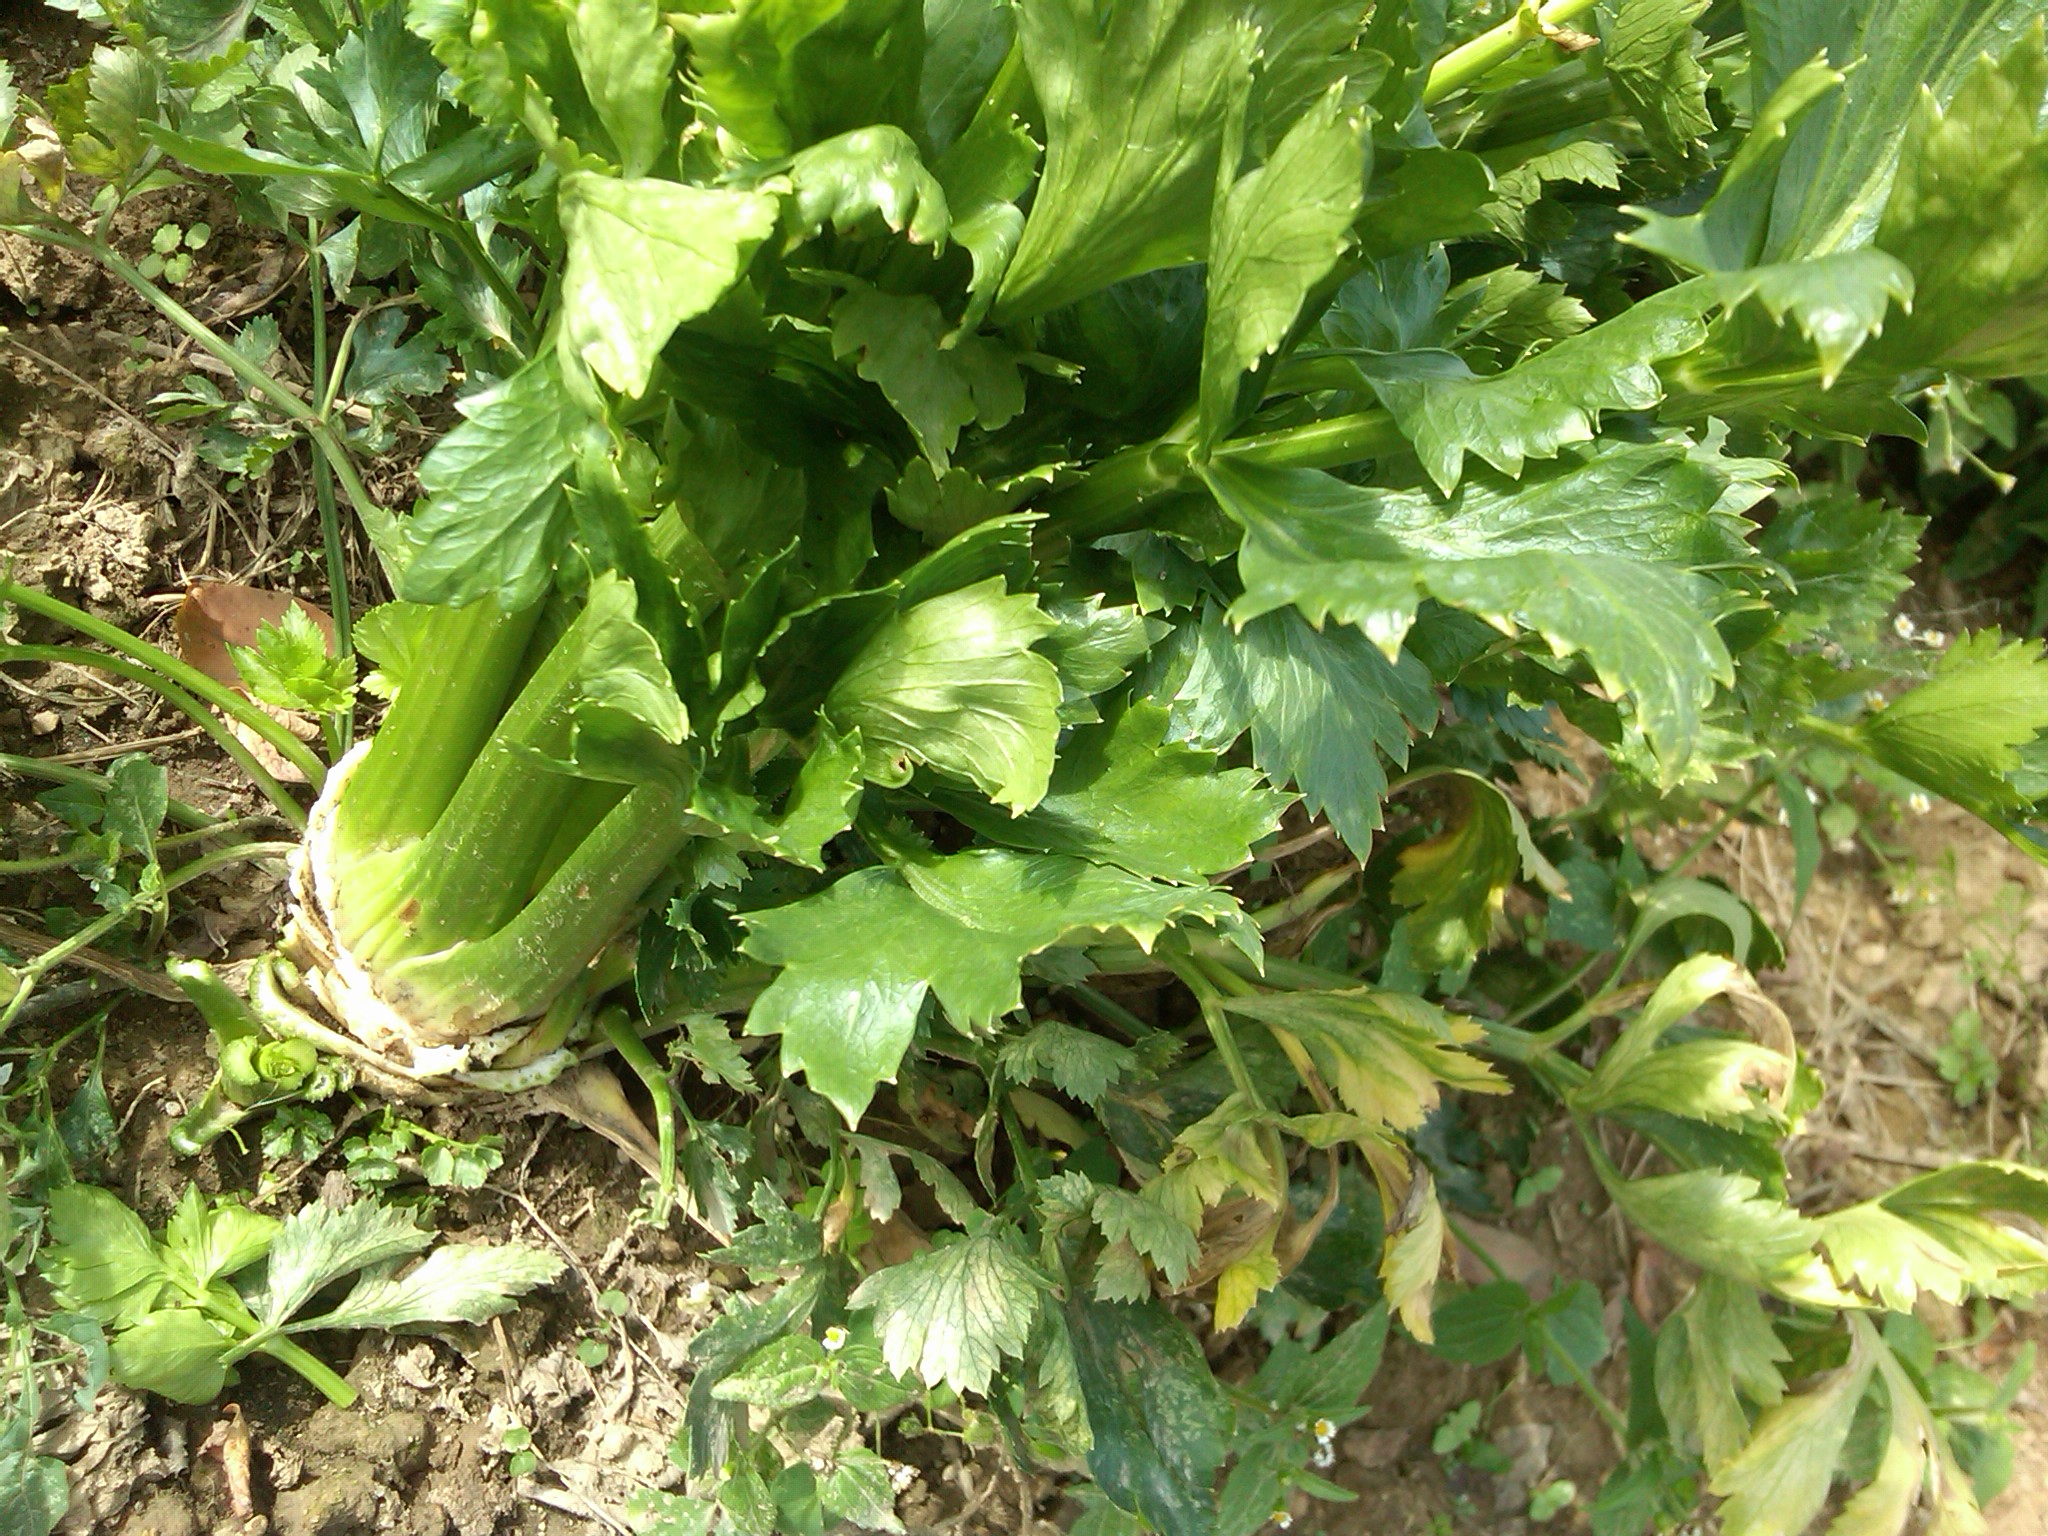
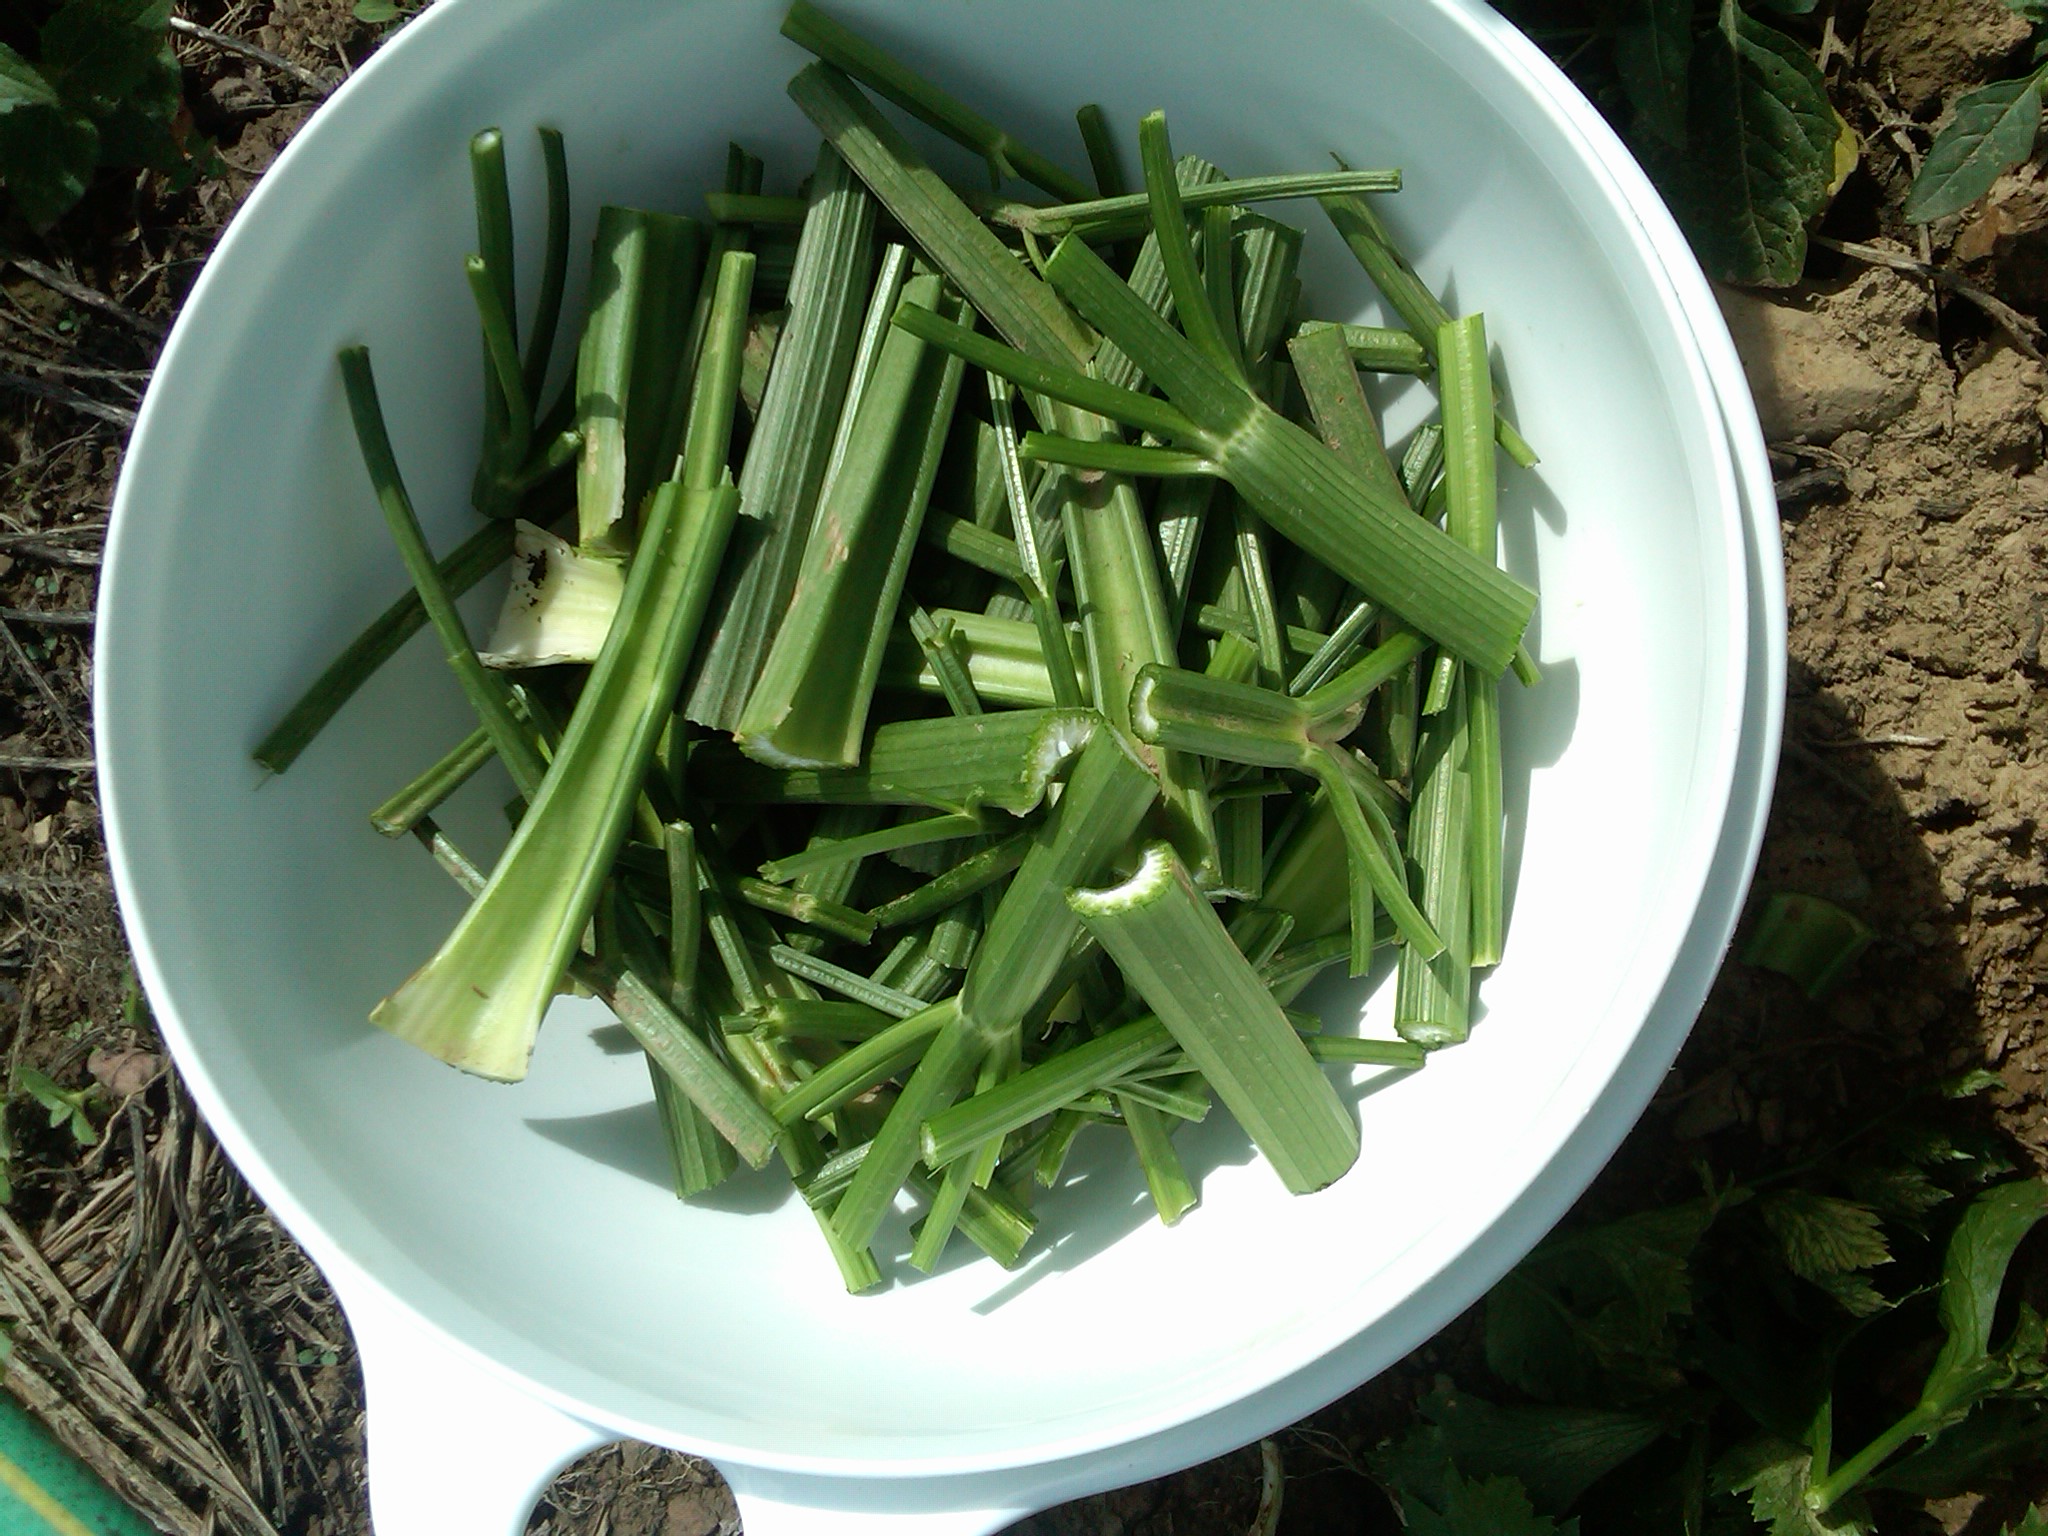
Celery has really been a fun plant for us. Once the plants are established, we just cut off a few stalks as we need them during the summer. Plants just keep growing up more stalks! At the end of the season, we cut off what’s left. We just wash, chop, and freeze it. I suppose we could blanch it, but we never have. Just like the carrots, it goes into one gallon freezer bags. I think we had about 8 bags last season. 🙂
This amount fills our 12 cup food processor.
10 squeezed, meaty-type tomatoes (like Romas) that are about the size of baseballs **note below
2-4 hot peppers
2 cups sweet onions, chunked (I just kinda guess by the size of the onion)
1 cup tightly packed cilantro
1 t sea salt
3 T raw apple cider vinegar
1/2 t coarse black pepper
Layer above ingredients in the order listed into food processor. Pulse until desired texture is reached. Dump into large bowl and repeat. (We like BIG BATCHES of salsa, lol!) 🙂
We are alway taste testing while we go, so I should probably state that the above recipe is just a “base”. I’m sure we throw in a-little-more-of-this, and a-little-more-of-that, so it’s never exactly the same. 🙂
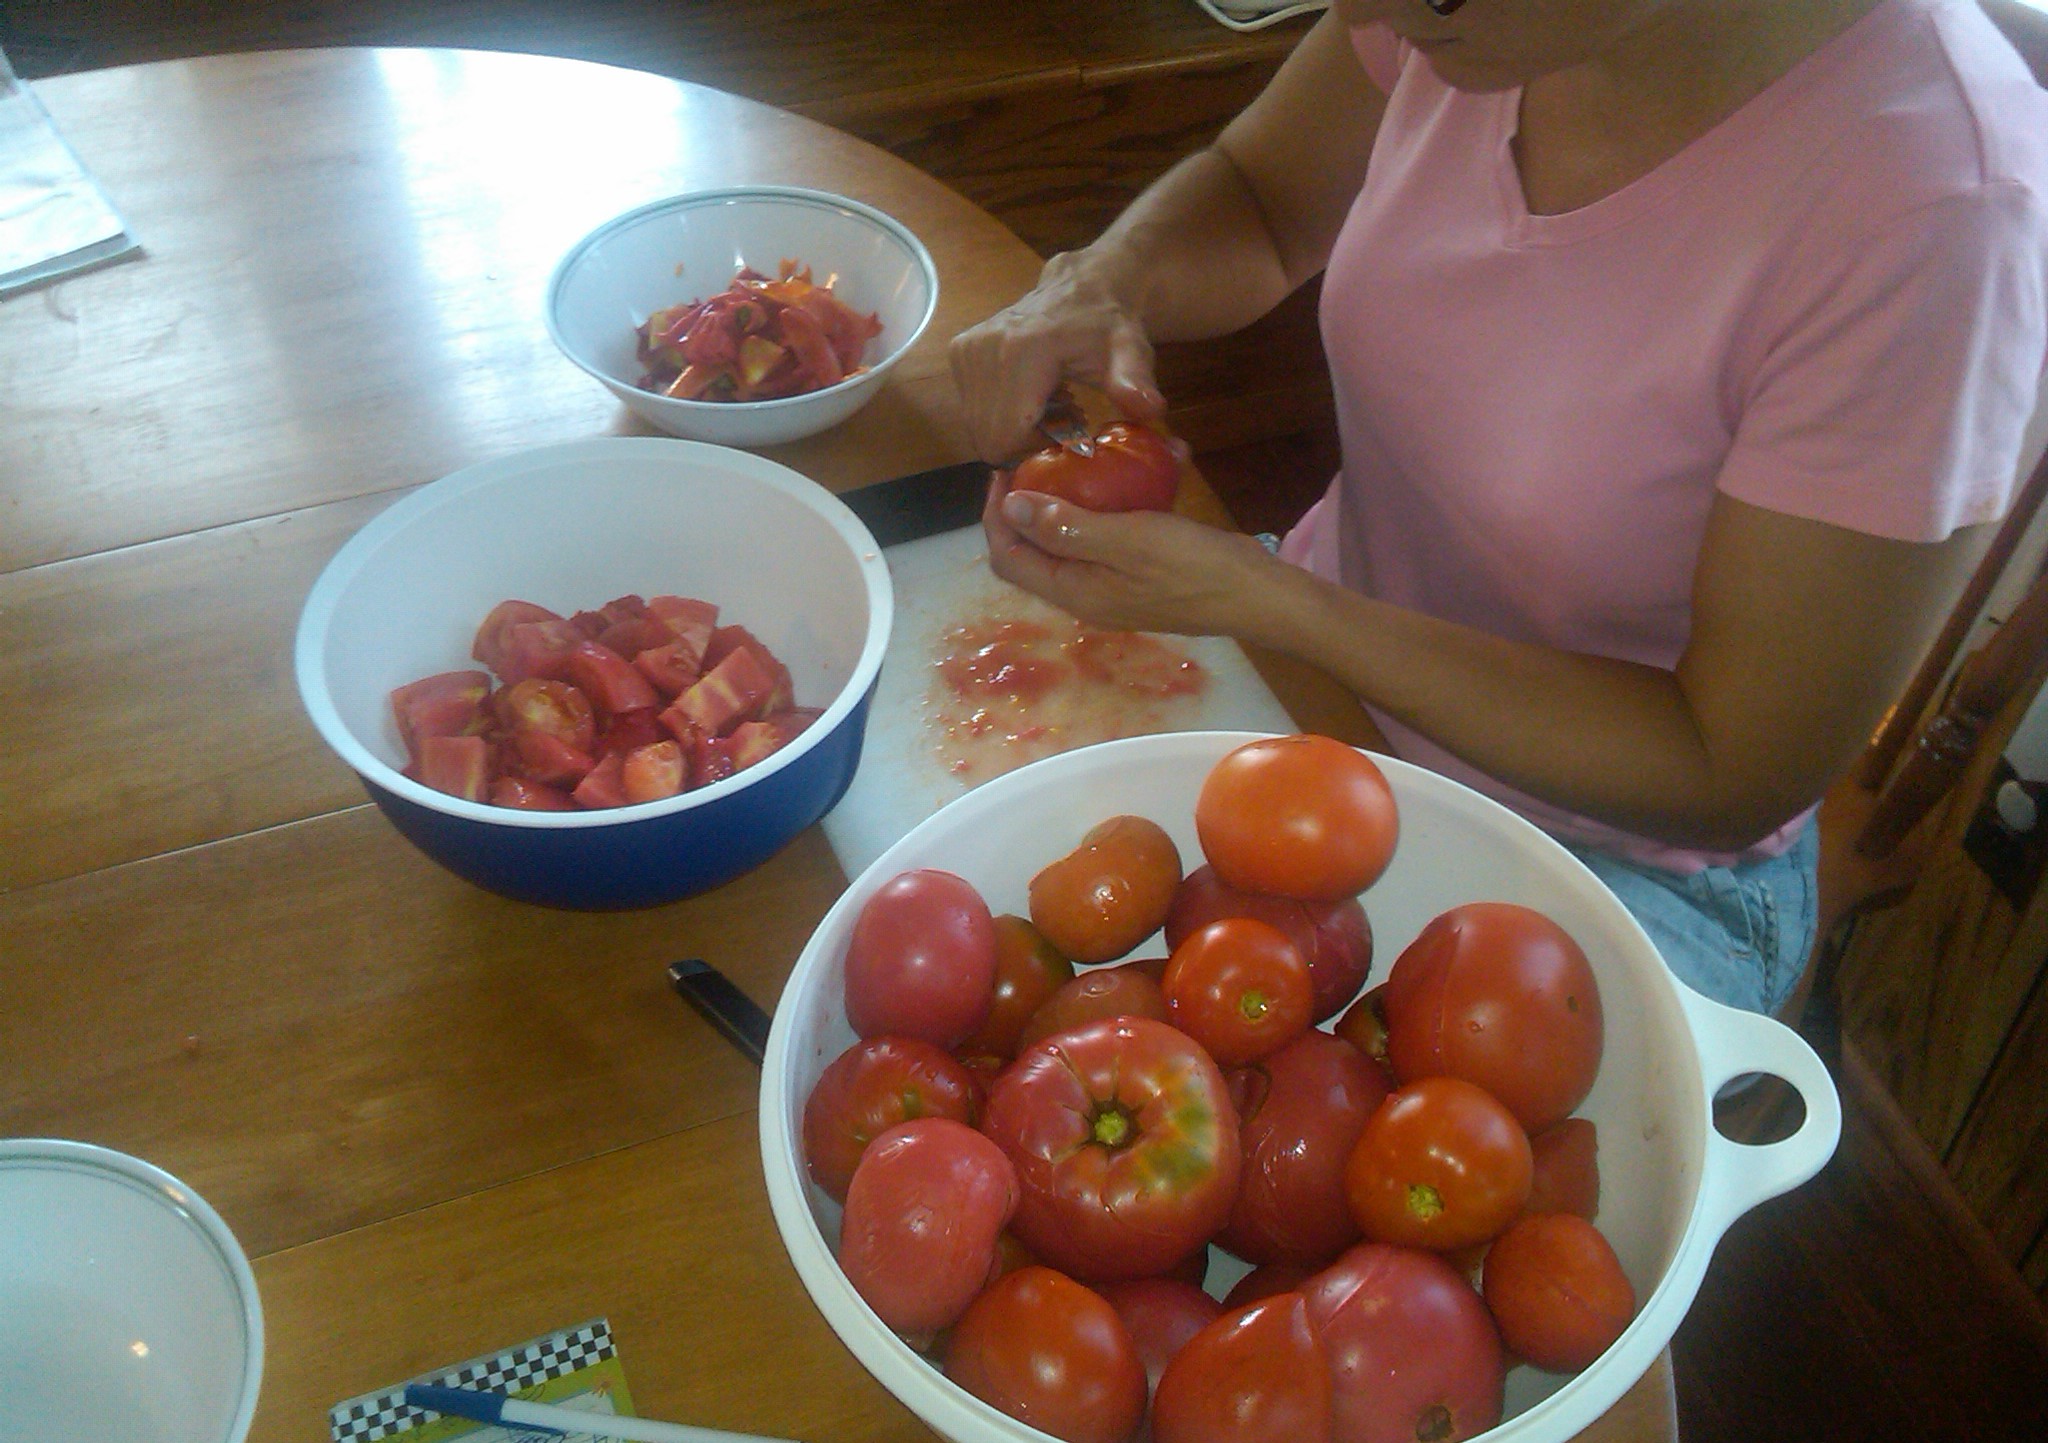
**Here’s how I prepare my tomatoes: I remove the skins & core, but leave them whole. I put one in my hands, hold it over the sink core-cut-side down, and gently squeeze the tomato so most of the seeds & water are pressed out. After 3 batches of squeezing, it is not uncommon for hands to cramp up, lol… 🙂
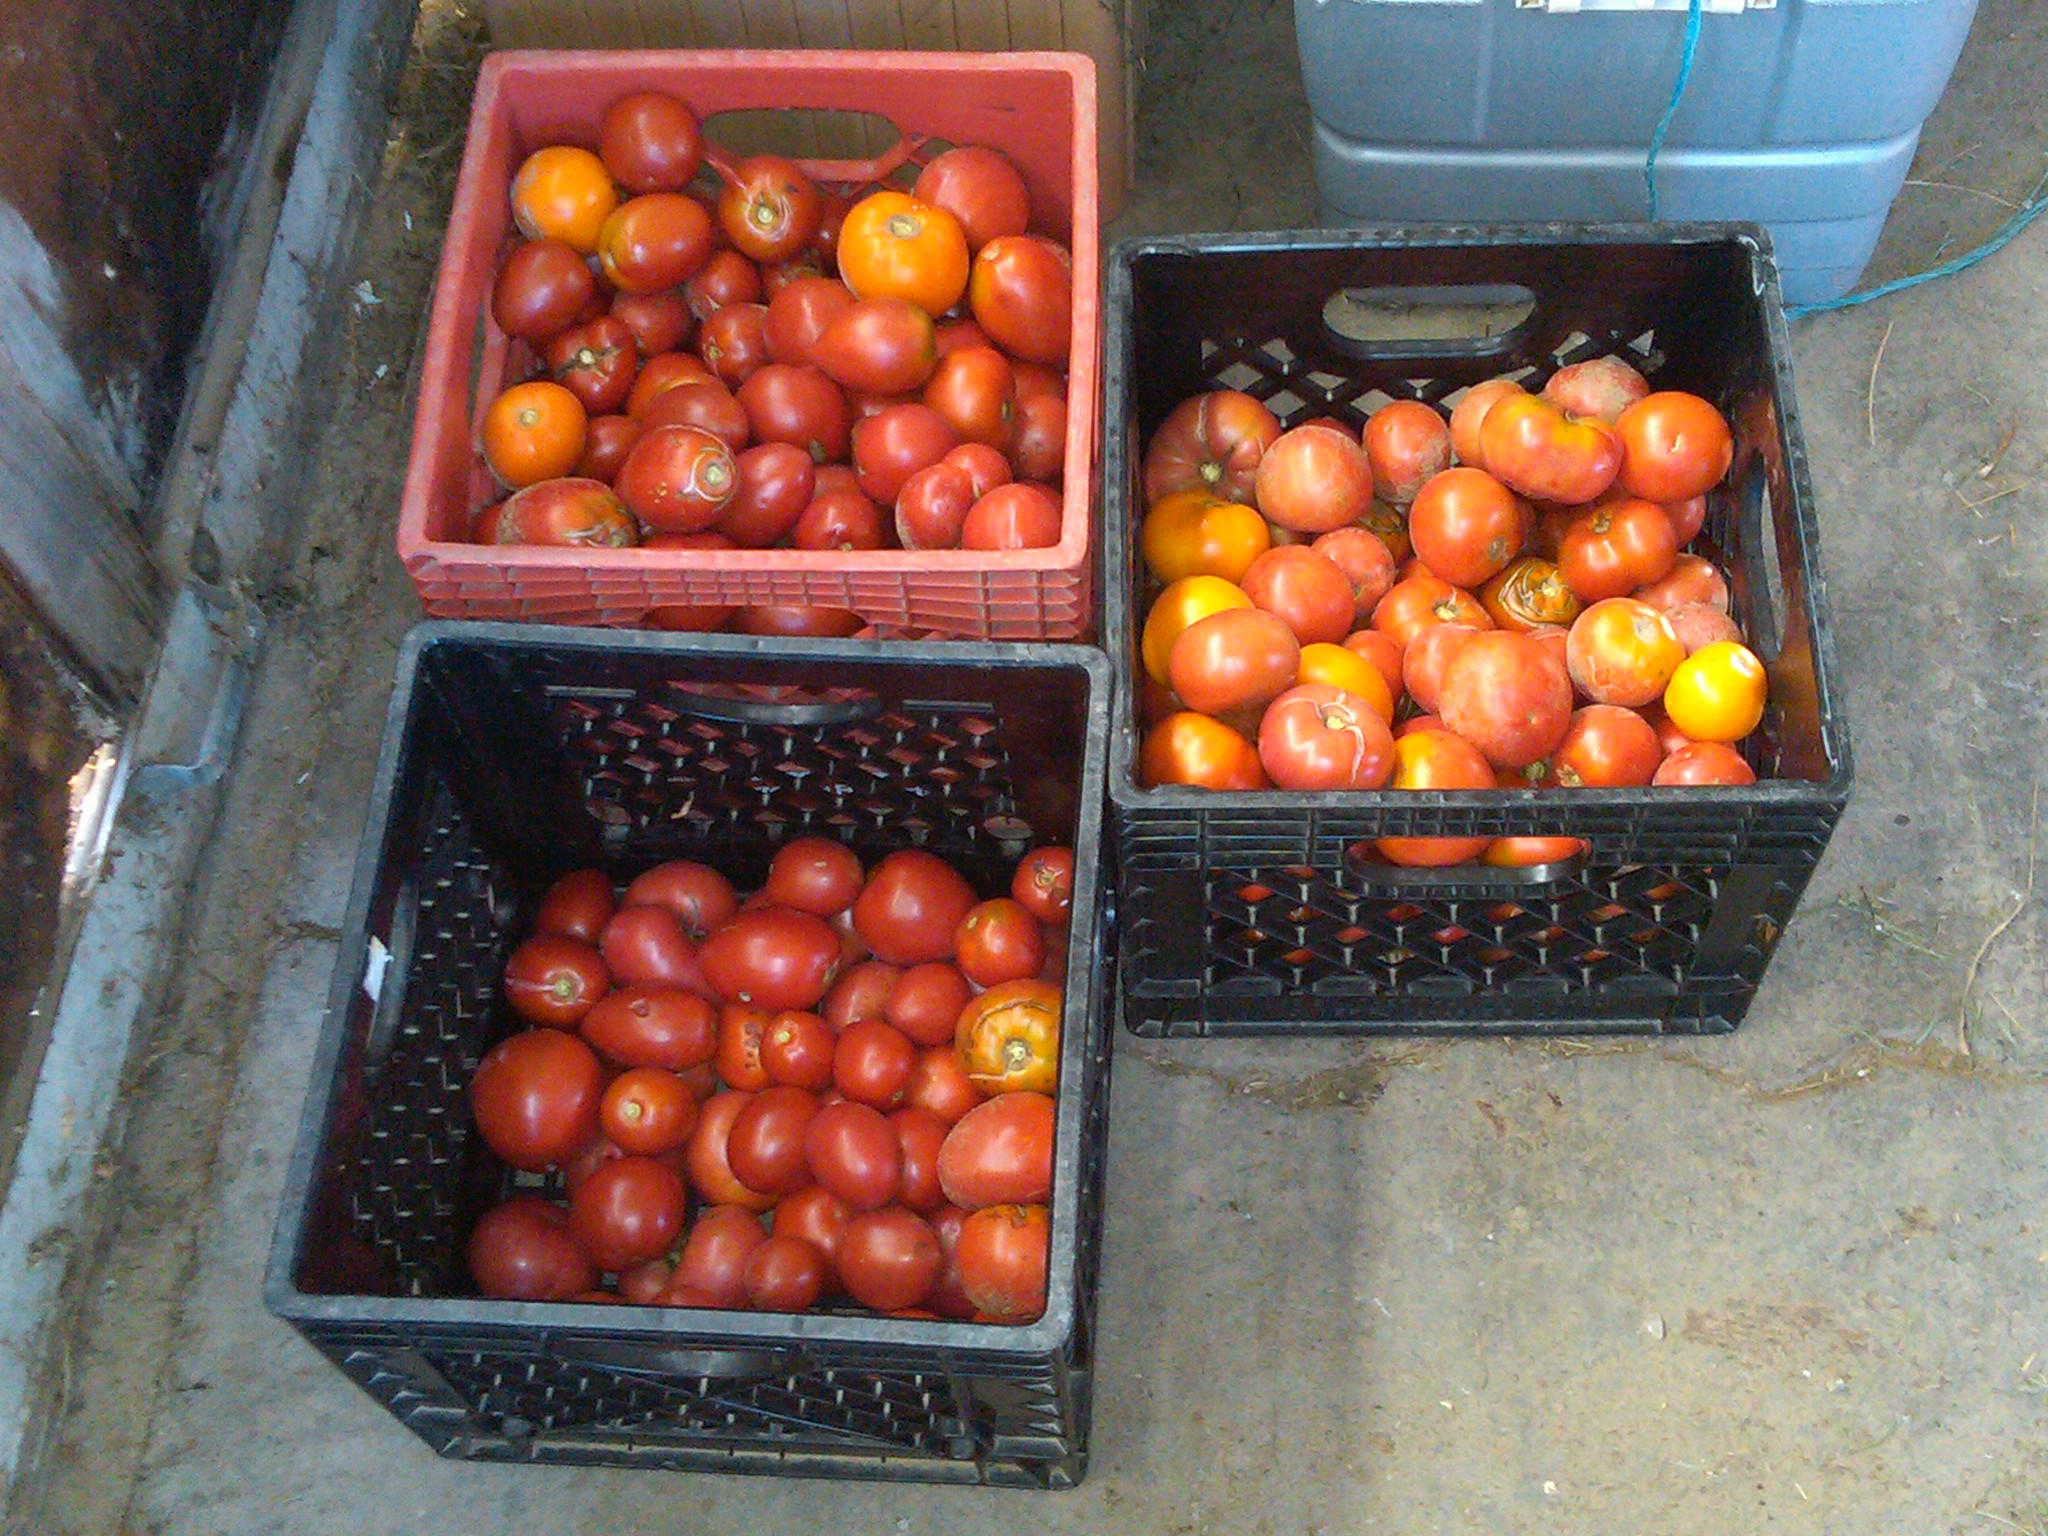
Despite the drought last year, we were blessed with a bountiful harvest – including tomatoes. 🙂
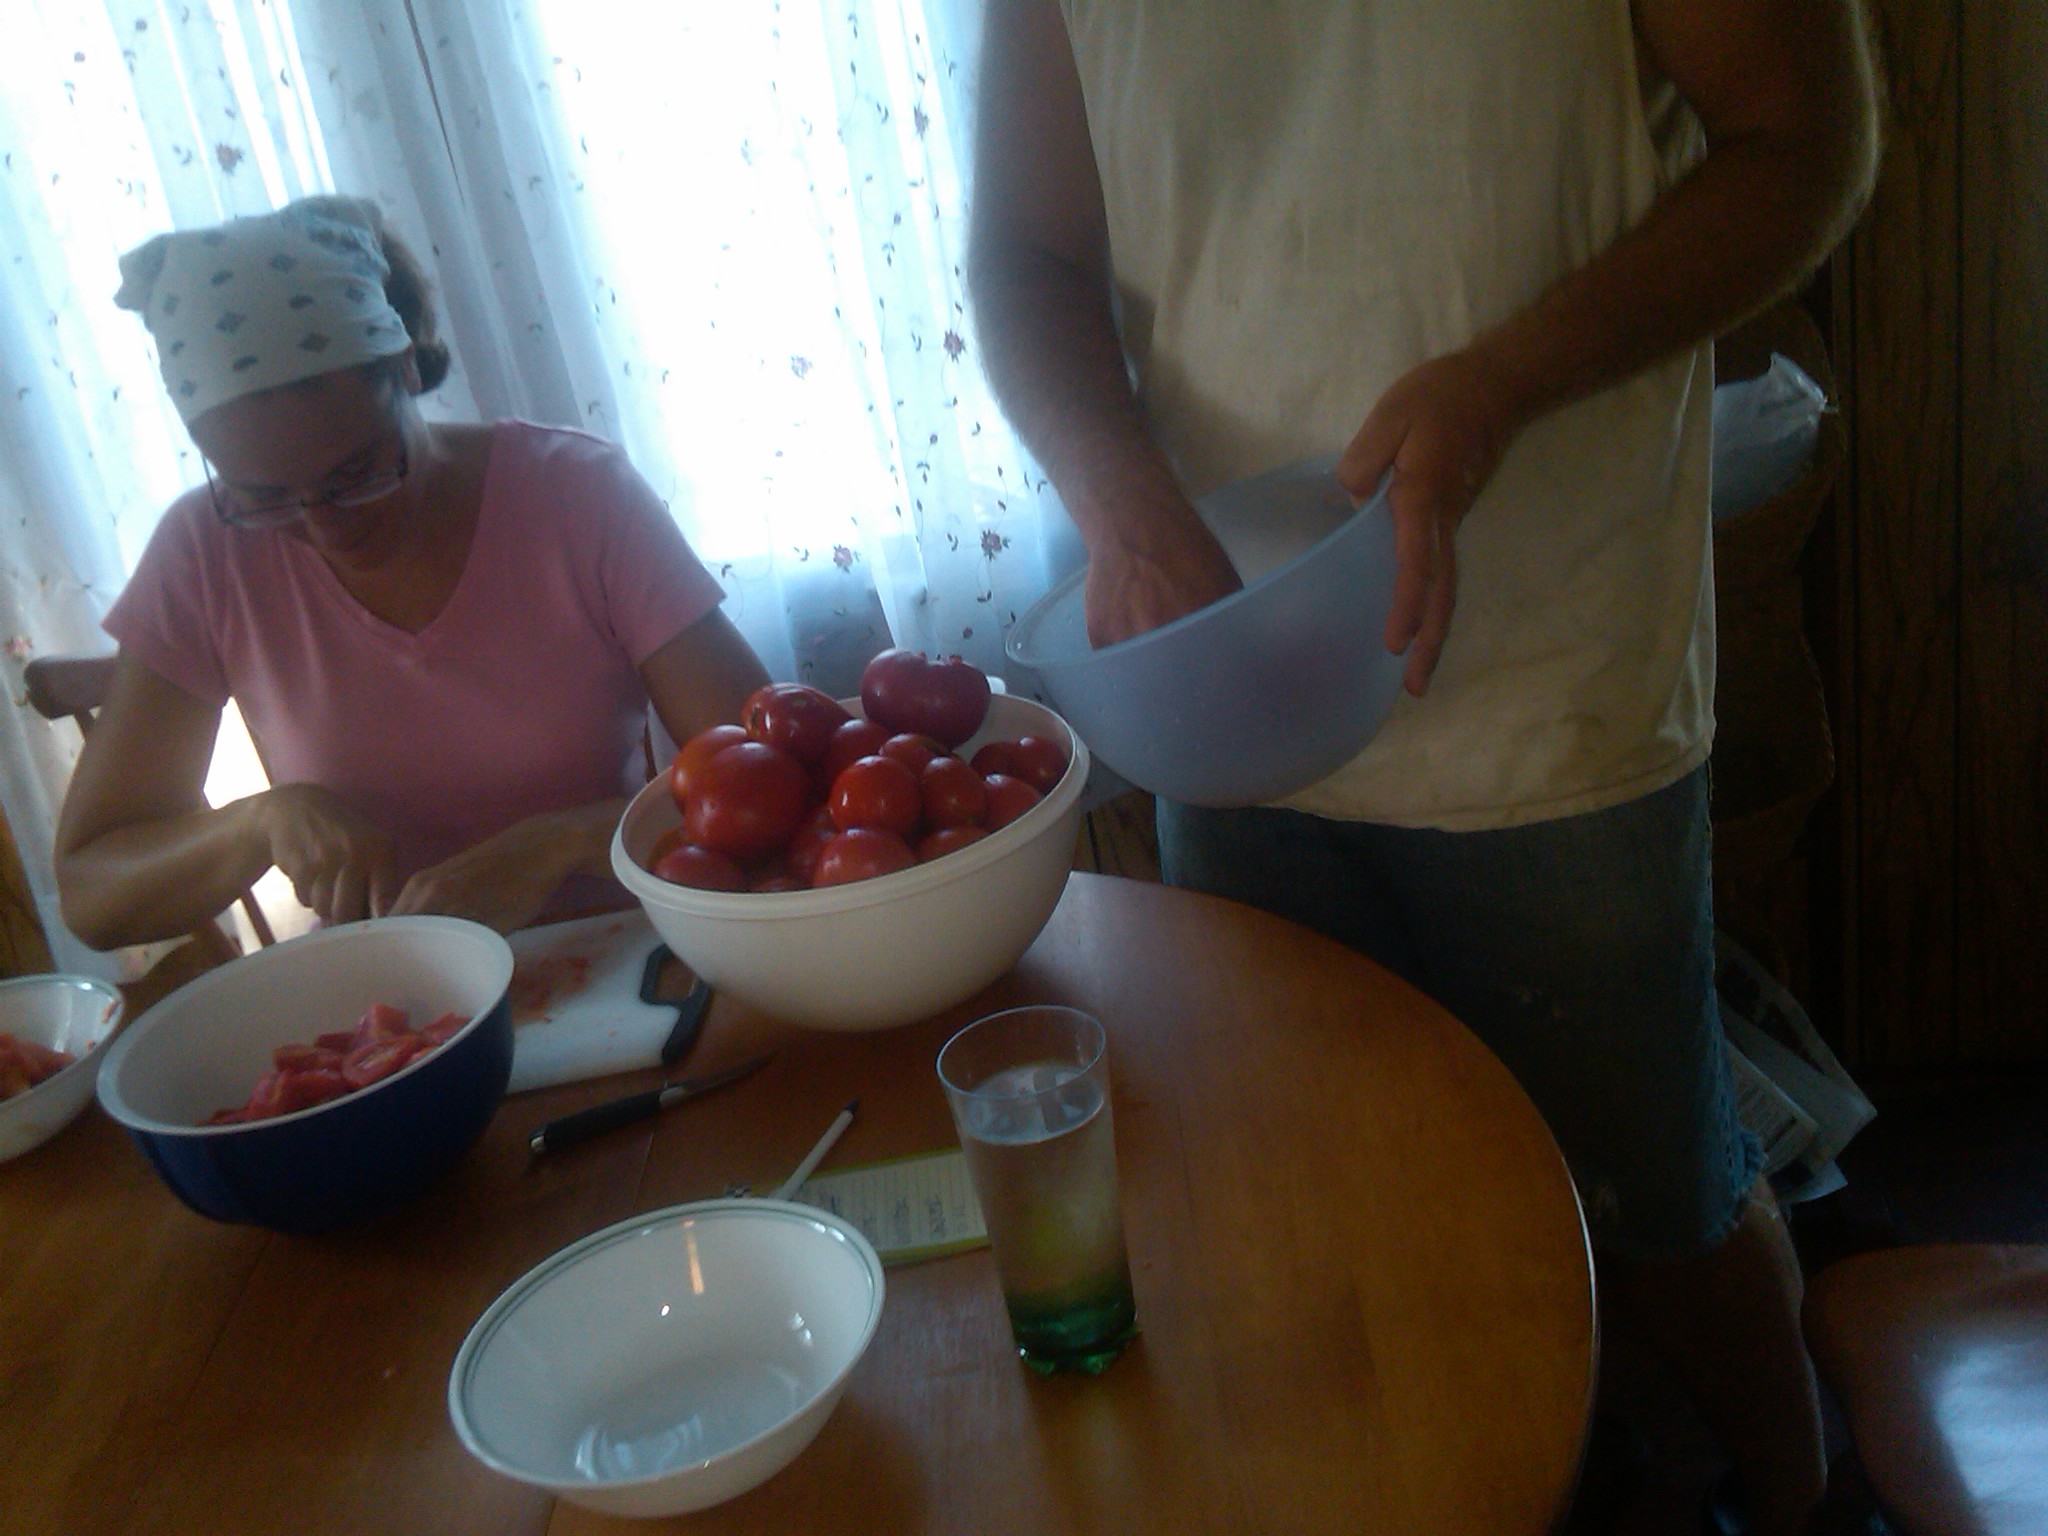
Here’s a snapshot of what we do with our maters. It is a true family effort – or I don’t know how I could do all.
When we first started doing this, I was COMPLETELY AMAZED at how many tomatoes it takes to create the same amount of tomato based products we used to buy from the store. We realized that we COULD NOT grow enough to provide the same “loot” in our pantry for one year. Because of that realization, we’ve scaled back on how much of it we eat, and we do our best to find healthier tomato sauces that we buy limited quantities of for our homemade pizzas. Thus reducing the amount of money we need to spend off-farm. This way, our energy goes toward the less time-consuming efforts like water bath canning whole tomatoes, juice, and our version of v(egetable)-8. We do make several canners full of tomato sauce, but can them in pints & they are treated like “gold”, lol. (I think last season furnished 10 pints for our pantry…) Normally, we focus on canning the whole tomatoes + juice for both ourselves and Mike’s parents, and his mom cooks down & cans the tomato sauce for all of us. (Group efforts are soooo nice!) LOTS of hours of stirring while it cooks down to the desired thickness, makes me feel a little protective of tomato sauce…and being SUPER conscious of not wasting it. These are good lessons that we are thankful to have learned. 🙂
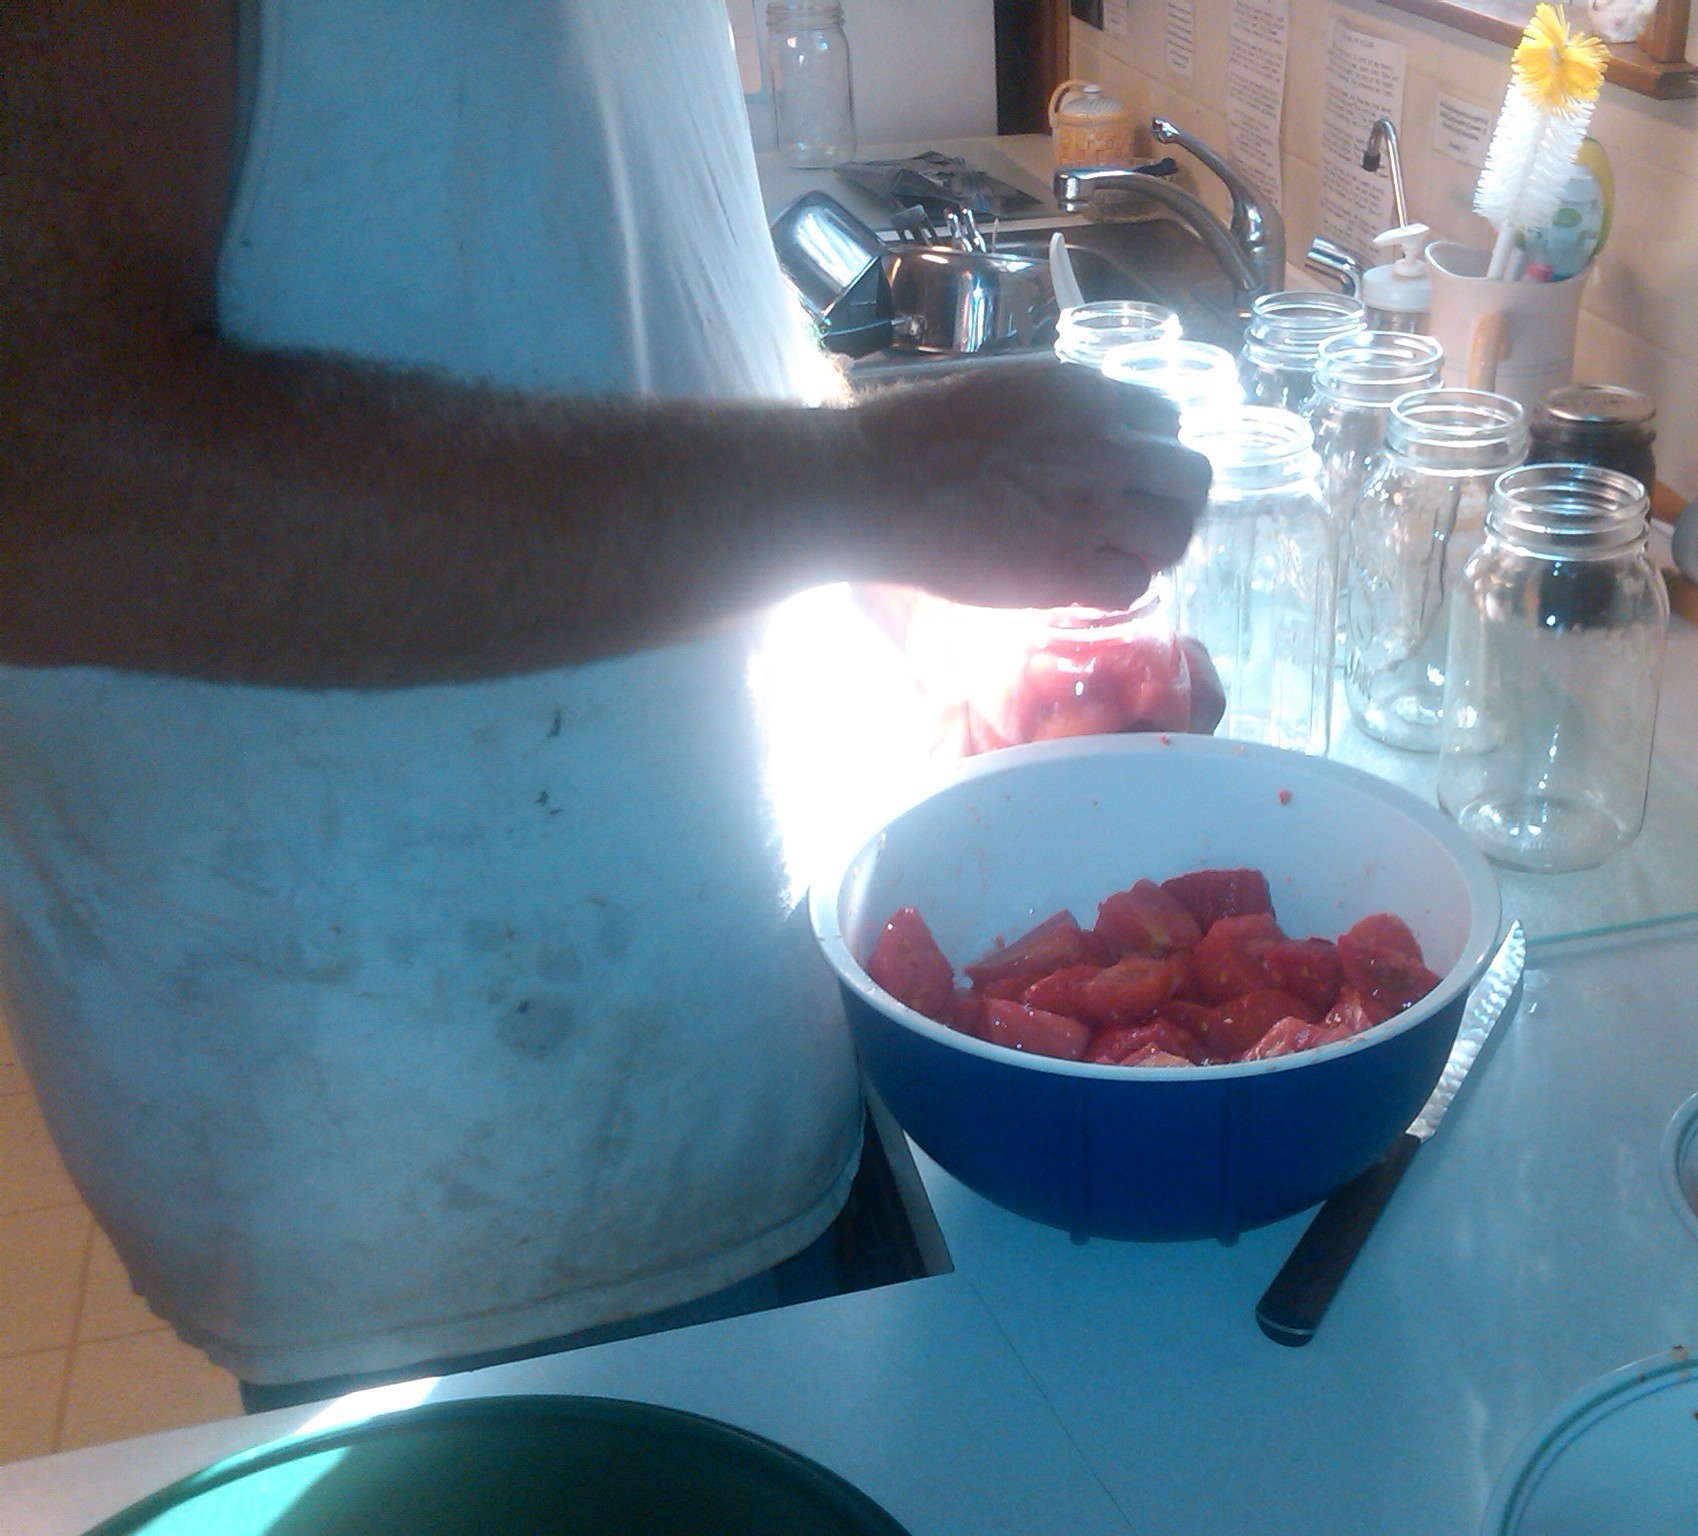
The biggest bulk of our maters are canned as whole tomatoes. (We are big soup/stew eaters, and we like a marinara sauce once in awhile, too. Whole tomatoes are perfect for those recipes.) Once the maters have been washed, we drop them in boiling water until the skin breaks – usually not more than one minute. Then we plunge them into ice water for quick cooling. The boys like this job & usually bicker over whose turn it is.

My “station” is usually as the “skinner/chunker”. None of my boys like the messiness of this part, so by default, the job is mine. I don’t mind, though…my hands might be yucky, but I can still bark orders pretty good, lol… 🙂

Mike is usually the “floater” and “jar-stufferer”. 🙂


Last season we canned 48 quarts of whole tomatoes for our pantry and about half that for mom & dad next door. 🙂


When we are making juice/sauce & our v(egetable)-8, we don’t remove the skins. Just chunk the veggies so they fit into the juice attachment for our mixer, and it separates the seeds/skins for us. This is another task the boys don’t mind doing. 🙂
Last season we canned 8 quarts of our v(egetable)-8 juice and 22 quarts of tomato juice for ourselves + some for next door.
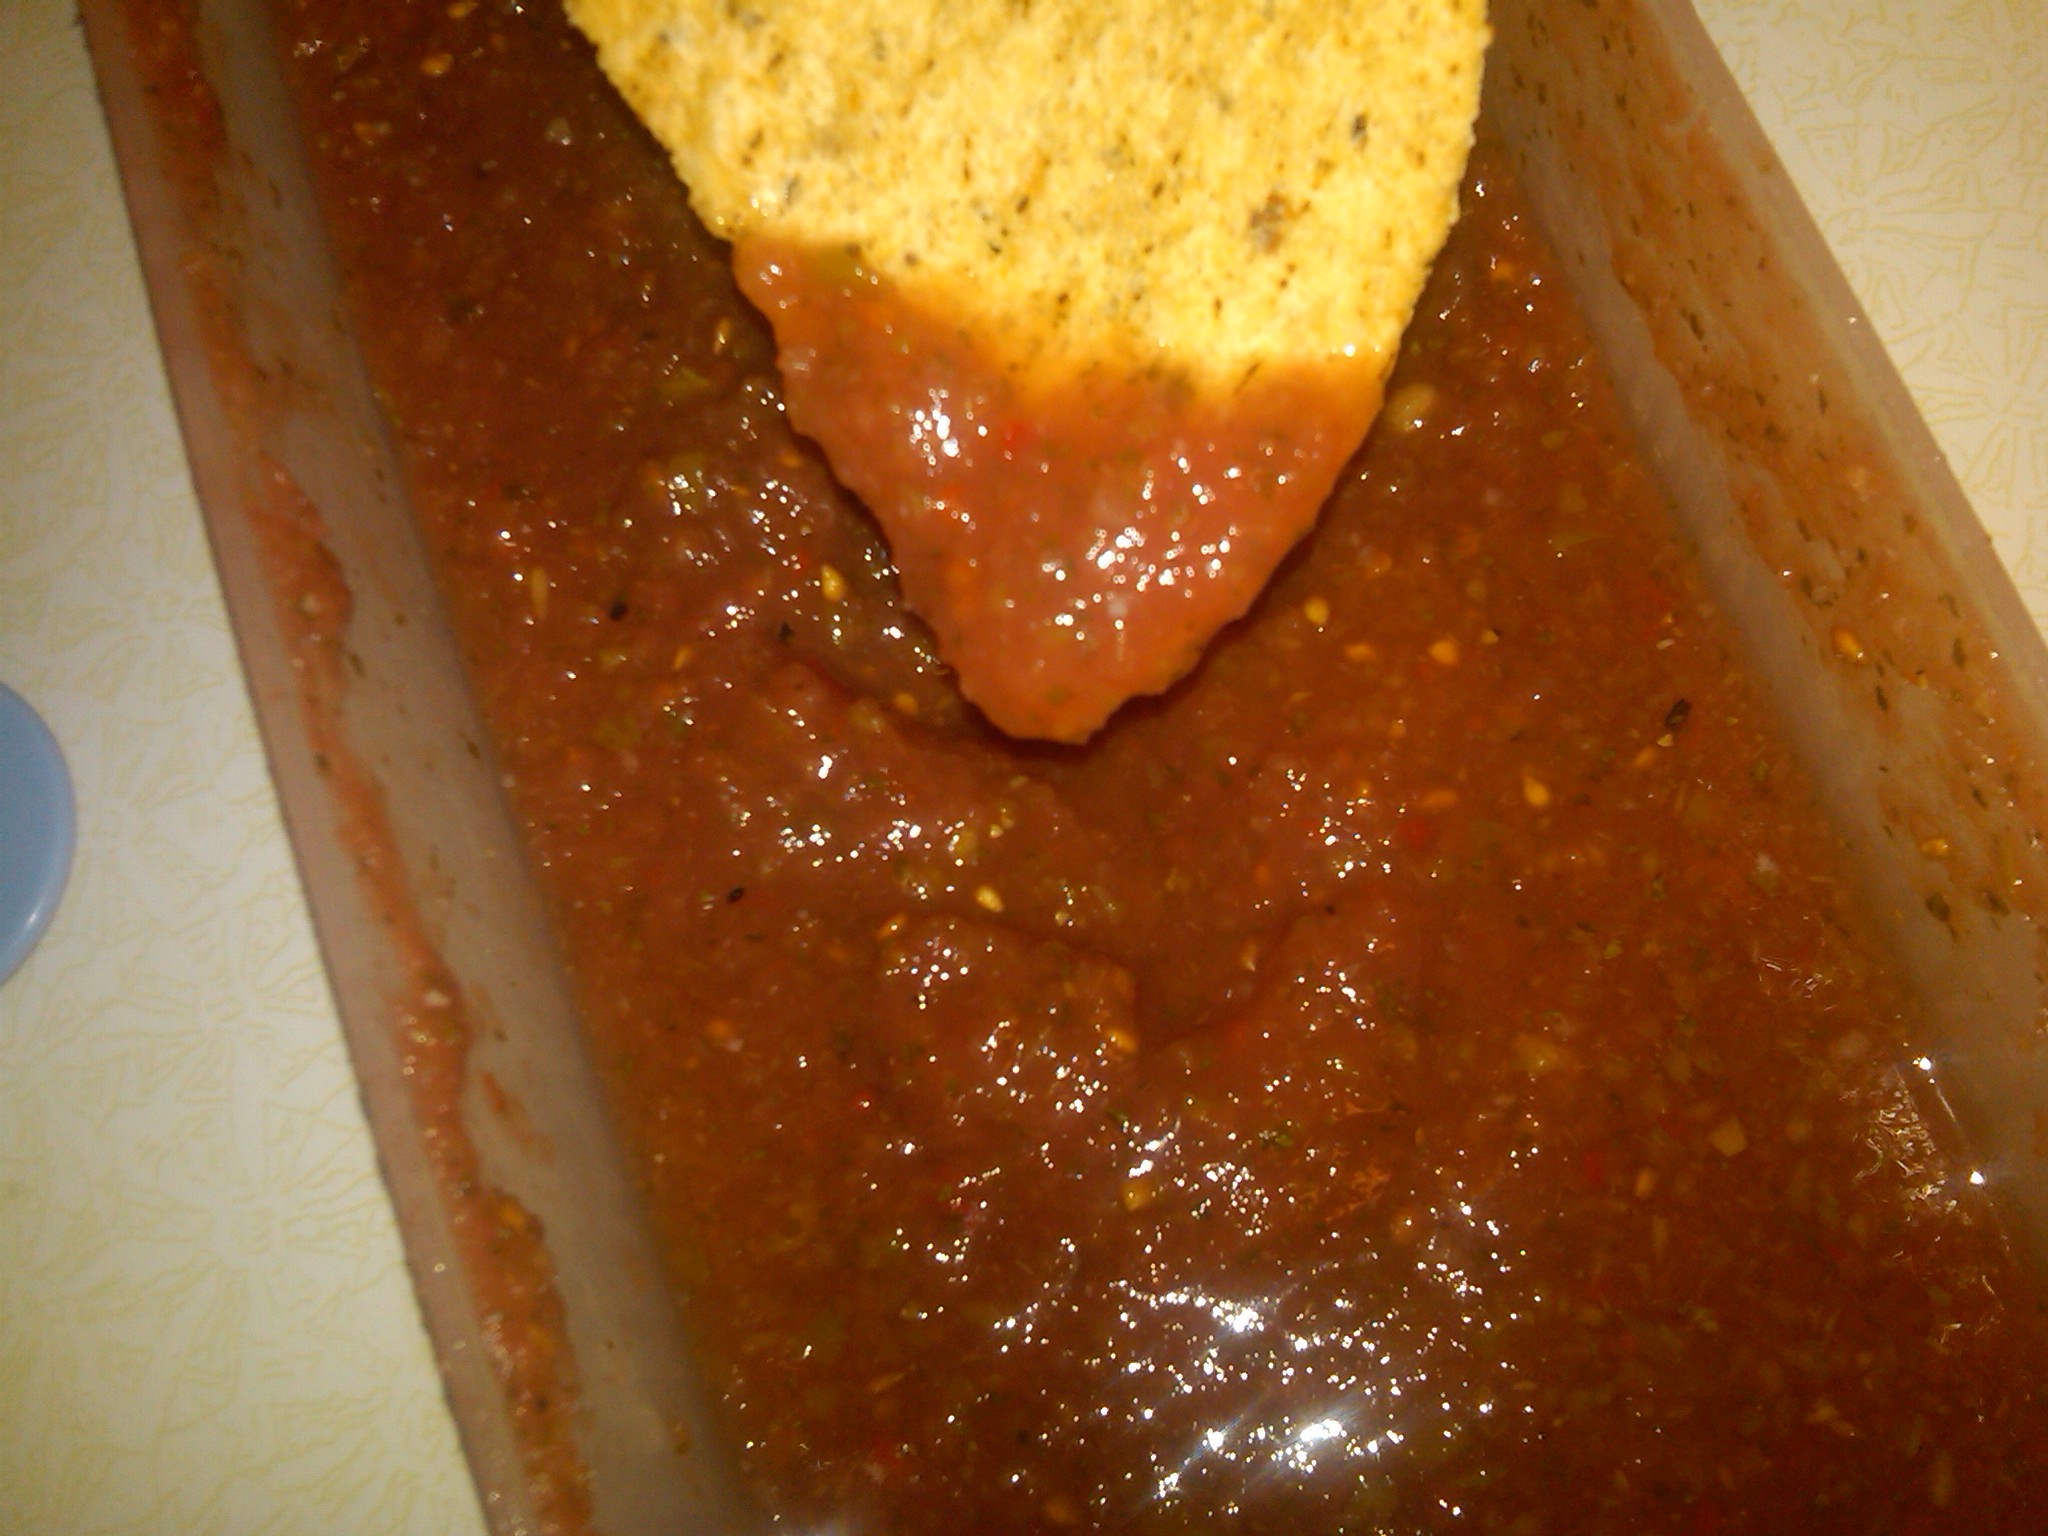
We also make several large batches of salsa & freeze it in 1 cup portions. Most of it gets devoured eaten fresh, but I think we managed to freeze 15 cups or so. 🙂
