Category Archives: Recipes

Whey soup recipe

I mentioned last year in my ricotta cheese post, that I’d post our recipe for “whey soup” sometime. Guess today’s the day! 🙂

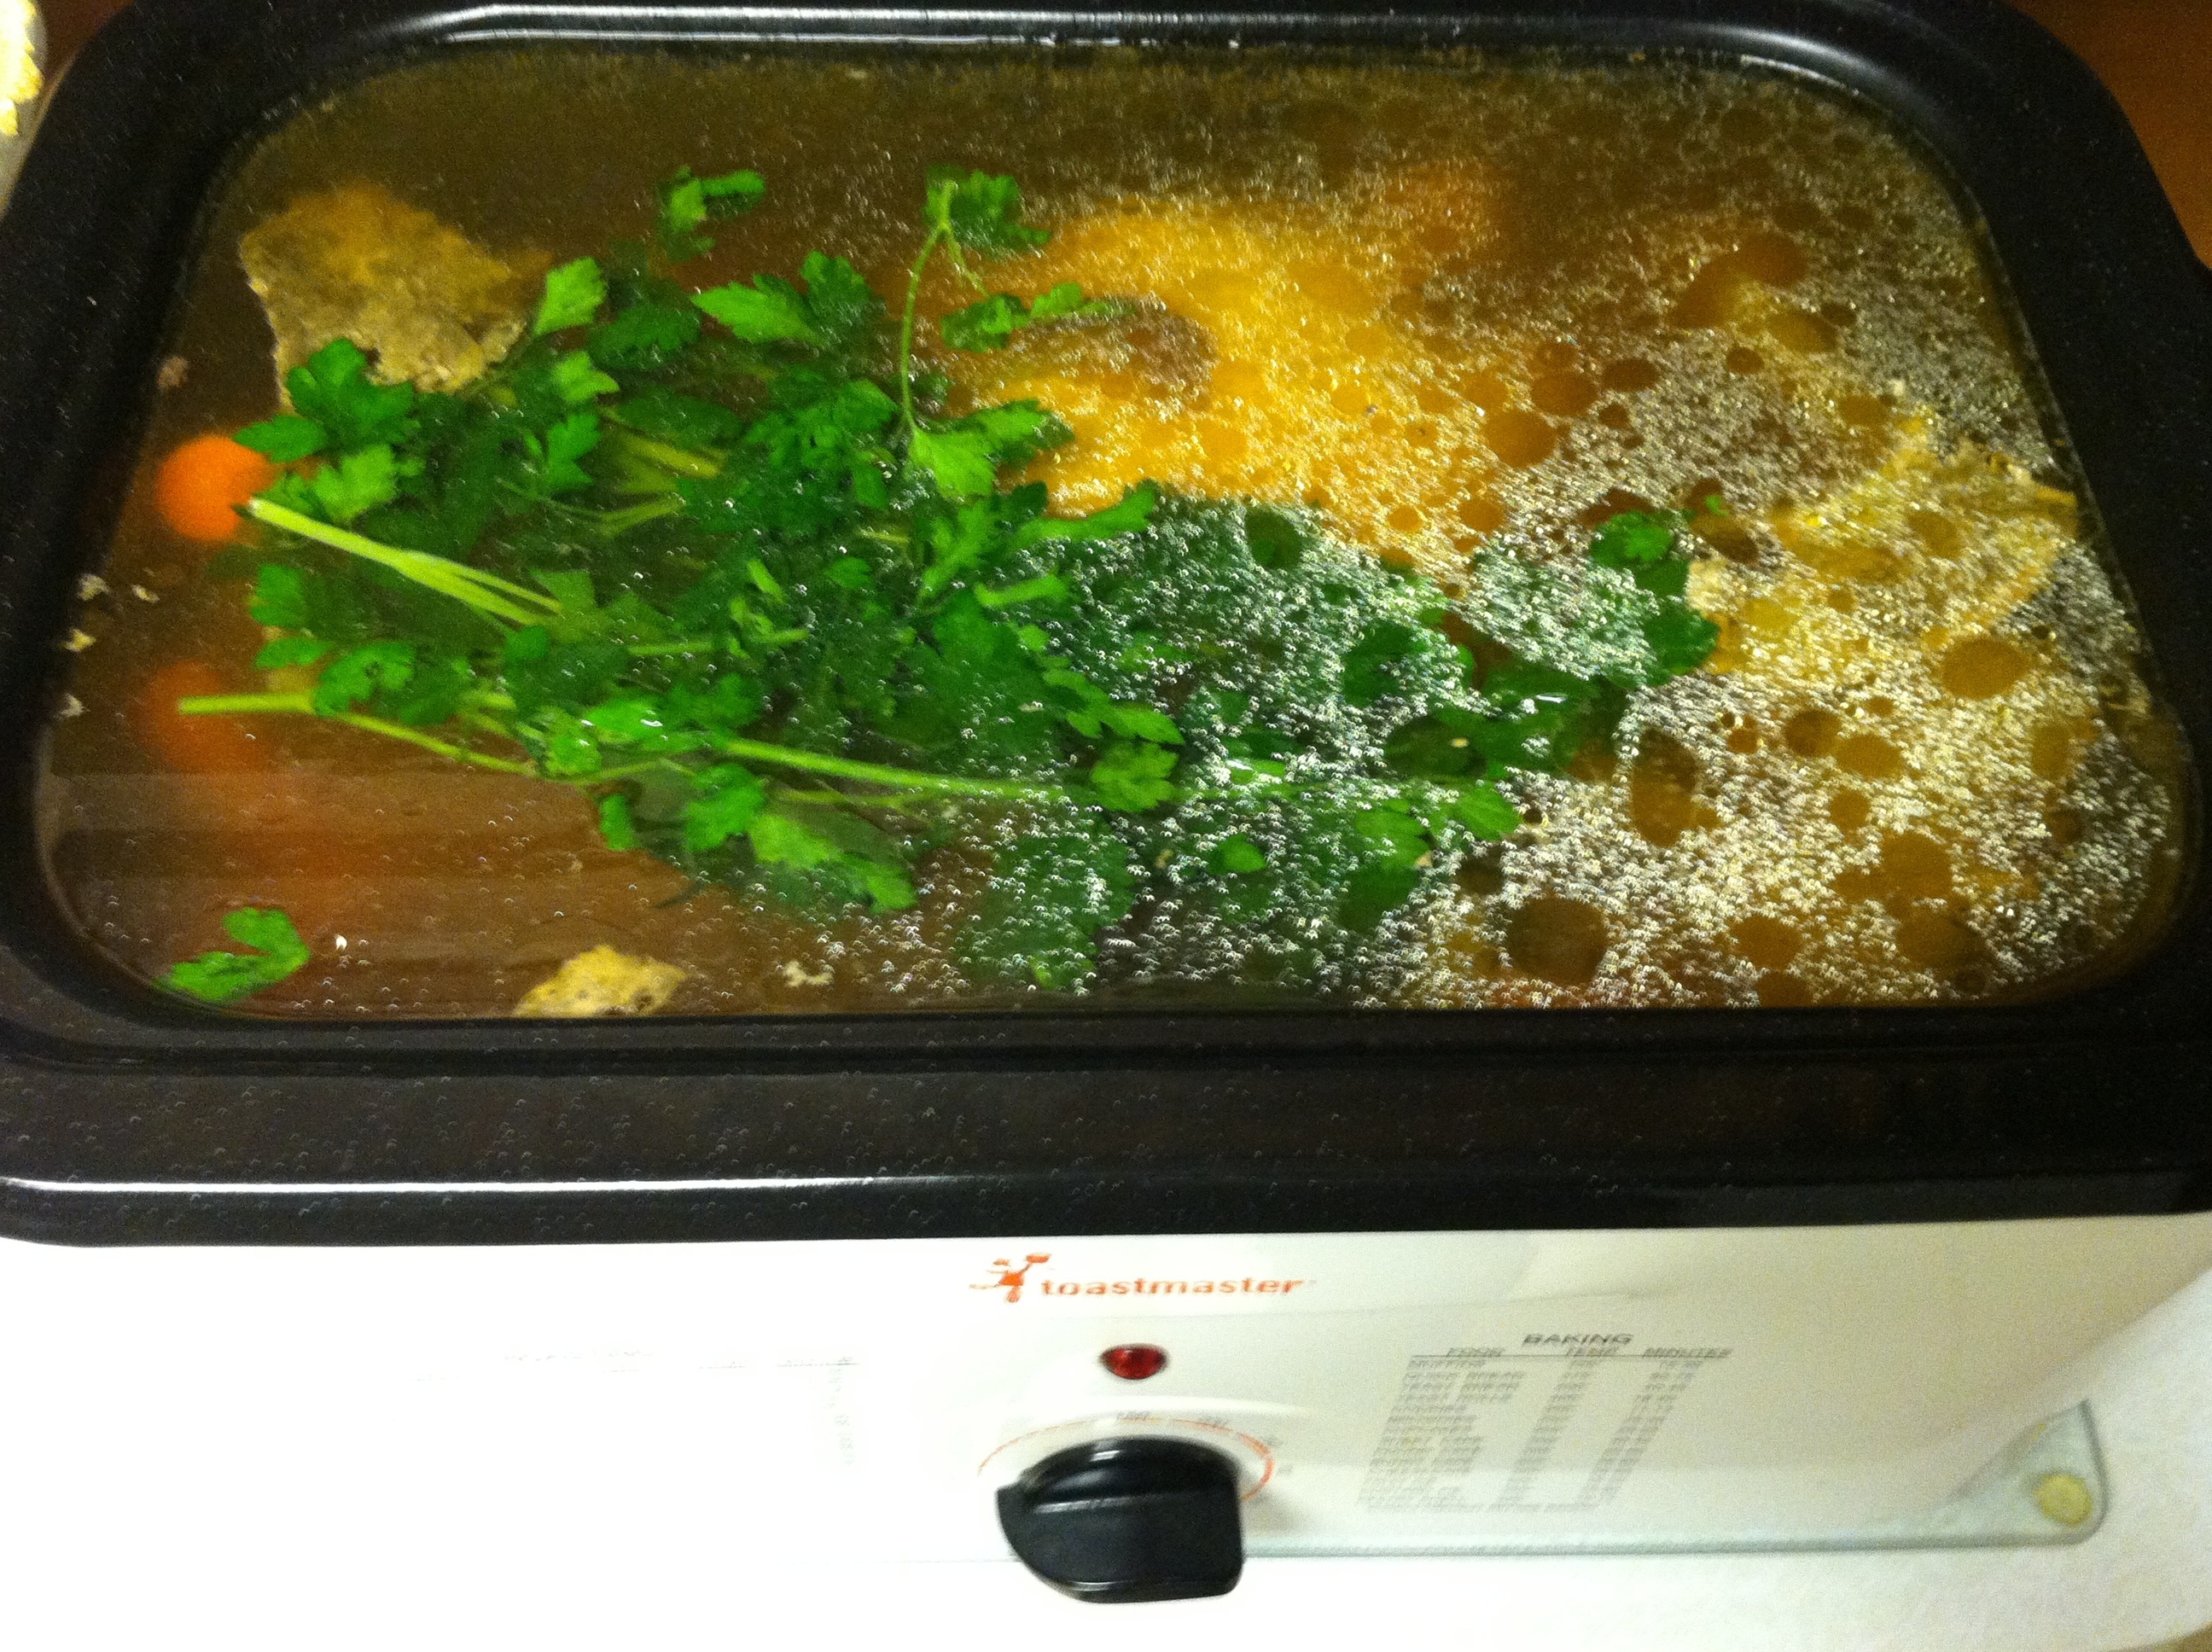
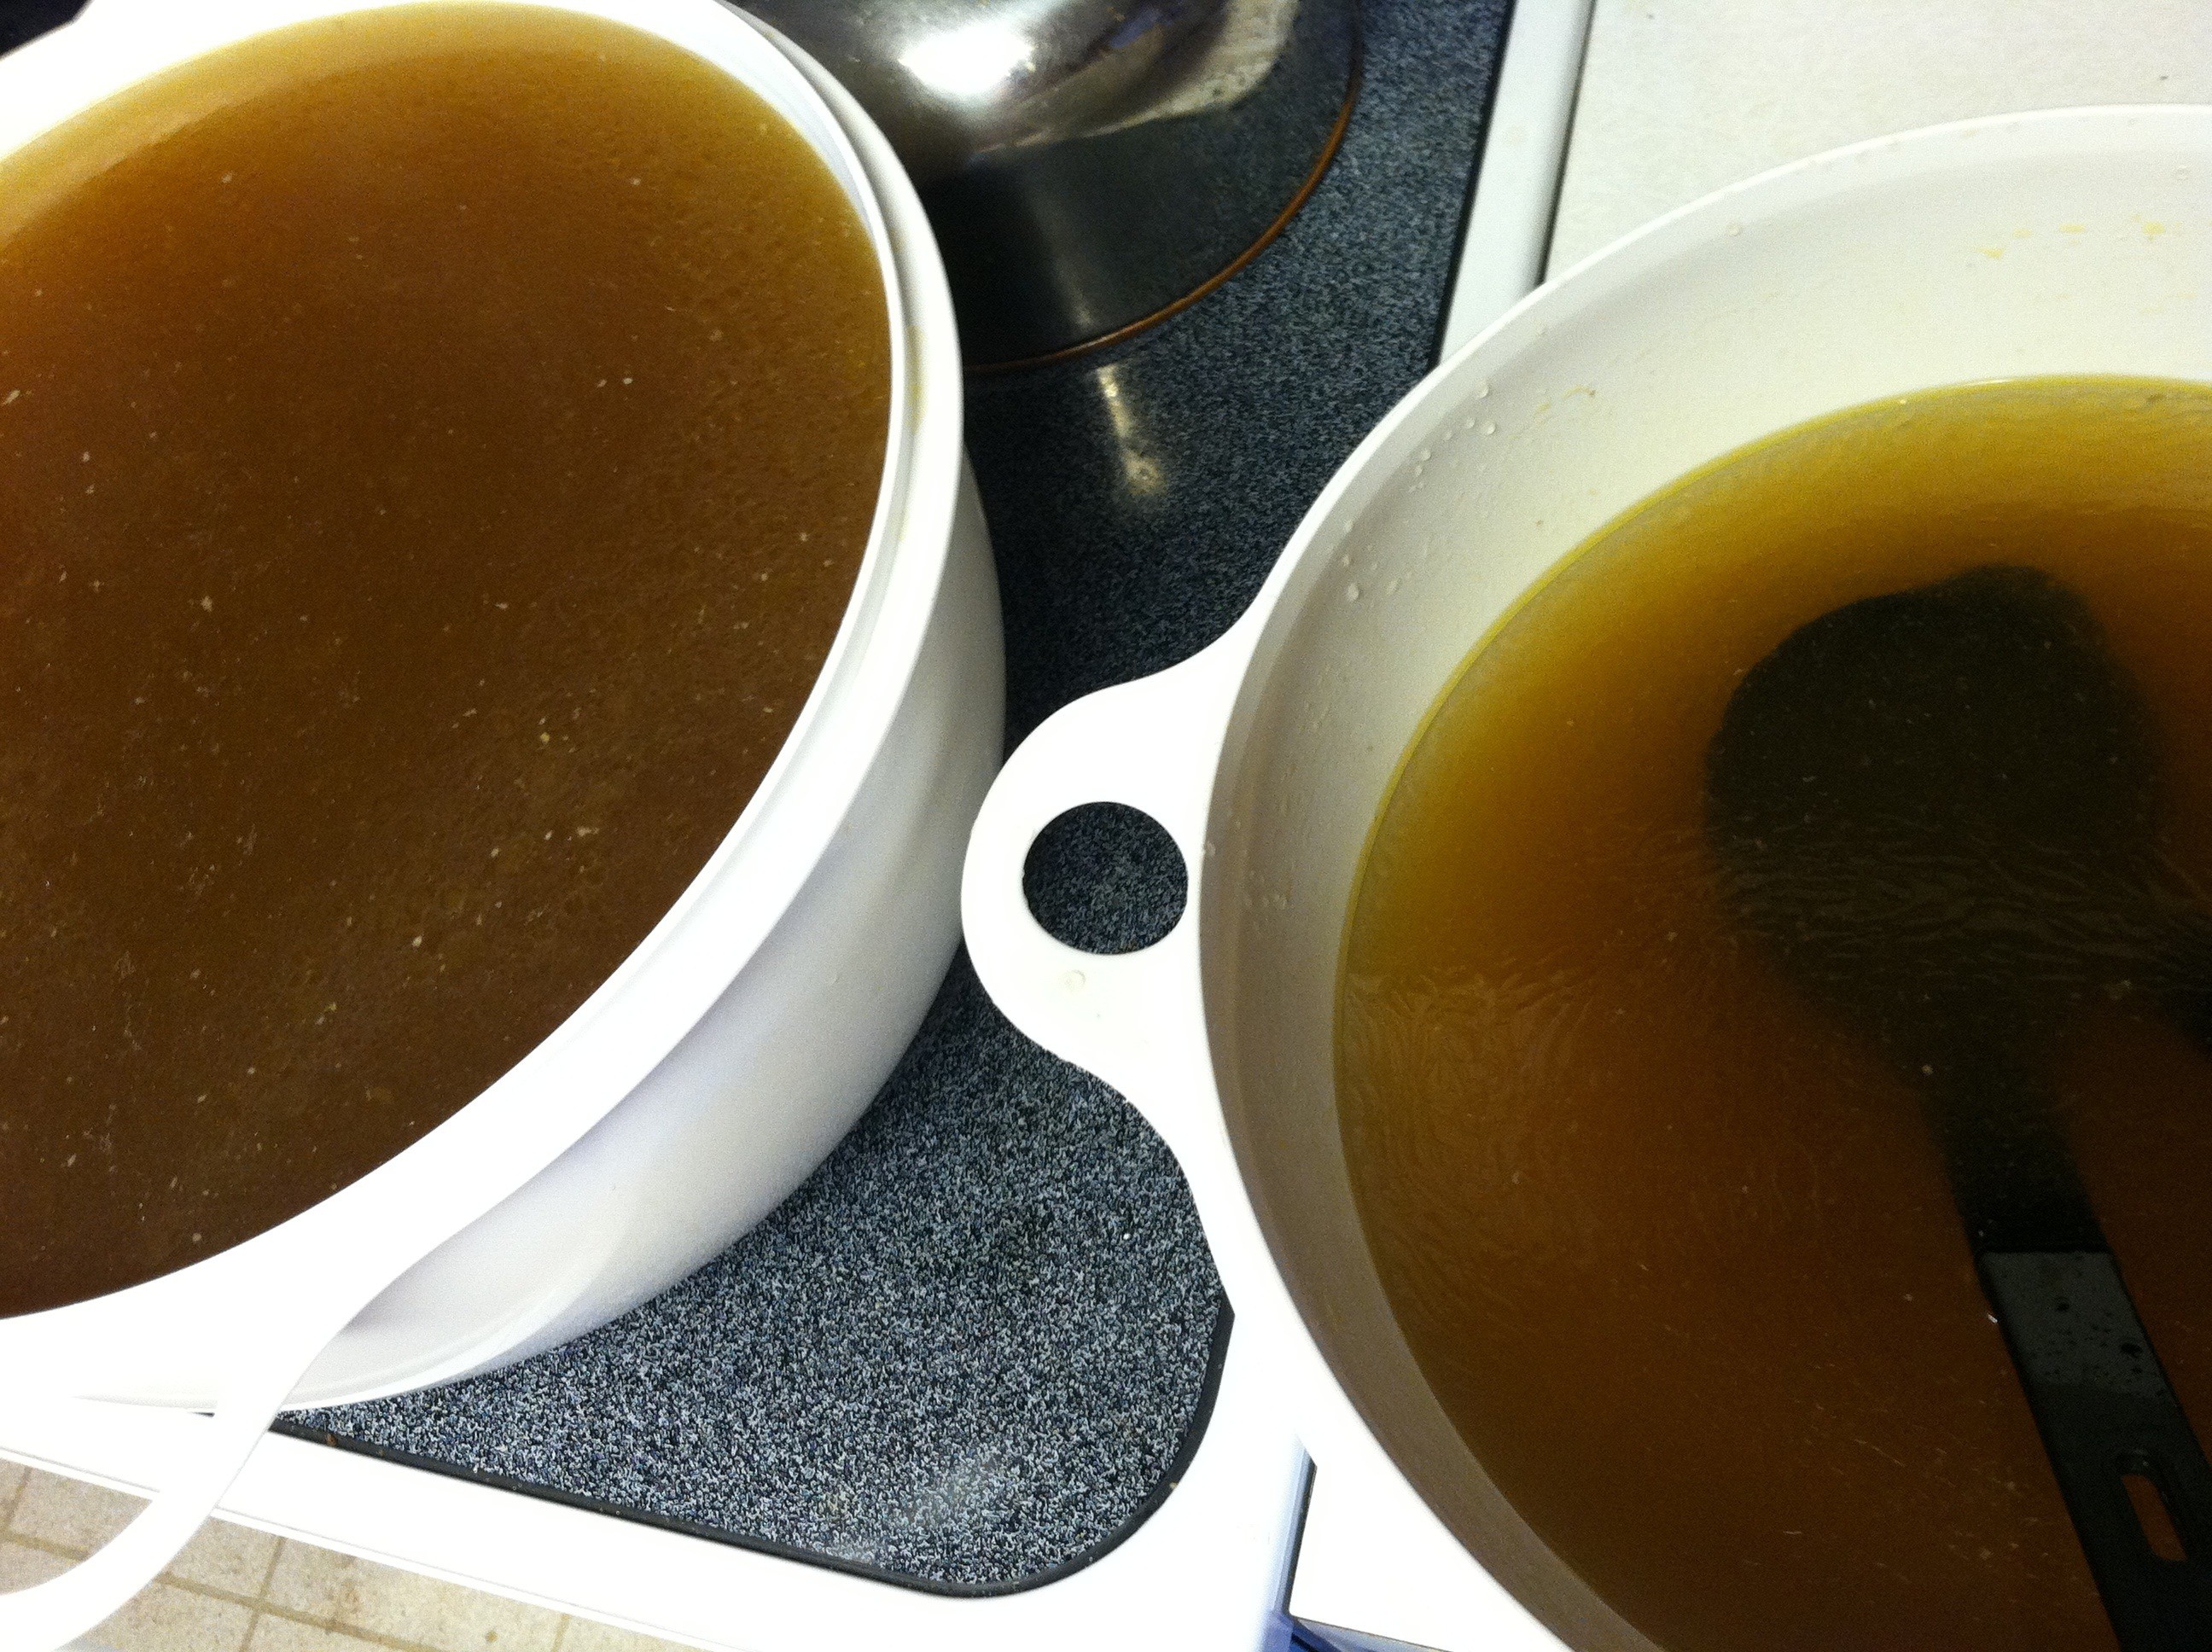
1 quart of homemade chicken or beef bone broth
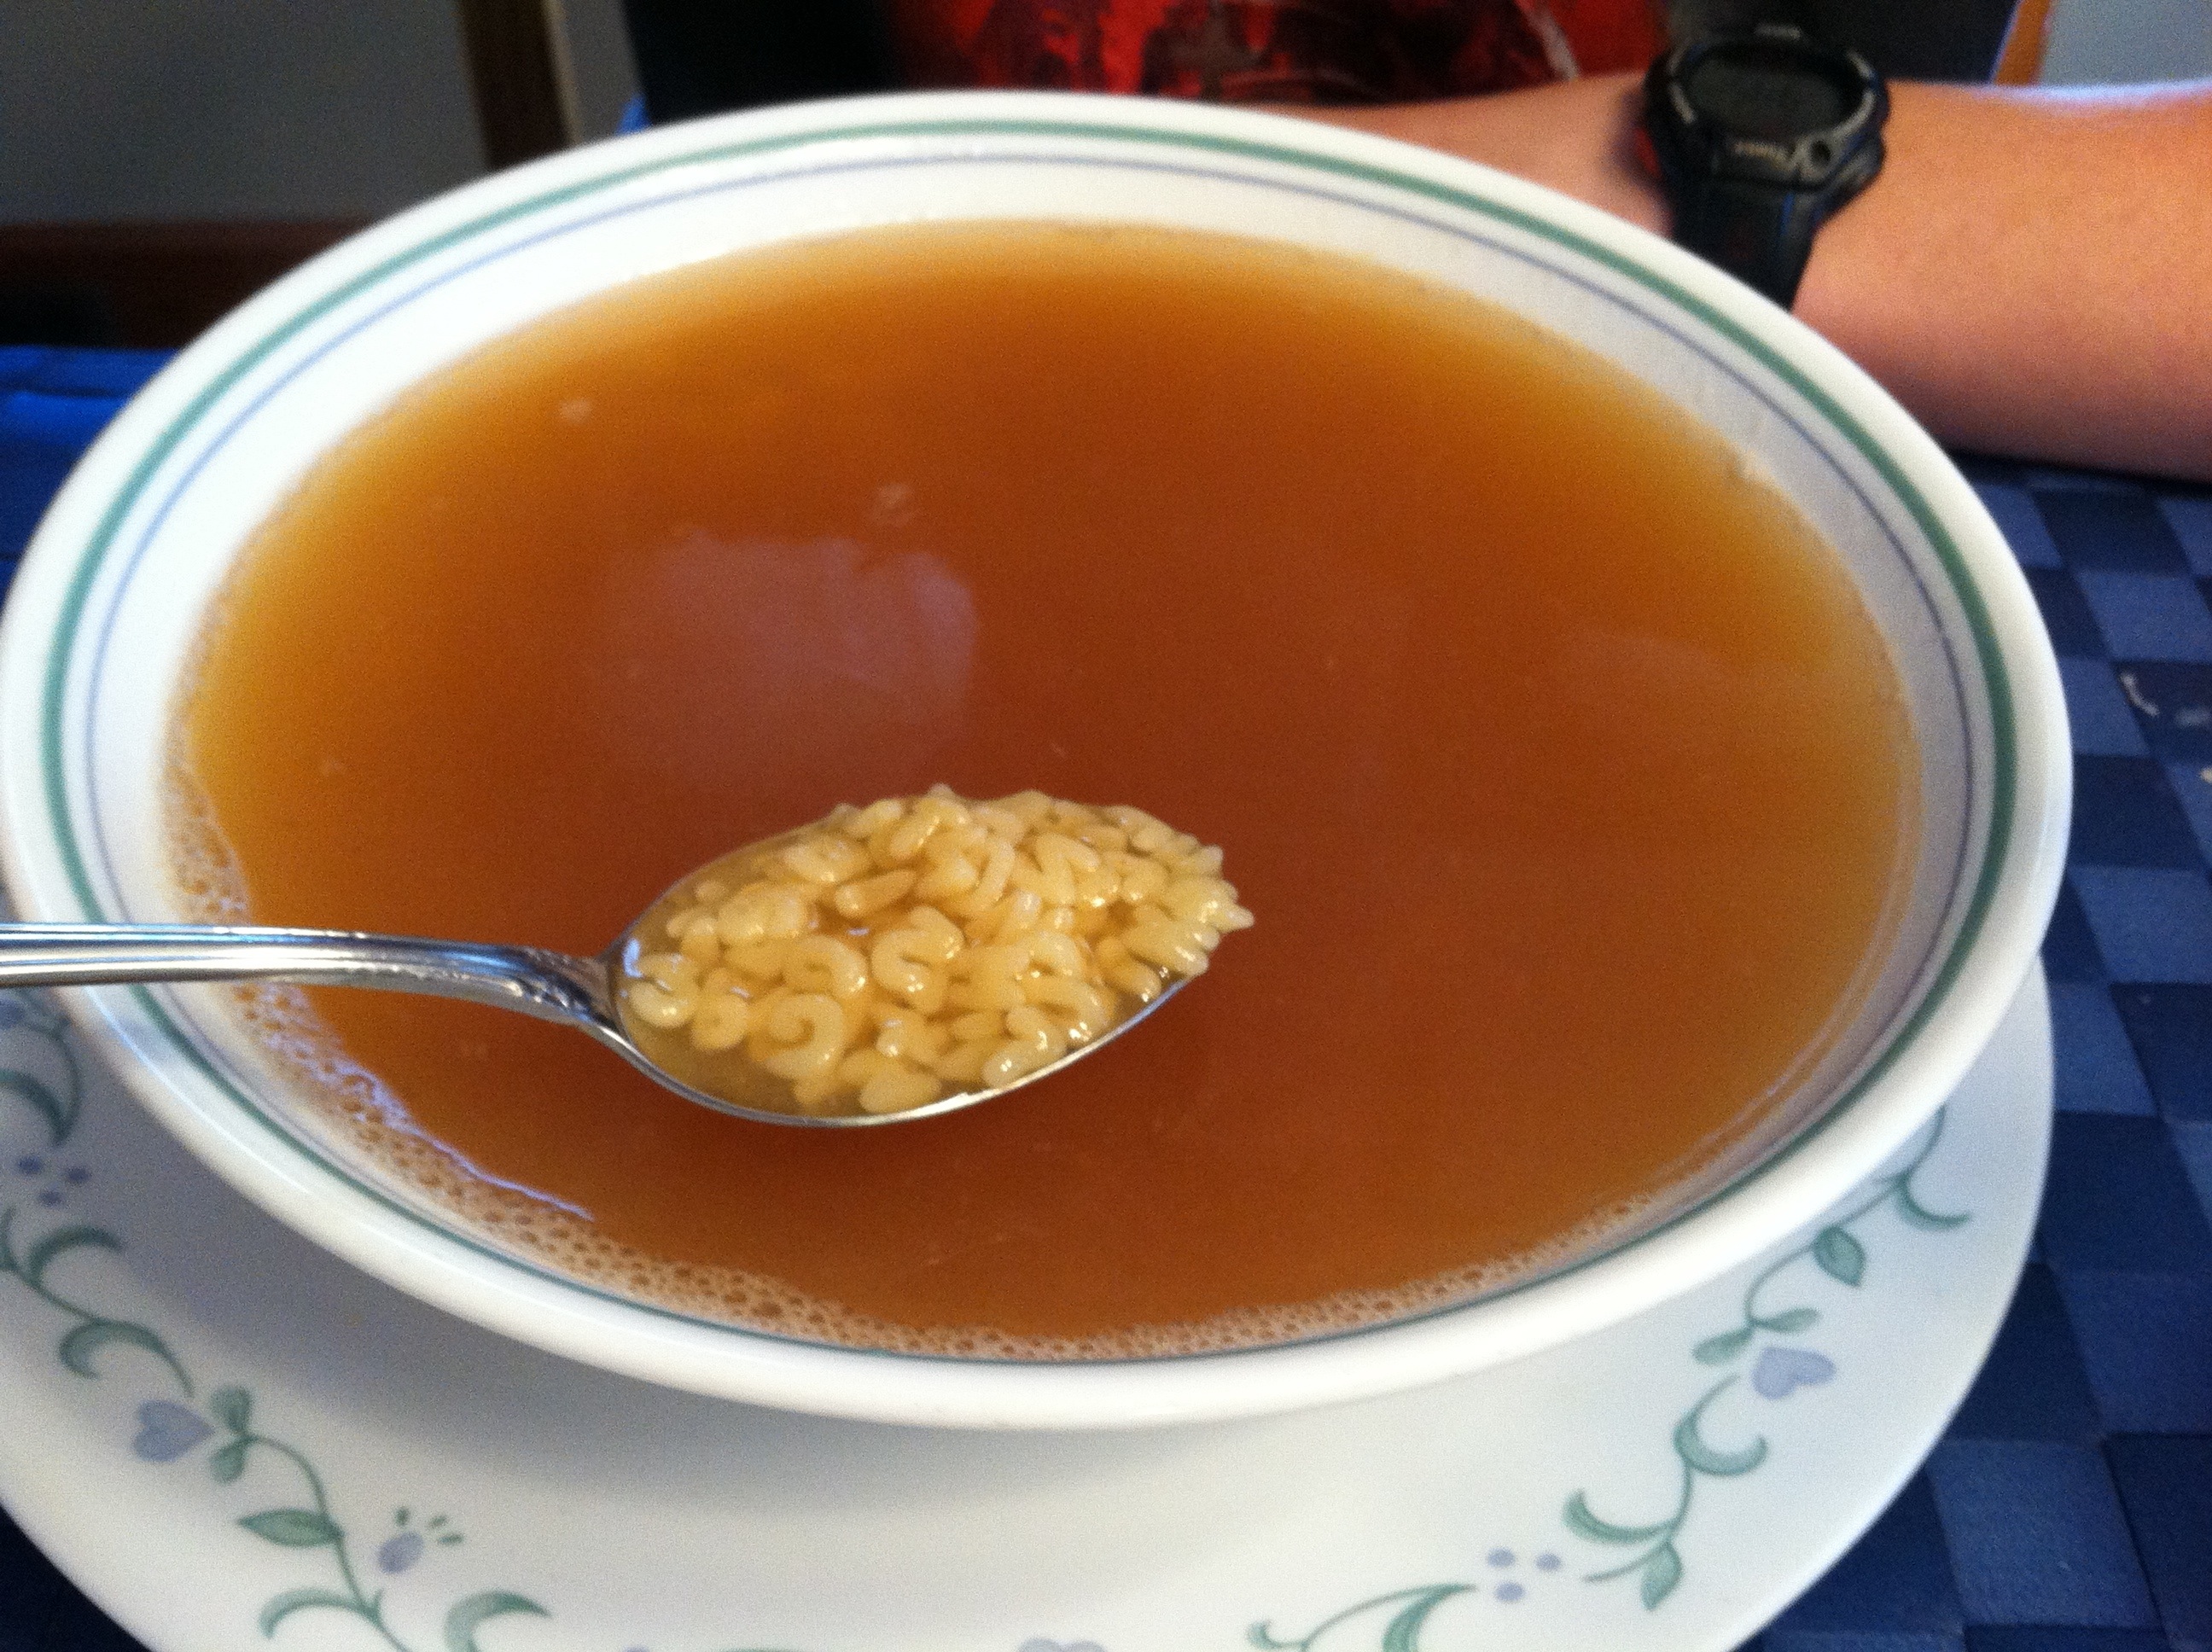
1/4 cup of noodles of choice (optional)
1t sea salt

[I’m adding these pics a day later than the original post was written. Michael just made a half recipe today, if you are noticing the smaller portion – fyi]

20130228-094937.jpg

Heat to simmer and until noodles are fully cooked. Add 1 cup of whey – but don’t boil.

20130228-095132.jpg

Since we normally use frozen whey “ice-cubes”, I turn my burner off, but keep my pan on the burner… Keep stirring until the whey has dissolved. (If necessary, heat it a bit until it’s to your desired eating temp.) That’s it! 🙂

20130228-095312.jpg

This serves a generous 2 bowls of soup… Or 1 huge bowl for Michael, lol. He’d eat it everyday if we let him. I gotta ration some things around here or I’d never have time to leave my kitchen! 🙂

20130228-095506.jpg

Such a great soup if you are feeling under-the-weather! A great immunity booster and wonderful healing food… 🙂

Frozen whipped cream dollops

Since we rely on our frozen dairy to get us through the winter, we don’t have the luxury of “fresh cream” like we do when we are milking. [Click here for more details about our seasonal dairy.]

I. Love. Fresh. Cream… Especially in my two cups of coffee each morning. 🙂

I was excited when I stumbled on the idea of whipping fresh cream and then freezing dollops of it on parchment paper, in my internet searching last fall. I tried it, and it has been a success! Sadly, I didn’t freeze enough for EVERY cup of coffee this winter, but it will definitely be my goal to freeze enough for next year! 🙂

20130218-111031.jpg

20130218-111159.jpg

Frozen dairy

We are a seasonal dairy. At about the second week of December, we dry our herd up & they are on “vacation” – preparing to have their calves beginning mid-March. They “chill” in a nice big field (Mordor), where there are hills & trees for shelter.

We enjoy the break, too. A time to really buckle down on our homeschooling and attempt to catch up on all the chores we let slack during the milking season. 🙂

During this “dry” season, we obviously don’t have “fresh” milk. To compensate for that, we prepare for our “dry period” during the previous “fresh period”…frozen milk, butter, cottage & ricotta cheeses, and NEW this year: frozen whipped cream dollops! With our thawed frozen dairy, we still make daily kefir & weekly yogurt.

There have been MANY learning curves in freezing our milk. One of the biggest lessons was the importance of not allowing the cream to separate from the milk before it’s frozen. On the days I am freezing milk, I set a timer to go off every hour so I remember to shake every jug & rotate them in our freezers. It is a burden at first, but once I’m in “my routine”, it’s not that big a deal. Normally, it’s 4-6 hours of shaking, because we don’t do super-huge batches at once. 🙂

In our opinion, thawed frozen milk (if shaken properly) does not taste much different than fresh. It is not exactly the same, but a change we are ok with so we can have our break, and not have to purchase any dairy off-farm. 🙂

We place the bull in with the cows in June for about 6-8 weeks. This puts our girls’ due dates to be about mid-March to the beginning of May. Our goal is to be able to begin weekly pickups for our herd-share owners by the beginning of April. It’s a chaotic “rush” as we jolt into calving & baseball season at the same time, but with deliberate, make-ahead meal planning & lots of anticipatory prayer, a very rewarding season! 🙂

Chicken broth yield 2013

20130116-140646.jpg

Last week was beef broth, this week is chicken broth! Both are a scrumptious smell to wake up to – but the boys both think chicken broth smells the best… 🙂

We bought 4 pasture-ranged meat chickens, and are making 4 roasters full of broth. All the meat will be shared between our two houses & we’ll freeze most of it for future soups/casseroles.

Here’s our recipe for each roaster:

One 4-5 pound chicken (whole or pieces).

Add:
3 lg. onions, chunked
1 head organic celery, chunked
8 organic carrots, chunked
4 bay leaves
1/3c raw apple cider vinegar
And fill roaster to top w/ water

Let sit 1 hour (no lid).

Add lid and bring to boil on high heat. Once boiling, lower heat to keep it at a low simmer. We let it simmer 12-18 hours. (May need to add more water towards the end to keep it full.)

I add a bundle of fresh parsley for the last hour of simmering…

20130116-141340.jpg

Allow it to cool for a bit. Strain it. What’s left is a beautiful, healthy, broth! 🙂

We place the broth in large bowls with lids & let them sit a day in the fridge. The next day, it’s easy to remove the fat layer & begin pressure canning the broth.

Our yield is about 12 quarts per roaster.

I’ll come back and add final yields for this year to this post.

20130116-141716.jpg


Beef broth yield 2013

20130111-065044.jpg

Mmmm – nothing like waking up to the smell of beef broth cooking! 🙂

Marathon beef broth making week here – 4 roasters in 2 days & Mike’s mom will take a couple days to pressure can it all next. So thankful for “team efforts”! 🙂

Our yield should be about 41 quarts… (If it’s any different, I’ll come back and edit this post.) This amount of broth should last both our homes about 6 months. Any future batches we make this year, I’ll come back and record on this post. 🙂

Final tally 1-16-13: almost 40 quarts

For 2012’s yield + recipe, click here. 🙂

our “italian sausage” recipe

For every pound of ground beef we add:

1-1/2t sea salt

1t garlic granules (or several minced garlic cloves)

1t coarse black pepper

1/2t fennel seed (or a little more than that…I love fennel seed!)

We mix it in while it’s cooking.  That’s it!  Super easy, and tastes great! 🙂

Yesterday, we made barley stuffed green peppers – here’re some pics – perhaps I’ll get that recipe up next…

our “salami”, “pepperoni”, “bacon” recipe

4 pounds grass-fed ground beef

2T sea salt

1/3c chili powder

2t garlic granules or several minced garlic cloves

1-1/2t fennel seeds

4t coarse black pepper

1t dried hot pepper flakes

3T wine of choice

Mix well and form into 4 “rolls”.  Wrap in foil and set in refrigerator for 24 hours.  Next day:  poke holes for drainage in various spots on the rolls with the tip of a pointy knife.  (I used to use a fork, but it left tiny bits of foil in the meat – fyi.)  Place rolls on top of a broiler pan with a bit of water in the base to catch any drippings.  (Makes it MUCH easier to clean the pan when done, lol!)  Bake for 1 hour at 325°.  Once out of oven, carefully remove foil and allow rolls to cool.  We like really thin slices, so we’ve found that a large serrated bread knife works the best – especially if the rolls have been in the fridge for awhile so they’re nice and cold.  Once sliced, I freeze stacks of slices.  It doesn’t take long for a stack to thaw enough to separate slices for a “salami” sandwich.

For “pepperoni”, we bake it on our sourdough pizza crusts.

For “bacon”, we add it to coconut oil in a skillet & fry it until crisp .  Here’s a pic of the frozen slices in the coconut oil:

Here’s a pic of Paul’s favorite way to eat it – crisp & dipped in ketchup, lol! 🙂

These recipes have been such a blessing to us.  We do our best to avoid lunch meats/processed meats.  It’s been fun using what we have to create healthy substitutes! 🙂

Homemade Ricotta Cheese

Now that we have 37 pounds of “dry” cottage cheese frozen for the year for our family…

…I’ve switched to making ricotta cheese.

Here’s what I do:

In my large *THICK BOTTOMED* canning/stock pot, I add the milk. The reason I say *THICK BOTTOMED*, is because this is REALLY EASY to burn, as it gets heated to 180°. I have burnt several batches in a thinner pot, even though I whisked it the entire time… 😦 So, hence my advice to USE A THICK BOTTOMED POT and WHISK CONTINUALLY, lol! 🙂

Once it reaches 180°, remove it from the heat. I add raw apple cider vinegar, slowly. I stir with a large metal spoon, and once I can feel the clumpiness of the curds forming, I stop pouring in the vinegar.

Next I scoop the curds out with my hand-held strainer and allow them to drain in a bowl lined with a large colander.

I weigh the strained curds, and for each pound of curd, I add 5 oz. of whey back in, and process until smooth.

Then, I freeze the whey for future uses like in whey soup and to cook noodles & beans in, etc.

LOTS of wonderful, probiotic benefits to liquid whey…NOT-TO-BE-CONFUSED-WITH the powdered stuff you can buy at the store.

The Weston A. Price Foundation is a wonderful place to begin researching that… 🙂

Most of the whey I freeze is in 1 cup “ice-cubes”. This is the amount needed to make 1 serving of whey soup…Michael’s favorite! 🙂

Sometime, I’ll get that recipe posted, as well.

Grass-fed Beef 2012

The 12th of July, we had 2 large freezers go from empty to full!!!! 🙂

In all, we took 8 beef in to get butchered the 2 weeks before. The 12th was the day we picked our 2 up from the butcher shop. Ohhhh were we excited! 🙂

Our FAVORITE is ground beef…in fact, we’ve been known to grind up our steaks when we run out of burger, lol! 🙂

Eventually, I hope to get a bunch of our recipes blogged that we use our ground beef in – like “salami”, “pepperoni”, “bacon”, jerky, “breakfast & italian sausage“, & meatloaf – just to name a few…  I’ll add the links to this post as I get them up. 🙂

This year, we have enough to “budget” four pounds of ground beef each week for one year.  And because I’m a control freak perpetual organizer/planner, I created a chart so we can keep track & HOPEFULLY not run out 3 months before we butcher next, (like we did this year), lol… 🙂

So what did we make that very first night??  MEATLOAF! Mmmmmm

Homemade cottage cheese with freshly ground sea salt & pepper, tall glass of raw milk, steamed dragon tongue yellow beans from last year’s garden with LOTS of our butter, and meatloaf…it was a WONDERFUL meal! 🙂